Recabling is easy. Bonthouse nailed it. You pop the housing and resolder the wires. The hard part is sorting through the options. Whole empires have been built on the wire hype. Then again, testimonies about as to great improvements brought about by great wires. What are your priorities? Are you looking for a more inexpensive option, a good deal, better durability or most audioholic snazziness?
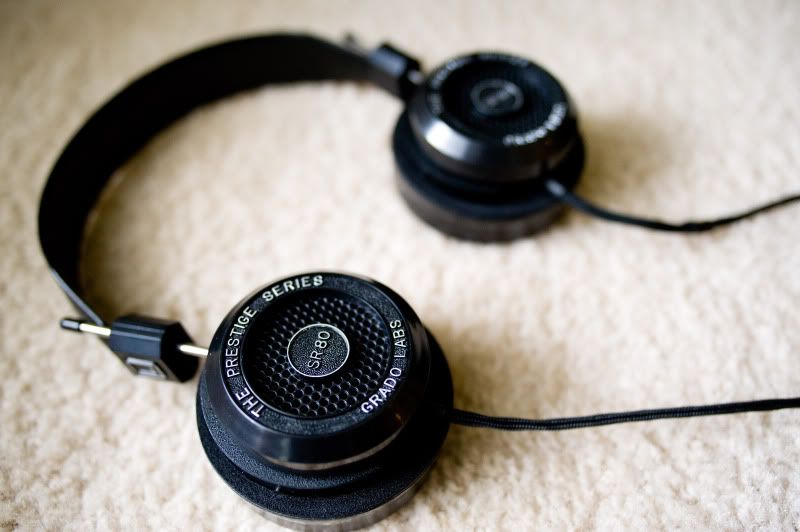
Depending on how into Grados you are, a recable on an SR-80 may be the perfect opportunity for an upgrade. In the Prestige Series, the major difference between the SR-60 and SR-80 is the switch in cushions from flats to doughnuts. As you move up from the SR-80 to the 125, 225 and 325, the major differences are air-chamber ventilation and wiring. Even before it swaps out the plastic air chamber for metal (on the 325), Grado swaps out the plastic rear grill for metal. This is supposed to allow greater air flow since plastic needs to be thicker to hold up. Some people say this makes a big difference; others scratch their heads in wonder.
On my SR-60, which I bought on the cheap, I just took off the rear chamber. This created a momentary problem of re-attaching the prongs that hold the cups to the headband. I just superglued them to the cushions, which weren't going anywhere anyway. I ended up with a flatter Grado (with a lower profile) and - to my ears - much better sound. With no rear grill at all, my SR-60s were as open and resonant-free as Grado gets. This was supposed to kill my bass response but instead it actually improved it. It was the headphone equivalent of an infinite baffle. The only bass I got was straight off the driver, making it tighter. I could be strung up for saying this, but my SR-60 sounded so good, it put the big guns (the RS-1 and the GS-1000) to the challenge.
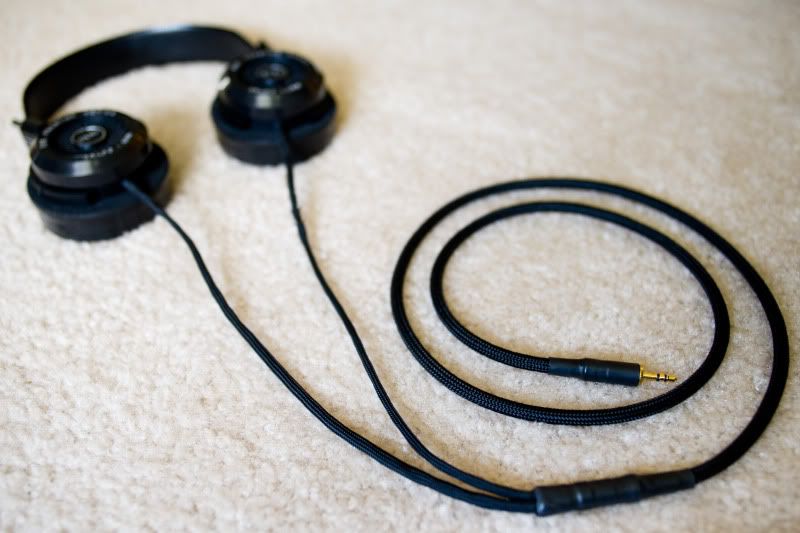
As far as wiring goes, the key wiring advantage of the higher Grados is the use of better wire - UHPLC copper wire - in the voicecoil and connecting cable. You can't do anything about the wiring in the voicecoil, but you can certainly upgrade the wiring in the connecting cable. You can spend a lot of money on high-end cabling. To me, the cheap alternative is to buy a Grado extension cable ($45) and chop off the length you like. This will give you the best wire Grado has, and for less than you'd pay for the most expensive headphone cable.
Whatever you do, here's a video that takes you through the process of recabling a Grado.
http://www.metacafe.com/watch/212265...cabling_part2/