Just listened to some Fostex T50RPs today... WOW!
Oct 14, 2011 at 10:47 AM Post #3,841 of 11,345


Quote:
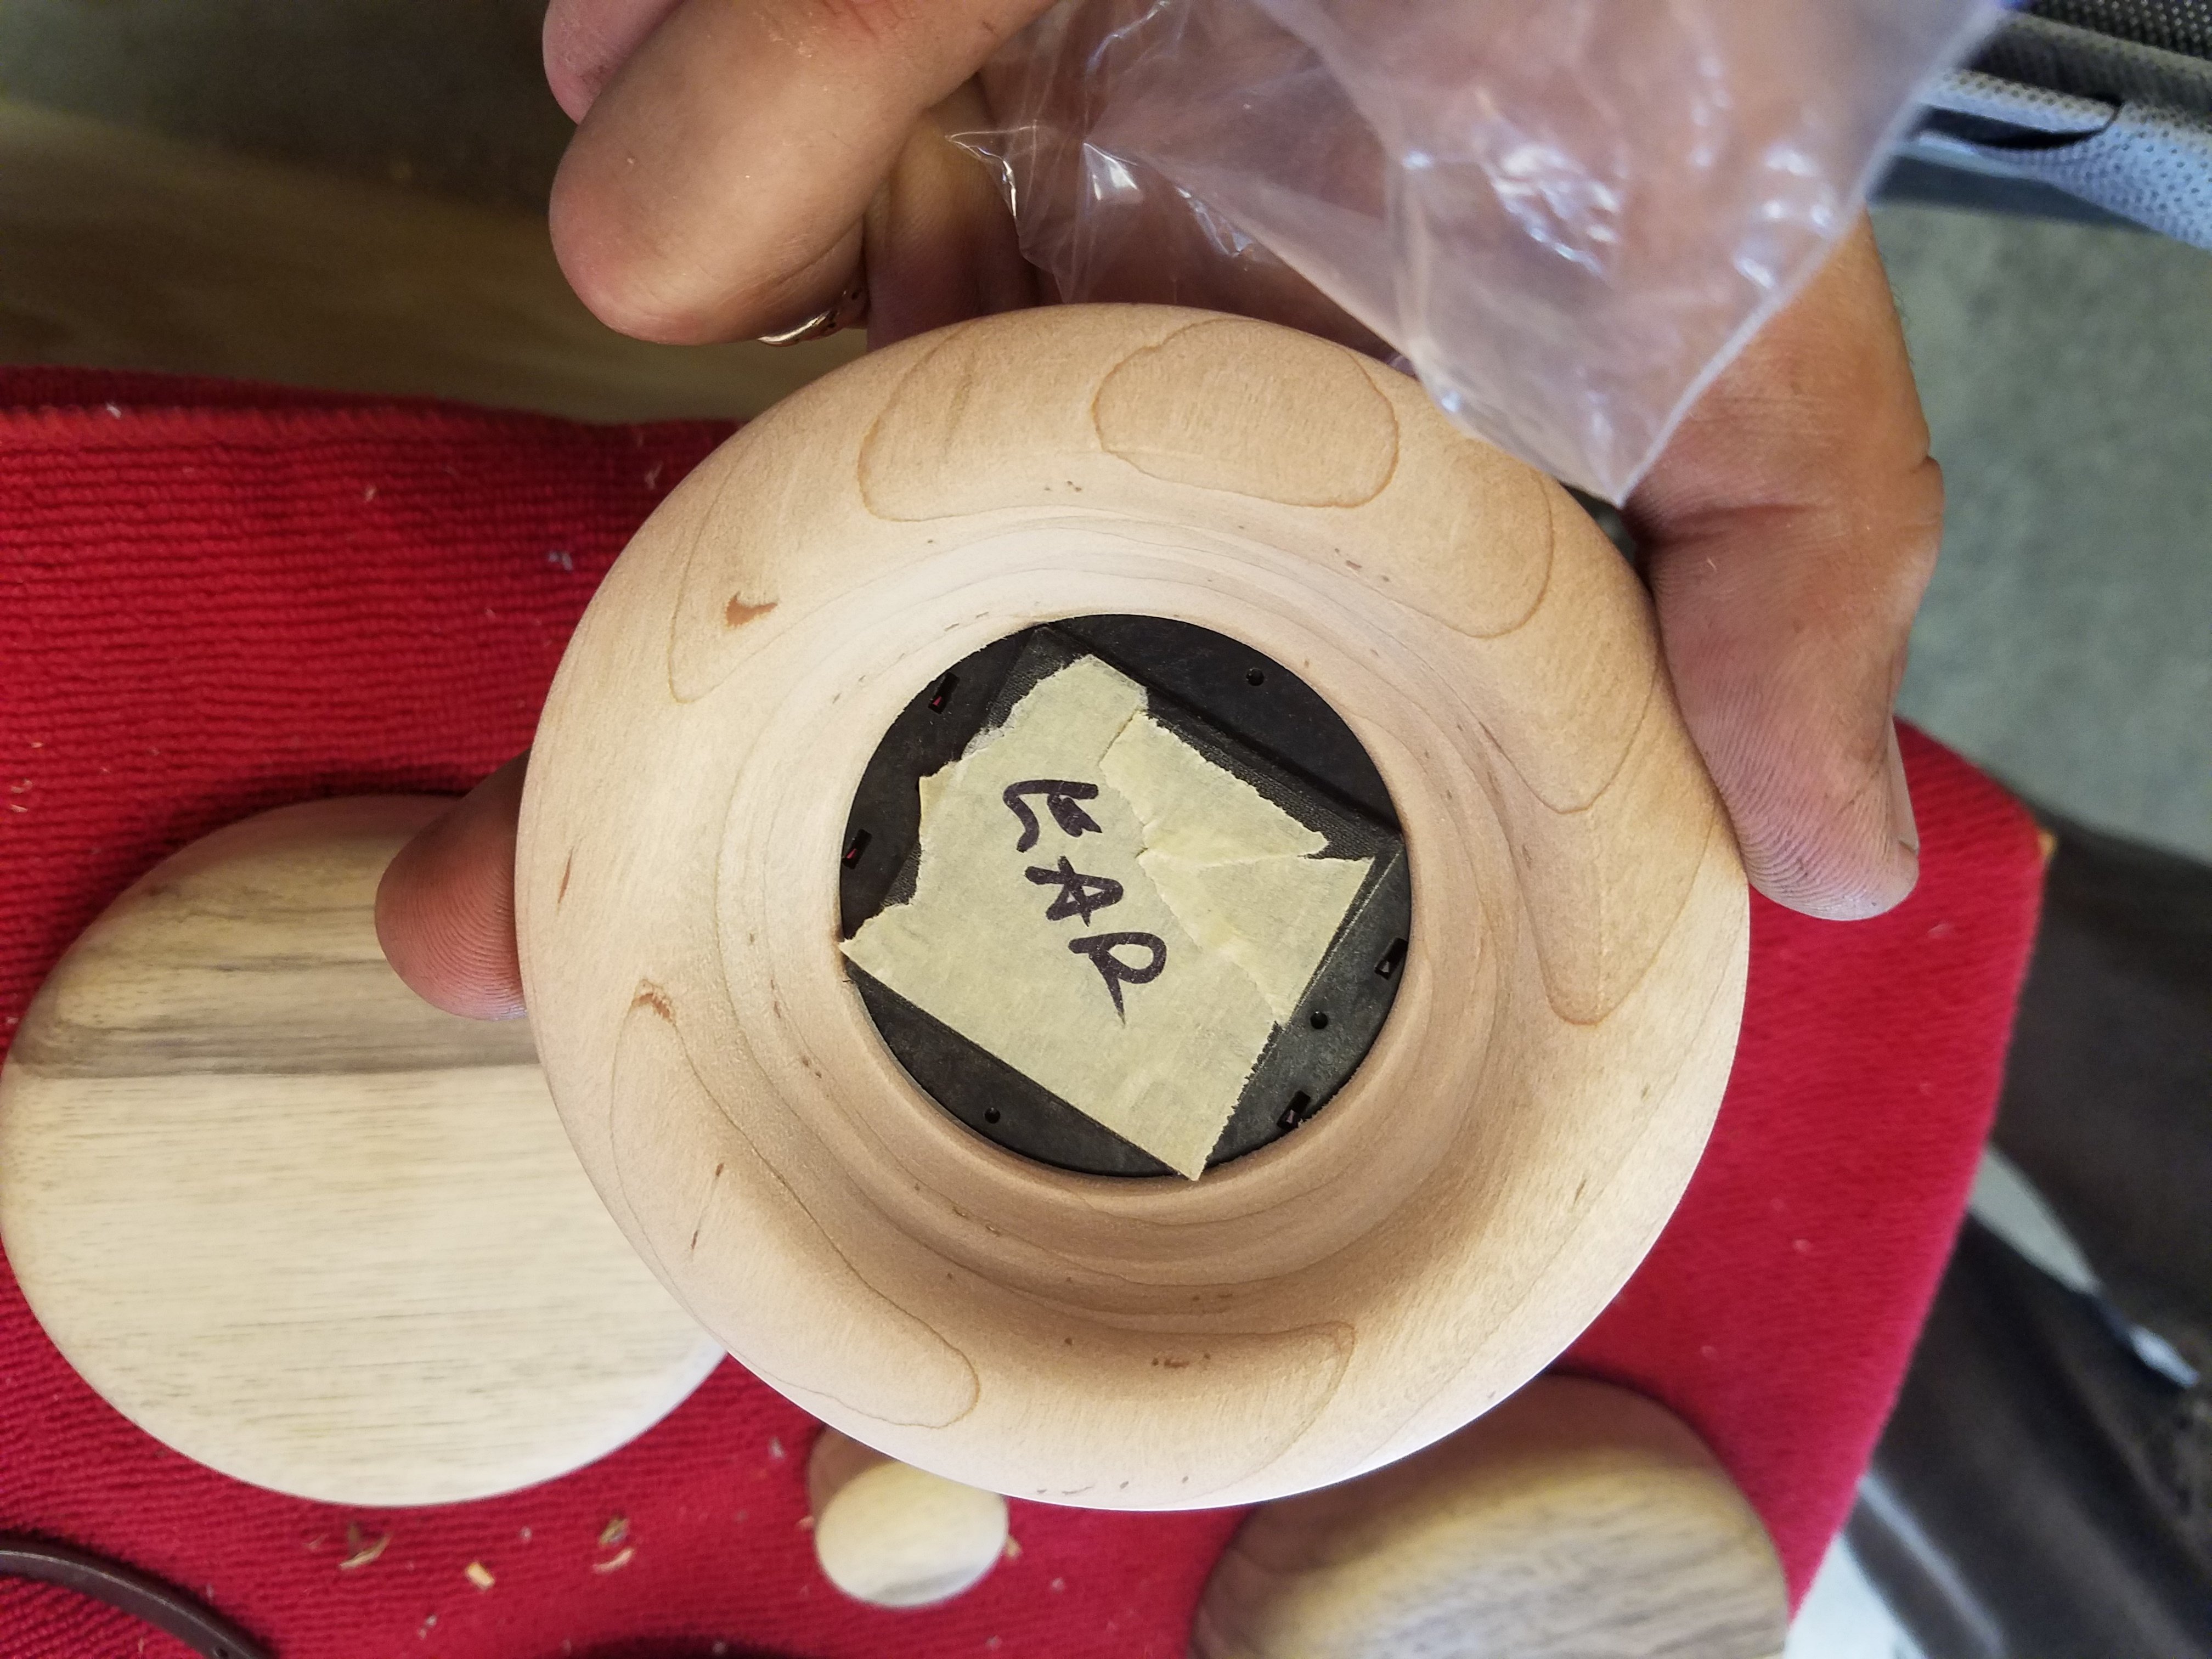
Just a quick question. This may seem stupid, but I see all these pictures of felt perfectly covering the driver. What method is everyone using to secure it there? I have a line of duct tape around the outside of my driver holding the tape on for now, but I would like a more elegant solution like what everyone else is doing.


I used rubber cement on mine. I just used the applicator brush to carefully apply it at an angle just to the very edge of the felt, and just enough to hold it in place.
 
 
Oct 14, 2011 at 11:03 AM Post #3,842 of 11,345
Thanks for the advice guys. This is what I had thought, but I just wanted to make sure. 
 
I will have to pick up some rubber cement and stiffer felt from Michaels next week. I have used two varieties of felt and the first softer one didn't have nearly the bass impact when put over the driver. The one I am using is a stiffer black felt from WalMart. I will see how it compares to the Craftology felt.
 
Oct 14, 2011 at 12:13 PM Post #3,843 of 11,345
BTW, I often have trouble getting the felt to stick until the glue sets, so I use a flat, heavy object as a press and leave it a few minutes.
 
Dan Clark Audio Make every day a fun day filled with music and friendship! Stay updated on Dan Clark Audio at their sponsor profile on Head-Fi.
 
@funCANS MrSpeakers https://danclarkaudio.com info@danclarkaudio.com
Oct 14, 2011 at 12:37 PM Post #3,844 of 11,345

Quote:
Hate to pry, but try to copy mrspeakers implementation and my own as best you can in the cups. Leave the earside acoustic foam free for now (until you get O2 pads) and enjoy nirvana for 1/20 the price of some other.... offerings...
 
Leave the vents closed. Tape the vents up before place acoustic foam over the vent (or place masking tape) on the outside of the cup. With stock, and first glance, it may seem off. If it doesn't sound amazing soonafter you've demoed for a while, there's something slightly off. Make sure to remove the black felt on the ear-baffle side as this further opens things up!

 
Ok, I'll close the vents up. When you say leave the acoustic foam free on the ear side, do you mean to remove the "donuts" around the driver? I saw that mrspeakers recommended removing acoustic foam if using stock earpads, so I ended up taking it off.
 
To anyone using stiffened craft felt on the drivers, is it OK if they're glued only on the outer edges of the back of the driver, or should there be glue in the more inner parts of that metal "grid"? And has anyone experimented with non-Creatology/Craftology (I see both words thrown around) stiffened felt? Mine is some other brand. Still seems to be 2mm, has a "harder" and "softer" side. Just wondering if I really need to go for that specific brand or not.


Oct 14, 2011 at 8:53 PM Post #3,846 of 11,345
I love my new pants!
 
I started yesterday and finished BMF #5 this morning. Today, I compared them to Stock, BMF #4, and my Not Rastapants v2. I repeatedly played segments of some favorite tunes across all 4 sets and kept tweaking until I achieved the sound I've been looking for. I'm really happy with the whole sound package. The bass is deep without spill-over into the mids. The midrange is so smooth, clear and balanced with the bass and treble - neither too forward nor recessed. The treble range is extended further than my previous efforts without the least bit of harshness. I can hear chimes, bells, high hats, and brushes on snares/cymbals very easily for the first time out out of modded T50's. There is a greater sense of space between notes and more airiness in female vocals, as well as the treble range, than my previous mods. This modded set's level of detail and clarity is impressive and performs effortlessly. It's easy to tune the bass ports and the ear pads for the amount of bass I want; same for the high end.  And it's all reversible.  
 
I hope this is helpful....


Cotton balls pulled length-wise, silicone (?) bumpers, Paxmate, Dynamat, Claytoon plasticine. The package of plasticine on the right is unopened, the middle package shows how much was used in one previous set, and the white package is what's left after the current mods. 


Let's begin.


1. Stock driver felt and bass port felt remain in place.  
 
2. Two strips of Dynamat in cup bottoms, only; pressed down firmly and dimpled with flat head screwdriver. I don't know if this has any effect but I had it laying around.
 
3. Plasticine applied all the way from the driver perimeter to baffle outer ring. I pressed this in very firmly and tapered outward. I believe the extra mass loading is in large measure responsible for the remarkable improvements I'm hearing as I type this post.  They are not heavy - I split 1.33 oz. between the two baffles but this is 4 or 5 times the amount if you only apply plasticine flush within the baffle compartments.
 
4. Baffle equalization vents remain open: 1 open through-and-through the baffle and 3 semi-open/covered by the dust cover on the ear side of the baffles.


5. Paxmate cut to fit entire cup interior except the bass ports which remain open --> I did not remove the stock bass port felt.
 
6. I added Paxmate to the central cup compartment to tune to my preferences.


7. Furniture bumper added to increase treble extension.  This worked great. 
 
8. Not shown: I pulled apart 4 cotton balls, each forming cotton log. I placed 2 of these under the back half of each stock ear pad and the difference is striking. Reducing or adding more padding changes the external chamber volume with favorable SQ mods to suit your preferences.  
 
EDIT:   Armaegis suggested using cotton gauze instead of cotton balls.  I rolled up some and pushed them under the stock ear pads. The sound improvement from top to bottom is similar to pulled cotton balls without the messiness of cotton fibers everywhere.
 
I'm diggin' it.
 
That's all I have...no secrets...nothing held back.
 
Cheers


Oct 14, 2011 at 9:12 PM Post #3,847 of 11,345


Quote:
I love my new pants!
 
<SNIP>
 
I started yesterday
That's all I have...no secrets...nothing held back.
 
Cheers


This is VERY similar to how I tuned another members headphones and the results were great. The only thing I didn't use was the reflex dot but everything else is virtually the same.
 
 
Oct 14, 2011 at 9:20 PM Post #3,848 of 11,345
I sold my TR-50RP's to Smeggy awhile back when he was running low on stock from Fostex.  I'm glad I did.  I'm certain he has the key to turn them into great sounding orthodynamics, because they sound like crap out of the box from Fostex.
 
Oct 14, 2011 at 9:23 PM Post #3,849 of 11,345


Quote:
I sold my TR-50RP's to Smeggy awhile back when he was running low on stock from Fostex.  I'm glad I did.  I'm certain he has the key to turn them into great sounding orthodynamics, because they sound like crap out of the box from Fostex.


Pretty much. You have-have-have to mod these. They sound like 74$, out of the box. But man is that driver is capable. It's actually one of the most stylish pairs of cans too to boot! Great things can come out of that driver.
 
Oct 14, 2011 at 9:27 PM Post #3,850 of 11,345


Quote:
 
Pretty much. You have-have-have to mod these. They sound like 74$, maybe 100$ out of the box. But man is that driver is capable. Great things can come out of that driver. It's actually one of the most stylish pairs of cans too to boot!


NO....they sound like $30 out of the box. I have $75 headphones that beat the crap out of the stock Fostex.
 
Oct 14, 2011 at 9:29 PM Post #3,851 of 11,345


Quote:
NO....they sound like $30 out of the box. I have $75 headphones that beat the crap out of the stock Fostex.


I thought they sounded like stock headphones that come with purchases :p It was pretty bad esp with all those resonances. I started with adding modeling clay and after that first simple mod I was able to hear some potential of what these drivers are capable of. When I wake up tomorrow I'll do a bunch of mods and hopefully unleash its potential. My wallet is begging me to stop being lazy and complete the RP2 mods...I bought a headphone and a usb dac today although both of them aren't that expensive for head-fi. I got a K501 and cheap usb dac/amp for transportable which I needed but I think in a few months I'm going to have to evaluate my gear and sell some off since I don't need 5 sets of headphones, 3 dacs and 2 amps.
 
 
Oct 14, 2011 at 9:50 PM Post #3,852 of 11,345


Quote:
I thought they sounded like stock headphones that come with purchases :p
 

Yup...I can agree with that.
 
They can sound so much better though!


Oct 14, 2011 at 10:04 PM Post #3,853 of 11,345
Anyone try sticking dynamat in front of the baffle under the pads?
 
Oct 14, 2011 at 10:11 PM Post #3,854 of 11,345


Quote:
8. Not shown: I pulled apart 4 cotton balls, each forming a kind of cotton log. I placed 2 of these under the back half of each stock ear pad and the difference is striking. Reducing or adding more padding changes the external chamber volume with favorable SQ mods to suit your preferences.
 
That's all I have...no secrets...nothing held back.


I've used cotton to push up pads before, but I got sick of all the little fibers. Try some gauze instead; not much noticeable difference in sound, but much cleaner to use. 
 
 
Oct 14, 2011 at 10:12 PM Post #3,855 of 11,345


Quote:
I love my new pants!
 
---
 
I'm diggin' it.
 
That's all I have...no secrets...nothing held back.
 
Cheers


Awesome!!  I'll probably follow these instructions when modding mine.  Gotta get some damping foam though...just bummed out that it costs so much to ship it from Vancouver.  Not sure if anywhere in town carries that stuff...I guess I could try checking out local computer stores to see.
 
I presume the Dynamat isn't necessary for this?  No way I'm gonna buy some of that just for a tiny increase, if any, in sound quality though...
 
Also, I've been wondering - what exactly are the holes punched in the plasticine for?
 

Users who are viewing this thread

Back
Top