


- Joined
- Jun 27, 2002
- Posts
- 415
- Likes
- 35
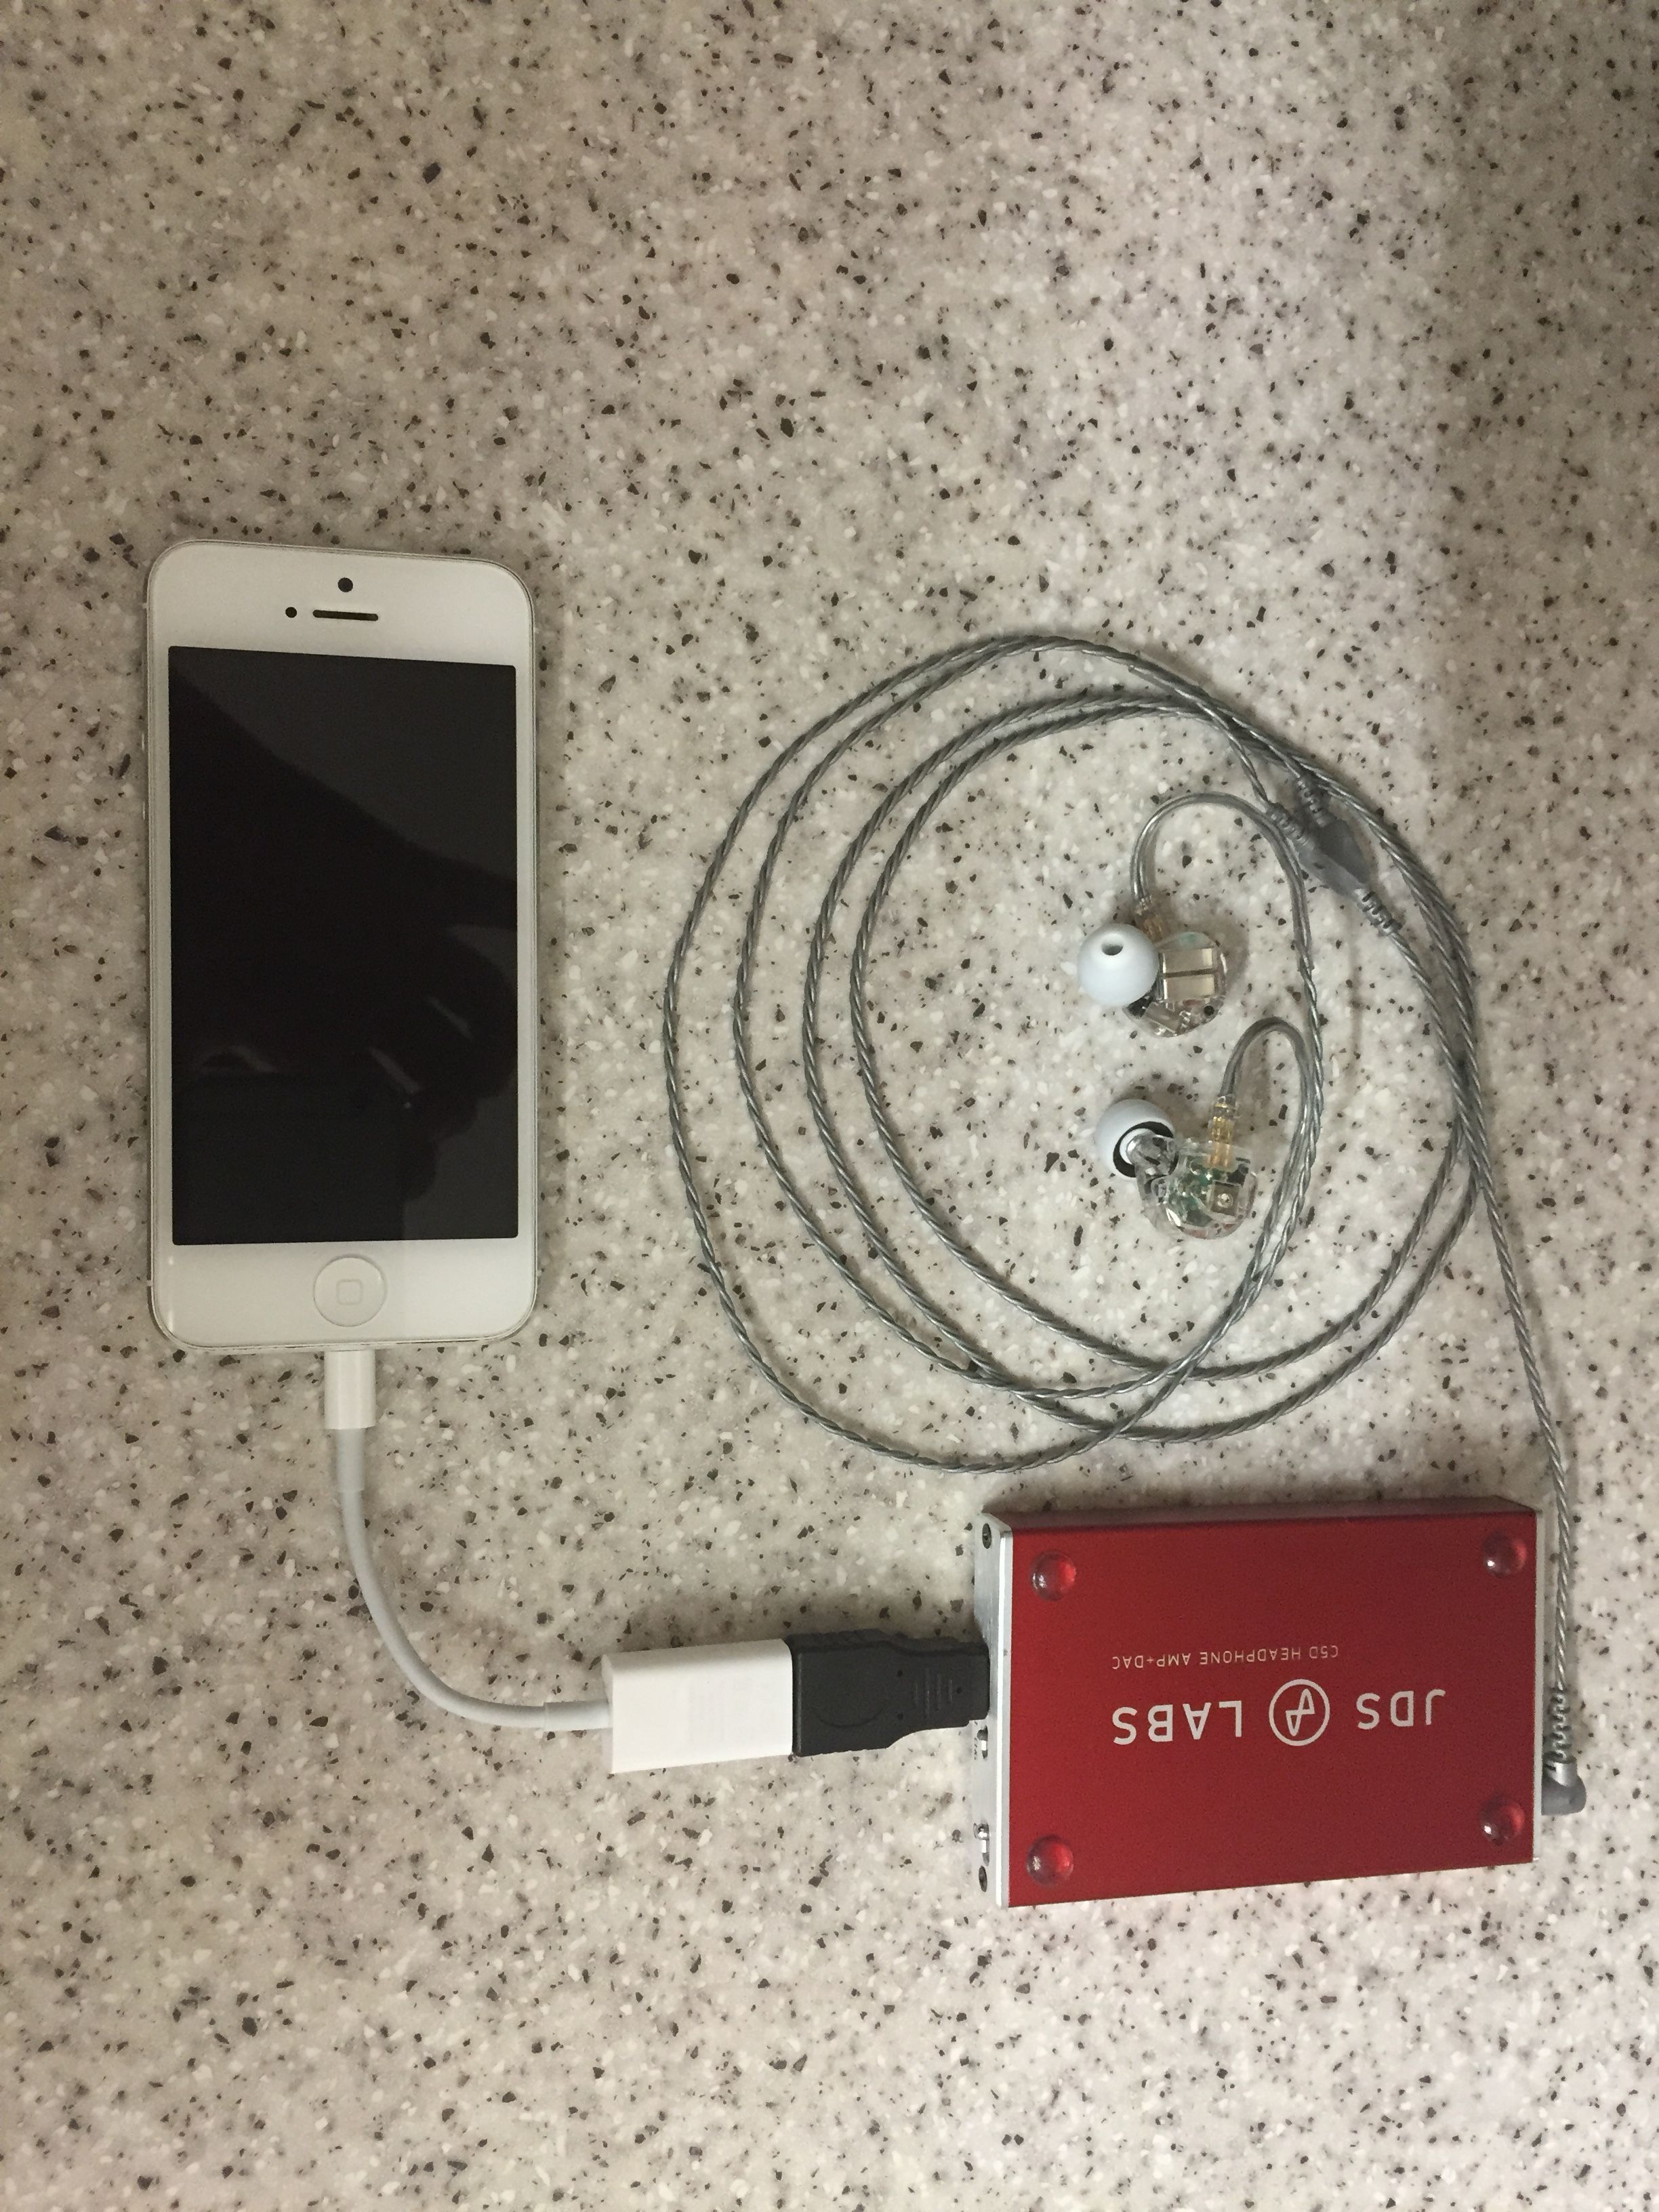
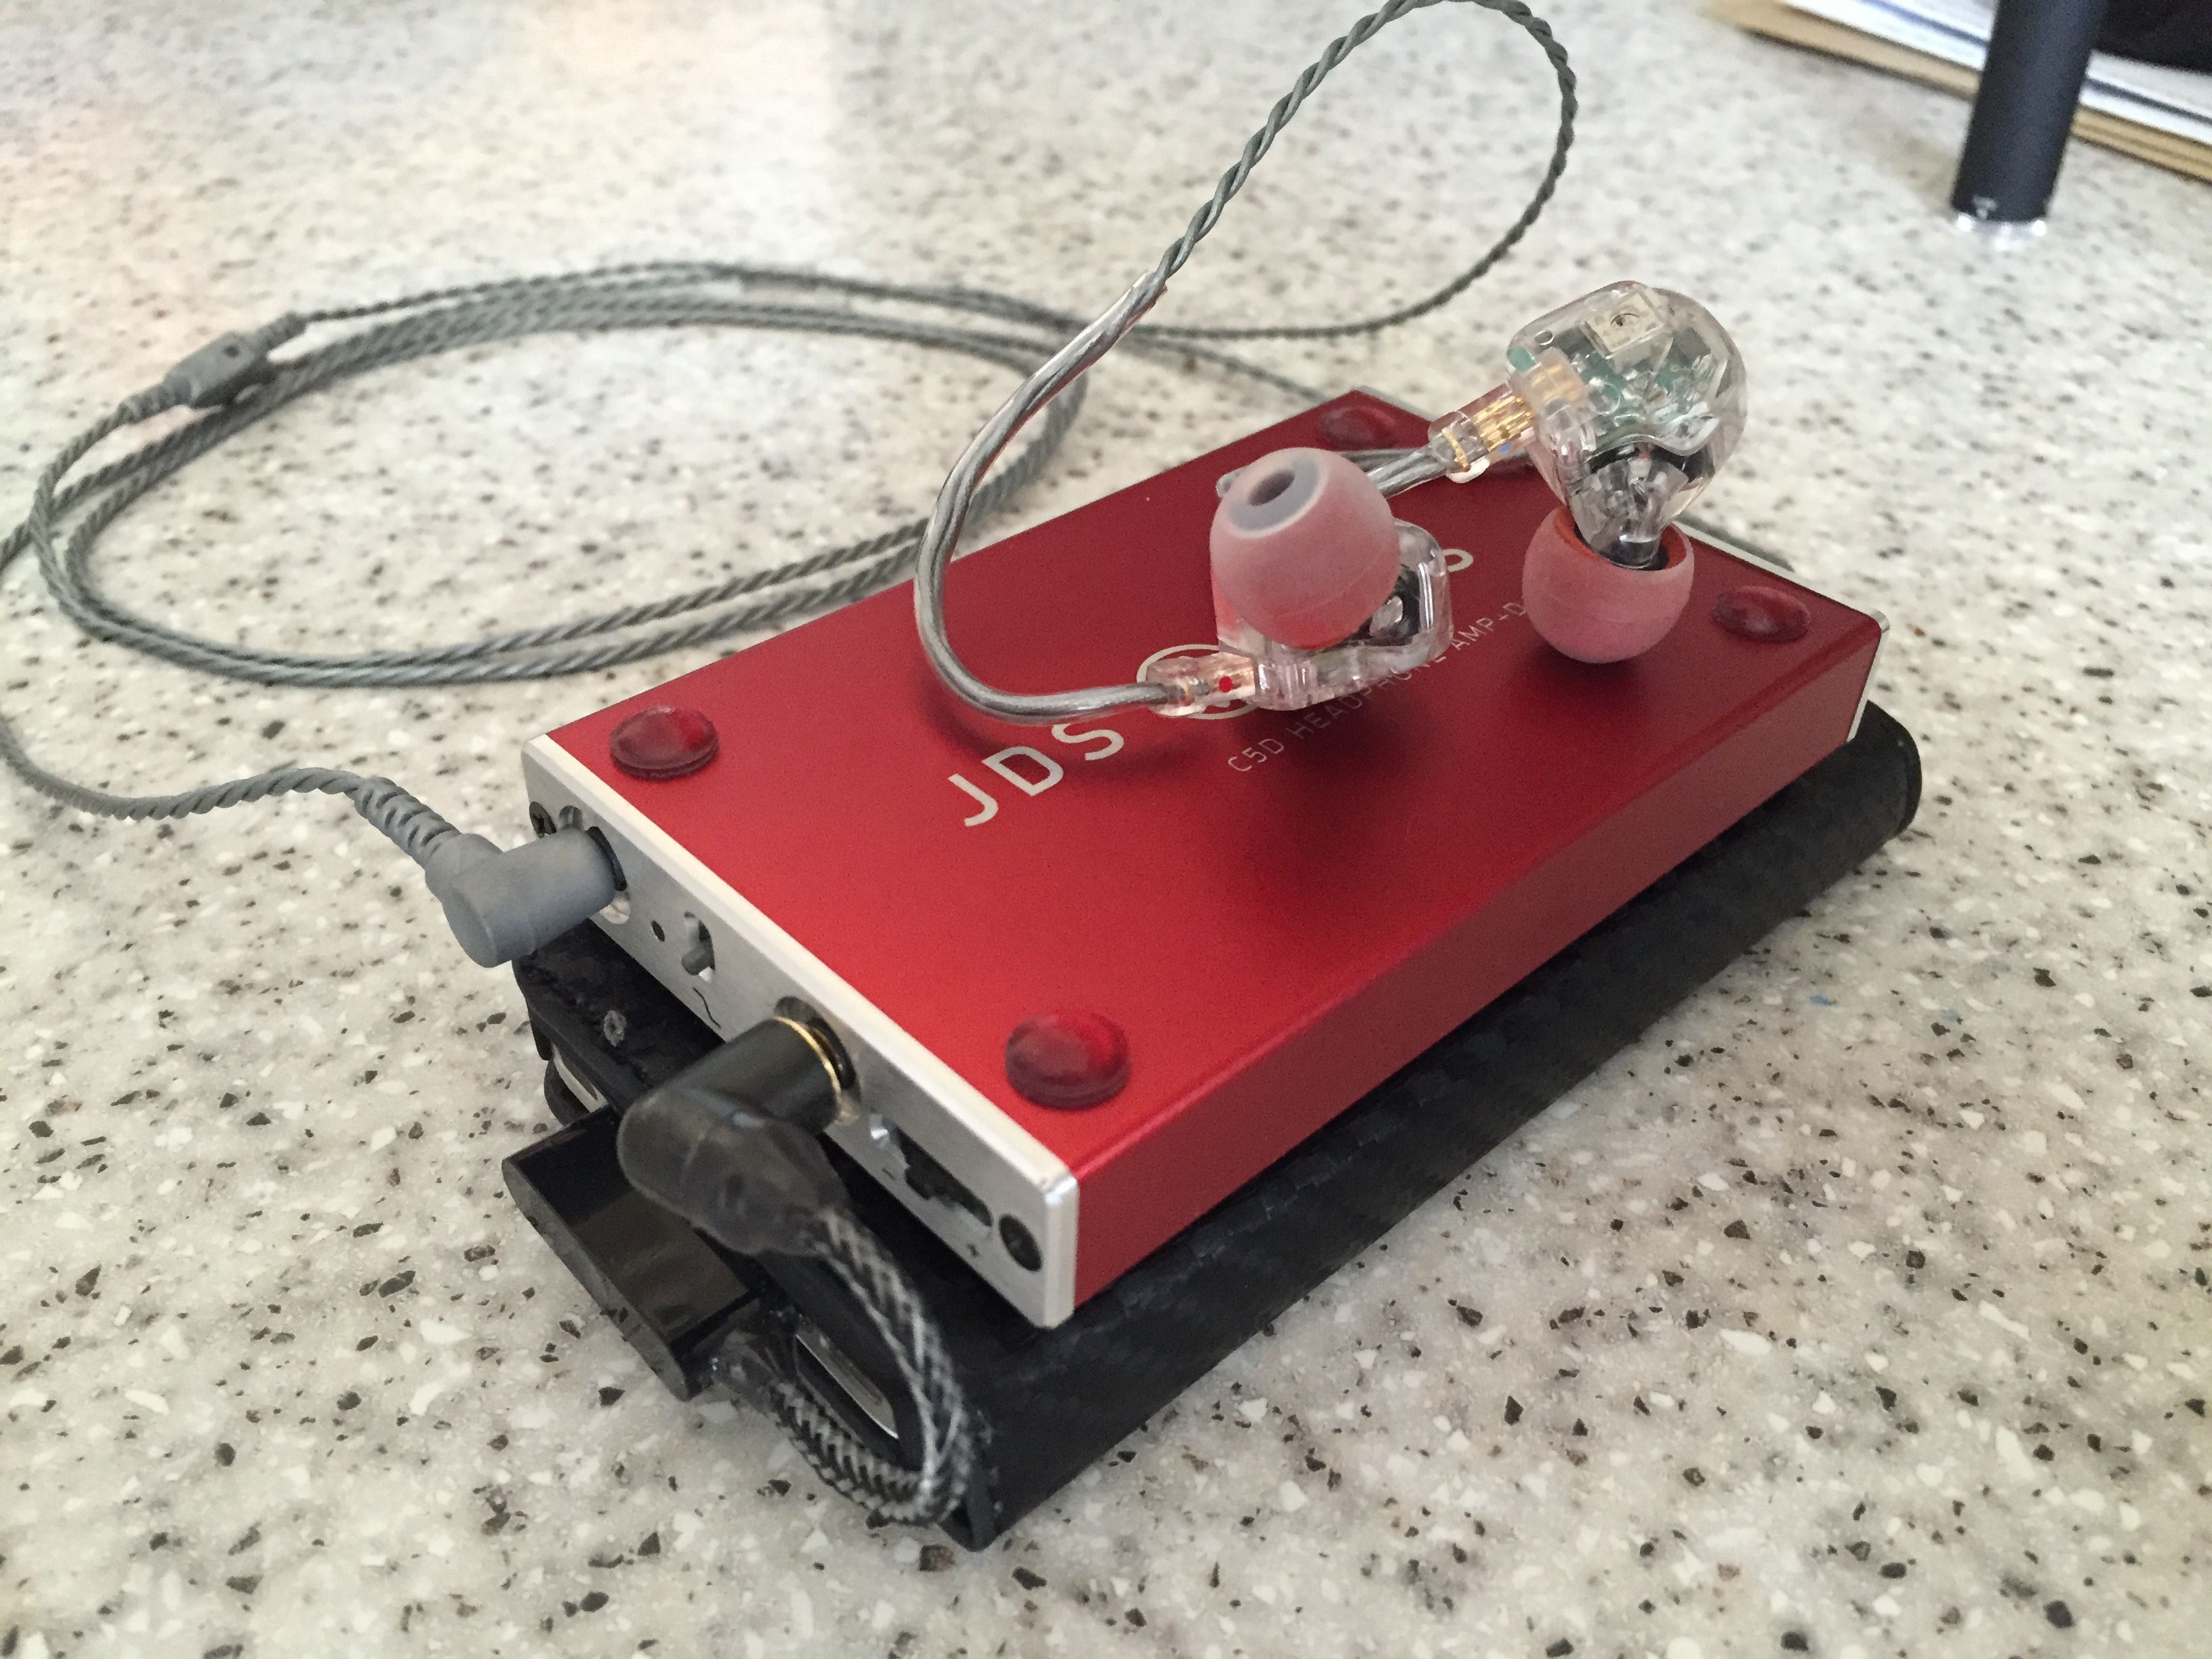
C5 with the Signature DJ is pretty amazing. Seriously. Wow.
This is THE bassheads amp. I would risk to say its on par with ZO2 in quantity of bass. With "10x" better SQ, of course.
if(gainstate < 1){
gainstate = 1;
}
Yeah that's what I said earlier. It sounds like the green-yellow setting of the ZO2 from memory.
So I've been working on the coding of the C5 and I managed to make it have a fast-blinking LED for when high-gain mode is toggled, and the change in volume is slower in high gain to reduce dramatic changes in volume. With this, I have a visual indication of when I am on high gain and a smoother volume control experience.
Also, I was trying to make it so that there are 3 different modes that can be toggled by pressing the gain switch, but I don't quite understand how the "gainstate" value is altered. When you push the button, how does gainstate's value change? In the code it just has
and prior to that, gainstate is initialised as: gainstate = 0
So I'm not really sure how the button affects the value of gainstate.
I did mess around with the code today and I did manage to get 3-ish "meh" modes by toggling the gain button, but the end results were iffy and they didn't work out the way I thought they would.
'Gainstate' stores the value of gain. To create new modes of button functionality, you'll need to modify the main loop with a new state variable and 'select case' to execute code based on the current state. Try this old development code:
// c5 Rev0.68 Firmware
// ----------------------------------------------------------------------------
// Version: 0.95 [All functionality and EEPROM working
// Date: 11/04/2012
// Author: John @ JDS Labs, Inc.
// Requires: Arduino Bootloader
// License: Creative Commons Attribution-ShareAlike 3.0 Unported
// http://creativecommons.org/licenses/by-sa/3.0/deed.en_US
#include <Wire.h>
#include <EEPROM.h>
// PINOUTS
int upButton = 2; // Attenuation UP pushbutton
int downButton = 5; // Attenuation DOWN pushbutton
int centerButton = 0; // Center pushbutton
int PWRVOLLED = 4; // PCB LED1, green (bi-color chip)
int GAINLED = 3; // PCB LED3, supports PWM
int BASSLED = 9; // PCB LED4, supports PWM
int ENPOSREG = 6; // Pin to enable +7V LDO
int ENNEGREG = 7; // Pin to enable -7V LDO
int GAIN = A1; // Pin to control gain
int POTPOWER = A2; // 5V to DS1882 IC logic
int PREBOOST = A7; // USB or battery voltage, 2.7-5.5VDC
// Temporary variables
int uptemp = 0;
int downtemp = 0;
int centertemp = 0; // NOTE: Attenuation & bass should be stored in non-volatile memory later. Pots remember their value; MCU does not.
int currentMode = 0; // Stores current mode of operation
int gainstate = 0; // Stores current gain
byte attenuation = 62; // Attenuation value of volume potentiometer gangs. Initially set to minimum volume.
byte bass = 63; // Value of bass potentiometer gangs. Initially set to no bass boost.
byte tempattenuation = 0; // Holds attenuation value for second pot bitwise operation
byte tempbass = 0; // Holds bass balue for second pot bitwise operation
byte bassfadeval = 0;
float BattVoltage = 5; // Temp variable to read battery voltage
float LowVoltageThreshold = 3.51; // Voltage at which low battery flashing begins. 3.50V should yield 45-90 minute warning.
float HighVoltageThreshold = 3.55;
int flashState = LOW; // For flashing power LED during low battery
unsigned long lastMillis = 0; // Time of last battery check
boolean lowBatt = false;
void setup()
{
delay(50); // Wait for power to stabilize, then setup I/O pins
pinMode(POTPOWER, OUTPUT);
pinMode(ENNEGREG, OUTPUT);
pinMode(ENPOSREG, OUTPUT);
pinMode(GAIN, OUTPUT);
pinMode(BASSLED, OUTPUT);
pinMode(GAINLED, OUTPUT);
pinMode(PWRVOLLED, OUTPUT);
pinMode(upButton, INPUT); // Declare pushbuttons as inputs
pinMode(downButton, INPUT);
pinMode(centerButton, INPUT);
digitalWrite(ENPOSREG, HIGH); // Enable +7V LDO
digitalWrite(ENNEGREG, HIGH); // Enable -7V LDO
delay(50); // Wait for power to stabilize
digitalWrite(PWRVOLLED, LOW); // Turn Power LED on, turn gain and bass LEDs off
digitalWrite(GAINLED, HIGH);
digitalWrite(BASSLED, HIGH);
digitalWrite(POTPOWER, HIGH); // Enable DS1882 IC's
delay(25);
digitalWrite(GAIN, LOW); // Set gain low
Wire.begin(); // Join the I2C bus as master device
// Sets DS1882 registers to nonvolatile memory, zero-crossing enabled, and 64 tap positions (pg 10 of datasheet)
// FUTURE: This only needs to be performed once--read register and only write if necessary!
tempattenuation = B10000110;
Wire.beginTransmission(40); // Set parameters of volume potentiometers
Wire.write(tempattenuation);
Wire.endTransmission();
delay(25);
Wire.beginTransmission(42); // Set parameters of bass potentiometers
Wire.write(tempattenuation);
Wire.endTransmission();
// Retrieve volume, gain, and bass values from EEPROM. Set default values if EEPROM is new or corrupted.
attenuation = EEPROM.read(0);
gainstate = EEPROM.read(1);
bass = EEPROM.read(2);
if(gainstate > 1)
{
gainstate = 0;
}
changeGain();
if(bass > 63)
{
bass = 63;
}
changeBass();
if(attenuation > 63)
{
attenuation = 62;
}
changeVolume();
}
void loop()
{
uptemp = digitalRead(upButton); // Read the up pushbutton
downtemp = digitalRead(downButton); // Read the down pushbutton
centertemp = digitalRead(centerButton); // Read the center pushbutton
// User pressed center pushbutton
if (centertemp == HIGH) {
delay(50); // Simple debounce: wait and see if user actually pushed the button
if (centertemp == HIGH) { // If user pressed center pushbutton, increment to next mode (volume = 0, gain = 1, bass = 2)
if(currentMode < 2){
currentMode++;
}
else
{
currentMode = 0;
}
changeLEDs();
delay(333); // Wait for 1/3 of a second to prevent additional button presses
}
}
switch(currentMode){
case 0:
// ---Volume Mode---
// First IF statement LOWERS volume. DS1808 has a range of 0-33; DS1882 has range of 0-63. So, for DS1882:
// attenuation = 0 = max volume
// attenuation = 62 = minimum volume
// attenuation = 63 = mute
if (uptemp == HIGH) {
delay(55); // Simple debounce: wait and see if user actually pushed the button
if ((uptemp == HIGH) && (attenuation < 63)) { // If user pressed button and volume isn't already at min.
//digitalWrite(testLED, HIGH);
attenuation++; // Increase the potentiometer attenuation value
changeVolume();
}
}
// Same method for decrementing attenuation (RAISES volume)
if (downtemp == HIGH) {
delay(55); // Simple debounce: wait and see if user actually pushed the button
if ((downtemp == HIGH) && (attenuation > 0)) { // If user pressed button and volume isn't already at max.
//digitalWrite(testLED, LOW);
attenuation--; // Decrease the potentiometer attenuation value
changeVolume();
}
}
break;
case 1:
// ---Gain Mode---
if (uptemp == HIGH) {
delay(55); // Simple debounce: wait and see if user actually pushed the button
if (uptemp == HIGH) { // Set Gain Low
gainstate = 0;
changeGain();
}
}
// Same, for changing to Low High
if (downtemp == HIGH) {
delay(55);
if (downtemp == HIGH) {
gainstate = 1;
changeGain();
}
}
break;
case 2:
// ---Bass Boost Mode--- ** Using min & max values for testing; implement lookup table of best values for production **
if (uptemp == HIGH) {
delay(55); // Simple debounce: wait and see if user actually pushed the button
if ((uptemp == HIGH) && (bass < 62)) { // If user pressed button and bass isn't already at max.
bass = 63; // Was "bass++;"...testing On and Off version
changeBass();
}
}
// Same, DECREASES bass boost
if (downtemp == HIGH) {
delay(55);
if ((downtemp == HIGH) && (bass > 2)) {
bass = 0; // Was "bass--;"
changeBass();
}
}
} // End switch
if ((millis() - lastMillis) > 500) // Checks battery voltage every 500mS
{ checkBattery();
lastMillis = millis();
}
}
void changeVolume()
{
// Update first potentiometer gang, where pot address is first two bits of attenuation: 00 ######
Wire.beginTransmission(40); // Transmit to DS1808, device #40 (0x28) = 0101 000, LSB is auto sent by Arduino Wire
Wire.write(attenuation); // Write wiper value
Wire.endTransmission(); // Stop transmitting
// Update second potentiometer gang. Same process, where pot address is now: 01 ######.
// (each I2C transmission should be started stopped individually)
tempattenuation = B01000000 | attenuation; // Attenuation value is bitwise OR'ed with address byte fpr second pot gang
Wire.beginTransmission(40);
Wire.write(tempattenuation);
Wire.endTransmission();
}
void changeGain()
{
digitalWrite(GAIN, gainstate);
changeLEDs();
}
void changeBass()
{
// Update first potentiometer gang
Wire.beginTransmission(42); // Transmit to DS1808, device #42 = 0101 010, LSB is auto sent by Arduino Wire
Wire.write(bass);
Wire.endTransmission();
// Update second potentiometer gang
tempbass = B01000000 | bass; // Bass value is bitwise OR'ed with address byte for second pot gang
Wire.beginTransmission(42);
Wire.write(tempbass);
Wire.endTransmission();
changeLEDs(); // Update bass LED brightness
}
void changeLEDs()
{
switch(currentMode){
case 0:
// ---Volume Mode---
digitalWrite(GAINLED, HIGH);
digitalWrite(BASSLED, HIGH);
EEPROM.write(0, attenuation); // Store attenuation value in EEPROM location 0, wait 4ms for write to complete
delay(4);
break;
case 1:
// ---Gain Mode---
//digitalWrite(PWRVOLLED, LOW);
digitalWrite(BASSLED, HIGH);
if(gainstate < 1){
analogWrite(GAINLED, 160);
}
else{
analogWrite(GAINLED, 0);
}
EEPROM.write(1, gainstate); // Store gain value in EEPROM location 1
delay(4);
break;
case 2:
// ---Bass Mode---
//digitalWrite(PWRVOLLED, LOW);
digitalWrite(GAINLED, HIGH);
//bassfadeval = (255 - (bass*155/63));
bassfadeval = (100 + (bass*155/63));
analogWrite(BASSLED, bassfadeval);
EEPROM.write(2, bass); // Store bass value in EEPROM location 2
delay(4);
}
}
//void checkBattery()
//{
// BattVoltage = (float)analogRead(PREBOOST)*4.95/1023; // Note: 4.95V is imperical value of c5 5V rail
//
// if((BattVoltage < LowVoltageThreshold) && (flashState == LOW))
// {
// flashState = HIGH;
// digitalWrite(PWRVOLLED, flashState);
// }
// else if(((BattVoltage < LowVoltageThreshold) && (flashState == HIGH)) || ((BattVoltage > LowVoltageThreshold) && (flashState == HIGH)))
// {
// flashState = LOW;
// digitalWrite(PWRVOLLED, flashState);
// }
void checkBattery()
{
BattVoltage = (float)analogRead(PREBOOST)*4.95/1023; // Note: 4.95V is imperical value of c5 5V rail
if(BattVoltage > HighVoltageThreshold){
flashState = LOW;
}
else if(BattVoltage < LowVoltageThreshold) {
lowBatt = true;
}
if(lowBatt == true && flashState == LOW){
flashState = HIGH;
}
else{
flashState = LOW;
}
digitalWrite(PWRVOLLED, flashState);
}
Oh wow I didn't know Arduino had a "switch" case statement. That worked quite well and now everything works as planned. Thank you so much for the suggestion!
Now my C5 has 3 modes of operation:
- Low gain mode, normal volume speed toggle, no flashing LED
- Low gain mode, slow volume speed toggle, fast-blinking LED
- High gain mode, slower volume speed toggle, faster-blinking LED
Finally I am ready to write my review. XD
Quote:Oh wow I didn't know Arduino had a "switch" case statement. That worked quite well and now everything works as planned. Thank you so much for the suggestion!
Now my C5 has 3 modes of operation:
- Low gain mode, normal volume speed toggle, no flashing LED
- Low gain mode, slow volume speed toggle, fast-blinking LED
- High gain mode, slower volume speed toggle, faster-blinking LED
Finally I am ready to write my review. XD
Is it possible to make the volume have more steps or be smoother?
DS1808 has a range of 0-33; DS1882 has range of 0-63. So, for DS1882
- Configuration Option 1: 63 Positions Provide 1dB Attenuation Steps from 0dB to -62dB Plus Mute
- Configuration Option 2: (Software-Compatible with the DS1808): 33 Positions Plus Mute as Follows
- Positions 0–12: 1dB per Step for 12 Steps
- Positions 13–24: 2dB per Step for 12 Steps
- Positions 25–32: 3dB per Step for 8 Steps
More steps? I don't believe so, but you can change the delay so that it takes longer to adjust the volume (e.g. mode 2 for me takes twice as long to increment the volume, or 110 ms versus the original 55 ms).
In the code there's a comment that says:
Where DS1882 is the digital potentiometer used in the C5.

O.k. I was aware of that mod, but perhaps I'm just picky, but even though the C5 is the most fine volume stepping I've heard in a portable device, I still wish there were half steps between every step sometimes. It's like one half notch more sometimes would give me the perfect reference comfortable volume.
We had a few options when designing C5:
A) Use an analog potentiometer
Pros: Low cost, excellent THD, manual knob
Cons: Channel imbalance
B) Use a high performance digital potentiometer
Pros: Perfect channel balance, great THD, really smooth volume transitions (1dB)
Cons: No manual knob, higher cost
C) Use dual, high performance digital potentiometers in series
Pros: Perfect channel balance, hundreds of discrete steps
Cons: THD degrades by a factor of 2, changing volume would be very slow, no manual knob, very high cost
D) Use Analog knob + Dual digital potentiometers
Pros: Same as (C), but easy to quickly transition from low to high volumes
Cons: Highest cost, THD degrades by a factor of 2 compared to (A) or (B)
C5 was built for performance, so we eliminated options (C) and (D) due to their negative impact on THD. A 64-step digital potentiometer outperforms Alps RK097's and similar analog potentiometers, especially at low volumes.
Here's an analog, Alps RK097 pot transitioning through its full range:
Here's the digital, 64-step DS1882 pot in C5:
It's pretty clear that the DS1882 is smoother. While there's always room for improvement, you won't find a better volume control until the chip companies produce better performing 128+ step parts. All of them I've looked at are junk in terms of THD. Smaller chips are the trend these days, but as the chips go smaller, it becomes very challenging to maintain good THD. Notice the DS1882 is a rather large chip that's been around for years already. To make a truly perfect volume control, you could build a discrete, stepped attenuator with as many steps as you desire. Those are huge (not portable), and it's rare to fit even half the number of steps as C5 into such a control. Getting off-topic...
All of this discussion is a moot point if you can control volume at your DAC or DAP. Knock source volume down from 100% to 90-95% when you need that tiny 0.25dB volume change. Of coures, this isn't possible for LOD users.
 hahaha
Huge difference from pure silver to copper.


