SOHA II Builders Thread
Oct 24, 2009 at 6:30 PM Post #1,081 of 1,694
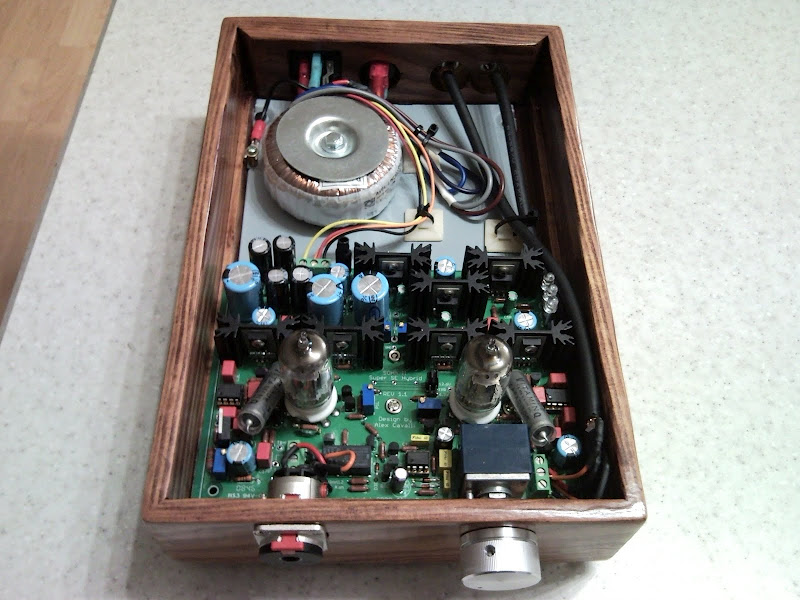
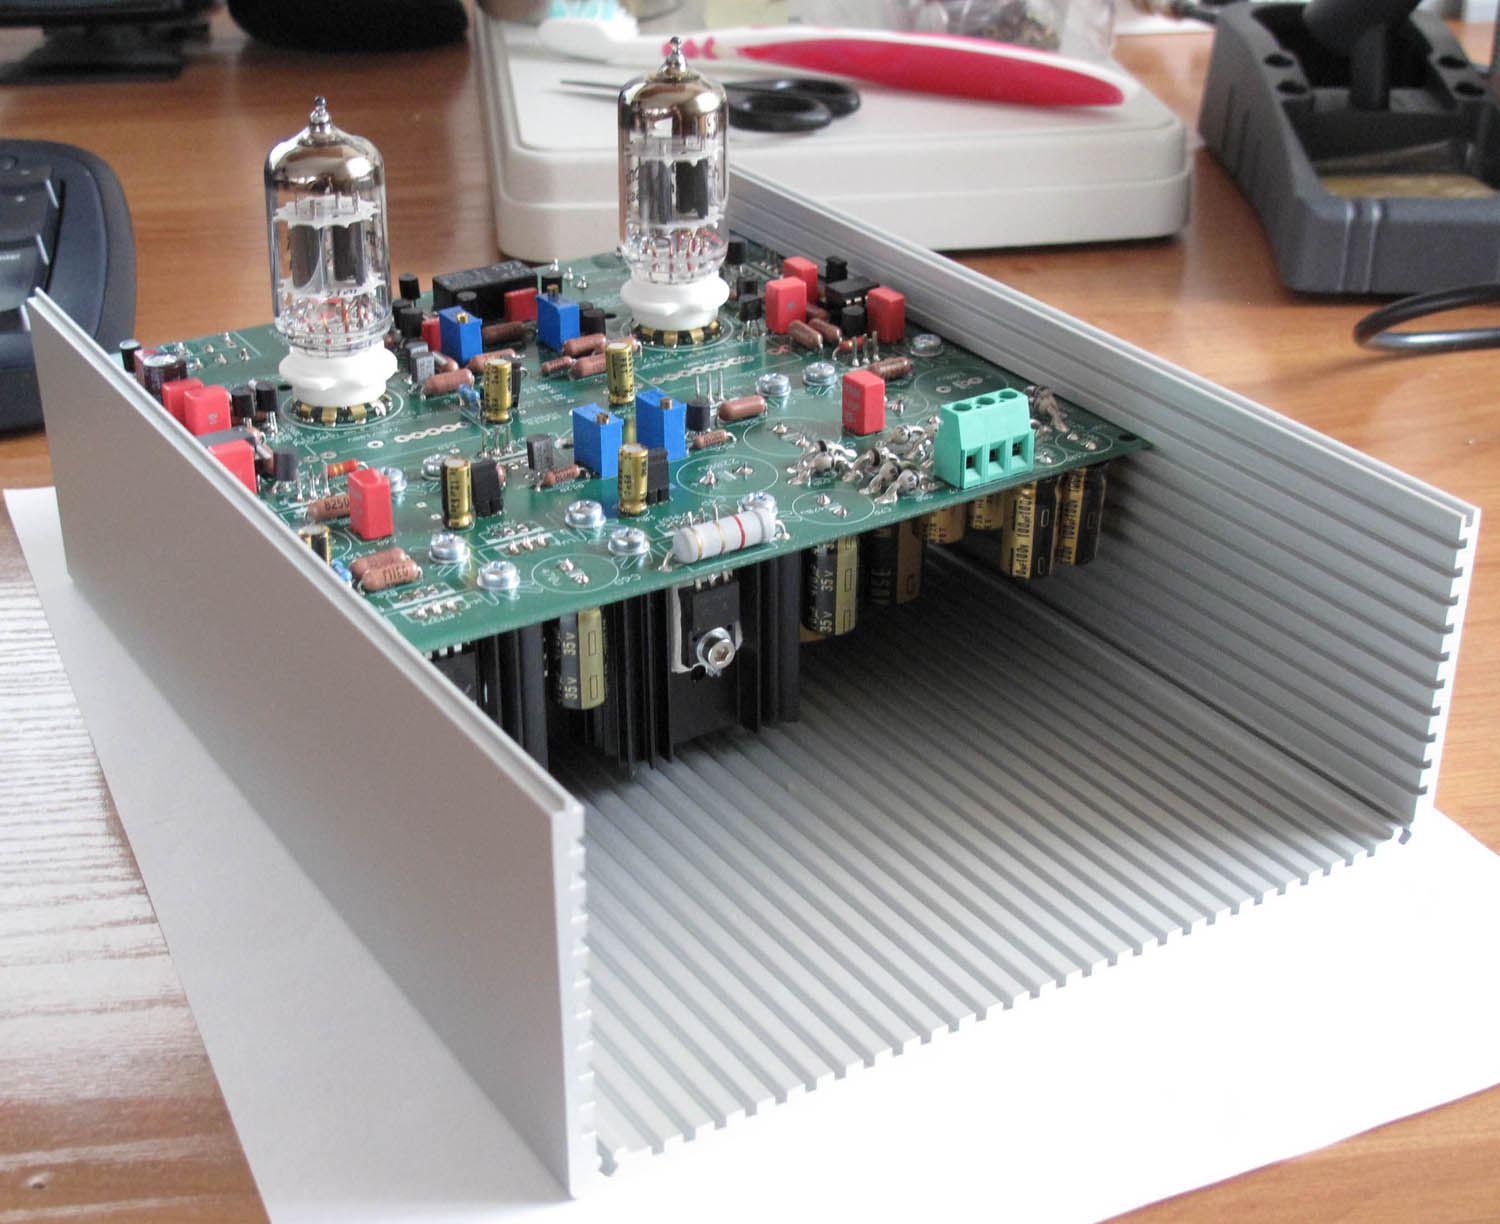
Nothing to do indeed but the same input stage, the same power supply, the same buffer (minus the ccs) and the same servo
wink.gif
I see your point though. I'm gonna try.
 
Oct 25, 2009 at 9:53 AM Post #1,082 of 1,694
Having pS problems. With no jumpers installed I blow fuses. If I remove the LV- regulator I don't blow the fuse. Also LM337 is putting out 0V and R3P is getting very hot. I can find no shorts. Voltage at the rectifier D5P is 15V. The High voltage reg is putting out a good 120V.

All evidence points to a bad LM337 and 7918, but I can find no shorts and would like to know why they died.


Edit - put in a new LM337 that I had and same rsult 0V and R3P smoking hot. The odd thing is C6P and C7P measure as shorts when in the circuit but fine when pulled out.

Must be a rectifier diode have now idea how to tell which one, is there a schematic with the voltages market at the diodes?


Tested the rectifier diodes with my fluke and they are shorted, I did have one making contact with a cap casing.
 
Oct 25, 2009 at 3:20 PM Post #1,083 of 1,694
First thing would be to check the orientation of the vertical diodes. All cathode stripes should be away from the board. Is this all true??

Then the orientation of C6 and C7 since it's a negative regulator.

If these are ok we'll find other tests to make.
 
Oct 26, 2009 at 1:11 PM Post #1,086 of 1,694
Quote:

Originally Posted by runeight /img/forum/go_quote.gif
I hate to ask, but you got the right regs in the right spots?

And tubes are out, jumpers are not inserted?


Yes all right regs in right places, no jumpers but I do have the heater selectors in. I checked all the rectifier diodes with the fluke again and all gave a good reading. On the LM337 circuit all caps and resistors are right but I measure 1.8kOhm between #4 and #5 pin of the R tube socket (no tube insterted).

Again powering up with 7815 blows a fuse, pulling 7815, no fuse blows but the dropping resistor gets real hot and LM377 puts out 0V (second one I tried.)

What voltages should I be reading before and after the rectifiers ?

Edit: I believe I have found something. After the dropping resistor R3P there is a short. When I measure across C5P or C7P short. No short after the LM337. So do you think I have bad caps or a short in the board somewhere?


.
 
Oct 26, 2009 at 2:14 PM Post #1,087 of 1,694
Pulled the LM337 and no short on the heater circuit, so somehow I have blown up two LM337's, maybe not letting the B+ bleed long enough before poking around. Although I haven't dived deep into the 7915 circuit.


Edit: The LM337 tested fine out of the circuit, must have been poor isolation from the bastardized heatsink. We should probably change the Digikey heatsinks on the BOM, they are trouble because you have to drill the hole unless you have some clip that no one knows the part # for.
 
Oct 26, 2009 at 4:50 PM Post #1,089 of 1,694
Quote:

Originally Posted by runeight /img/forum/go_quote.gif
Sorry about the Digikey problem. Since I used the Mouser parts I didn't catch it.

Do you think this will fix the problem?


I'm sure it will fix the LM337 circuit, I think with the 7915 in it was shorting 'cause the Lm337 was basically pulling a ton of current to ground and the 7915 broke the camels back (fuse). Will put everything back together tomorrow.

Glad you have all the jumpers to separate sections, or I would have surely blown up the rest of the amp.
 
Oct 26, 2009 at 5:14 PM Post #1,090 of 1,694
I had a similiar problem as regal has. The LM337 back matal is Vin pin, and the heatsink is to ground from its leg. You need a sleeve to isolate the screw/net to the heatsink.

Try the LM337 without heatsink first.
 
Oct 28, 2009 at 2:19 PM Post #1,091 of 1,694
I got the LM337 circuit working with a new LM337 and a better sleeve, unfortunately the 7915 regulator is getting 25V and puts out 25V so I think that one is shot, I have a new one on order.


When you drill these heatsink use one size larger drill bit than the knob.
 
Oct 28, 2009 at 11:17 PM Post #1,094 of 1,694
Quote:

Originally Posted by Ferrari /img/forum/go_quote.gif
To drive the analogue VU meters, I used the driver circuit as depicted below. The working of this driver circuit is very simple: the amplifier around T1 and T2 amplifies the line level signal to the desired level, the signal is then passing through the rectifier diodes D1 and D2. C4 smooth out the signal a bit before the signal is feeding to the VU meter.

Before use, an adjustment needs to be made.
Connect the circuit + VU meter to a function generator which output a 1KHz signal, ~300mV.
Dial P1 to its minimum (R=0), then dial P2 until the VU meter is reaching its maximum.
Next, turn P1 up until the VU meter is at ~ 50% of its total range (12 o’clock).

Depending on the level of the input signal (SACD player, DAC…), you might have to re-adjust P1 to get a proper reading of the VU meter.
For stereo application, 2 driver circuits are needed.
smily_headphones1.gif


Afbeelding645.jpg


Hi,

Is this a circuit you have actually used or is it just theory?

Why im asking is ive just built this one up for my VU meters & it works great except for the fact that upon power up this circuit creates a nasty spike on the meters throwing them over to full deflection.

I have tried everything I know (which isnt a lot I must admit) but cant fix this, ive even tried them from a seperate voltage source incase it was that, but still no luck, the throwing over of the meters probably wont cause any damage as its so short, but it looks bad.
 
Oct 29, 2009 at 12:04 AM Post #1,095 of 1,694
Quote:

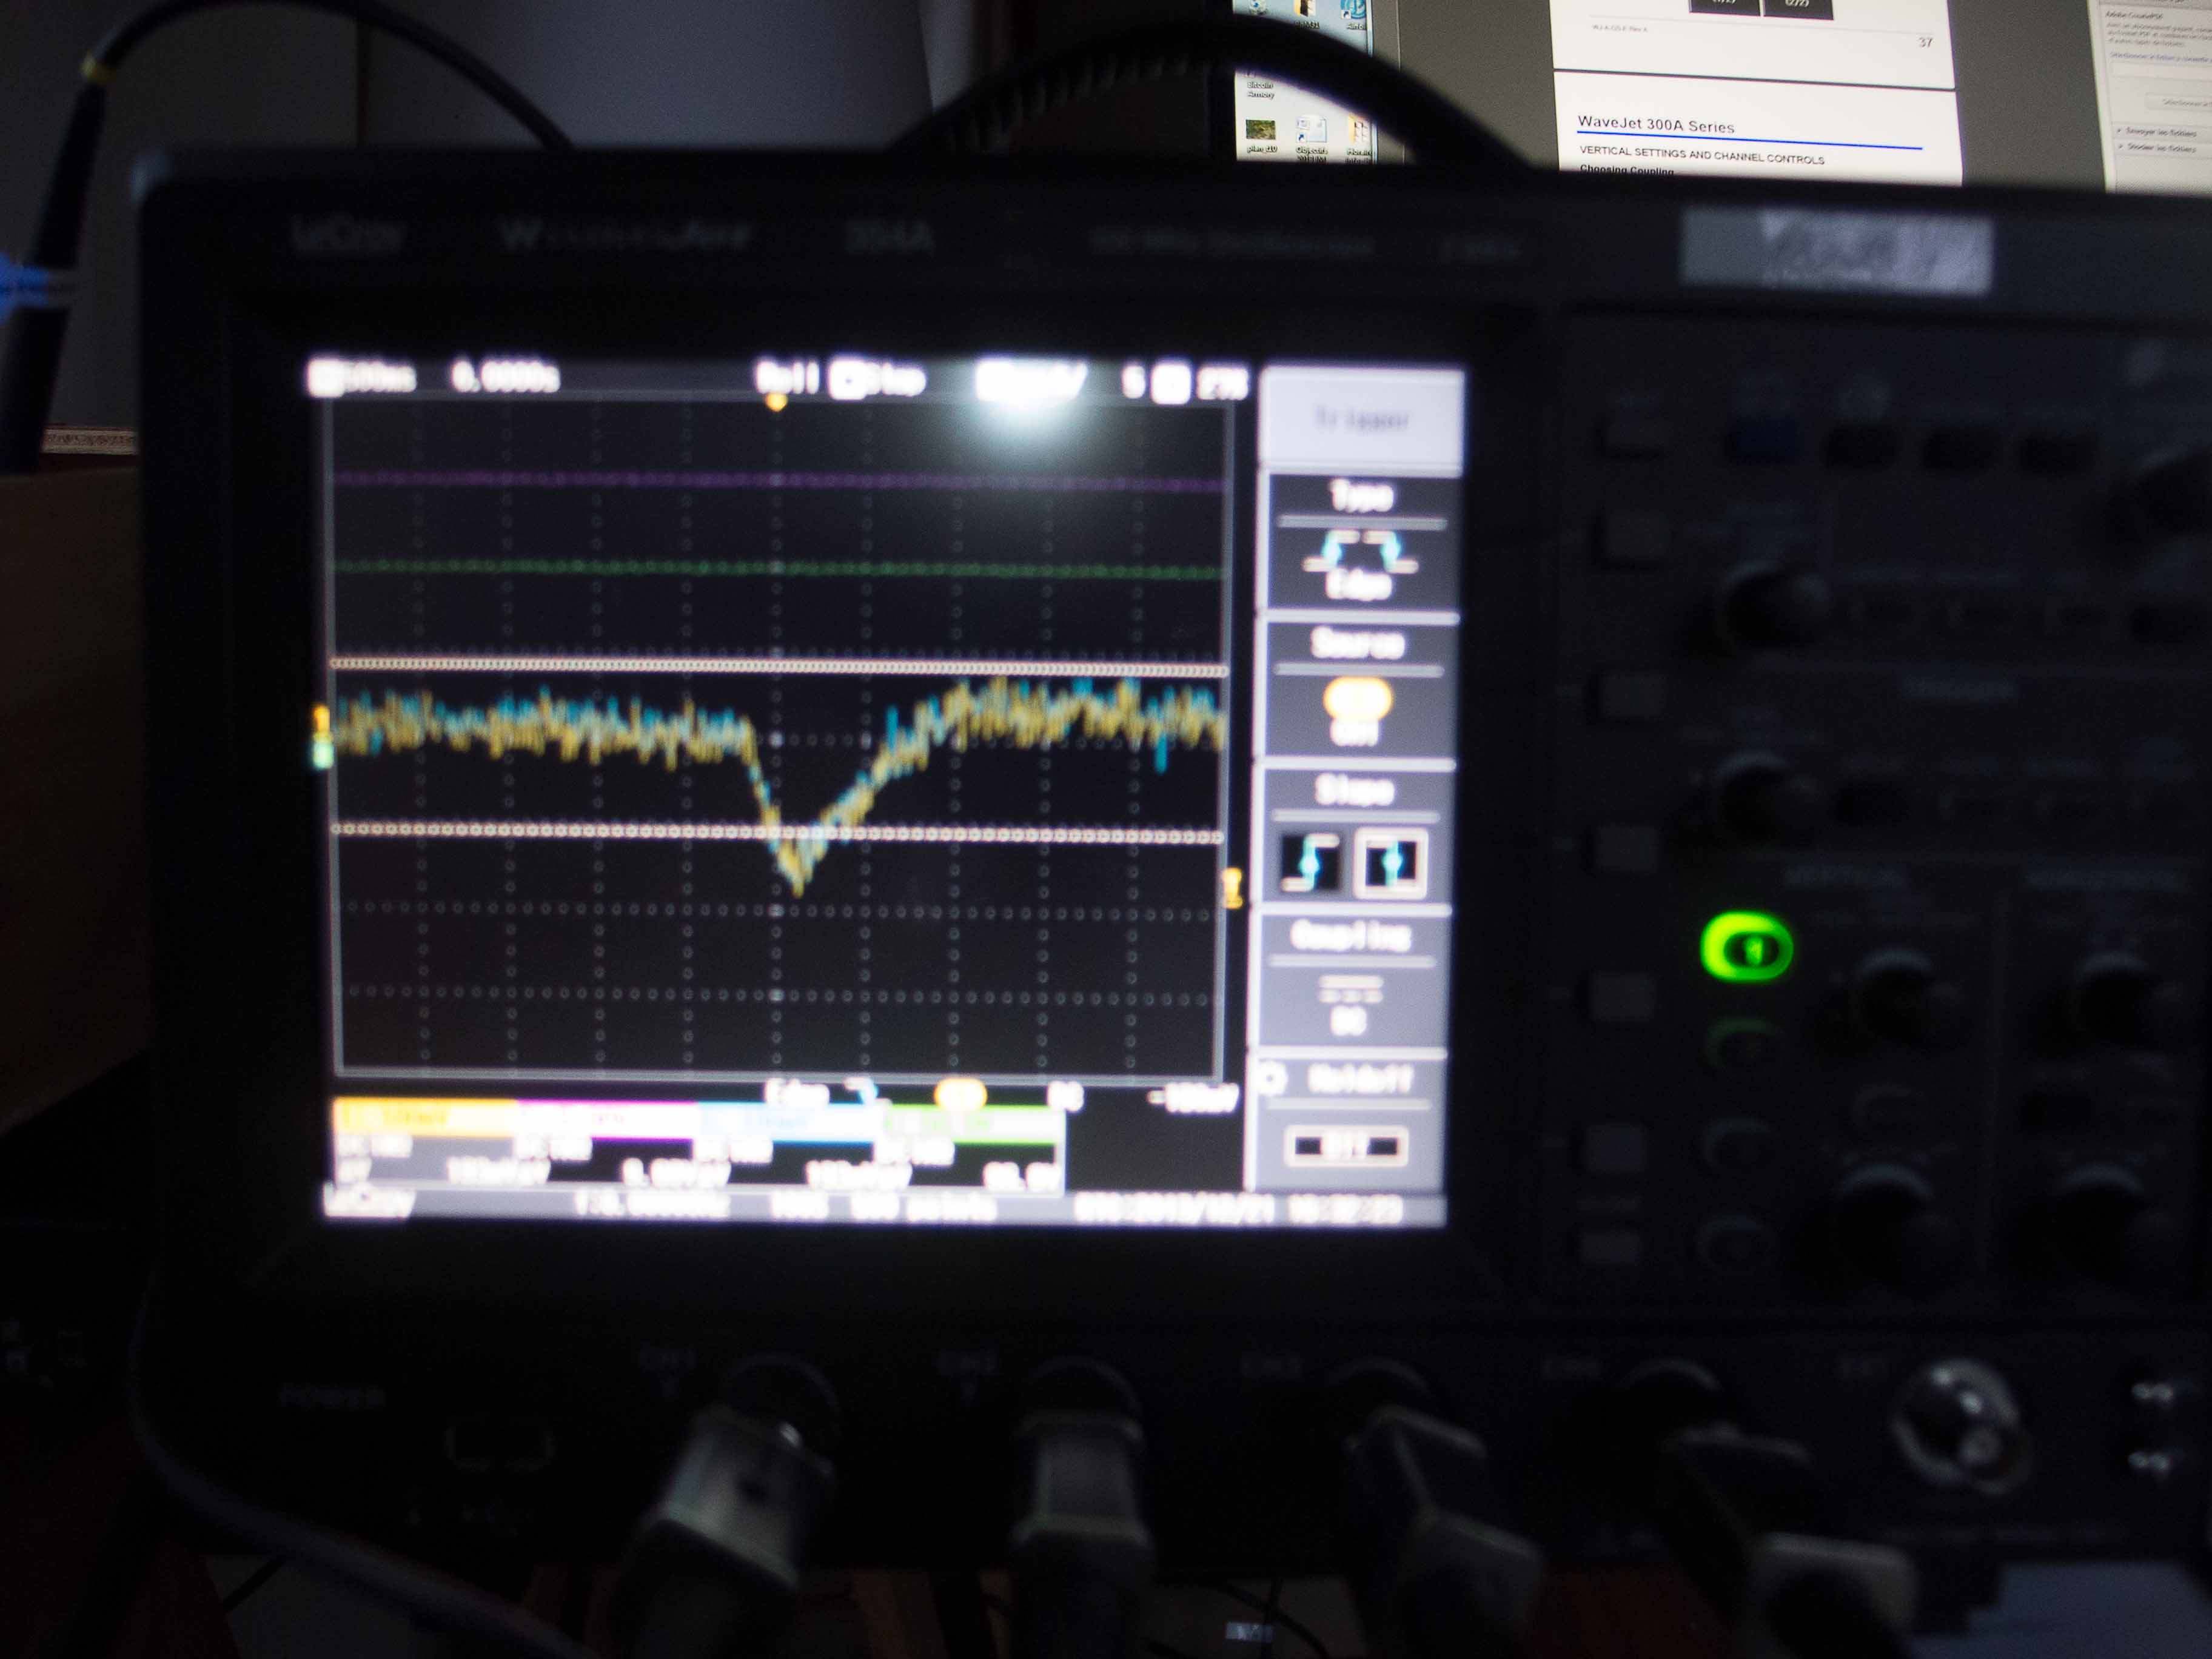
Originally Posted by runeight /img/forum/go_quote.gif
Measure the voltages at all the pins of the opamp. Let's see what we have there.


TL081

Pin
1 11.72V
2 0V
3 0V
4 -12.04V
5 0V
6 0V
7 11.96V
8 11.72V
 

Users who are viewing this thread

Back
Top