PSU for Bravo Amplifier
Jan 22, 2010 at 7:39 AM Thread Starter Post #1 of 10

brendon

100+ Head-Fier
Joined
Apr 7, 2009
Posts
474
Likes
13
Ok, creating this thread for the benifit of all Bravo tube amp users who want to upgrade their PSU to something better.

Please post if you have successfuly upgraded your PSU and from where you bought it from.

A head-fi member hi-flight has been gracious enough to post a link to a similar PSU to the one he is using with the Bravo amp. -

US Digital | Products » PS-24 Regulated Switching 24 V (2.5 A) Power Supply

Others please post any other links to PSUs that work with the amp as shipping is more expensive than the PSU in the above link.
frown.gif
 
Feb 27, 2010 at 8:13 PM Post #2 of 10
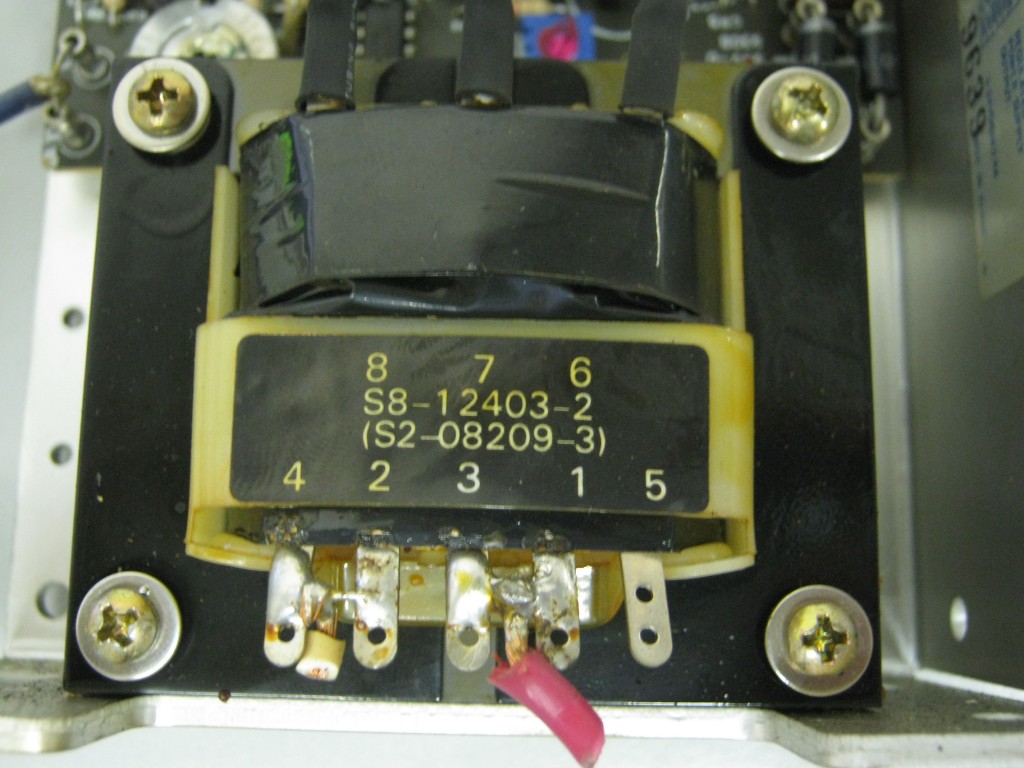
I upgraded my Bravo v1 Power Supply using a "Sola 24VDC SLS-24-024" 2.4 amp Power Supply that I bought on ebay.

I mounted it inside of an old Computer Power Supply case that I gutted out. After running for hours this Power Supply barely even gets warm.

It really improved the sound quality dramatically. My Bravo v1 now has much deeper fuller Bass and more powerful (pun intended) overall sound.

Source: Creative Audigy2 SB0240
Headphones: Grado SR60
smily_headphones1.gif

Tube: Amperex Bugle Boy 6DJ8 made in Holland
 
Feb 28, 2010 at 2:57 AM Post #3 of 10
I've also used that Sola 24V 2.4A linear supply and it made a big difference.
They can be found pretty cheap on Ebay, just have to case them up in something.

-Mike
 
Feb 28, 2010 at 4:21 AM Post #4 of 10
more info on the solo power supply, pics? is this a DIY project?
 
Mar 1, 2010 at 12:19 PM Post #5 of 10
^^ Seconded ! Some more info please.
smily_headphones1.gif


Sounds promising.
 
Mar 1, 2010 at 1:34 PM Post #6 of 10
This is the model that I bought - there are tons of them available in all different ratings. I went with the 2.4A, figuring I could case it up and also use it for other DIY amp projects.

Sola SLS-24-024T Power Supply

Eventually I'll put it in a nicer case, but for now, I picked up a combo power inlet/fuse/switch from mouser for < $10, an inexpensive ABS instrument case and a 2.1mm power plug. The rest of the parts I had in my bin... wired it all up and it works great.

One thing of note with this PSU, if you read the fine print, to get the full 2.4A rating, it needs fan cooling, so the most you'd see out of it with passive cooling is, IIRC, about 2A, which is still more than enough for the Bravo.

-Mike
 
Mar 1, 2010 at 2:20 PM Post #7 of 10
so im assuming some soldering is required......to some sort of power cable that , and to the cable that goes to the bravo......sorry it still remains unclear to me whats all involved


347456482_o.jpg
 
Mar 1, 2010 at 3:34 PM Post #8 of 10
The link I sent was just an example... the one I purchased didn't have any cut wires like that. There's a terminal strip along the side of the power supply and a label that explains which screws to connect to for which input voltages (it works with 110-230vac depending on how it's wired up), as well as two connections for the 24VDC output voltages. If you go this route and the PSU has no label, there's a manual and a data sheet available that show the connections.

Here's another one on Ebay that has all of the wiring intact: Sola SLS-24-024T

Here it is brand-new at Mouser, along with a link to the data sheet: New Sola SLS-24-024T

There's definitely some DIY involved, and I would suggest that if you're not comfortable around mains voltage AC, something pre-built might be a better bet, as it does require some caution when working with the PSU.

In my case, I took the PSU and the enclosure, drilled out mounting holes in the enclosure that matched up with the holes on the PSU frame, mounted the PSU with standoffs. Cut out the required holes in the enclosure for the power entry/switch/fuse module and the DC out cable.

The power entry module connections were done with crimp terminals, the connections on the PSU were using the screw-down terminal strip. There was some soldering for the DC power plug, but technically, you could even cut the plug/wire from the existing Bravo PSU wall wart and as long as you have the polarity correct, wire that to the output terminals on the Sola PSU.

Once the wiring is done, test everything with a meter to make sure that you're getting the expected voltage and polarity on the outputs and it should be good to go.

I'd also suggest either drilling out the top shell of the enclosure for ventilation, or finding one that's already got vent holes/slots.

-Mike
 
Mar 2, 2010 at 5:10 AM Post #9 of 10
i see, so there is some power interface connections are required, as i thought. Do you have pics of yours?
 
Jan 20, 2017 at 5:28 PM Post #10 of 10
curious if anyone else os running an upgraded power supply on their bravo amp?
 

Users who are viewing this thread

Back
Top