New Millett Hybrid Maxed Amp
Jul 18, 2010 at 1:31 PM Post #6,137 of 6,727
I ordered the board :)
 
What OUTPUT STAGE should I use???
 
 
Also are there any step by step pictorials ???
 
I need a little more help than I am finding @DYI
 
I have seen some good ones on other stuff and I am a metal worker and electronics is not my strong suite..
 
If there is not one I would like to make one as I have some graphics and web design skills better :)
In the 80s I made a lot of the hardware parts for the Global Positioning Satellite and Aegis Radar Systems..
I even worked at Keystone Camera and over seen the operation of the wave solder machine but that dosen't help me stuff the board with correct parts :)
 
Any help greatly appreciated :)
 
Jul 18, 2010 at 2:06 PM Post #6,138 of 6,727


Quote:
I ordered the board :)
 
What OUTPUT STAGE should I use???
 
 
Also are there any step by step pictorials ???
 
I need a little more help than I am finding @DYI
 
I have seen some good ones on other stuff and I am a metal worker and electronics is not my strong suite..
 
If there is not one I would like to make one as I have some graphics and web design skills better :)
In the 80s I made a lot of the hardware parts for the Global Positioning Satellite and Aegis Radar Systems..
I even worked at Keystone Camera and over seen the operation of the wave solder machine but that dosen't help me stuff the board with correct parts :)
 
Any help greatly appreciated :)


http://www.diyforums.org/MAX
http://www.diyforums.org/MOSFET-MAX
smile.gif

 
Jul 18, 2010 at 3:58 PM Post #6,139 of 6,727


Quote:
I ordered the board :)
 
What OUTPUT STAGE should I use???
 
 
Also are there any step by step pictorials ???
 
I need a little more help than I am finding @DYI
 
I have seen some good ones on other stuff and I am a metal worker and electronics is not my strong suite..
 
If there is not one I would like to make one as I have some graphics and web design skills better :)
In the 80s I made a lot of the hardware parts for the Global Positioning Satellite and Aegis Radar Systems..
I even worked at Keystone Camera and over seen the operation of the wave solder machine but that dosen't help me stuff the board with correct parts :)
 
Any help greatly appreciated :)


As Tom mentioned, the DIY Forums have a couple of very thorough guides for both the BJT and MOSFET Max boards. Thanks to the effort of the Max team, you can build a Max pretty easily just by following the bill of materials and the silkscreen on the board. The "regular" Max site has some helpful information about the actual populating of the board, and the MOSFET Max site has some valuable info about certain tweaks made to the new 1.2 MOSFET version of the amp. I'd suggest reading through both of those sites, as well as the current bill of material to get an idea for what you're in for. You can also search through this thread (using the "Search this thread" button) if you have any particular questions. Or you can just ask, and I'm sure someone will be happy to answer you. I've built both the first production version of the BJT Max and the latest version MOSFET Max, and they both sound pretty dang good. The MOSFET version runs a little hotter and requires the taller heat sinks, so part of the decision depends on how you want to case the amp up. Anyway, check out the sites that Tom put together, there's a ton of valuable information there, and in this thread. Happy building!
 
Jul 18, 2010 at 6:37 PM Post #6,140 of 6,727
  
[size=10pt]I have checked the pages and don’t see a guide or how to, am I missing something some place ????[/size]
[size=10pt]I am unsure what to order as I see some things are optional but can't find why or where there is a note on options...[/size]
 
[size=10pt][size=10pt]Before ordering I should have found a better GUIDE [/size][size=10pt]L[/size][/size]
 
 
Jul 18, 2010 at 6:51 PM Post #6,141 of 6,727


Quote:
  
[size=10pt]I have checked the pages and don’t see a guide or how to, am I missing something some place ????[/size]
[size=10pt]I am unsure what to order as I see some things are optional but can't find why or where there is a note on options...[/size]
 
[size=10pt][size=10pt]Before ordering I should have found a better GUIDE [/size][size=10pt]L[/size][/size]


Ok, well, this is a pretty good walk-through of the build process for the PCB itself:
 
http://diyforums.org/MAX/MAXconstruction.php
 
That, along with some common sense, will get you pretty far.
 
Are you going to build a BJT Max or MOSFET Max? If you're building the MOSFET version, use the Mouser section of this BOM:
 
http://diyforums.org/MOSFET-MAX/MOSFET-MAXbom.php
 
For some of the miscellaneous parts you will need to order from Beezar.com or AMB's shop, or source them yourself from other places such as Parts Connexion or Handmade Electronics.
 
I can't see how you could still have too many questions about how to get started after reading through those two links. This project has been going on for over 3 years now, and is very well documented by the guys who created the Max, so give those resources a thorough reading before you complain about needing a "better guide".


Jul 18, 2010 at 8:27 PM Post #6,142 of 6,727
I have been reading the link below.....
http://www.diyforums.org/MOSFET-MAX/MOSFET-MAXoverview.php
 
I thought this link  http://diyforums.org/MAX/MAXconstruction.php was a different build ???
 
I was reading the quote below and was stumped as to what option to pick..
As well notes on order list had a few options and notes to reference that I could not find on the order page...
 
 
Quote:
 NOTE: You must decide which output stage to use - either BJT Diamond Buffer or MOSFET Diamond Buffer. You cannot build both. Please refer to the original

 Pretty much everything after that was like saying blah blah blah to me...
After reading it all twice I never did see discripton of what was different, that a layman could understand or the writer gave there opinion what to choose...  Let me say I am disbaled due to a failed back surgery and also suffer from depression and it is very hard for me to read things I understand let a lone things I dont :)
I do not mean to inslute in any way as I have my own website and often what I write gets lost from my mind to my fingers to the page...  I am in way over my head what I am reading and just dont find in the navagiation bar links of the link I was sent the info I need.......
 
I'll check the other link you posted and maybe it will make sense...
 
 
Jul 18, 2010 at 8:38 PM Post #6,143 of 6,727
The first link you posted is for the current version of the Max PCB, which is 1.2, the one you ordered from Beezar.com. The board itself can be populated with one of two output stages, the BJT version or MOSFET version, although the general opinion is that if you are populating the larger 1.2 board, build it as a MOSFET version, and if you want to build a BJT version, get the MiniMax kit from Beezar. This might be a better option for you because, as far as I know, it includes pretty much every thing you need and the transistor matching is done for you, it even includes a very nice machined case. This will help a lot in ordering/managing/sorting parts, which in itself can be a pretty big project. I know you've already ordered a 1.2 board, but if you get in touch with Tom "TomB" he might be able to figure something out for you if you wanted to switch to a MiniMax kit. I don't mean to put words in his mouth, though, and he may or may not be able to do anything for you. I hope that helps.
 
Jul 18, 2010 at 8:52 PM Post #6,144 of 6,727
Rarebear, I have to agree with Tbomb06, the miniMax kit might be a better match as it includes all you need to build the amp, including the casework.

That being said, it will not help you bias/setup the amp properly. For that, you will have to be able to read and comprehend the various pages on the miniMax site if you want any chance at a successful build.

Perhaps you should reconsider the build. You can buy a pre-built miniMax from Whiplash Audio (a site sponsor). There will be no surprises going that route.

Just a thought.
 
Jul 18, 2010 at 9:34 PM Post #6,145 of 6,727
Well I can read, I just can't stay focused longed (say 30 mins max)
 
Last year I took a online class on how to repair a 25 jewel watch, this year looks like building some electronics I hope...
 
I'll try some more reading :)
 
Case work is my strong suite

 
PS: Thanks T Bomb for telling which option to use :)
 
Quote:
 general opinion is that if you are populating the larger 1.2 board, build it as a MOSFET version


You can see some pics of how I made the case @facebook
http://www.facebook.com/album.php?id=1642539189&aid=2024851&s=20&hash=3541bc47752af4de9c7c017f06ac4b67#!/album.php?id=1642539189&aid=2024851&s=0&hash=46bc8b2b0525d40e260977874f219fc0
 
Jul 19, 2010 at 1:18 AM Post #6,146 of 6,727
You're definitely welcome. The Max will probably be a bit of a challenge for you, I know the first one I built wasn't without its fair share of problems. My advice would be to try and break the web sites down into sections, and try to digest them a piece at a time before moving on to the next. Also, have a good plan in place before you start building to avoid any issues that might pop up during the build process. It might look something like this:
 
1. Determine your build's bill of materials. I'll run you through the optional/commented sections to the best of my knowledge.
 
a. Decide on boutique caps (Vit Q's from Beezar, Elna Silmic II's from Handmade, etc.)
 
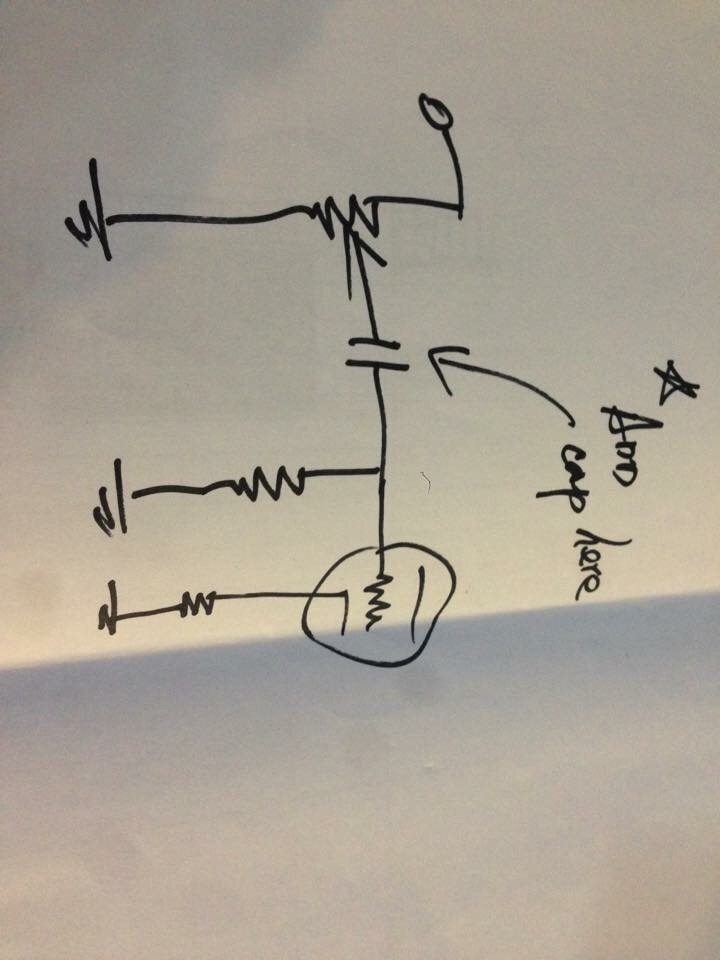
For example, on my build, I chose to use .22uF Vitamin Q caps from Beezar for my CA8L/R positions, and 1000uF Elna Silmic II's for CA2L/R and CA7L/R. The other film caps are all Wima's like on the standard BoM.
 
b. Buy and match the 2N5087 and 5088 small transistors. As the comment in the BoM states, you'll want to buy at least 50 of them, and a cheap meter from Harbor Freight that lets you measure the HFE of the transistors to match them closely. This is documented on the Max site as well.
 
c. R1 10ohm 1W heater resistor. Install this one, don't consider it to be optional.
 
d. Choose what color LEDs you want to use - Beezar.com has several to choose from.
 
e. If you want to use an on-board fuse, you'll need to plan accordingly and order the fuse clips and a 5x20mm 1A slo-blo fuse. Install a 3 position terminal block for the power so you can wire it to either use the fuse or bypass it if you wish.
 
Everything else is basically just an alternate part number, except for the heatsinks. Just get the 1.5" heatsinks otherwise you will have to run the MOSFETs at reduced current levels, which is not ideal. Stick to Mouser for most of your parts, get what you can from Beezar.com, and you might have to order your larger boutique caps from elsewhere if you wish to use them. I'd go ahead and get 5 of the heatsink mounting kits from Beezar for the VREG and your MOSFETs while you're at it. It won't hurt to order one or two extras of all your parts, especially the less expensive ones, in case one gets damaged for some reason or another.
 
2. Organize your parts as they come in. A HUGE benefit is to use the "custom part number" feature of Mouser's cart so that as you add an item to your cart, you can verify that it is what the BoM calls for, and then name it for the Part ID that it has on the BoM (So you'd type in "RA1L/R" for the 5K Ohm Trim Pot).
 
3. Plan ahead, and think about how the build will go. Arrange your parts by height, so you won't miss a small part that has be snuck in between some taller parts. If you want to go ahead and do the case work beforehand, go for it, or you can wait until you know you have a working amp.
 
4. If you want to remove the pin that holds the tube sockets together so the LEDs can shine into the tubes better, do that and use some epoxy to glue them back together the day before you plan to start building the board.
 
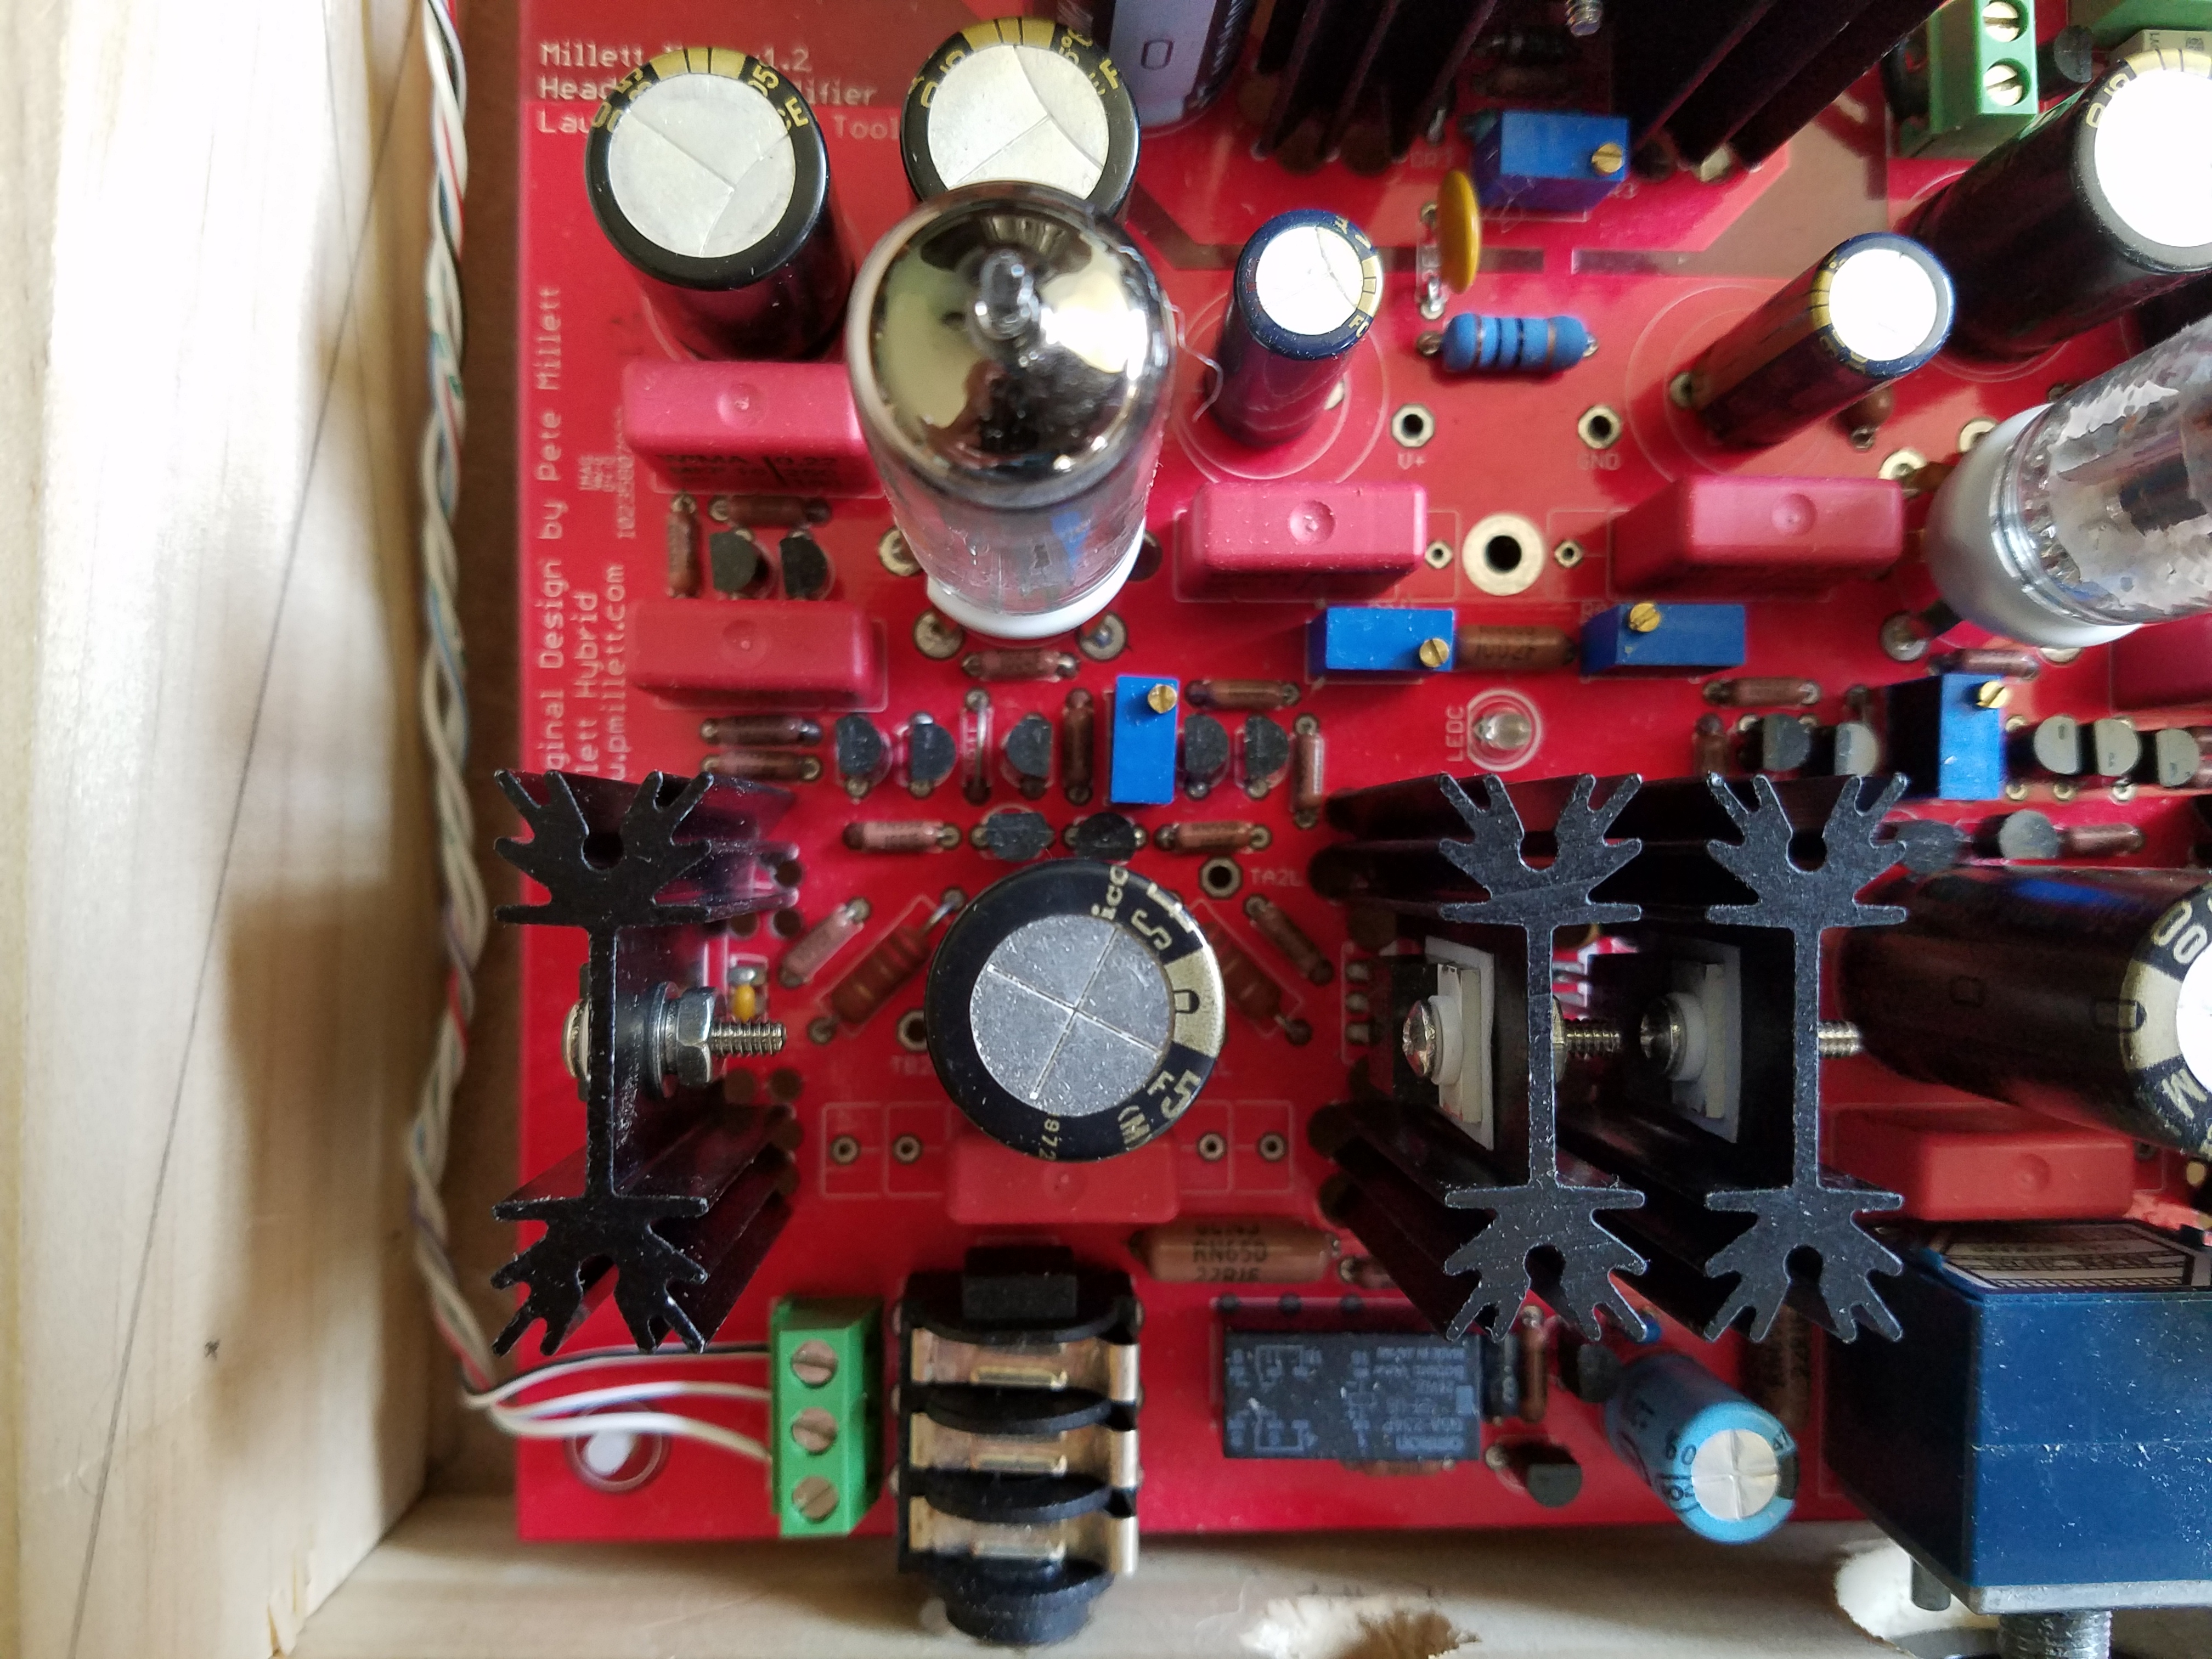
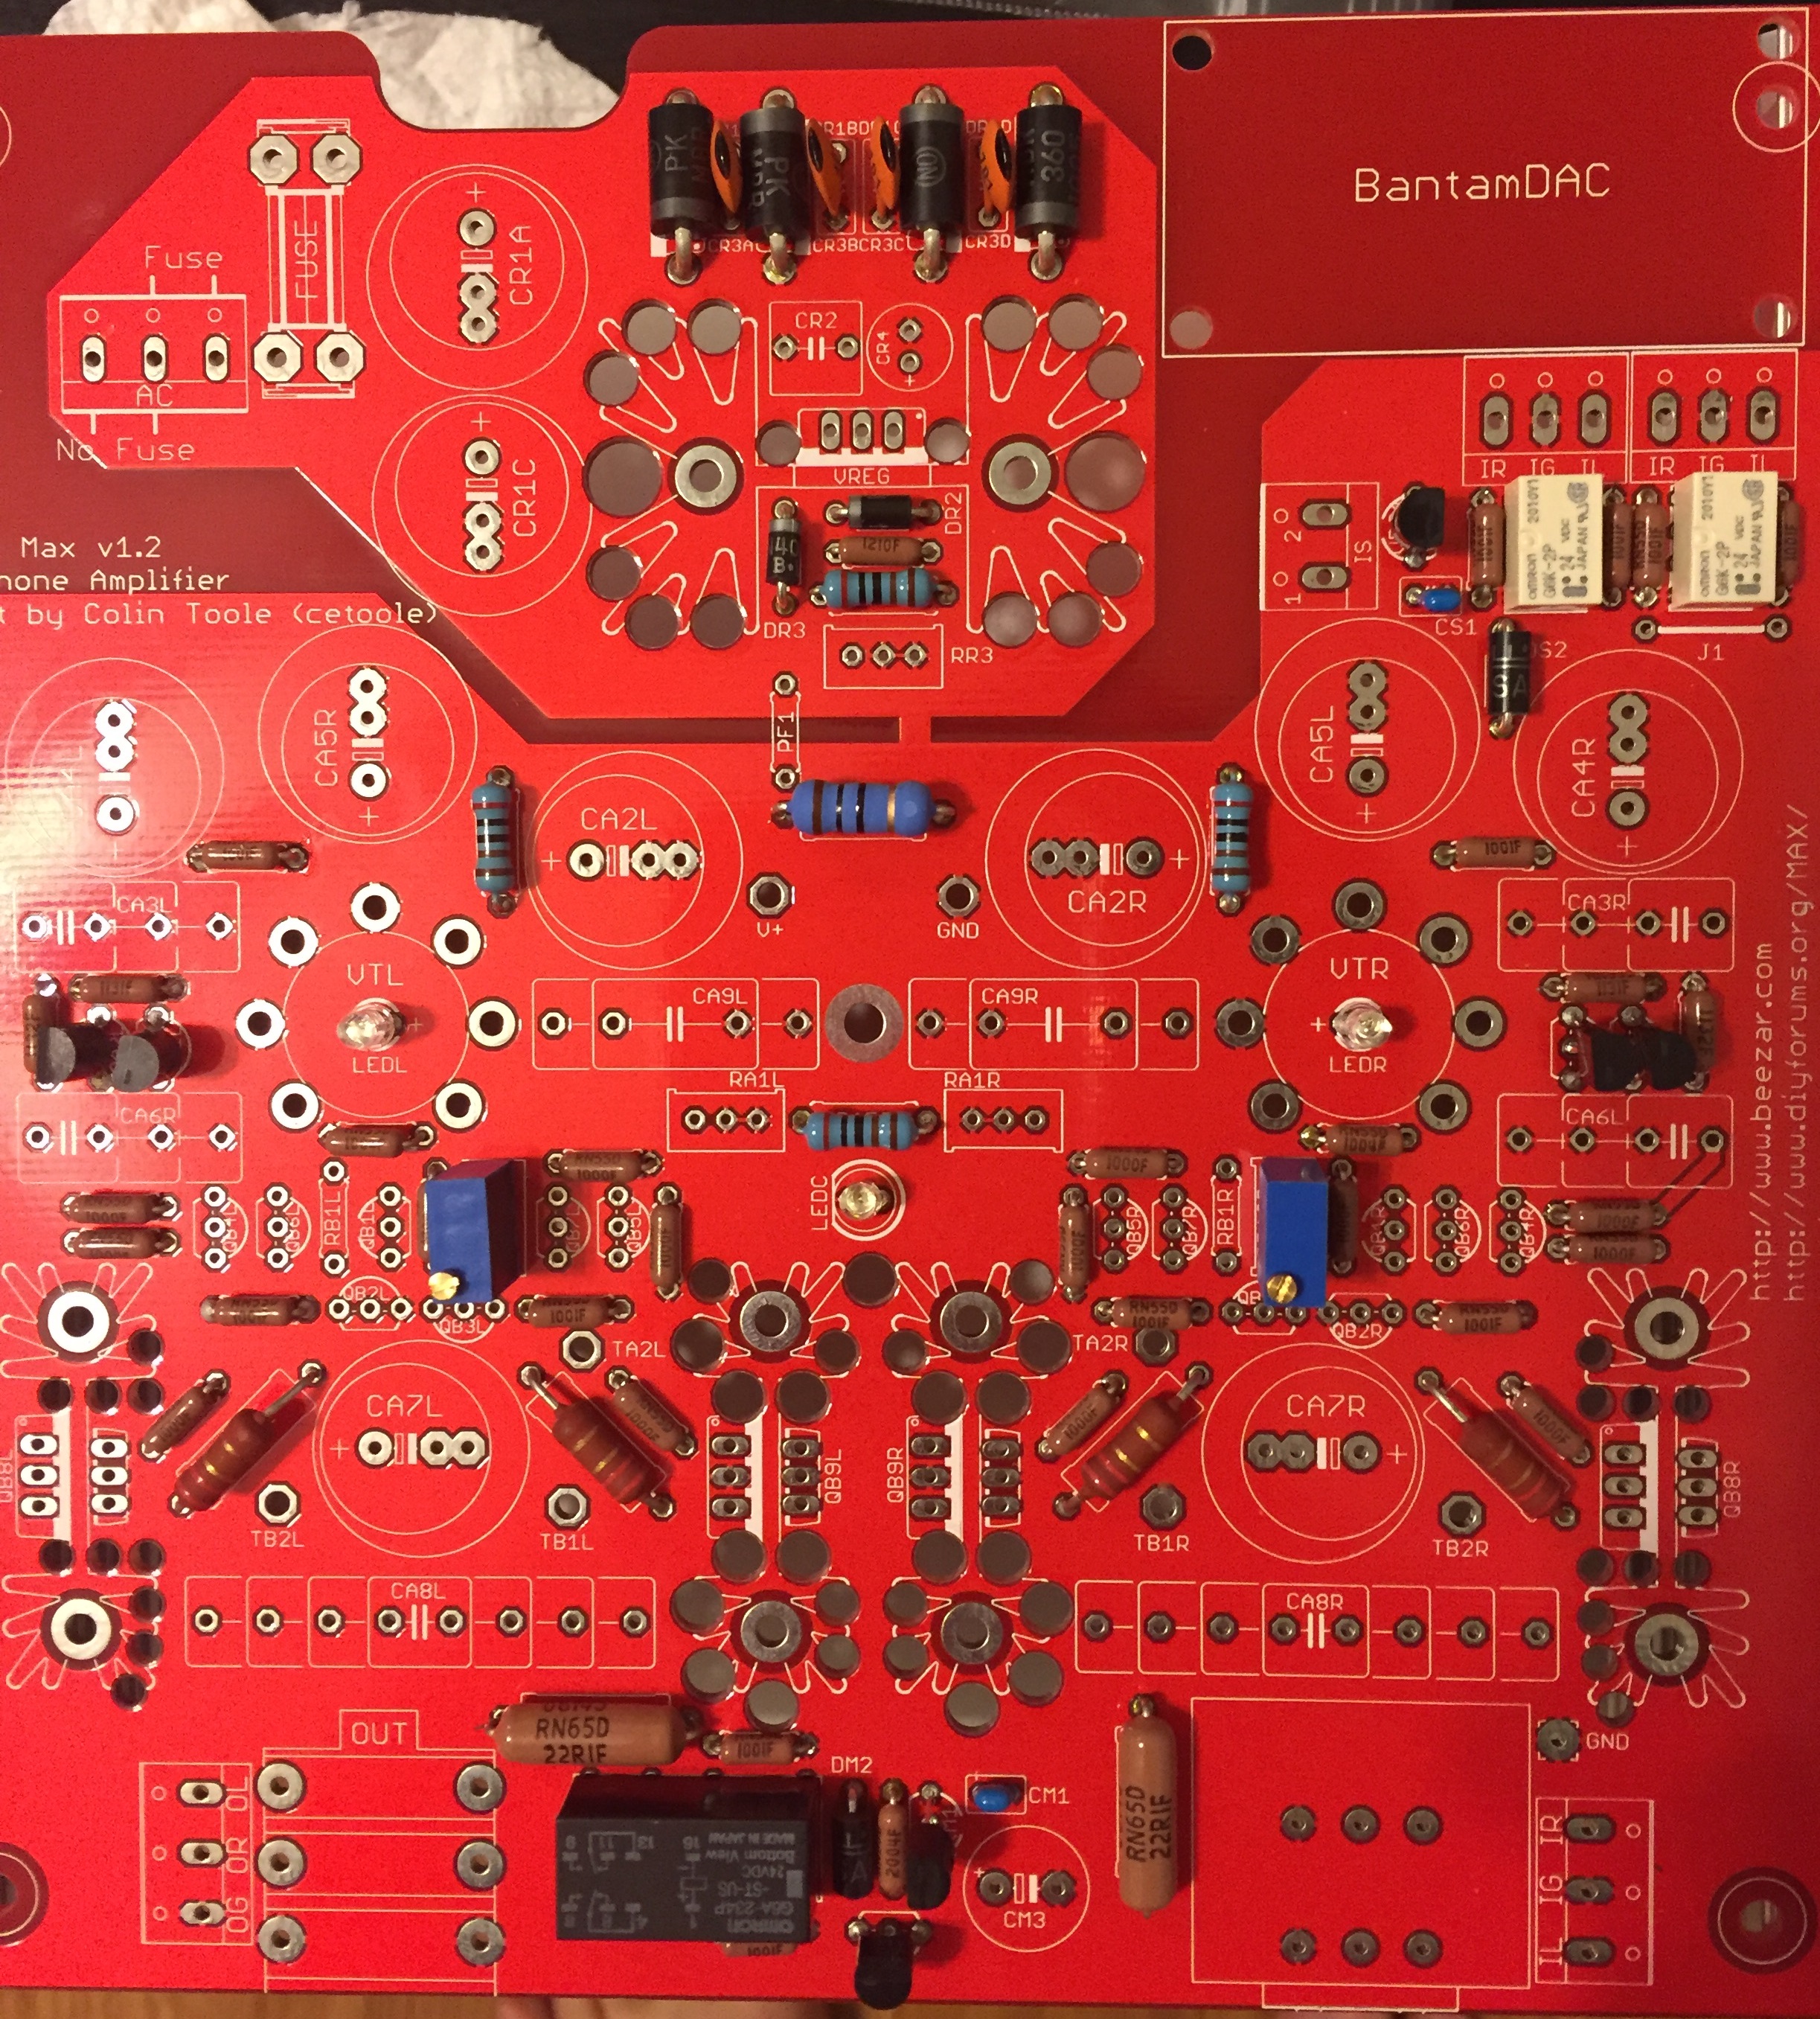
5. Populate the board, and check to make sure the proper parts are going in the proper places as you go. Again, the silkscreen on the board tells you the name of every part on the board, and how it should be positioned. You just have to make sure it's the right part. The more thorough you are, the more likely you are to have you board fire right up when you turn it on, and not catch on fire :wink:
 
6. Check everything again after you're done. Make sure you don't have any empty places on the board, make sure you don't have any parts installed backwards (other than the QB2/3 transistors, which is explained on the Max site). Check for any solder bridges or leads you missed. Clean up the bottom of the board to remove excess flux. Make sure your DB trimmers are turned all the way down before you fire it up.
 
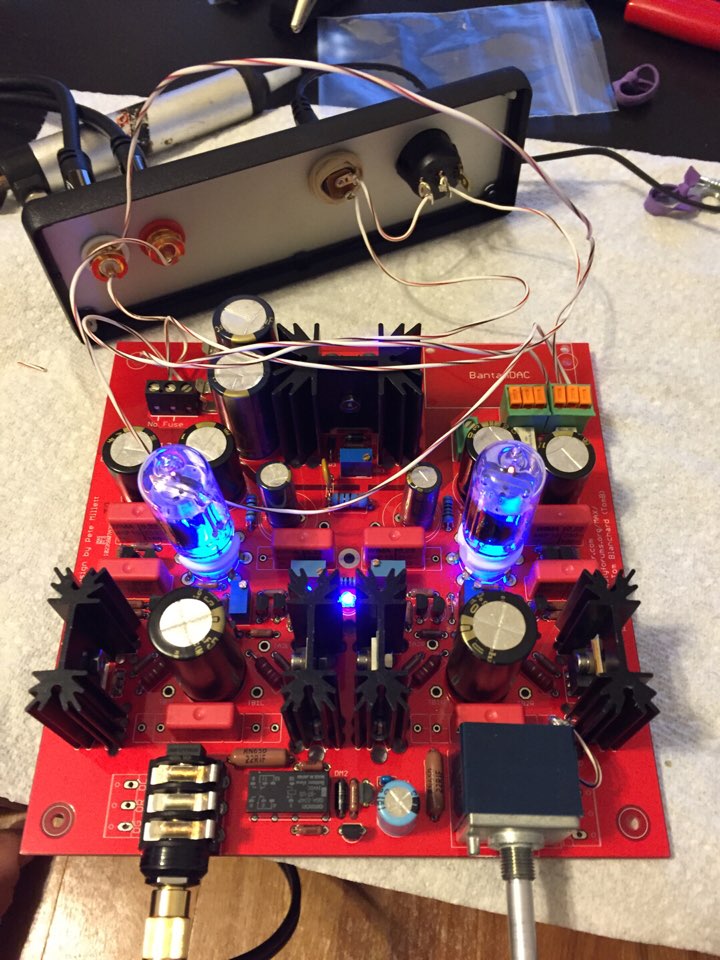
7. Temporarily wire up your power and turn it on. Observe for signs of smoke :wink:. Immediately check your DB voltage to make sure you aren't running too much through the buffers (in case you didn't get the trimmers turned down properly). If your DB voltage is nice and low (or 0) then go ahead and set your power supply voltage to 27VDC, then set your left and right tube bias to 13.5VDC each, then get to work on your DB voltage till you get it to around 175mv/80ma. Check to make sure nothing's getting overly hot. The heat sinks will get rather warm, but make sure no other parts are too hot or anything.
 
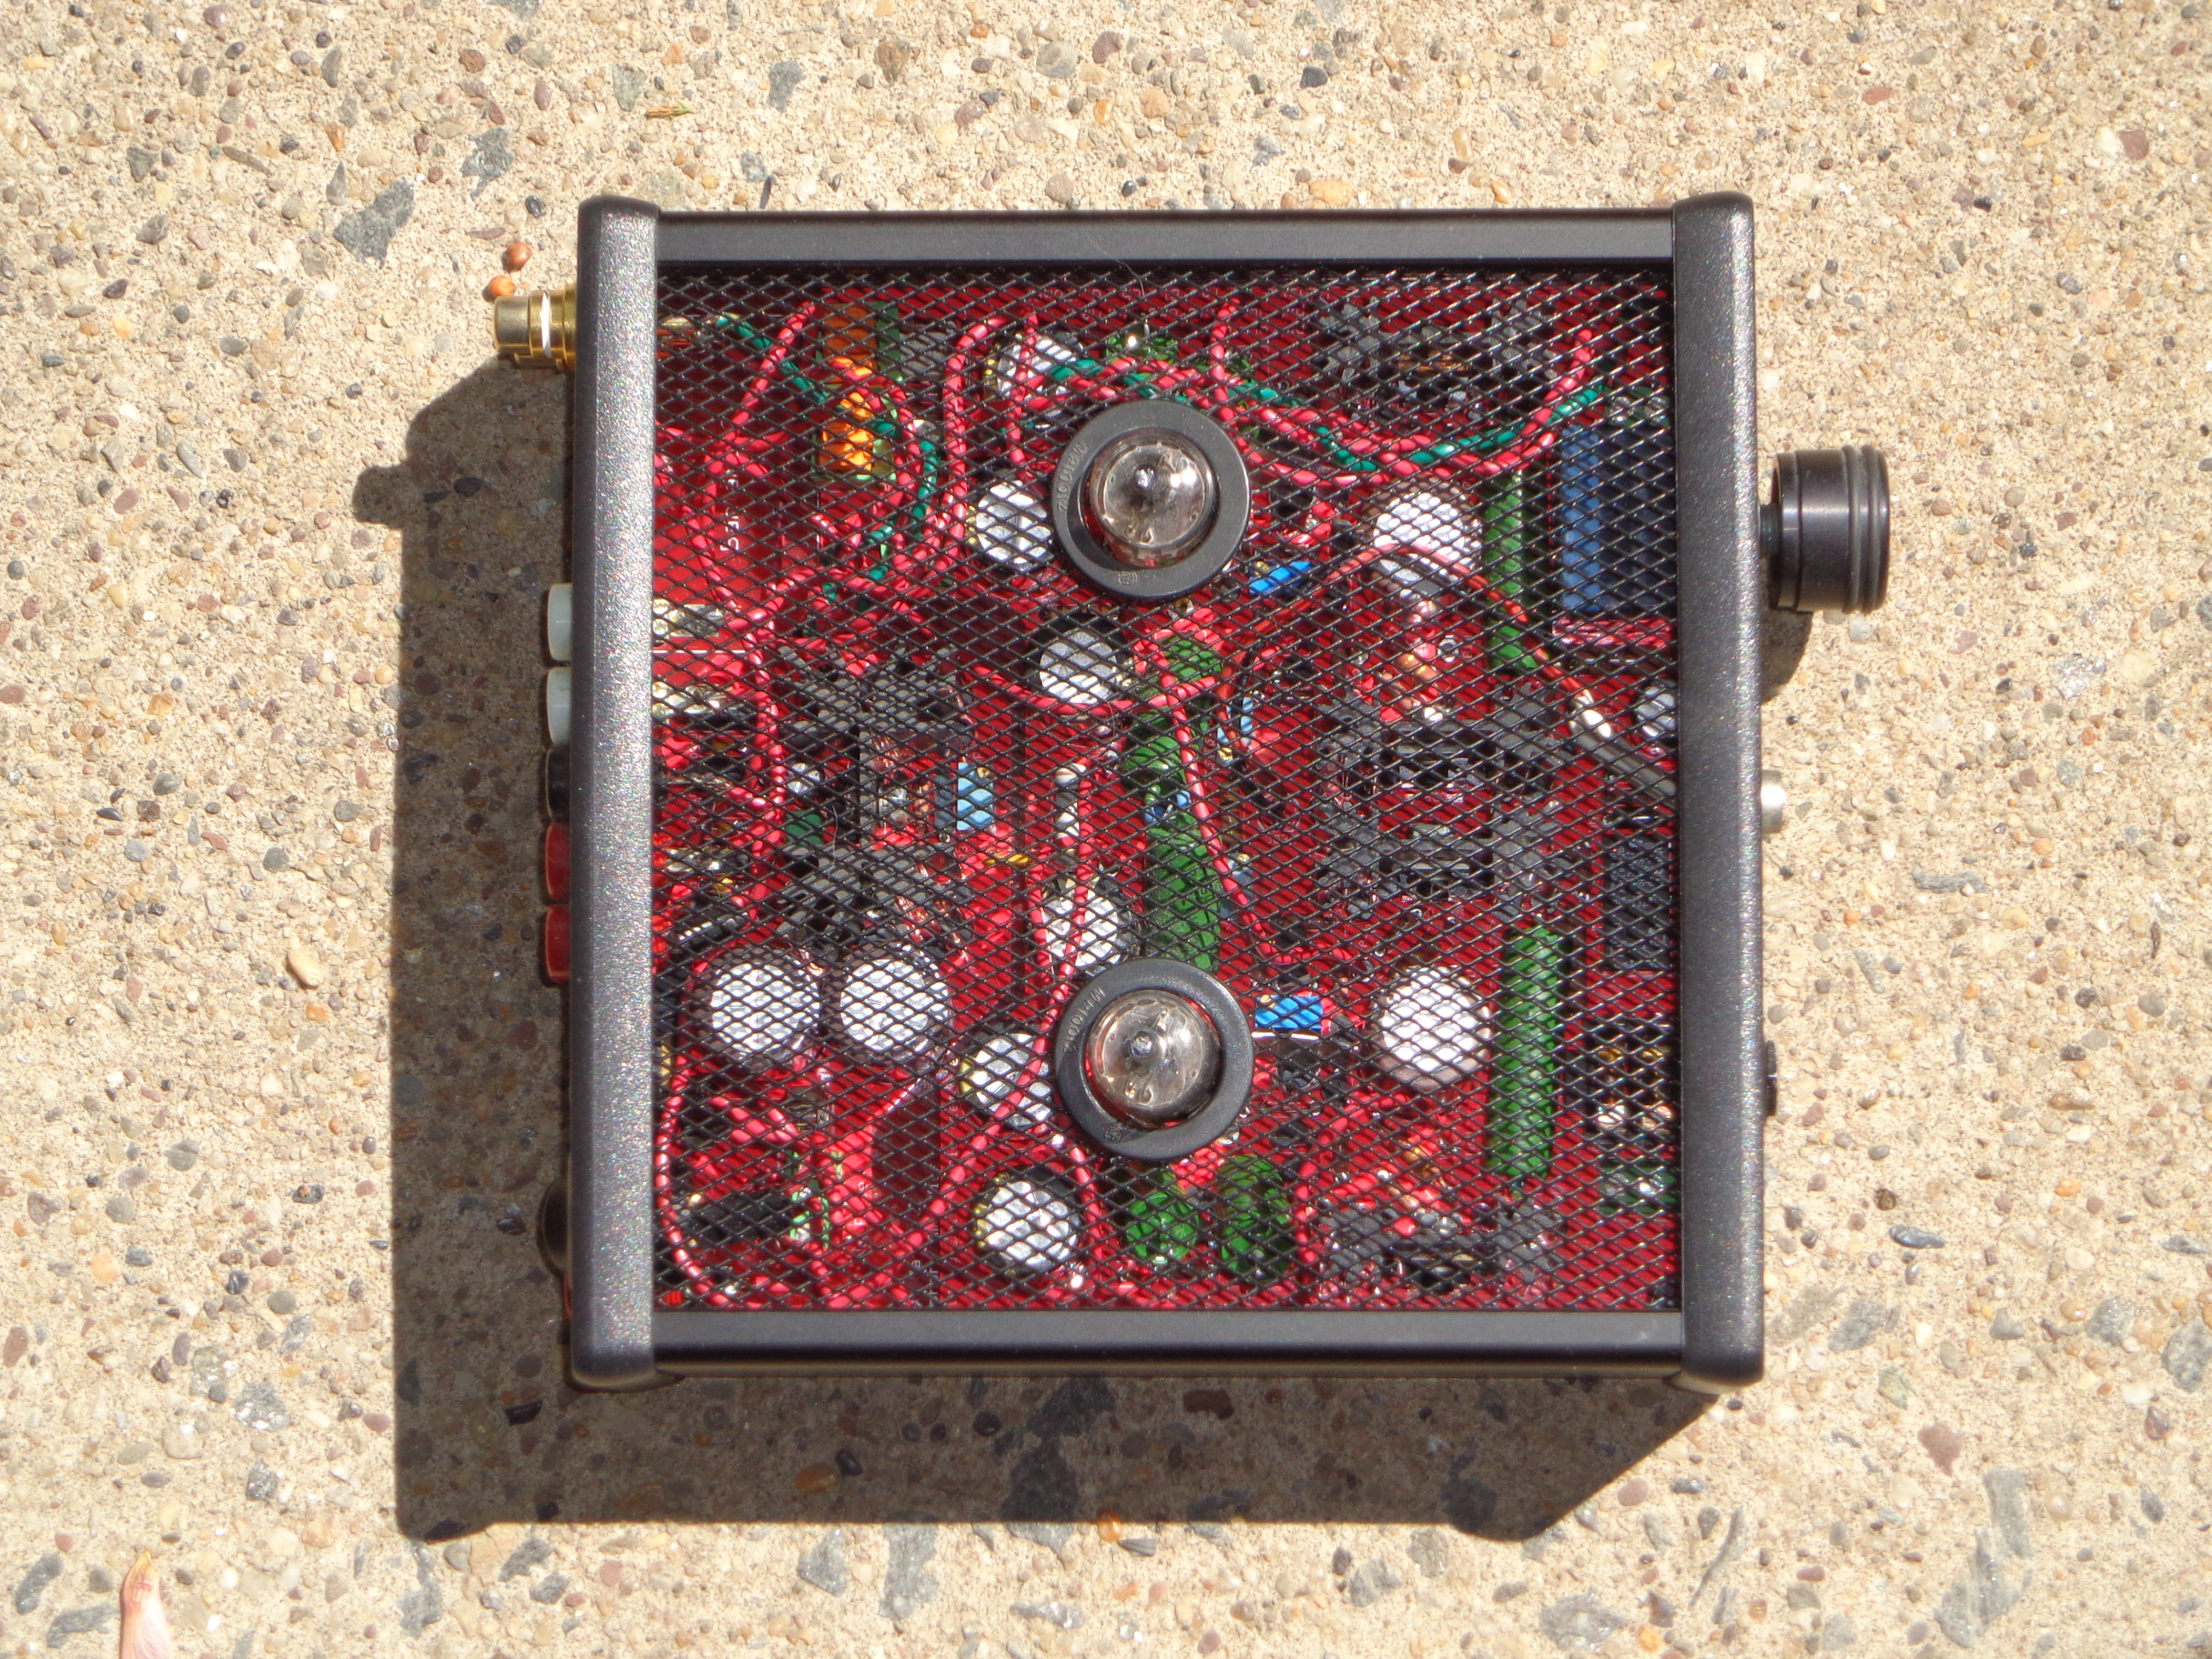
8. Turn off the amp. Put it in the case, hook everything up, start listening, and gradually raise the bias for the DB up to 275mv/125ma.
 
Again, all of this is outlined pretty well on the Max website and some of it is just from personal experience. I'm sure others more knowledgeable than I am can chime in with their own advice :wink:
 
 
Jul 19, 2010 at 2:22 AM Post #6,147 of 6,727
Well I read the Millet History then the Max History page to find the JFET-MOSFET is the latest version...
I wish it was blog style and I would have been done with the first sentence :)
 
I am back to where I left off, ordering parts and find NO ORDER INFO once again..........
 
I'm still looking to find  
Quote:
 

What's needed ...

Basic construction and parts selection is covered in detail within these web pages


This is the statement that made me place the order.. Do I need to read other versions website to find what parts to order for this one??
 
Why is there not a simple list of the latest version parts to buy?
If thats it, where does it discribe what Optional is?
 
Late and Time to Sleep before I go crazy....
Thanks Again


Jul 19, 2010 at 6:41 AM Post #6,148 of 6,727


Quote:
Originally Posted by rarebear /img/forum/go_quote.gif
 
Why is there not a simple list of the latest version parts to buy?


If you don't know what a BOM is, or are too ADD to find this this or this, then step away from the soldering iron right now and buy a commercial product.
 
Jul 19, 2010 at 10:49 AM Post #6,149 of 6,727
Anybody have a best method for removing a heatsink from a board?  I have an idea I want to do for both heat and asthetics,  I have ordered 2" heat sinks to replace the PS and the two center MOSFETs.  I want them to stick up out of the top like the tubes will,  I'm going to leave the outer two at 1.5" as they do not get that warm and I just wanted the sinks standing up in the center dividing the tubes kinda..
 
Thanks!
AA
 
Jul 19, 2010 at 11:34 AM Post #6,150 of 6,727


Quote:
Anybody have a best method for removing a heatsink from a board?


Only to not solder them in the first place. I wish you good luck, sir!
 

Users who are viewing this thread

Back
Top