


Well, I feel better.
 Thanks, Mandrake.
Well, I feel better.Thanks, Mandrake.

Graph is for which configuration, the original from configuration from Jeremy, or (newer) changed per Frans' thoughts?
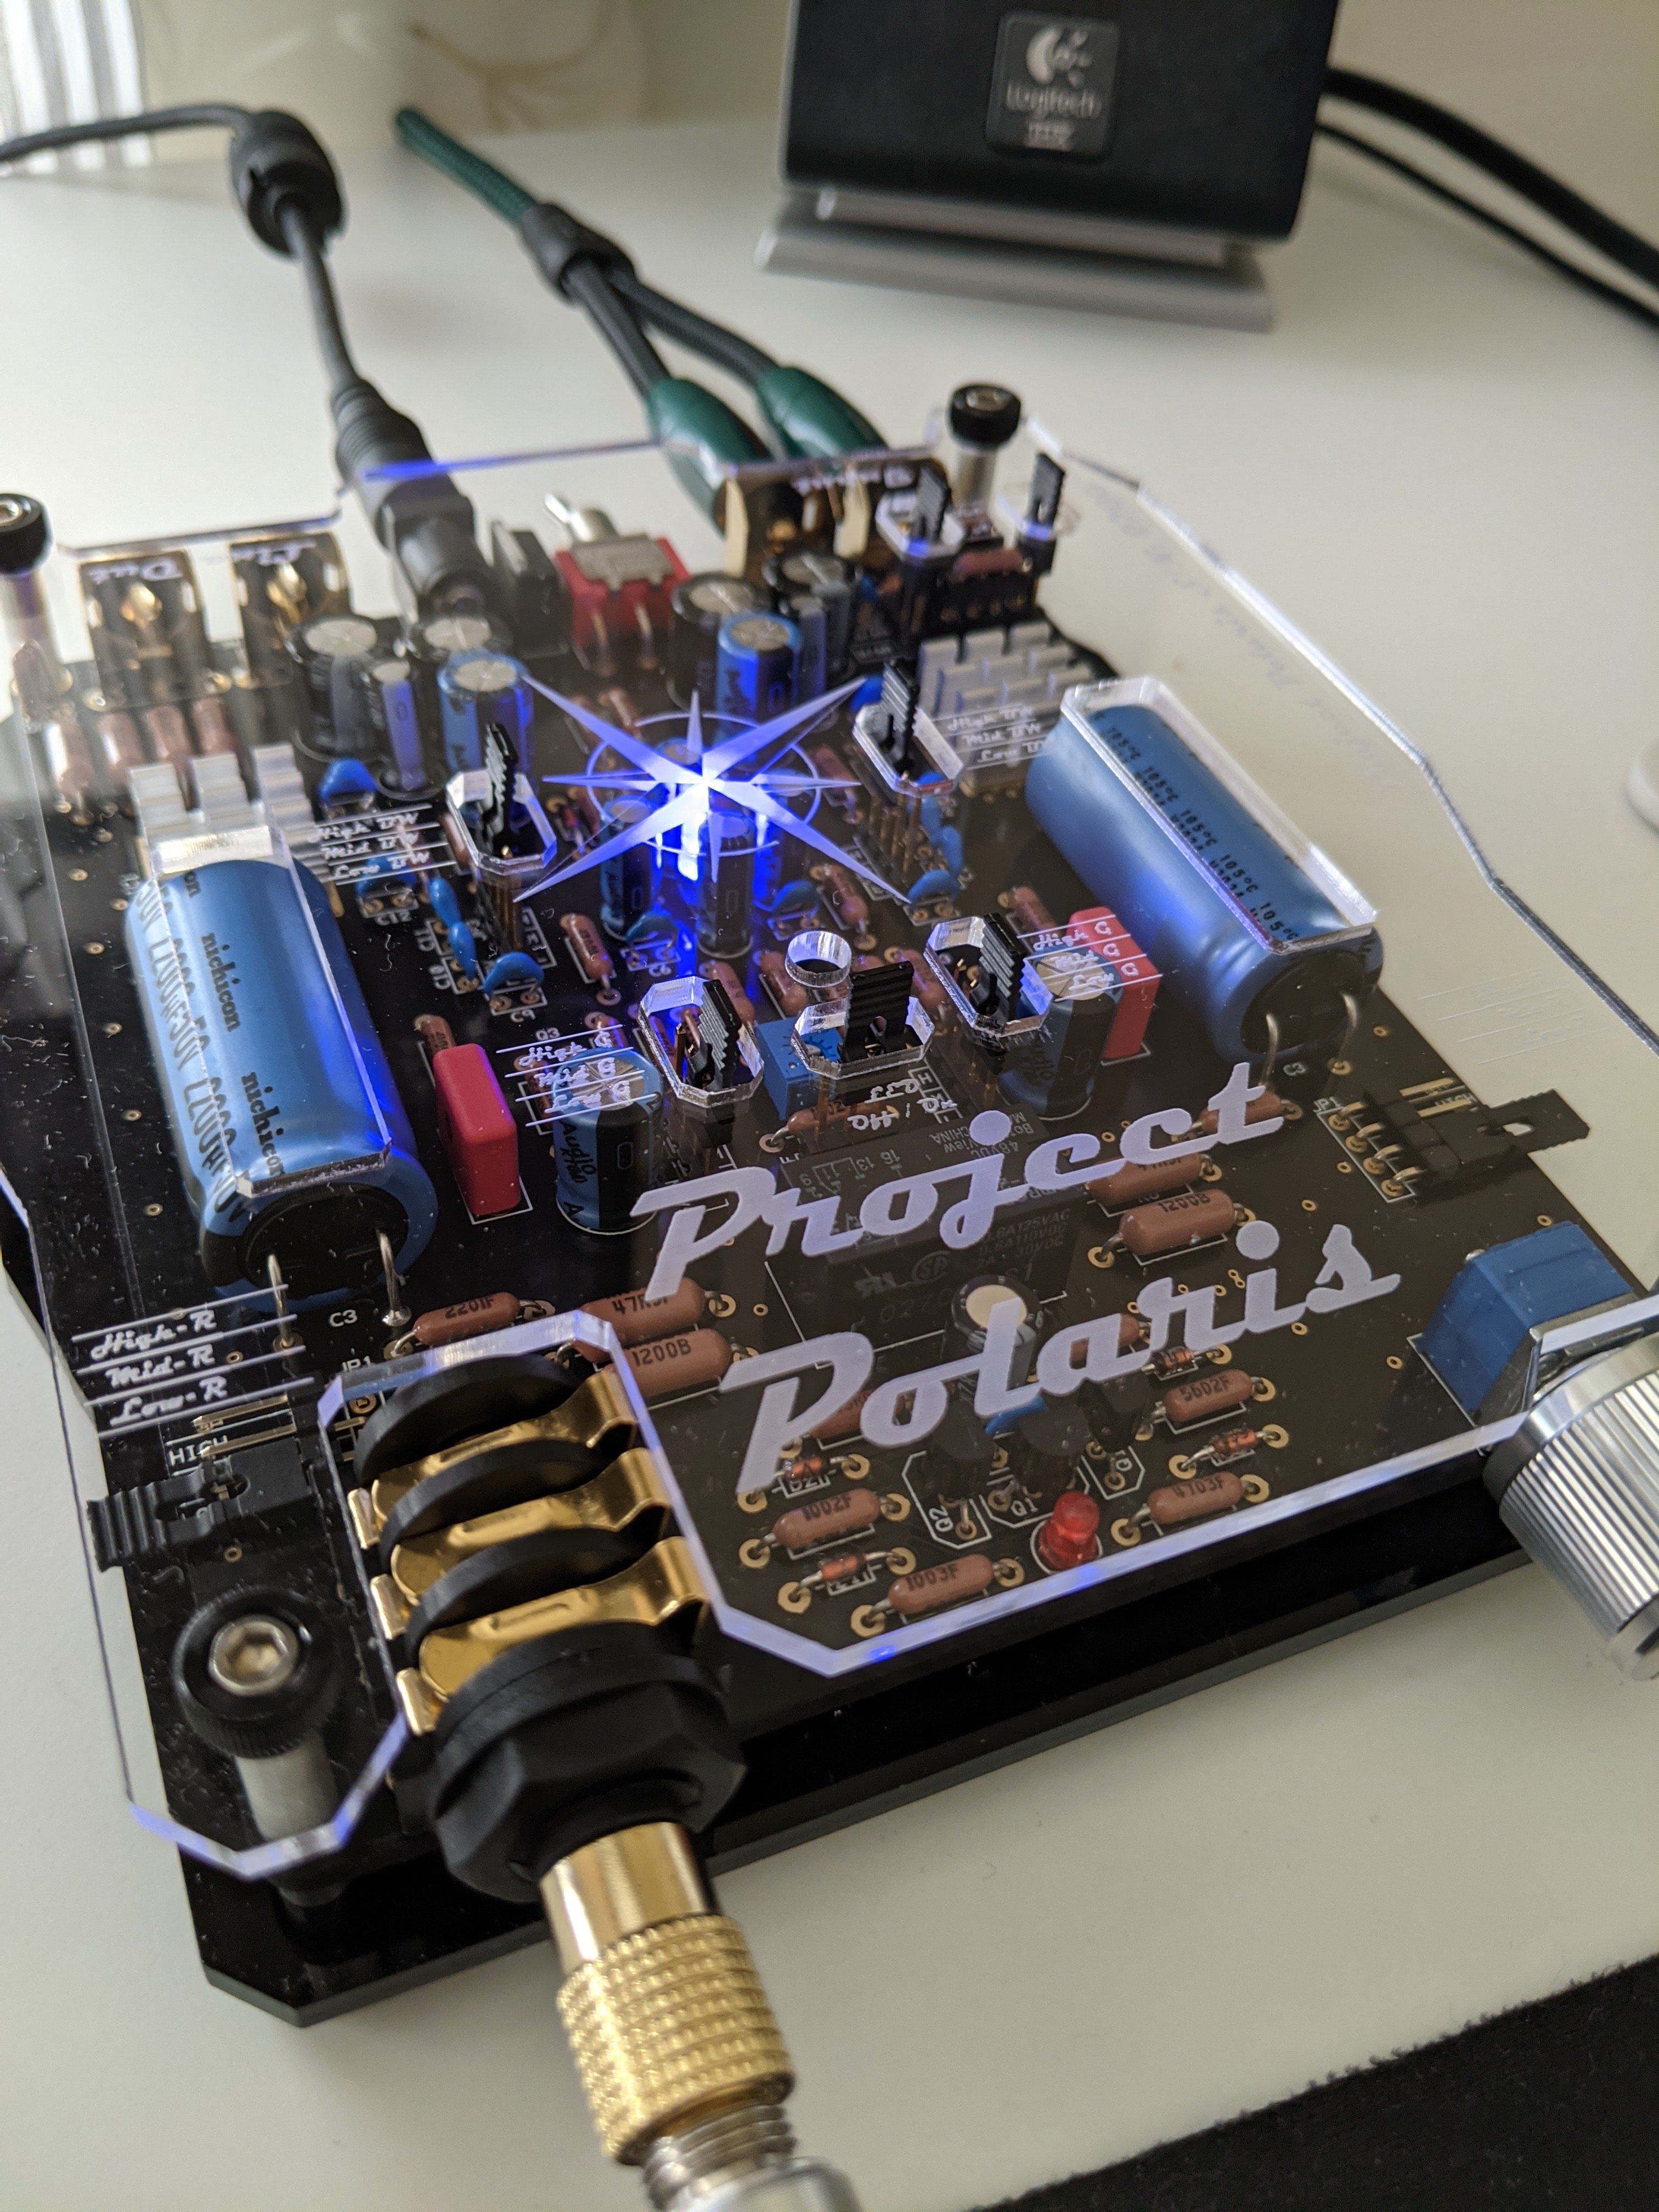
Wait, so I have one of the first units built and probably have v1.
So the differences are longer wait time on the relay and less drop off on the bandwidth switch between the selections? Do I have that right?

Very few v1 boards are out. The graph is for v1.1 with (I think) 30 ohms output impedance. V1.1 is the one that ships now and is the one that I'll be listening to next week.
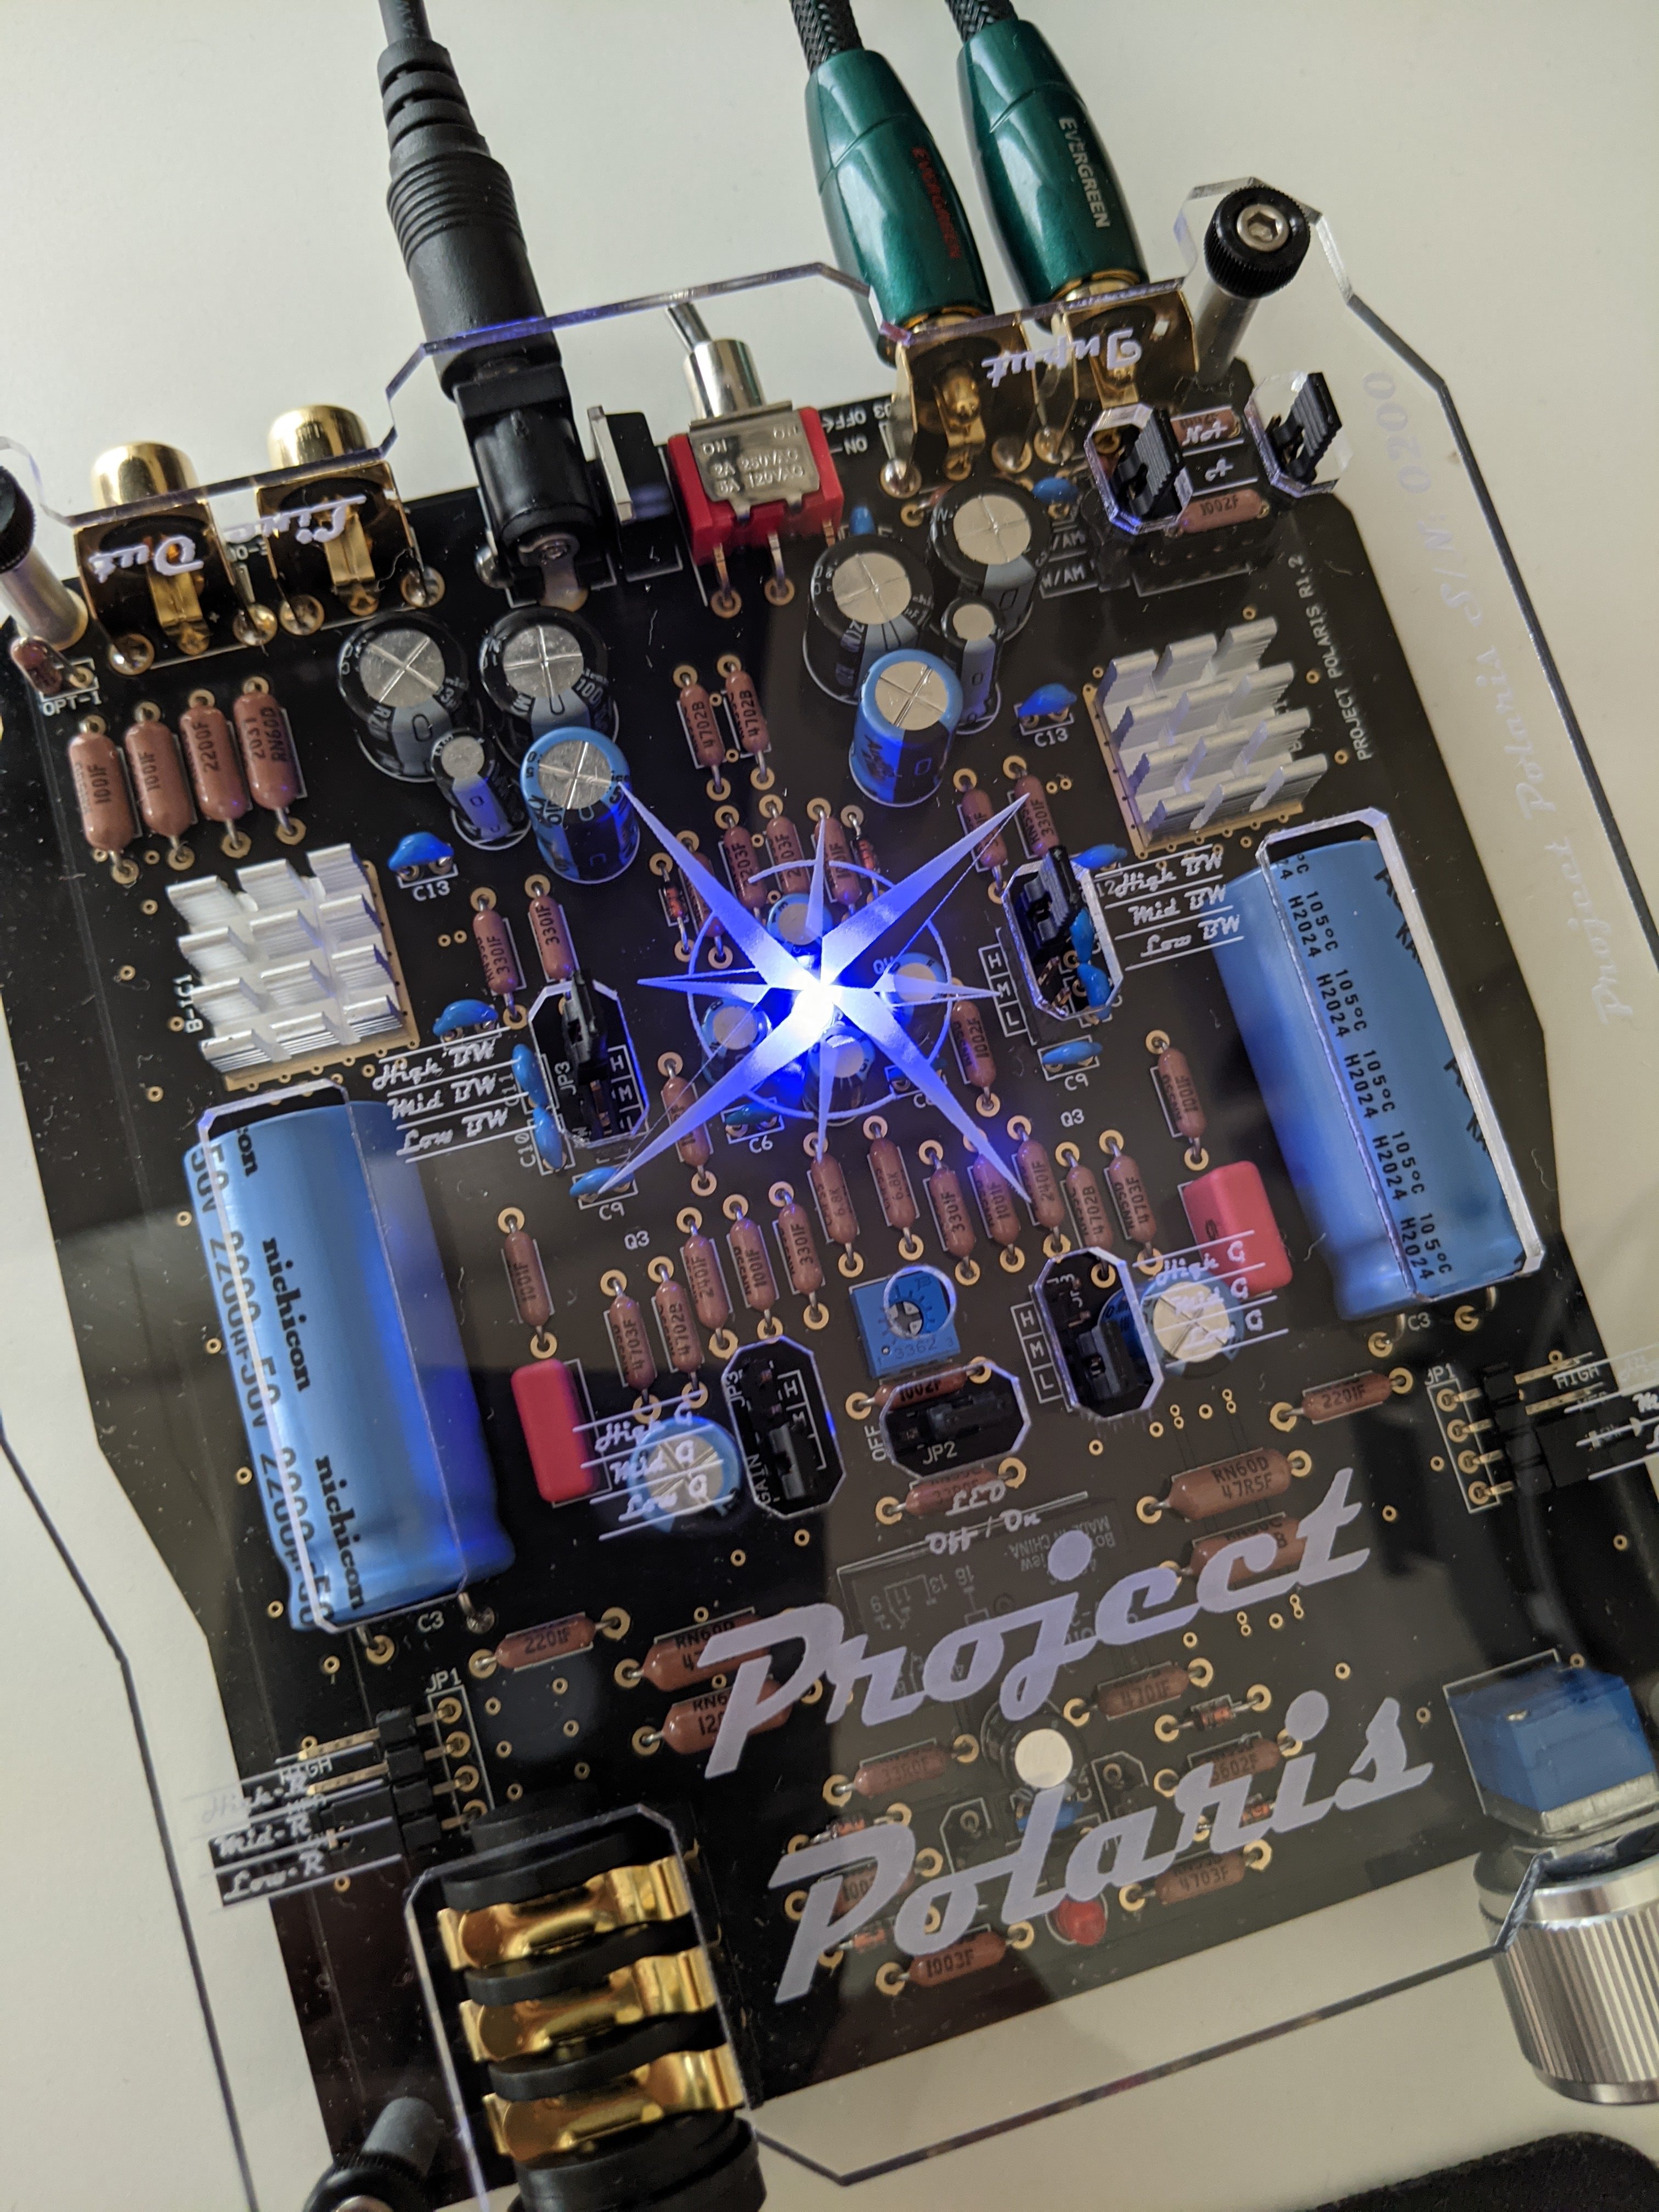
You know, you have me thinking. I thought switch on time had been lowered to something like 2 seconds on v1.1 and was slightly longer on v1. Does the board have a marking on it?
If you check DIYAH, Frans has put a full explanation there. We're not talking anything massive in changes here with the BW settings.
Someone earlier posted a really relevant post where they referenced an earlier message from Frans that details the 1.1 changes and I thought he had lowered the time. Now I'll be timing it for two seconds!!!
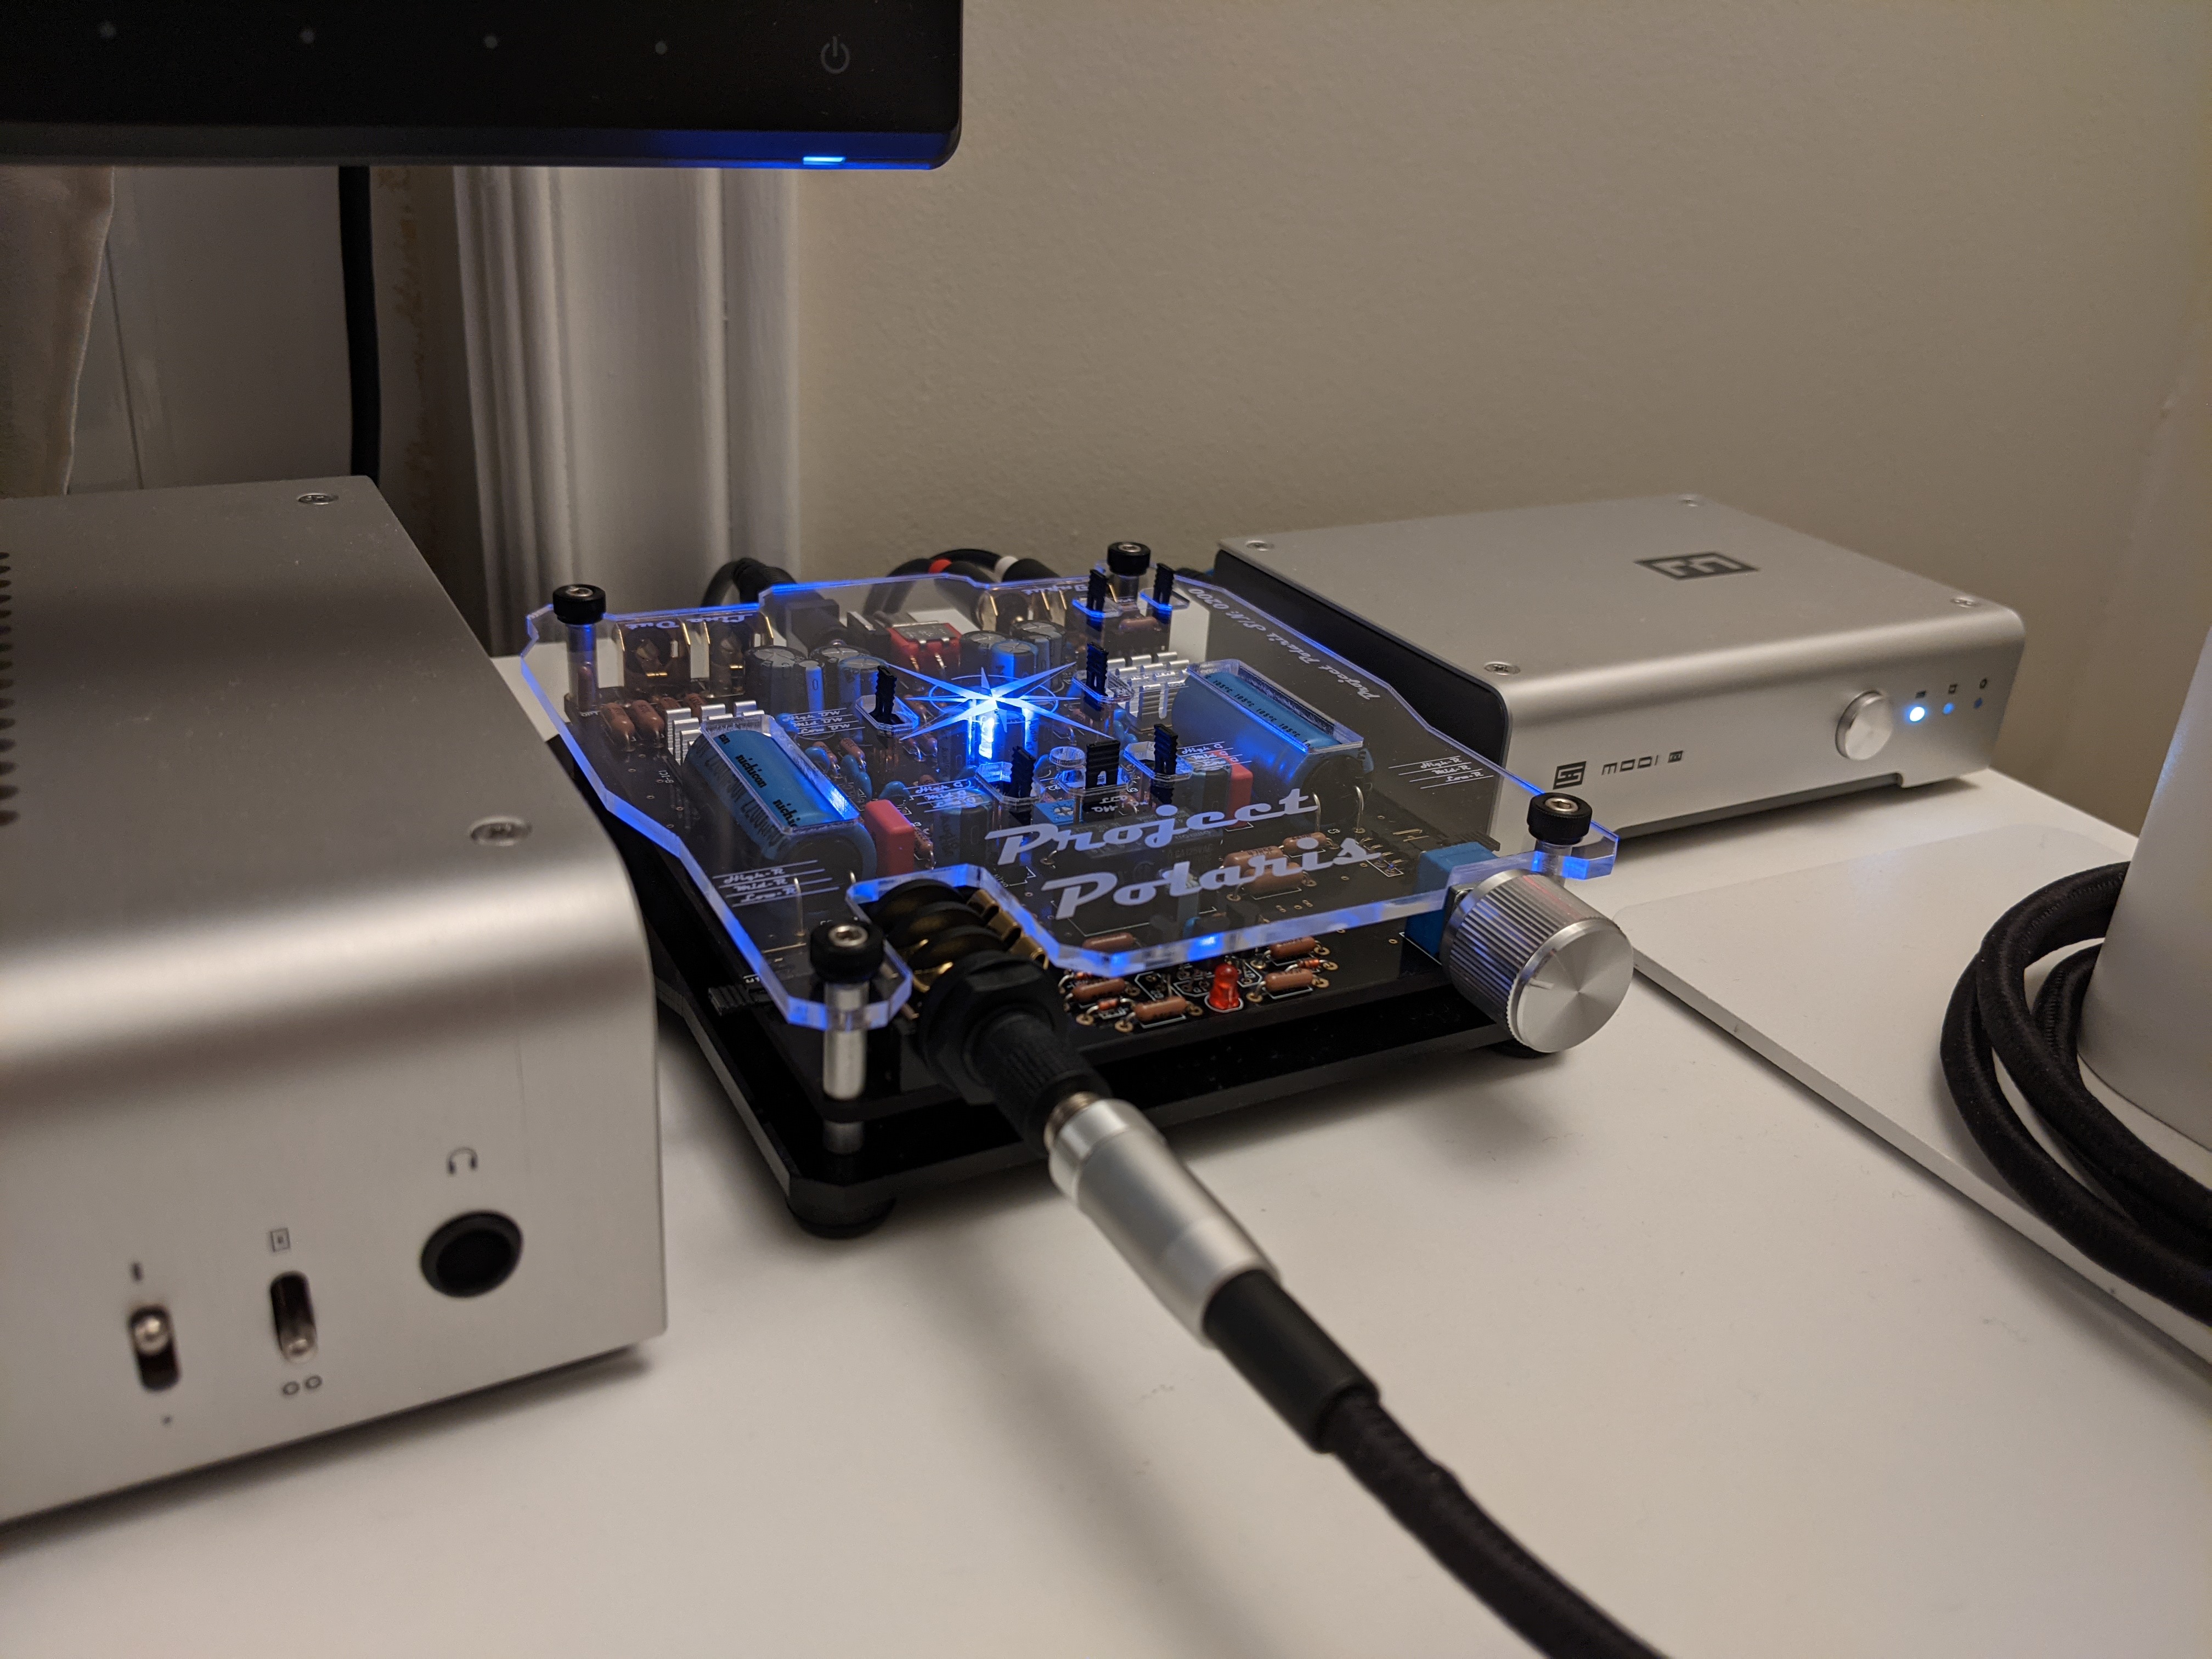
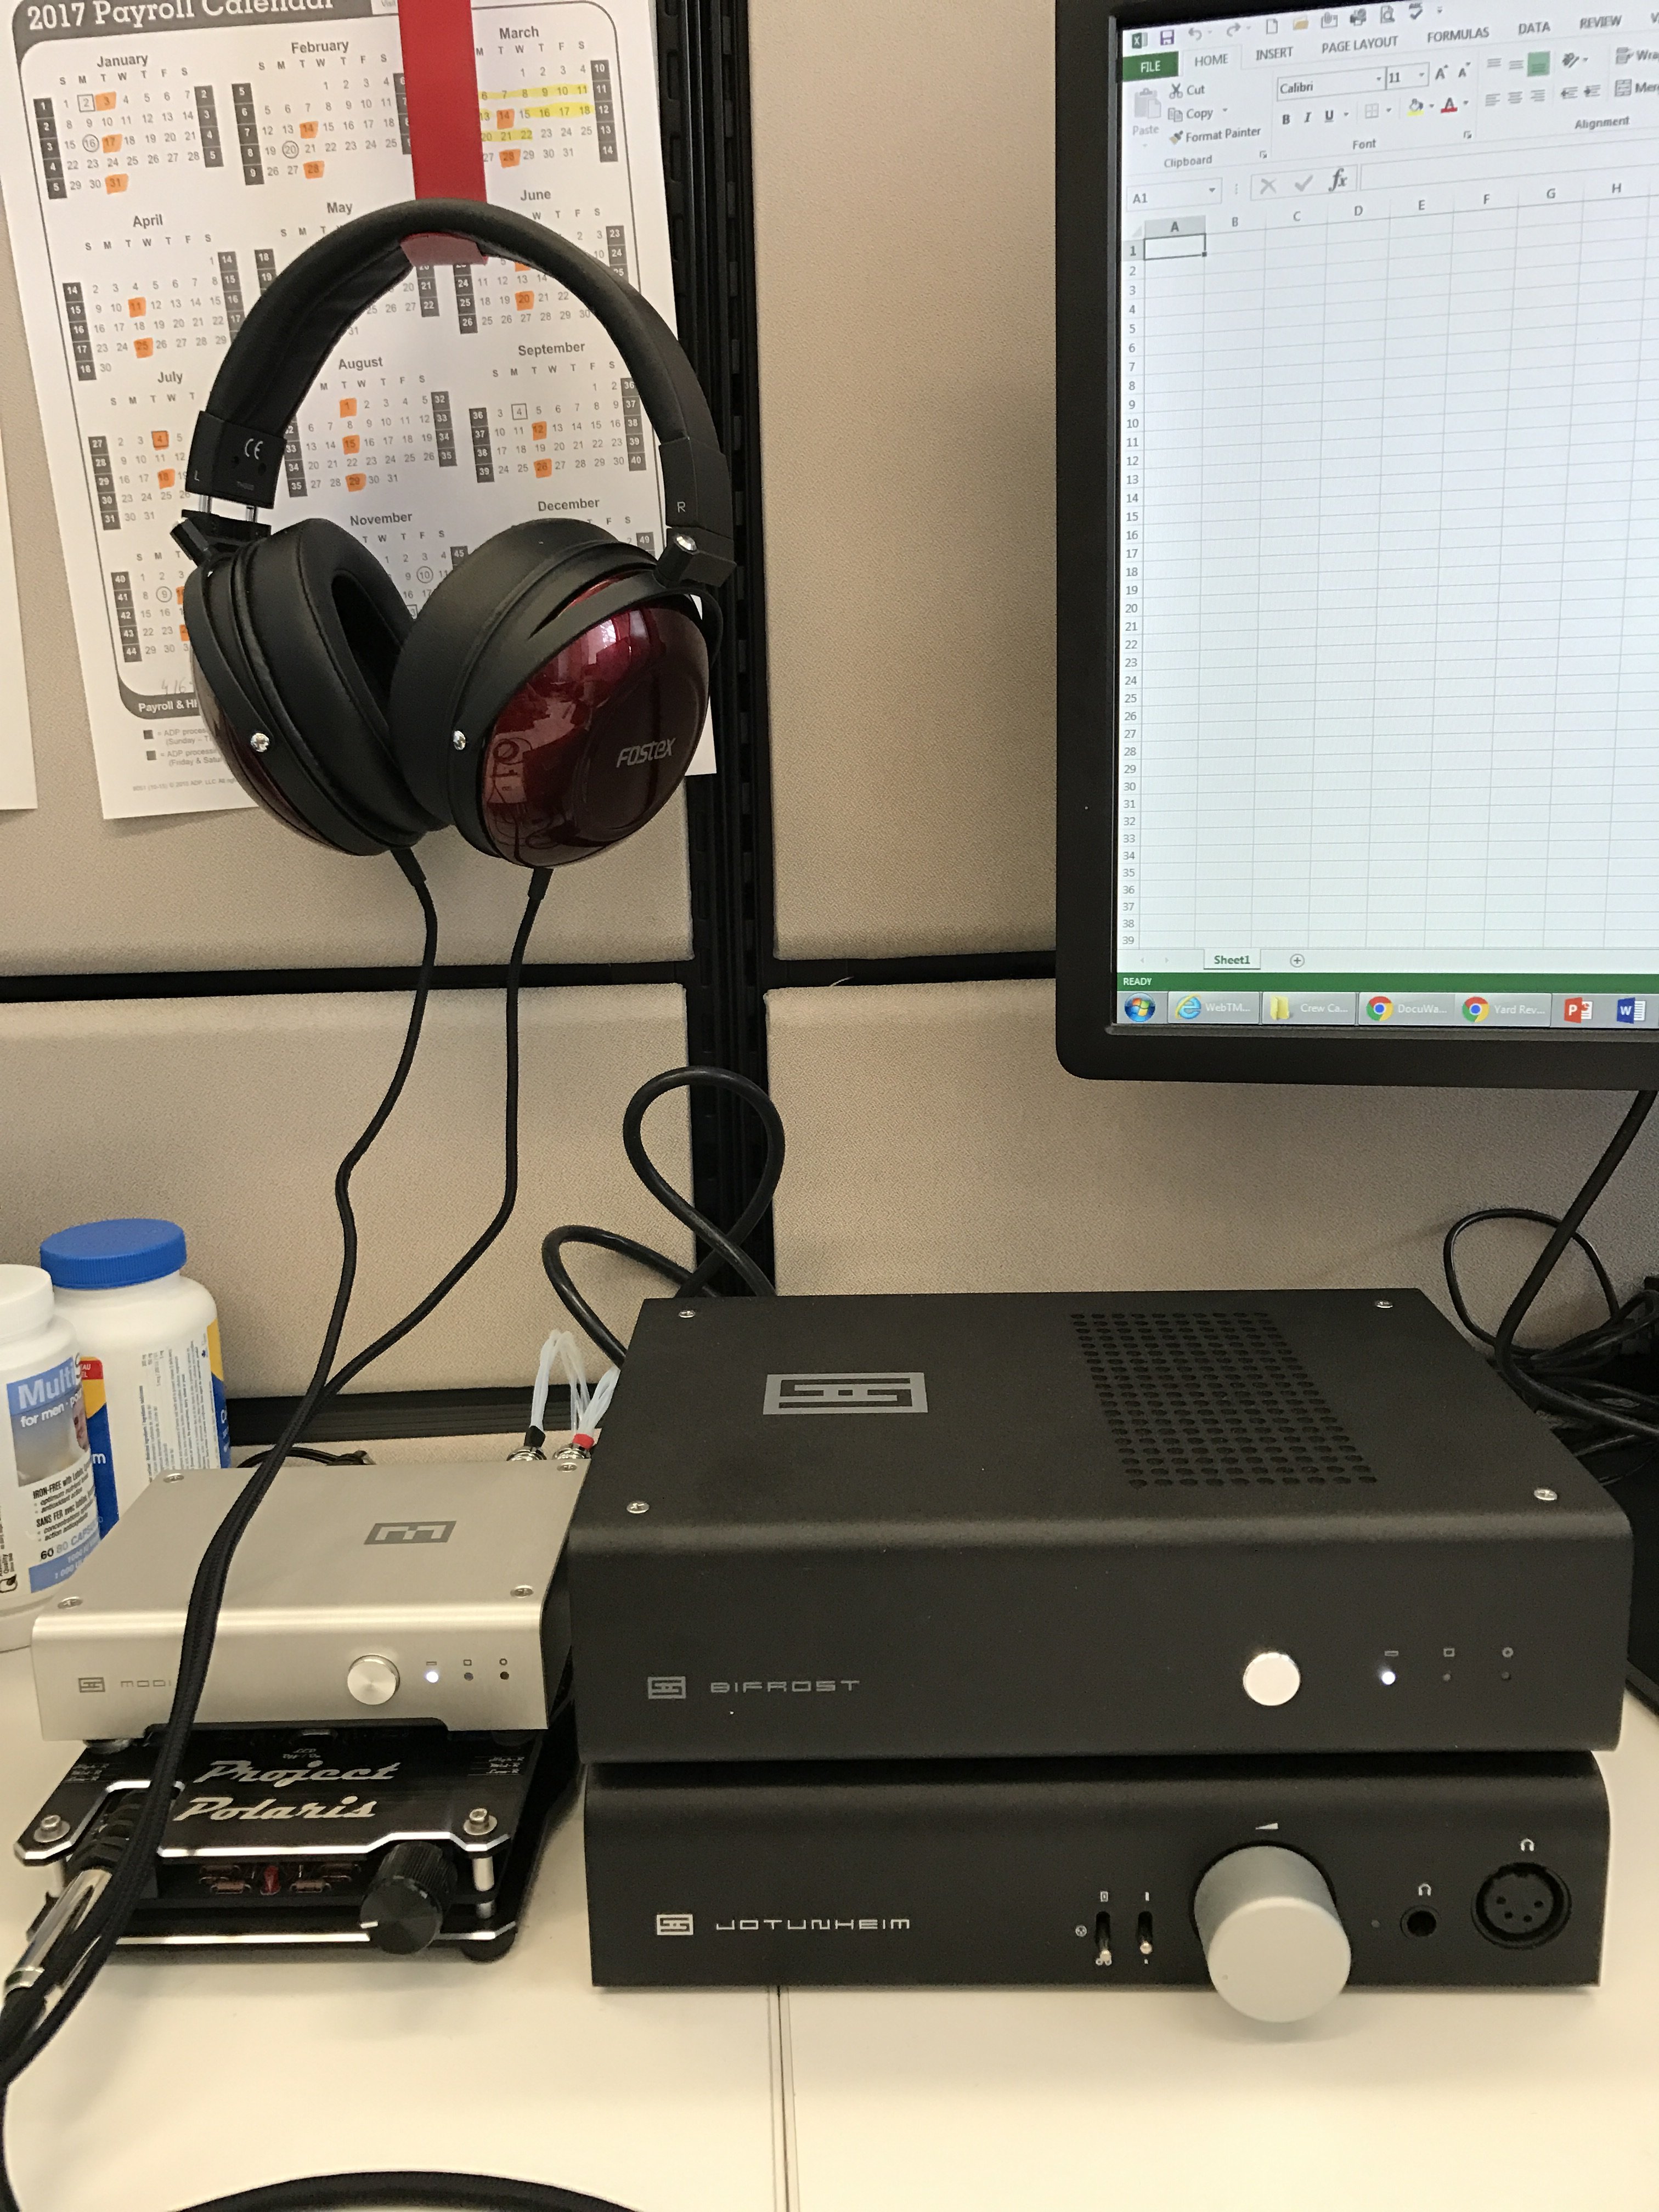
Look what just arrived! Looking forward to the HE4 and HE560 sessions soon! Going to give it 3 days of run time before any impressions.

