A Mod That Improved My JBL 410 Reference
Oct 5, 2008 at 11:41 AM Thread Starter Post #1 of 20

1Time

Headphoneus Supremus
Joined
Jun 1, 2005
Posts
4,661
Likes
25
Edit 12.3.08:
See post #15 on page 2 for the third and best mod.

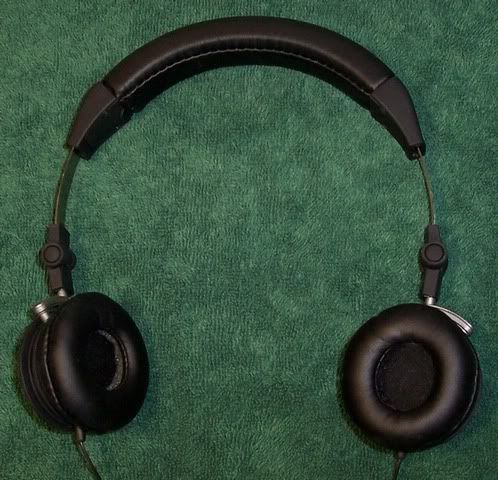
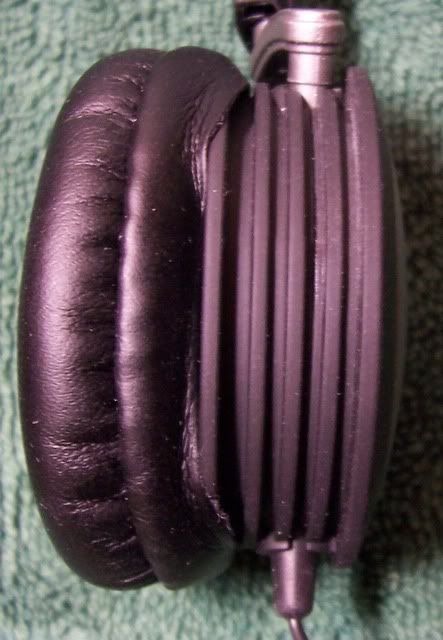
Pics added. First, the JBL 410 (JBL410) Reference is basically the same headphones as the AKG K26P and K414P. By many accounts on Amazon's reviews, it is bass heavy and the bass mucks up its mids, and I agree. So during the past week or so I tried a few simple mods and found one that works best for the music I listen to, except for some bass heavy electronica. This mod reduces the excessive lowest bass and makes everything sound noticeably clearer.

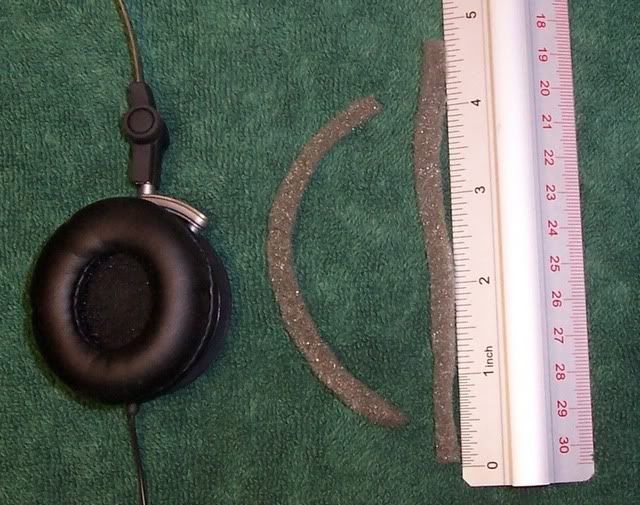
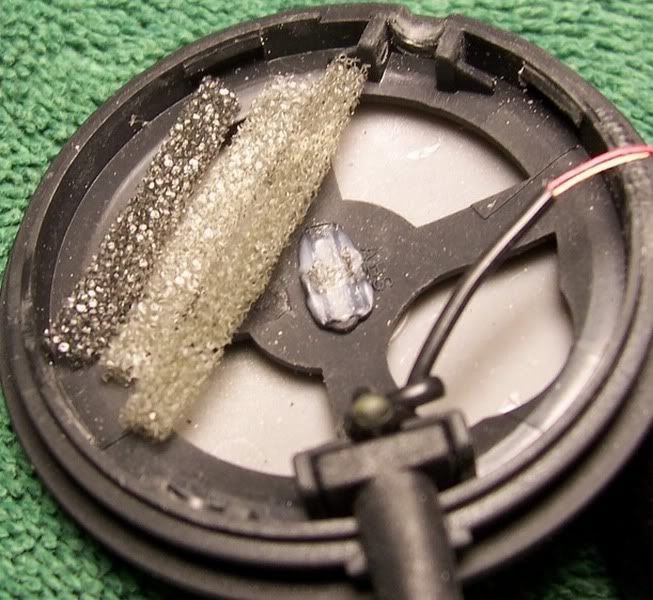
So here's the mod. I cut two strips of soft, porous foam (found in a packing box) and lined the inside of the ear cups. The foam I used seems very similar to what's used in the Sennheiser HD580/600/650. The dimensions of the foam are about 1/8" x 1/4" x 4 3/4". Too much foam produced adverse effects like reduced clarity. I have yet to see if I prefer less foam because it sounds pretty darn good as-is. I can take some pics if that helps.

The JBL 410 can be found online for ~$20 shipped. I still find it hard to believe I bought it new on eBay for only $13.50 shipped, and it sounds this good.
 
Oct 5, 2008 at 9:29 PM Post #3 of 20
Foam In
JBL4103-1.jpg


Foam Out
JBL4104.jpg


Real Big
JBL4101.jpg


Real Small
JBL4102.jpg
 
Oct 7, 2008 at 6:40 AM Post #6 of 20
You're welcome. A few more comments...

I bought two of these JBL 410s new. Oddly enough, the first needed nearly 4 days of burn-in to completely settled down, and the other was ready to go straight out of the packaging.

Regarding the foam, slight differences in size / shape make small differences. Too much makes a larger and negative difference. I'm slowly pursuing the ideal size / shape for mine. The ones that I've tried are all roughly the same dimensions or smaller than as I gave in my original post. So you may want to try different ones after burn in.
 
Oct 9, 2008 at 10:06 AM Post #7 of 20
I recently figured out this second mod, and it works really well. Pull the ear pads back a little as shown in the pic. The part pulled back faces to the rear when the headphones are on.

JBL4107.jpg


This second mod reduces the bass like the first mod, but this one is easier to adjust. Pull the ear pad back a little for less bass (as shown in the pic), or back a little more for less bass than that (my preference and I'm a basshead), or back a little more for even less bass.

I came up with the first mod when using the JBL410 from a SoundBlaster Live Value sound card. This sound card drove the JBL410 OK and it sounded pretty good with the first mod. I enjoyed it. But when I switched from the sound card to a HotUSB1 DAC/amp, the JBL410 was driven better and too much bass was produced. And, since the DAC of the HotUSB1 sounds noticeably cleaner and better than the sound card, I wanted a way to reduce the bass and again improve over all clarity and balance. And so that's why I came up with this second mod. I haven't tried using the second mod without the first, but that might be an option. For now I am quite pleased with it as-is: ShoutCast free internet radio > WinAmp + Stereo Tool 3.30 > HotUSB1 > dual modded JBL410 >
smily_headphones1.gif
.
 
Oct 10, 2008 at 9:27 PM Post #8 of 20
Got my 410's in the mail. No problem with clamping force and they sit comfortably on my ears.

Another approach to taming the bass might be to insert some type of filler inside the phones like was done with the Ultrsone Proline 650 (as doumented on Head-Fi.) Has anybody tried opening up a pair of 410s? If so, how did you get them open?
 
Oct 13, 2008 at 7:33 PM Post #12 of 20
Thanks. I had tried a few times by hand, but was afraid I might break something. But after you opened it, I figured it had to be easier with a flat head screwdriver. And so I opened it by prying on each side, very simple to do. One side opens slightly, and then it pops open as the second side is pried. The next time I open it, I will hold it down to the table when prying so to minimize a chance of it popping open and disconnecting a wire.

Now I just need to figure out what best to put in there.
 
Dec 3, 2008 at 1:45 PM Post #15 of 20
After trying various mods that involved opening up the headphones and putting things inside, I am satisfied with this one. The result is a substantially higher level of performance, balance, and clarity. I welcome any comments and questions.

3 half pipe shaped pieces of vinyl tubing held in place over driver holes with super glue:
JBLMod2.jpg


3 strips of foam in place, shown without the swivel arm in place:
JBLMod1.jpg


Tools and Materials:

- scissors
- utility knife or straight edge razor blade
- flathead screw driver
- small eyeglasses screwdriver or tweezers
- super glue, gel or regular
- low density, soft foam - I got it out of a shipping box.
- vinyl tubing, 7/32 (6mm) OD, 5/32 (4mm) ID like this - I bought it at a dollar store.

Procedure

1. Open the headphones.
- Lay the headphones down with an ear pad facing up.
- Put the screwdriver in the seam that runs between the swivel arm and the cable.
- Twist to pry open the enclosure.
- Carefully lean the smaller half onto the side of the larger one so there is no tension on the wires between them.
- Remove the swivel arm from the smaller half of the enclosure.
Note: I have done this at least 20 times with seemingly very little risk of damage.

2. Optional: Remove any extra globs of glue.
- Use the eyeglasses screwdriver or tweezers to pick or pry out any globs of glue.
Note: no extra globs of glue show in the pic because I removed them.
Caution: do not attempt to remove the flat piles of glue as shown in the picture.

3. Remove the glue and tape covering a hole on the driver.
- Use the blade to carefully scratch off the glue and tape covering the hole in the driver. See the picture to determine which hole.
Note: There are four holes in the driver. The picture shows one of them covered with tape. I scratched off the glue and tape covering that fourth hole and then later put tape back over it.

4. Cut the tubing.
- Cut two pieces 3mm long and one piece 4mm long. The shorter pieces cover about half of the holes, and the longer piece covers all of the hole. See the picture.
- Snip each piece of tubing with the scissors.
- Score the tubing in the middle (across from the existing cut) with the blade.
- Cut along the scored mark with the scissors to make two equal halves of tubing.

5. Glue the tubing.
- Put superglue along one edge of a piece of tubing.
- Position the tubing over a hole in the driver and against the black round pad in the center. See picture.
- Use the eyeglasses screwdriver or tweezers to gently and very lightly hold the tubing in place for at least 10 seconds.
Note: The glue holds the tubing nicely, and it can be pulled off very easily.

6. Cut the foam.
- With the scissors, cut a length of foam 3mm wide.
- Cut that strip again to make 2mm wide strips.
- Cut the strips that look the most uniform in shape to the following lengths: 64mm, 56mm, 30mm.
- Cut those pieces in half so there are three halves for each headphone.
Note: The amount of foam used changed the sound from too much bass to too little bass to just right. So a little trial and error with the foam may be worth the effort. This amount works best for me.

7. Put the foam in.
- With fingers under the smaller half of the enclosure, put the swivel arm back in place.
- Put 3 pieces of foam in as shown in the picture.

8. Close the two halves.
- With fingers under the smaller half of the enclosure, pick up the other half with the other hand and align it on top of the smaller half.
- Once aligned, press together and it will snap shut.
Note: If it does not snap shut with a little pressure, you may not have it aligned right or the swivel arm may have come out position.

9. Repeat the process with the other half of the headphones.
 

Users who are viewing this thread

Back
Top