


- Joined
- Jan 24, 2009
- Posts
- 298
- Likes
- 191
I just finished pulling together my notes and getting the photos off my camera of the mods I recently did to the case of the Elekit, so I thought I'd share the process and results.
A little background first. Due to the case of Elekit getting quite warm, even a bit hot at times, especially with KT-88s and 6550s, I decided that I wanted to modify the case to allow some air flow through to the components and cool everything down in general. I've also been wanting to paint the chassis for a while; whereas the silver was nice, it is a bit out of place for my uses. After performing the air cooling mods, the case temperature went down to about a quarter of what it was originally stock, very nice! However, using adapters/savers can also help reduce the surface temp as well, but I do like being able to use the straight sockets while not have to worry about the components underneath and closer to the surface. It is more of a piece of mind than anything, as the without the mod, the case never got as hot as a few other amps I know about, so I don't believe this mod is ultimately required.
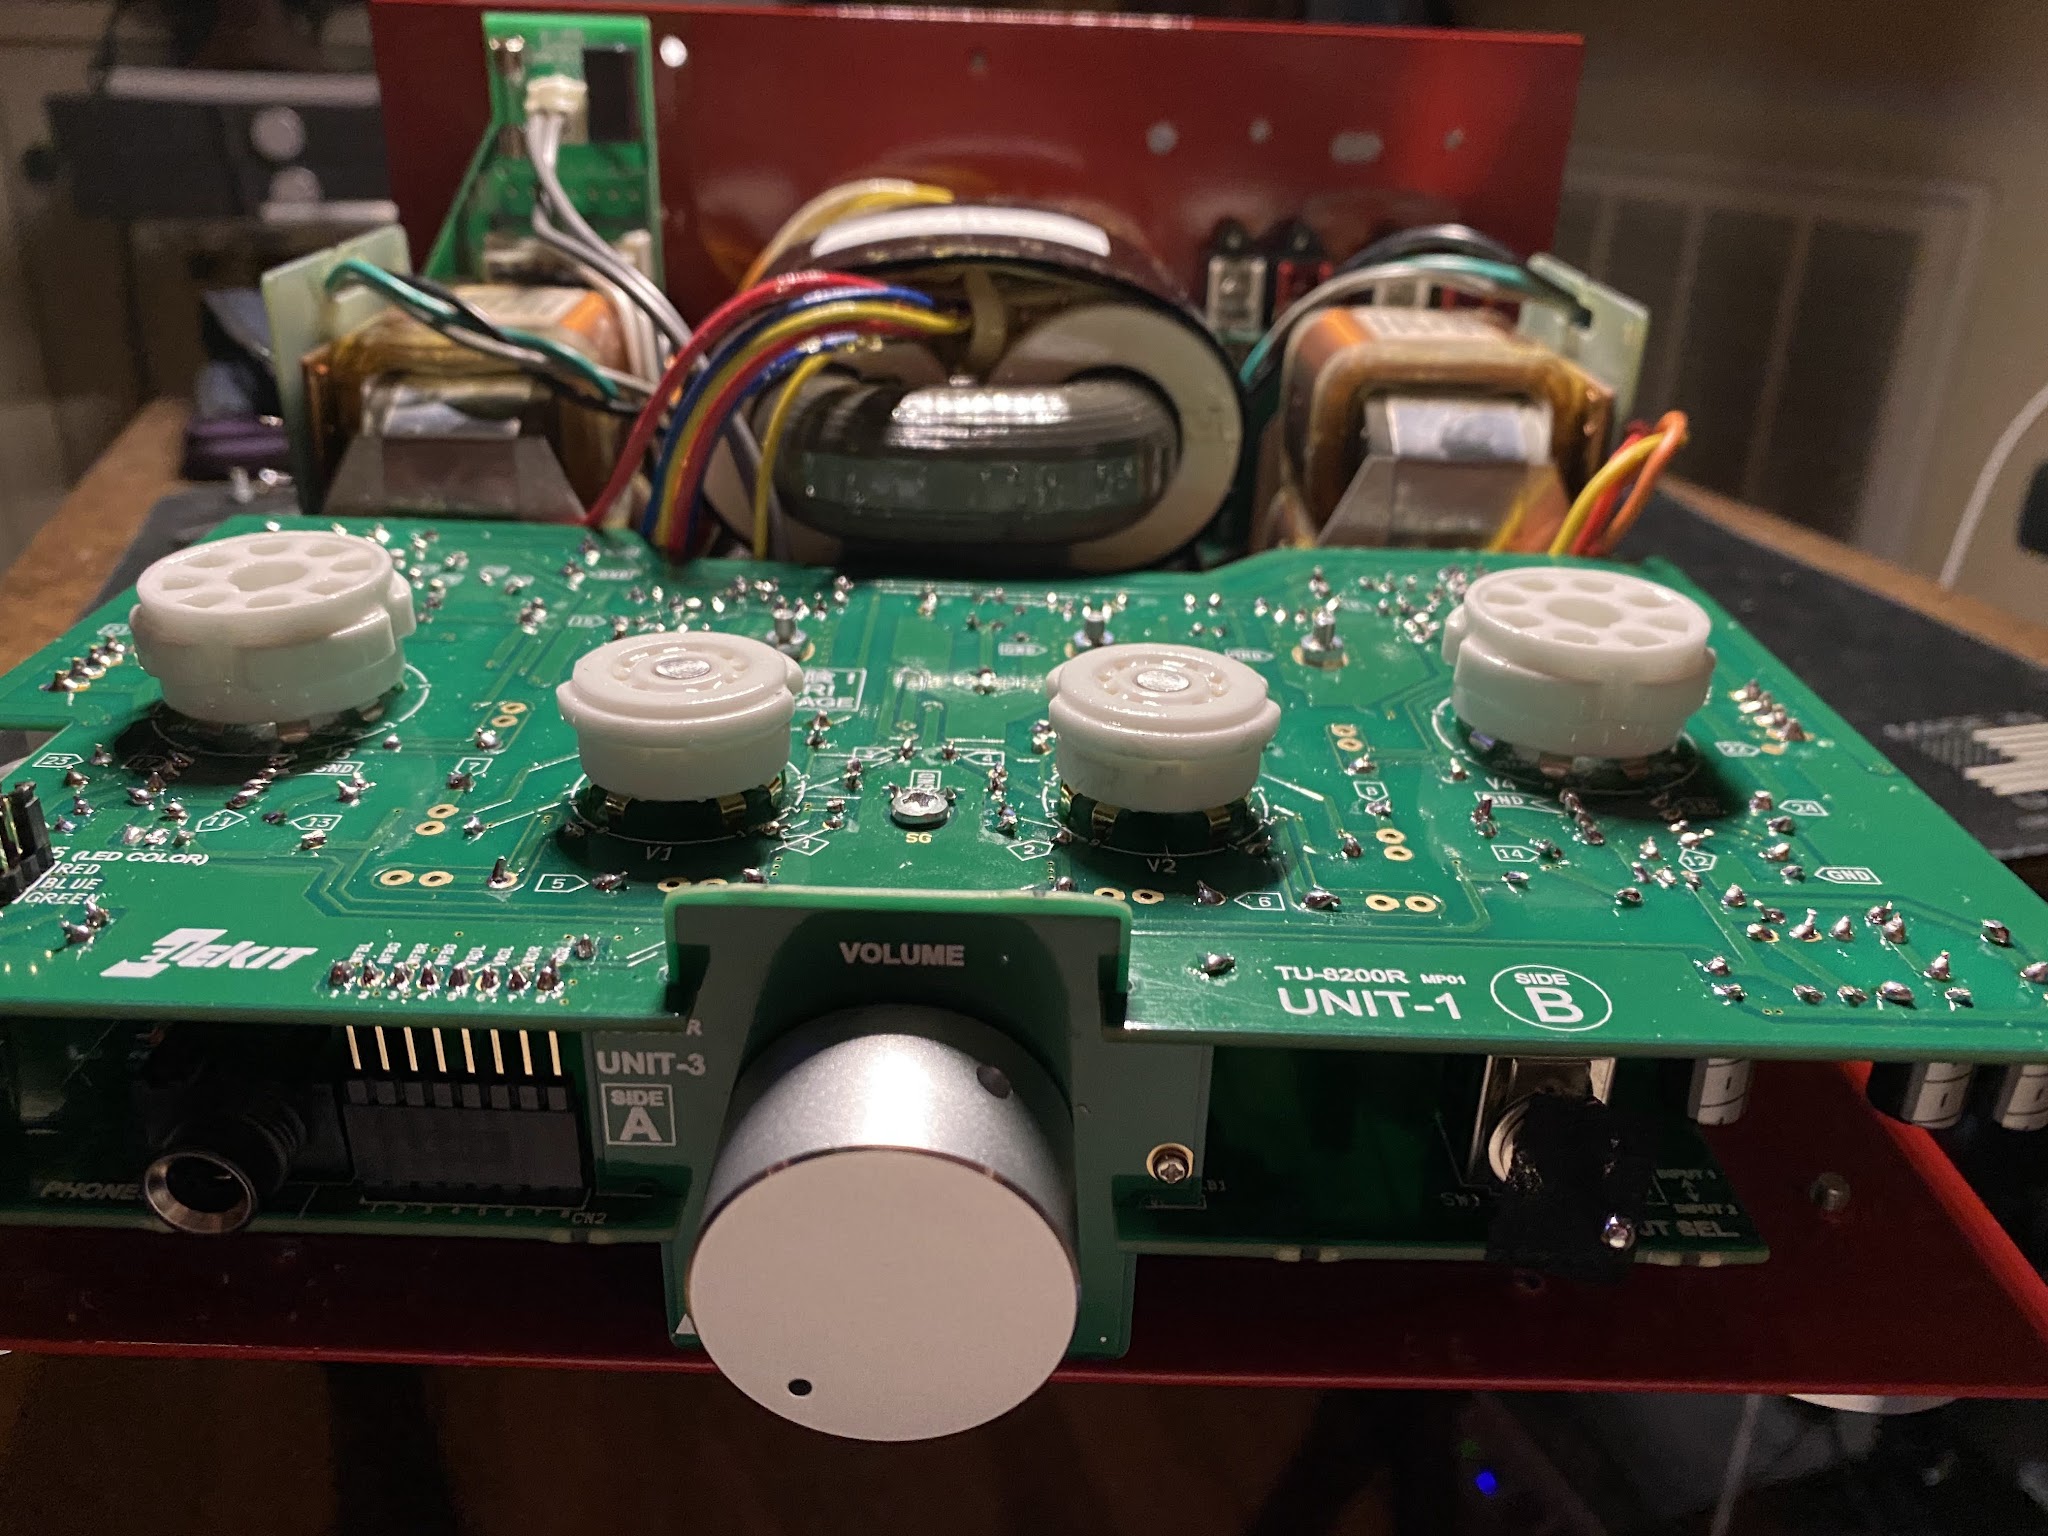
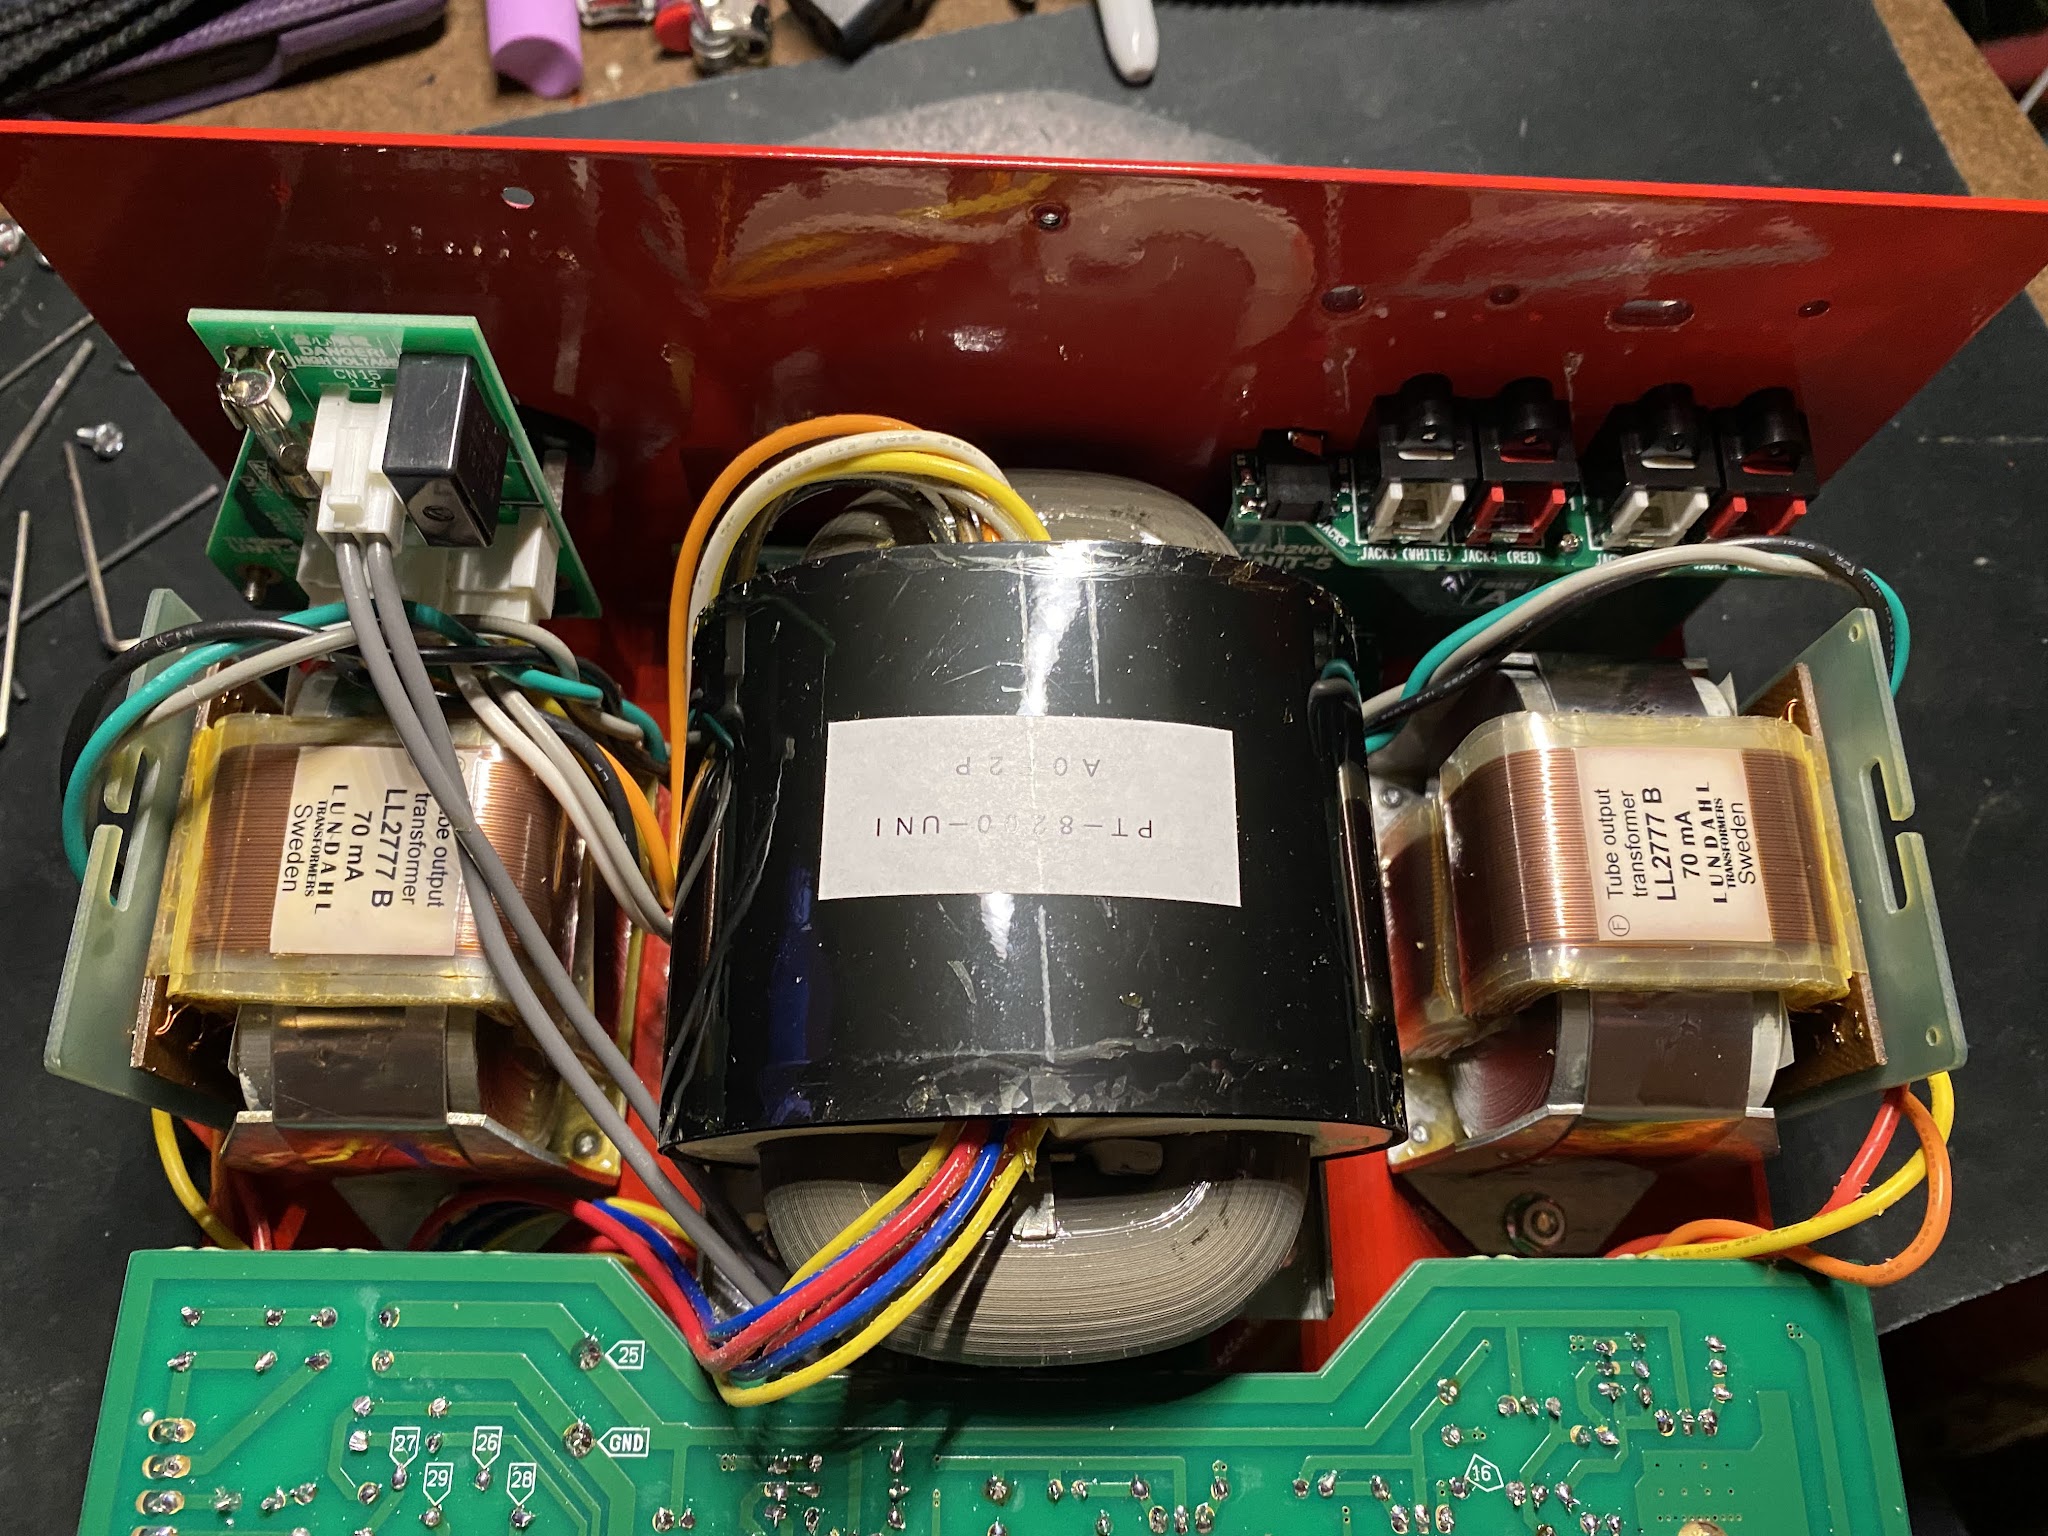
I started by measuring and then cutting an 80 mm hole into both the top as well as bottom of the case to allow vertical air flow up and around the PCB, OPTs, etc. I just used a dremel tool with metal cutters and then files to smooth out any burs. I did not want to install actual fans for various reasons, but I just wanted a simple way to allow a little air from the bottom of the case to filter through and out the top.
Once I finished drilling the holes for the mounts, I primed all the parts prior to painting.

I ended up going with what is called "Carbon Mist" for the paint and I'm pretty happy with the end results.

As far as the assembly of the top and bottom vents, below is a list of the materials used:

Here is some pictures of the the enclosures before/after I cutout the vents with the shielding attached:


I also decided to replace some of the screws, since they were getting a bit stripped and didn't mesh with the new color, with anodized black Hex screws and rubber washers to reduce any vibrations. The vent assemblies are also easy enough to open to, allowing cleaning of the filter from time to time, so I'm not too worried about dust buildup. Below are some pictures of the finished/assembled vents and filters:


I also decided to replace the stock feet with these nice steel and rubber versions seen on the unit below:

In all, I think it turned out pretty nice, except that I did go a bit heavy on the paint and clear coat, while forgetting that the front bezel is so tight! Putting it back on, it chipped off a bit of the corner paint (seen left below), so I'll be doing some retouching/refinishing this spring/summer.


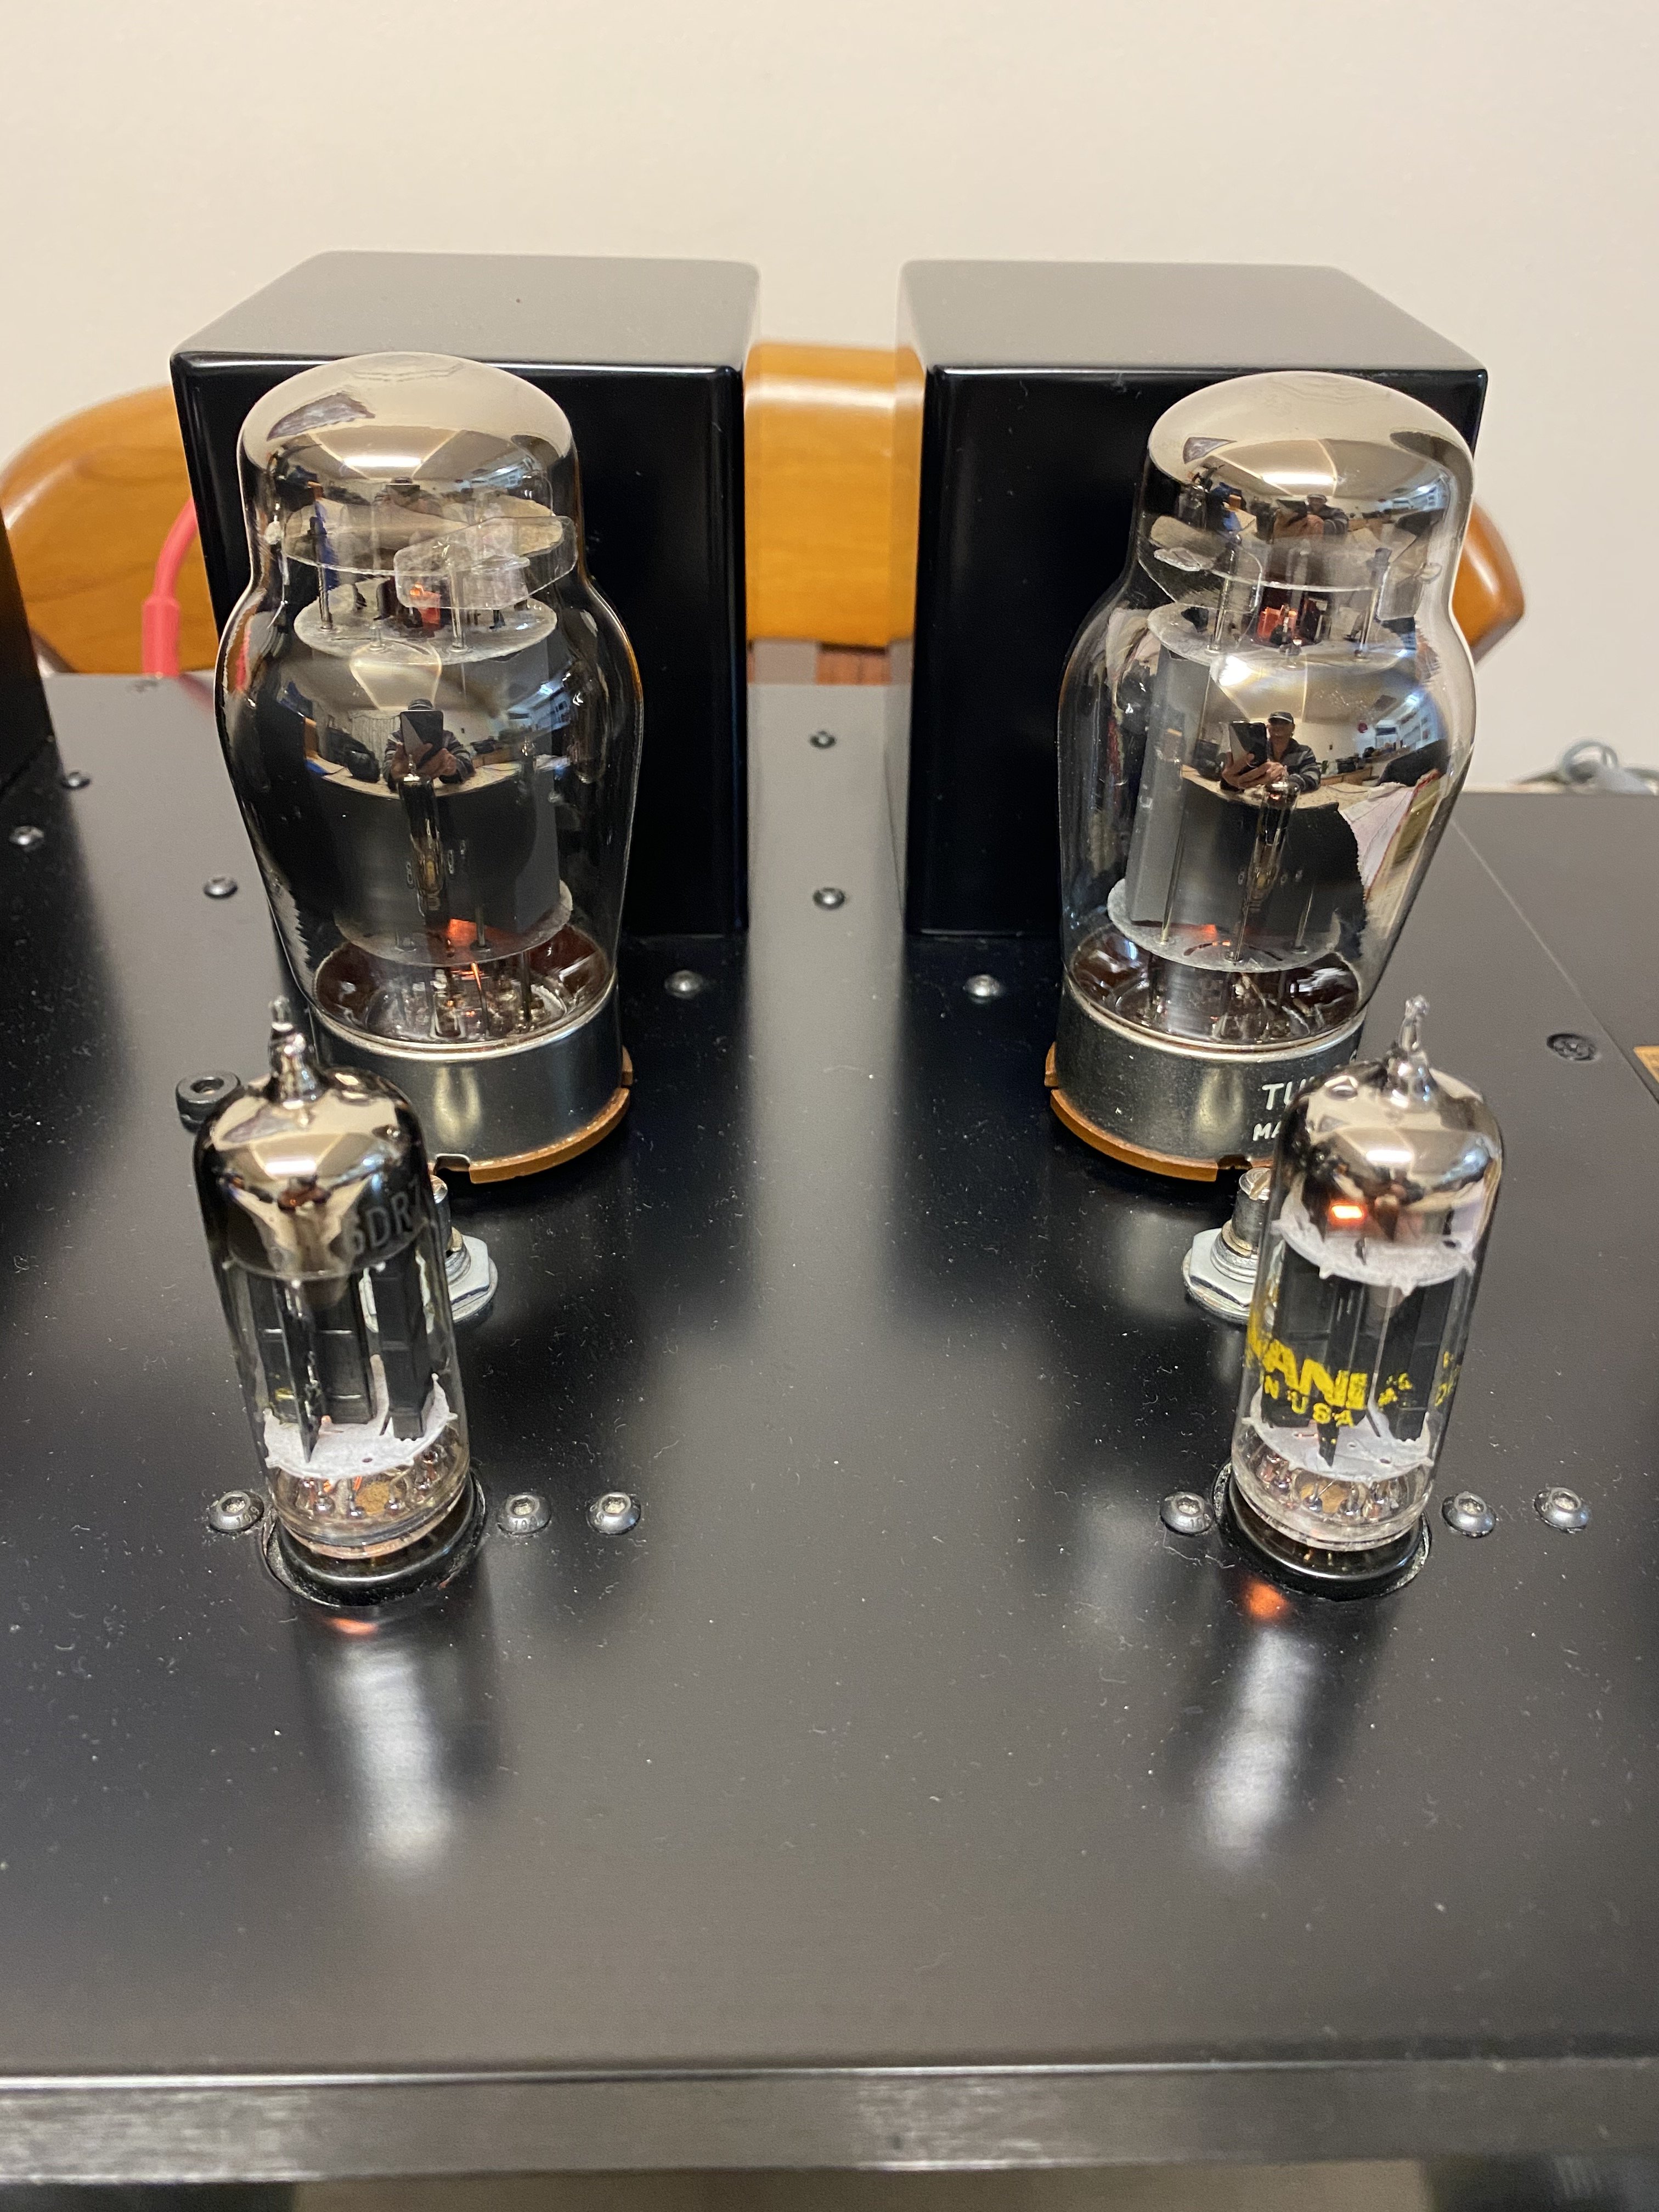
I've tested the unit by running KT-88s for about three hours, without adapters, and where the case was getting the hottest before, right between the 12au7s as well as right behind the KT-88s, it was just warm to the touch, but no where near uncomfortable at all. I can also feel a bit of warm air escaping from the top vent, so I'm convinced that actual fans are not necessary, just a good way for the air to flow through. I'm thinking that the heat is about a quarter what it was before, so along with the new paint, I'm really happy with the results!

A little background first. Due to the case of Elekit getting quite warm, even a bit hot at times, especially with KT-88s and 6550s, I decided that I wanted to modify the case to allow some air flow through to the components and cool everything down in general. I've also been wanting to paint the chassis for a while; whereas the silver was nice, it is a bit out of place for my uses. After performing the air cooling mods, the case temperature went down to about a quarter of what it was originally stock, very nice! However, using adapters/savers can also help reduce the surface temp as well, but I do like being able to use the straight sockets while not have to worry about the components underneath and closer to the surface. It is more of a piece of mind than anything, as the without the mod, the case never got as hot as a few other amps I know about, so I don't believe this mod is ultimately required.
I started by measuring and then cutting an 80 mm hole into both the top as well as bottom of the case to allow vertical air flow up and around the PCB, OPTs, etc. I just used a dremel tool with metal cutters and then files to smooth out any burs. I did not want to install actual fans for various reasons, but I just wanted a simple way to allow a little air from the bottom of the case to filter through and out the top.
Once I finished drilling the holes for the mounts, I primed all the parts prior to painting.
I ended up going with what is called "Carbon Mist" for the paint and I'm pretty happy with the end results.
As far as the assembly of the top and bottom vents, below is a list of the materials used:
- Two 80 mm stainless steel computer fan mounts with honeycomb grills - painted
- Two 80 mm computer fan foam filters to stop/trap any large particles
- Two 80 mm rubber fan mounts to reduce vibrations between the case and the assembly
- The bottom ends of two 80 mm plastic fan enclosures to hold the foam
- These were also covered in 3M RFI/EMI shielding, with cutouts for airflow; I figured since I was cutting such large holes in the steel case, it would be best to try to stop as many possible nasties from entering, or even exiting, at least as best as possible
Here is some pictures of the the enclosures before/after I cutout the vents with the shielding attached:
I also decided to replace some of the screws, since they were getting a bit stripped and didn't mesh with the new color, with anodized black Hex screws and rubber washers to reduce any vibrations. The vent assemblies are also easy enough to open to, allowing cleaning of the filter from time to time, so I'm not too worried about dust buildup. Below are some pictures of the finished/assembled vents and filters:
I also decided to replace the stock feet with these nice steel and rubber versions seen on the unit below:
In all, I think it turned out pretty nice, except that I did go a bit heavy on the paint and clear coat, while forgetting that the front bezel is so tight! Putting it back on, it chipped off a bit of the corner paint (seen left below), so I'll be doing some retouching/refinishing this spring/summer.
I've tested the unit by running KT-88s for about three hours, without adapters, and where the case was getting the hottest before, right between the 12au7s as well as right behind the KT-88s, it was just warm to the touch, but no where near uncomfortable at all. I can also feel a bit of warm air escaping from the top vent, so I'm convinced that actual fans are not necessary, just a good way for the air to flow through. I'm thinking that the heat is about a quarter what it was before, so along with the new paint, I'm really happy with the results!
