


rcjroy
New Head-Fier
- Joined
- Apr 3, 2012
- Posts
- 8
- Likes
- 12
I've been reading head-fi for a while now, which inspired me to get music listening hobby on the road. Here's my attempt to give back to the community.
Inspired by the DIY headphone stand thread here
http://www.head-fi.org/t/249671/the-diy-headphone-stand-thread
Here's the original headphone stand inspiration
http://www.musicdirect.com/p-1095-omega-headphone-stand.aspx
And the O2 Amp details from NwAvGuy
I decided to combine my DIY projects and kill two birds with one stone. This is my first wood working and amp that I have made. I'll let the pictures talk.


The O2 amp from JDS labs, but since this is a desktop version, I decided to build my own.


I had fun with the fish eye lens my dad had for the iphone. Each piece was cut using a scroll saw.


The front piece meeting with the aluminum enclosure met together quite nice but I filled the gaps in later with stainable wood glue.
While things dried I built the amplifier.


I had to convert the O2 amp's connections in order to have a front panel with vol, led, and 1/4 jack, so getting the right connections took a couple nights. I was going to use rca connectors as input but they wouldn't fit in the back of the board so I just left it with the 3.5mm jack. I'm going to use the amp solely with my desktop so it didn't see that much of a problem change. Another thing that complicated the build process was the push button connectors. Apparently mouser sent me the right part number but the manufacturer might have changed the switch slightly so the pins wouldn't match up with the PCB. I eventually used a dremel to grind down each pin to a needle point. I broke a couple pins, so I soldered on thin wires to act as pins. It didnt look very professional but it got the job down.

first song played on the amp!


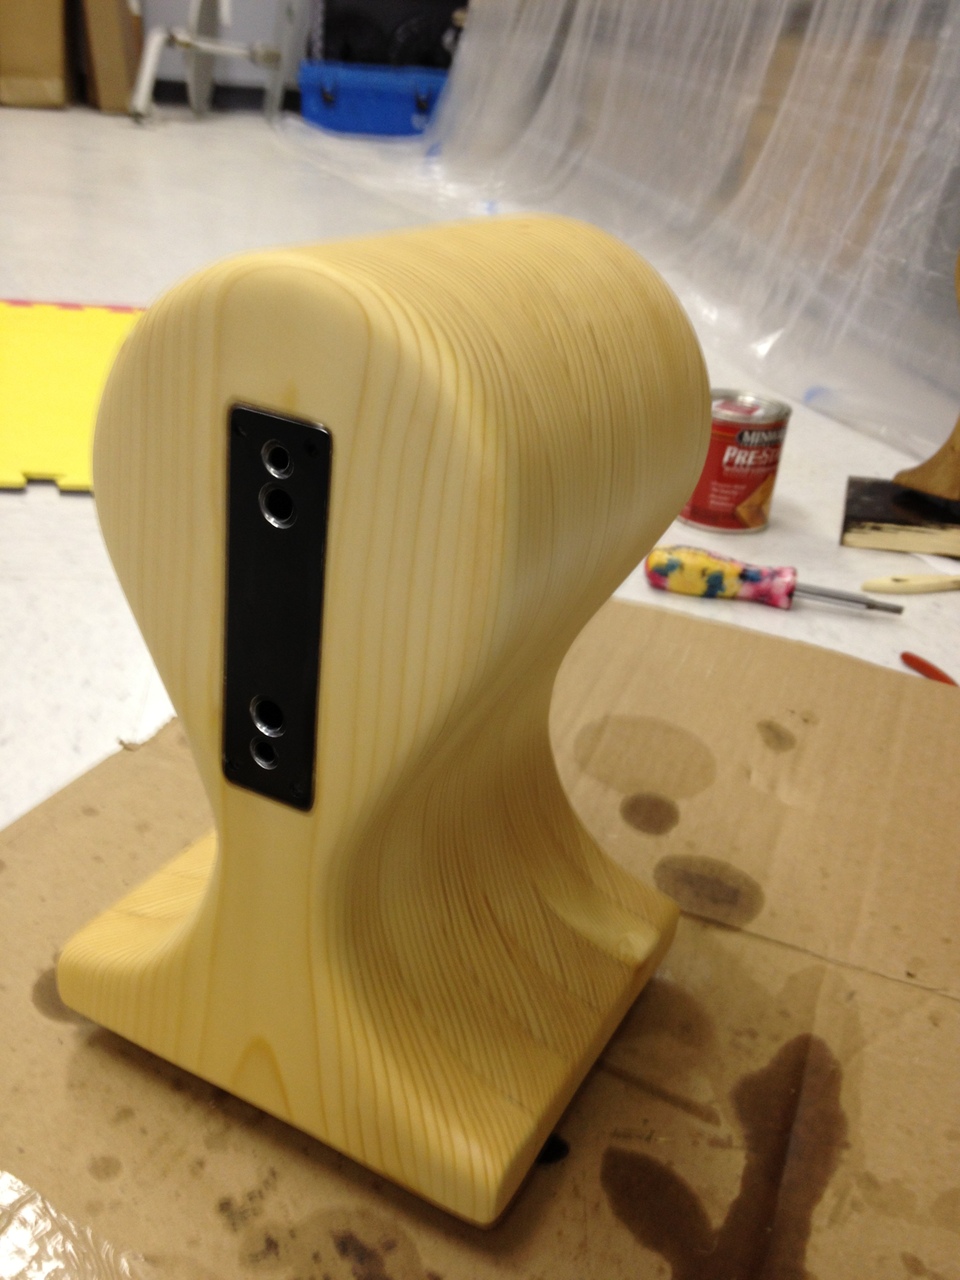
This sanding process was a backache. I have to make a rounded sanding tool to make the nice contours. After all was done, I router-ed the front and back and sanded everything smooth with 220 grit to prepare for staining.


First is with MiniWax's pre-treatment to ensure uniform absorption. Second with Special Walnut stain
 First coat of polyurethane! Applied a total of 3 coats.


The finished look is better than I thought it would turn out. The amp is intended to drive higher ohm headphones but even the ATH-M50s has greater bass impact and more prominent mids. Now I just have to update my library with lossless format!
Inspired by the DIY headphone stand thread here
http://www.head-fi.org/t/249671/the-diy-headphone-stand-thread
Here's the original headphone stand inspiration
http://www.musicdirect.com/p-1095-omega-headphone-stand.aspx
And the O2 Amp details from NwAvGuy
I decided to combine my DIY projects and kill two birds with one stone. This is my first wood working and amp that I have made. I'll let the pictures talk.
The O2 amp from JDS labs, but since this is a desktop version, I decided to build my own.
I had fun with the fish eye lens my dad had for the iphone. Each piece was cut using a scroll saw.
The front piece meeting with the aluminum enclosure met together quite nice but I filled the gaps in later with stainable wood glue.
While things dried I built the amplifier.
I had to convert the O2 amp's connections in order to have a front panel with vol, led, and 1/4 jack, so getting the right connections took a couple nights. I was going to use rca connectors as input but they wouldn't fit in the back of the board so I just left it with the 3.5mm jack. I'm going to use the amp solely with my desktop so it didn't see that much of a problem change. Another thing that complicated the build process was the push button connectors. Apparently mouser sent me the right part number but the manufacturer might have changed the switch slightly so the pins wouldn't match up with the PCB. I eventually used a dremel to grind down each pin to a needle point. I broke a couple pins, so I soldered on thin wires to act as pins. It didnt look very professional but it got the job down.
first song played on the amp!
This sanding process was a backache. I have to make a rounded sanding tool to make the nice contours. After all was done, I router-ed the front and back and sanded everything smooth with 220 grit to prepare for staining.
First is with MiniWax's pre-treatment to ensure uniform absorption. Second with Special Walnut stain
The finished look is better than I thought it would turn out. The amp is intended to drive higher ohm headphones but even the ATH-M50s has greater bass impact and more prominent mids. Now I just have to update my library with lossless format!


