


cheapskateaudio
Aka: sohnx
- Joined
- Sep 15, 2011
- Posts
- 267
- Likes
- 26
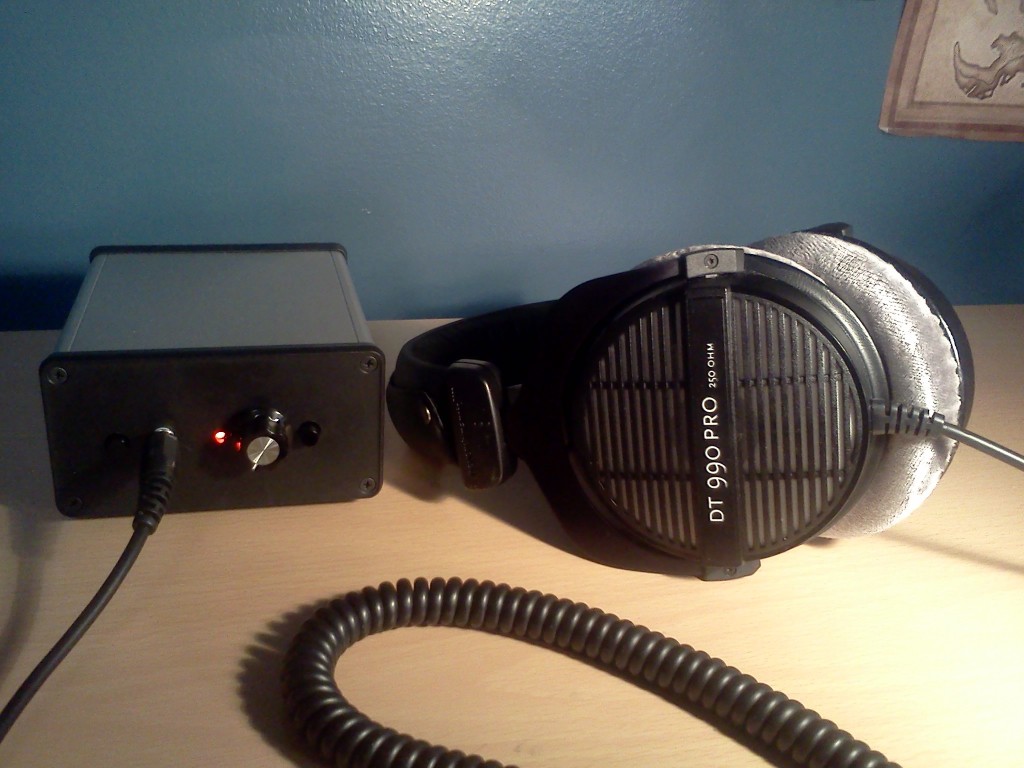
I finished this to the point that I can turn it on. It worked with the 9v and hasn't caught on fire yet so I assume it's safe for use with the wall-wart. Right off the bat it sounds better than the uDac 2 in terms of overall sound balance. The music seems to come from a darker background compared to the uDac 2 headphone out, even via the uDac 2's line outs.
Treble seemed more zingy at first, but on closer inspection is not just more zingy, but more clear, the two amps have similar tone in the treble region. Using the O2 I think the decay is better on cymbal crashes and overall there seems to be a bit more clarity to the treble.
Bass is where I'm hearing the biggest differences, not only quantity but quality. The bass is more pronounced and better defined with the O2. Bass is truly thunderous when called upon to be so and seems to come from outside your head.
Midrange is more full and more *real* sounding than the uDac 2. The uDac 2 can seem distorted or colored relative to the O2, although the uDac 2 can have a very musical tone that is appealing on certain tracks.
Dynamics seem improved with the O2, the uDac seems to be clipping during particularly loud passages, this is very evident when the digital volume is set to 0, knocking it down -2db alleviates that issue but clarity and that little extra oomph seem to be missing from the uDac 2 compared to the O2.
The O2 is very clean sounding, the uDac 2 is more musical sounding, the cello seems to have more music in it with the uDac 2, even as it sounds a little flat at times. The uDac 2 can sound flat in complex passages, and while it's musical tone is definitely appealing, it does not have nearly the clarity the O2 has, nor does it have nearly the power to drive a headphone like the HD650.
The above impressions are all at higher volumes, at lower volumes the clarity of the O2 is just too far beyond the uDac 2 to even warrant comparison. One is powered by AC and the other by a measly USB output, this is obvious to hear when listening at lower volumes... The uDac 2 is relegated to class F, for FAIL status at low volumes.
Based on my initial impressions I hereby declare, officially, without reservation or psychic influences beyond my control or understanding, the O2 headphone amplifier superior in all respects to the uDac 2 headphone amplifier. It is a great sounding amplifier!
O2 >>> uDac 2
Objective > Subjective, most of the time
Thanks to the unnamed for providing this cheap and easy to build kit to the DIY community!
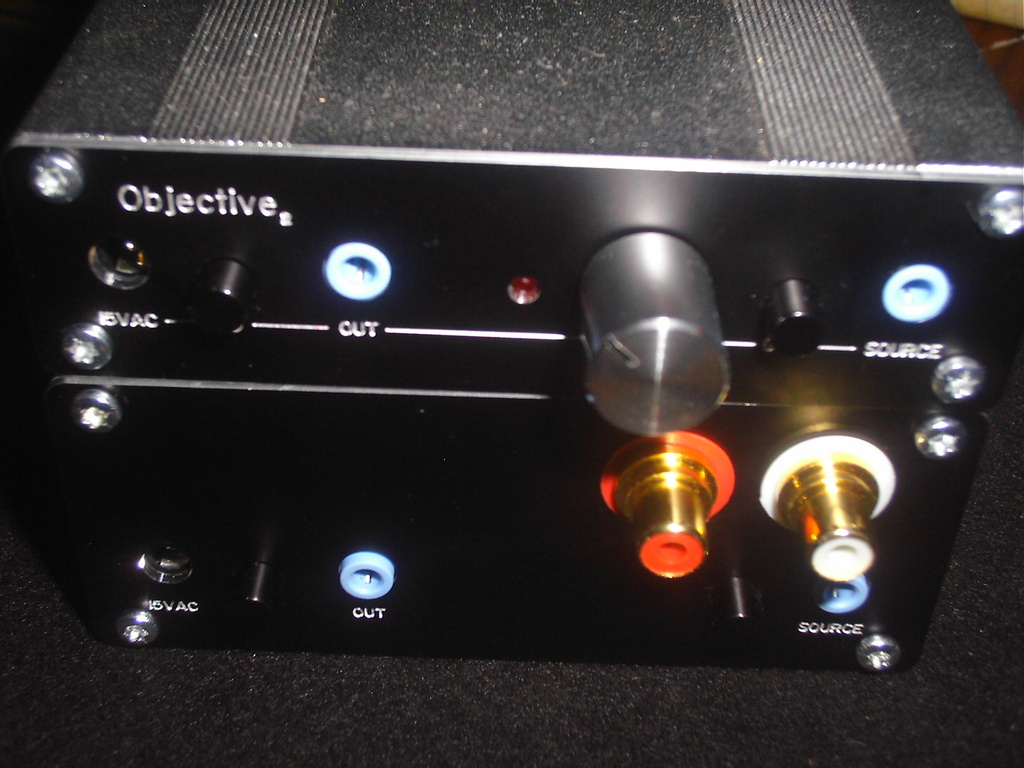
I'll post a more complete review of the amp in the appropriate forum at a later time. For now, enjoy these photos of the build process:
Resistors on:

Further along:

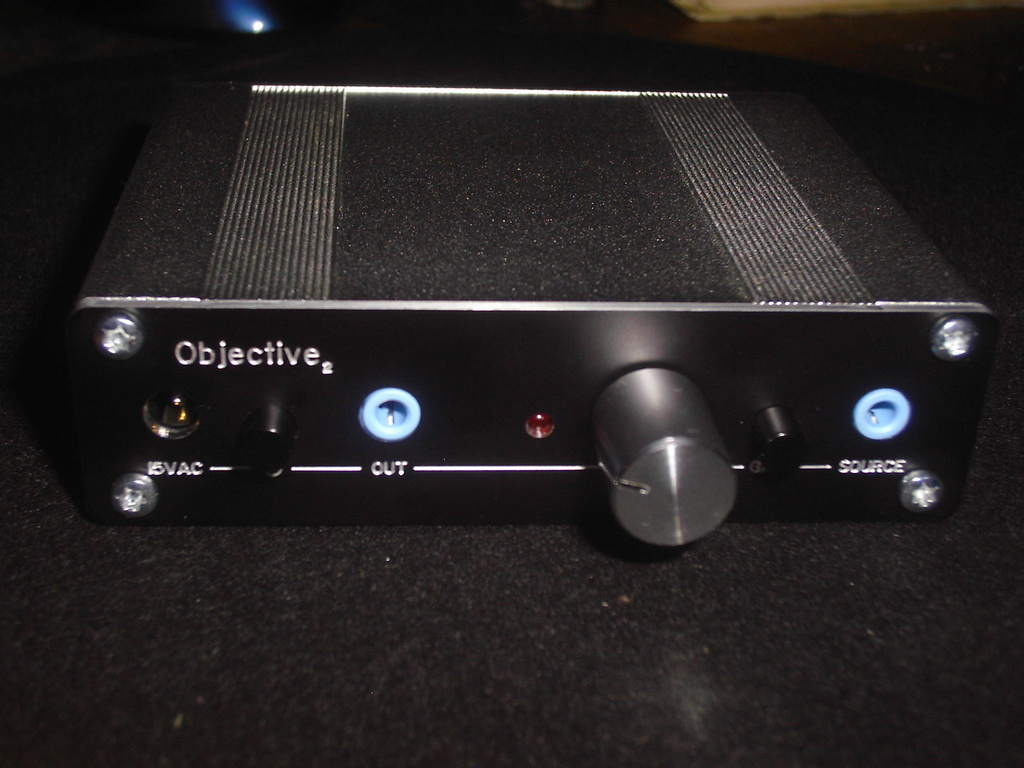
Almost done:

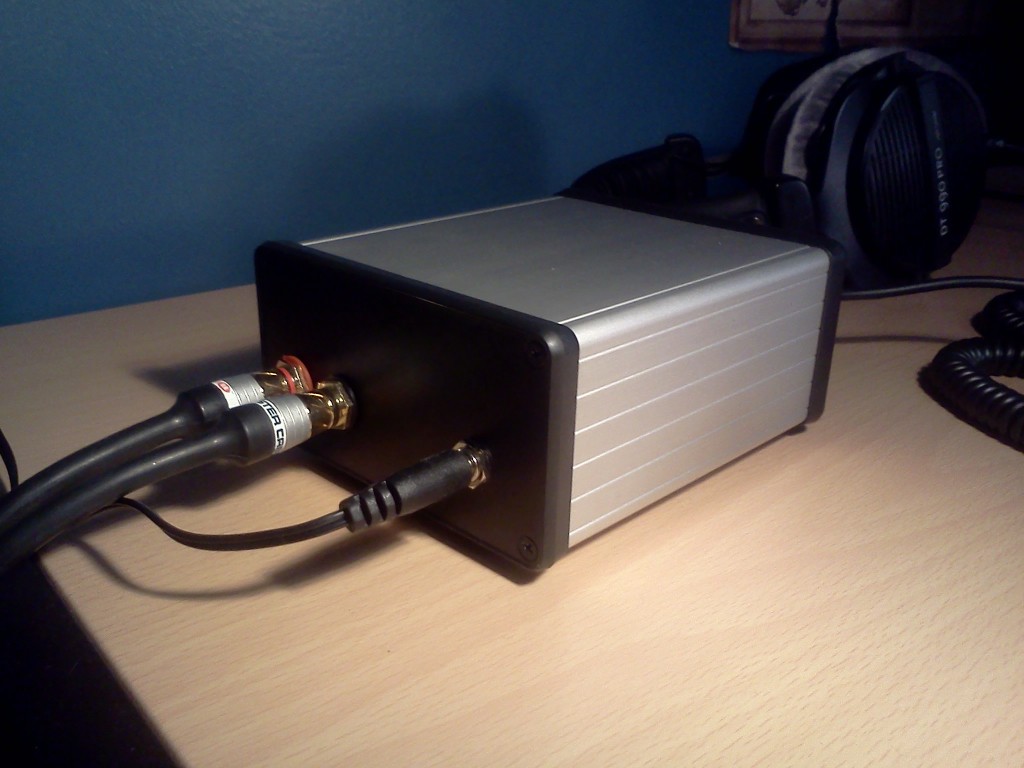
It worked...WOOT!

Treble seemed more zingy at first, but on closer inspection is not just more zingy, but more clear, the two amps have similar tone in the treble region. Using the O2 I think the decay is better on cymbal crashes and overall there seems to be a bit more clarity to the treble.
Bass is where I'm hearing the biggest differences, not only quantity but quality. The bass is more pronounced and better defined with the O2. Bass is truly thunderous when called upon to be so and seems to come from outside your head.
Midrange is more full and more *real* sounding than the uDac 2. The uDac 2 can seem distorted or colored relative to the O2, although the uDac 2 can have a very musical tone that is appealing on certain tracks.
Dynamics seem improved with the O2, the uDac seems to be clipping during particularly loud passages, this is very evident when the digital volume is set to 0, knocking it down -2db alleviates that issue but clarity and that little extra oomph seem to be missing from the uDac 2 compared to the O2.
The O2 is very clean sounding, the uDac 2 is more musical sounding, the cello seems to have more music in it with the uDac 2, even as it sounds a little flat at times. The uDac 2 can sound flat in complex passages, and while it's musical tone is definitely appealing, it does not have nearly the clarity the O2 has, nor does it have nearly the power to drive a headphone like the HD650.
The above impressions are all at higher volumes, at lower volumes the clarity of the O2 is just too far beyond the uDac 2 to even warrant comparison. One is powered by AC and the other by a measly USB output, this is obvious to hear when listening at lower volumes... The uDac 2 is relegated to class F, for FAIL status at low volumes.
Based on my initial impressions I hereby declare, officially, without reservation or psychic influences beyond my control or understanding, the O2 headphone amplifier superior in all respects to the uDac 2 headphone amplifier. It is a great sounding amplifier!
O2 >>> uDac 2
Objective > Subjective, most of the time
Thanks to the unnamed for providing this cheap and easy to build kit to the DIY community!
I'll post a more complete review of the amp in the appropriate forum at a later time. For now, enjoy these photos of the build process:
Resistors on:
Further along:
Almost done:
It worked...WOOT!

")


