


Big Bill
100+ Head-Fier
- Joined
- Jan 16, 2011
- Posts
- 135
- Likes
- 10
Hello gang, I've started this thread so we could pick up were we left off (http://www.head-fi.org/forum/thread/508459/sr60-mod). Welcome to SR60 part II!
Firstly, here is a link to markkr's "How to: Grado cable mod" thread. http://www.head-fi.org/forum/thread/563355/how-to-grado-cable-mod#post_7618070
Secondly, below are twenty plus posts by Bilavideo "lifted" from the original SR60-Mod thread to help get us started off.

- Bilavideo
-

- online
- 3,135 Posts. Joined 2/2008
- Location: Florida

He sent me the Grados and I got to work. At first glance, the SR60s aren't much to look at. They come in a little pizza box that only Grado lovers can appreciate. As everybody knows, the best pizza comes from New York - in this case, Brooklyn.

Like the Koss PortaPro, the SR60 is a model of minimalist efficiency. The headband is just vinyl over wire. The cushions are modest "comfies." The cups are plastic imitations of the classic shells of the RS1.


If the SR60 doesn't quite dazzle like some of its more expensive brothers (or sisters), it's partly because it's a box of compromises: plastic shells, plastic grills, standard wiring and itty bitty cushions.

As a former owner of the SR80, SR225, SR325i, RS1, HF2 and GS1000, and as a current owner of the PS1000, I know you can always buy your way up the product line. But if you're a high-school or college student, you may just have to make the best of what you have - or of what you can get. That's where modding comes in.
Like cars on a used-car lot, "everything" on an SR60 "is priced to go."
Second post:
- Bilavideo
-
- online
- 3,135 Posts. Joined 2/2008
- Location: Florida
QUARTER MOD
The pads on the SR60 - the C-Cush or "comfies" - are, in fact, just that. But who wants a filter between their ear and the driver? (besides Sennheiser lovers) The comfies provide a nice place to park your ears. The quarter mod lets you "open things up," if just a little. Just pinch, cut, bite or laser-beam a portal for your ear canals.

Third post:
- Bilavideo
-
- online
- 3,135 Posts. Joined 2/2008
- Location: Florida
If, after quarter-modding your SR60, you still feel a veil between your ears and your driver, it's time to take intimacy to the next level. Every Grado headphone - from the bottom to the top - has a grill cloth. Whether these grill cloths are identical from model to model is anybody's guess, but I've never been partial to the ones on the SR60. With the edge of a sharp knife and a little care, you can strip off the grill cloth.


Removing this cloth is a bit of work. While the bulk of the cloth comes off easily, there are always little snakes that will cling for life. To get rid of them, it takes a little work with the tip of your knife (where they're glued in) and fingers like pliers.


Well, if that isn't a poster for headphone abuse, I don't know what is. Still, with persistence, you can get something like this:

I'm not wild about the plastic grill, but I prefer it liberated of its loin cloth. To my ears, the sound is a tad cleaner. Dust gets in a little easier, but it blows out more easily as well. I may be the only guy on the eastern seaboard telling you to blow your phones on a regular basis, but if you're like me, you'll do almost anything for good sound.
Fourth post:
- Bilavideo
-
- online
- 3,135 Posts. Joined 2/2008
- Location: Florida
Every Grado - from top to bottom - has a series of ten tiny holes ringed around the driver. The purpose of these holes is to allow the driver to vent. On the low-end Grados, every single one of these holes is covered by a semipermeable paper or cloth. As a result, if you were to hold the SR60 up to a light source, you could look through the back of the driver, but you wouldn't see much light.


On this particular SR60, there was a certain mismatch between the two rear driver cloths.

Ironically, the holiest of Grados are also quite holey. Take a look at my PS1000:

Well, screw that. Even the HF2 has at least one hole, so - as Pharoah said - "So let it be written; so let it be done." Or as Joe Pesci might say, "You want holes. I got your holes, right here."

These holes are easier to pop than it is for seniors in South Florida to vote for president. But we've skipped a step! To vent your driver, you'll first need to get the cups apart.
[size=x-small]Edited by Bilavideo - 8/21/10 at 10:07pm [/size]
Fifth post:
- Bilavideo
-
- online
- 3,135 Posts. Joined 2/2008
- Location: Florida
OPENING UP YOUR SR60i
Fortunately, the SR60i is one of the easier Grados to open up. Its cups are held together by rubbery glue that's heat-sensitive. Softening the glue is simply a matter of steaming the cups till the glue loosens up. I've ruined a few shells by putting them in boiling water (bad idea). You don't need a full boil, just steam. A few minutes of a shallow steam bath will do the trick - at least with the SR60i.

I filled a teapot with water, got it hot an d steamy and then poured a shallow layer of water into a cake pan. That's the objective. Of course, to place my cups in steamy water, I had to first prepare them.

The minimalist design of the SR60 makes it easy to take apart. The forks that connect the cups to the headband just clip on - and what clips on can as easily clip off.

Okay class, quick question: Which side would you want your cups facing when they hit the water? Top side up or Poseidon Adventure?

If you said, "Top side up," you should register to vote. But I digress.

Give it just enough time to do its thing and you'll be able to pry your Grados apart WITH YOUR BARE HANDS. (Chuck Norris can do it without the steam.) It's a little drippy but it wipes right off, revealing undamped plastic chambers, the magnet plate, those holes we want to pop and some wiring we're going to mess with before this story is over.


Sixth post:
- Bilavideo
-
- online
- 3,135 Posts. Joined 2/2008
- Location: Florida
Closed cans are usually great with bass but not always as great with HF. Open cans, on the other hand, are often great with HF but have to find a way to recover the bass they leak by having "open" backs. Grados often get a bad rap as "bright" or "shrill" when new users crank up the volume hoping to get the bass they seem to be missing. What they get is a head full of HF. On the other hand, that would be the case if someone judged the HD600, HD650, HD800, K701/702 or T1 on the same basis. High-impedance headphones need a good amp, not just for volume but for tone control. In the absence of a classic "shell," all you've got is a driver, and if all you have is that driver, that driver needs power to deliver.
But Grados aren't exactly electric guitars looking for a place to plug in. Grados are more like acoustic guitars. They use an "air chamber" to amplify the bass and release backwave resonance at the same time. It's a tricky little trick, which is why Grado's best cans use aluminum, mahogany and mahogany-aluminum chambers to deliver bass while tossing out extra treble. Some argue that they're better with the latter than they are with the former. Not many would continue to make that argument if they heard the same Grados hooked up to a decent amp. That's because the amps fully power the Grados to get the most out of their drivers. In a word, what they provide is "airflow."
Venting the drivers increases airflow. This provides certain advantages in obtaining a better tonal balance. It also gives Grados - even the lowly SR60 - an undeniable kick. It may not be lowest grumble, but it's a slam that goes down like fine wine. The result is a bass that satisfies the bass craving, which has an effect on how loud the cans really need to be to fully satisfy. With a more dynamic bass, it's funny how the HF becomes so much less problematic.
[size=x-small]Edited by Bilavideo - 8/21/10 at 9:32pm [/size]
Image is nothing. Style is nothing. Sound rules supreme.
Seventh post:
- Bilavideo
-
- online
- 3,135 Posts. Joined 2/2008
- Location: Florida
DAMP IT ALL TO FELT!
Once you increase the airflow, the sonic qualities of the chamber become much more important. That may have some bearing on why the lower-end Grados don't vent. What, exactly, are the sonic qualities of plastic?
Once you vent an SR60, you'll want to make sure you're not adding a "canny" resonance, the very stuff you're trying to avoid by going "open" instead of "closed." There are expensive and inexpensive ways to pull this off. My cheap-and-easy method was to follow the lead of those who found a solution in adhesive felt. Hardware stores - from Lowes to Home Depot to Builders Square to Ace - sell little felt "feet" that can be attached to the bottom of anything you don't want to scratch or scuff. This material is fairly cheap $4-5/bag.

Green or black would have been cooler colors, but this is what I found close by. Putting it over the metal magnet plate added weight to it (to help damp its vibrations). It also kept it from becoming a source of secondary vibrations as backwaves emanated into the air chamber.

The same material adheres easily to the back of the rear-grill button, preventing it from becoming a hard surface from which to launch backwave resonance back into the driver. I ran out of perfect little circles (which I used on other projects), so I cut out some circle-like blobs, all of which look like cat crap. Fortunately, their effect on the sound is much more appealing.
Eighth post:
- Bilavideo
-
- online
- 3,135 Posts. Joined 2/2008
- Location: Florida

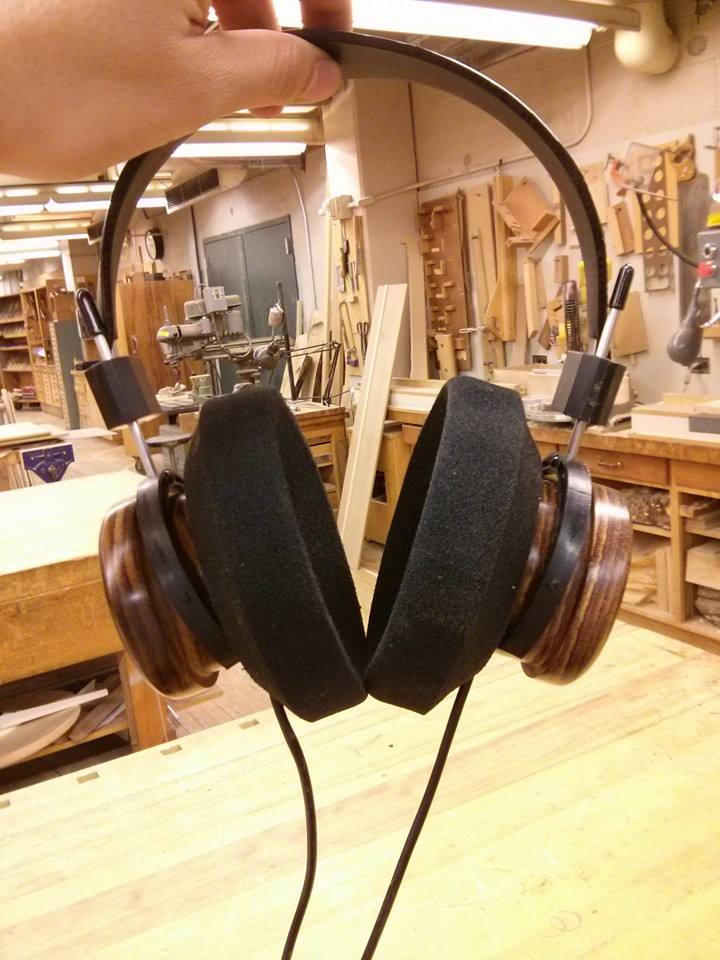
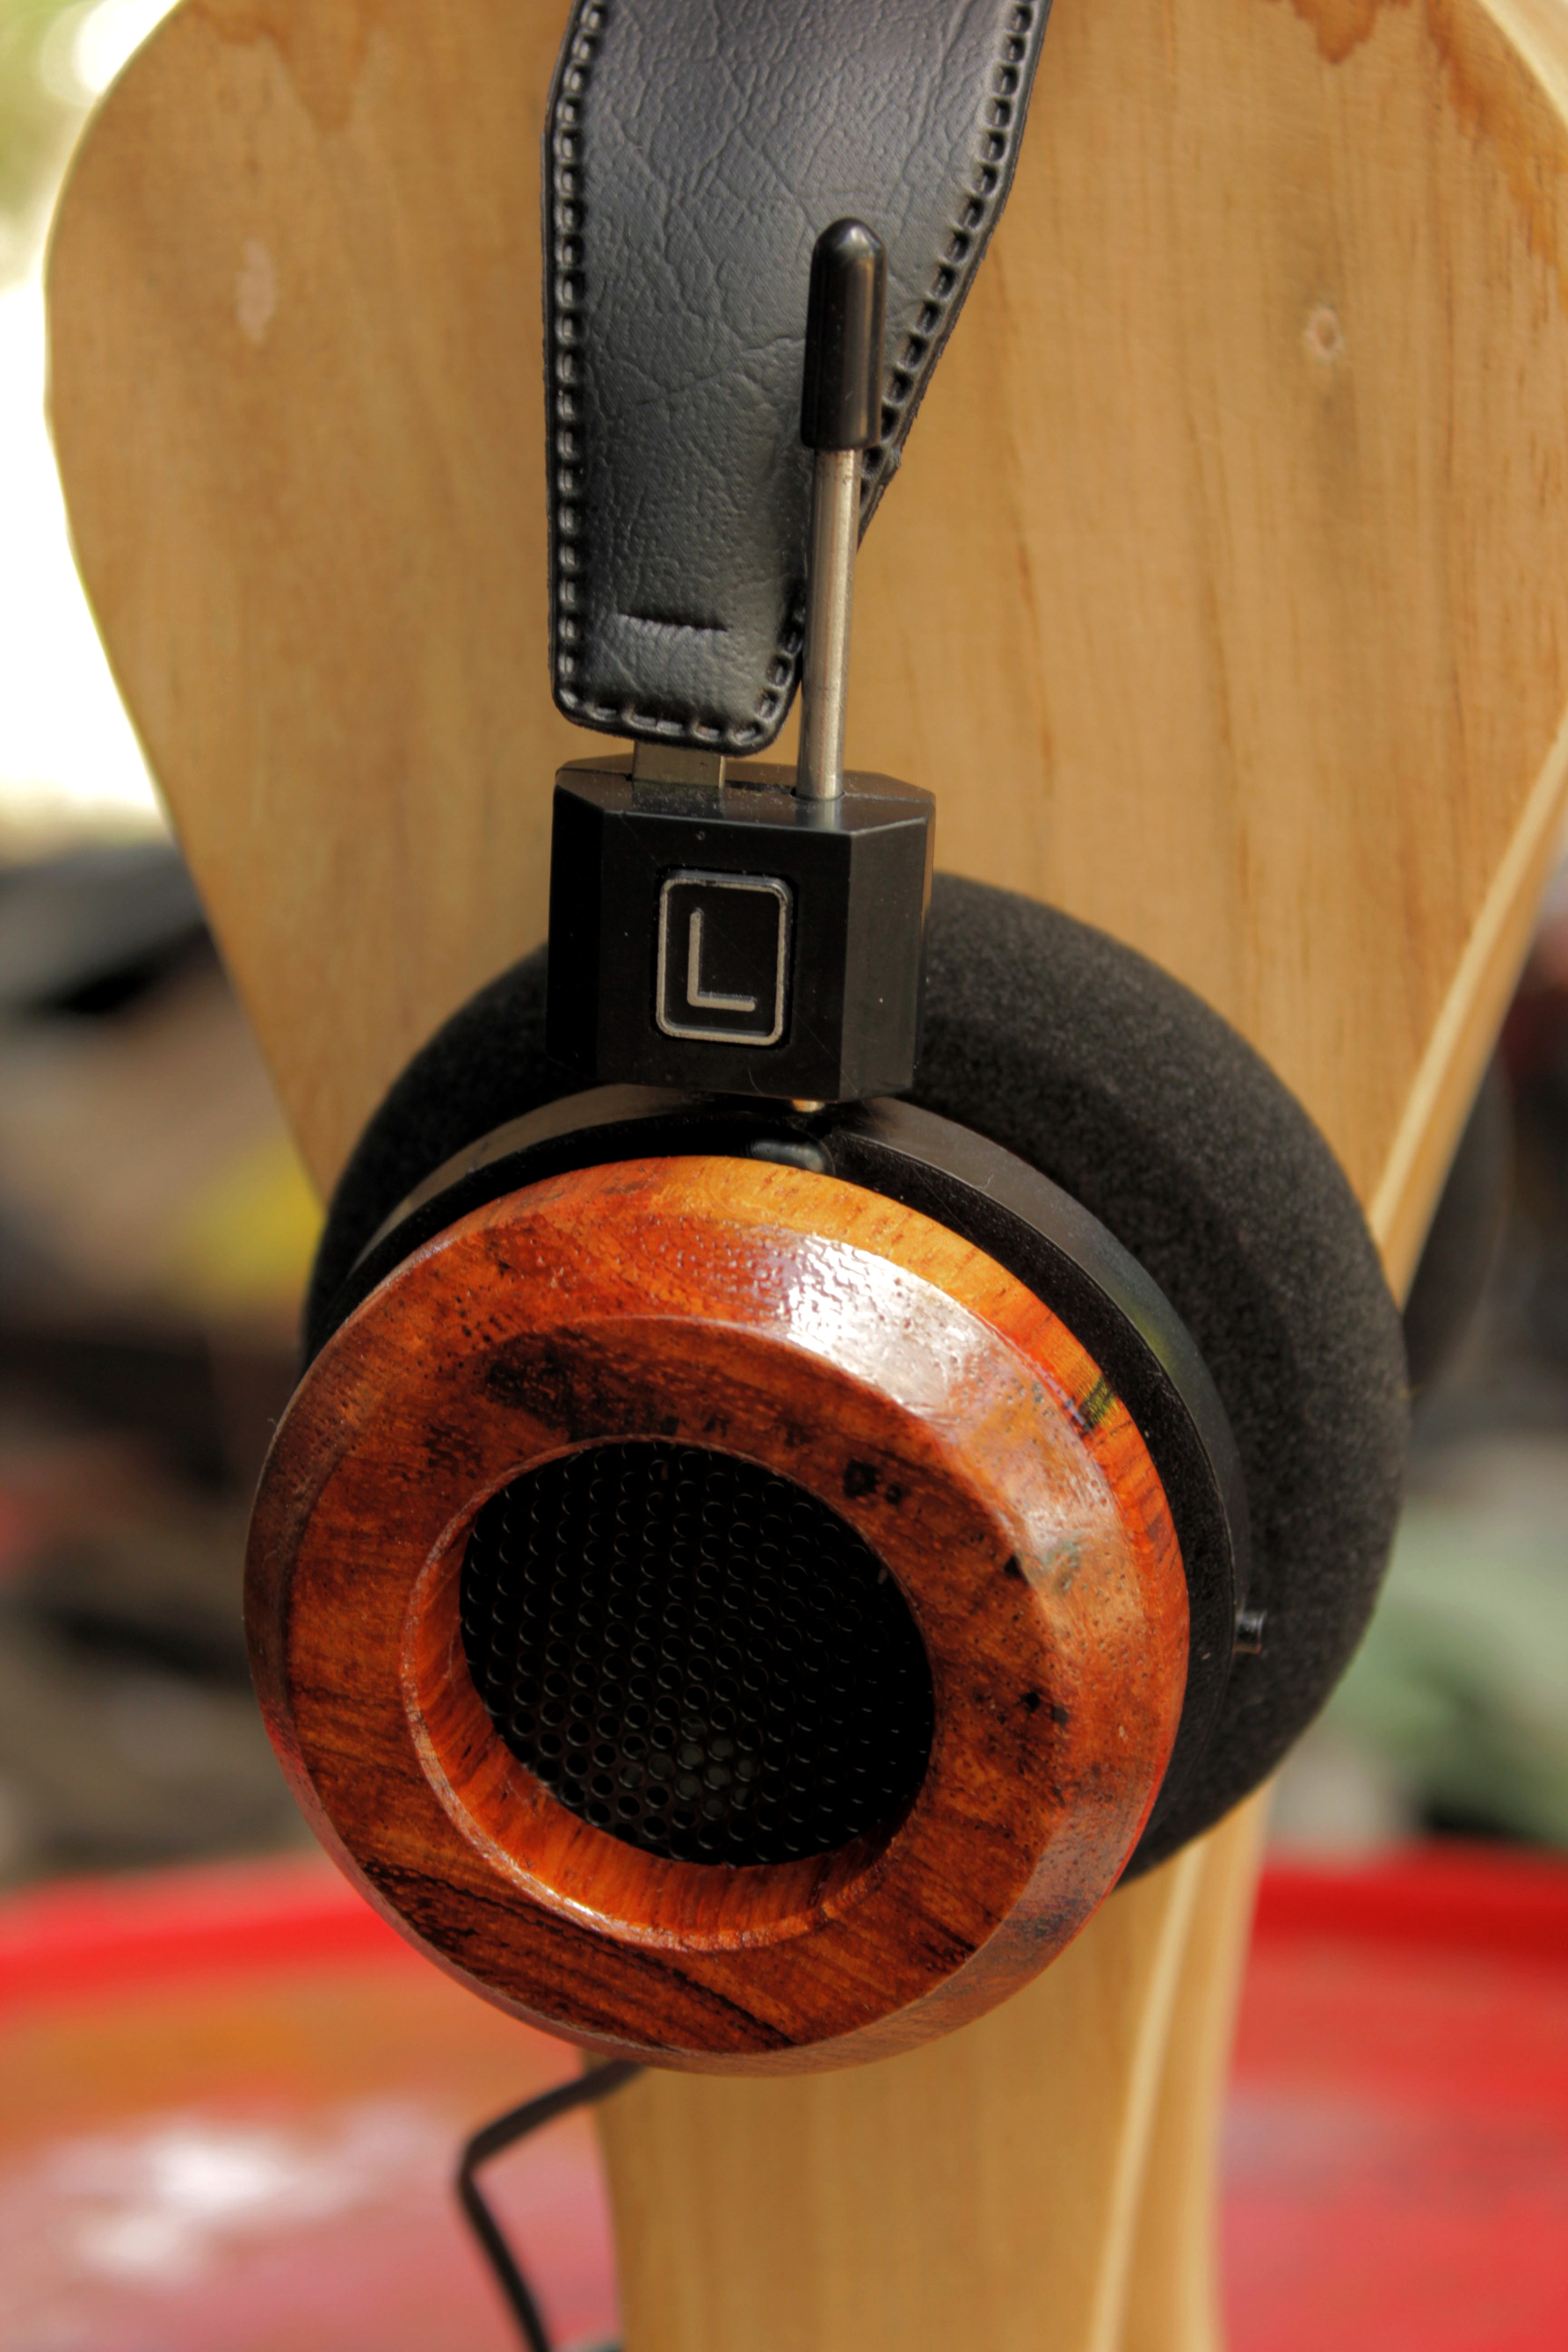
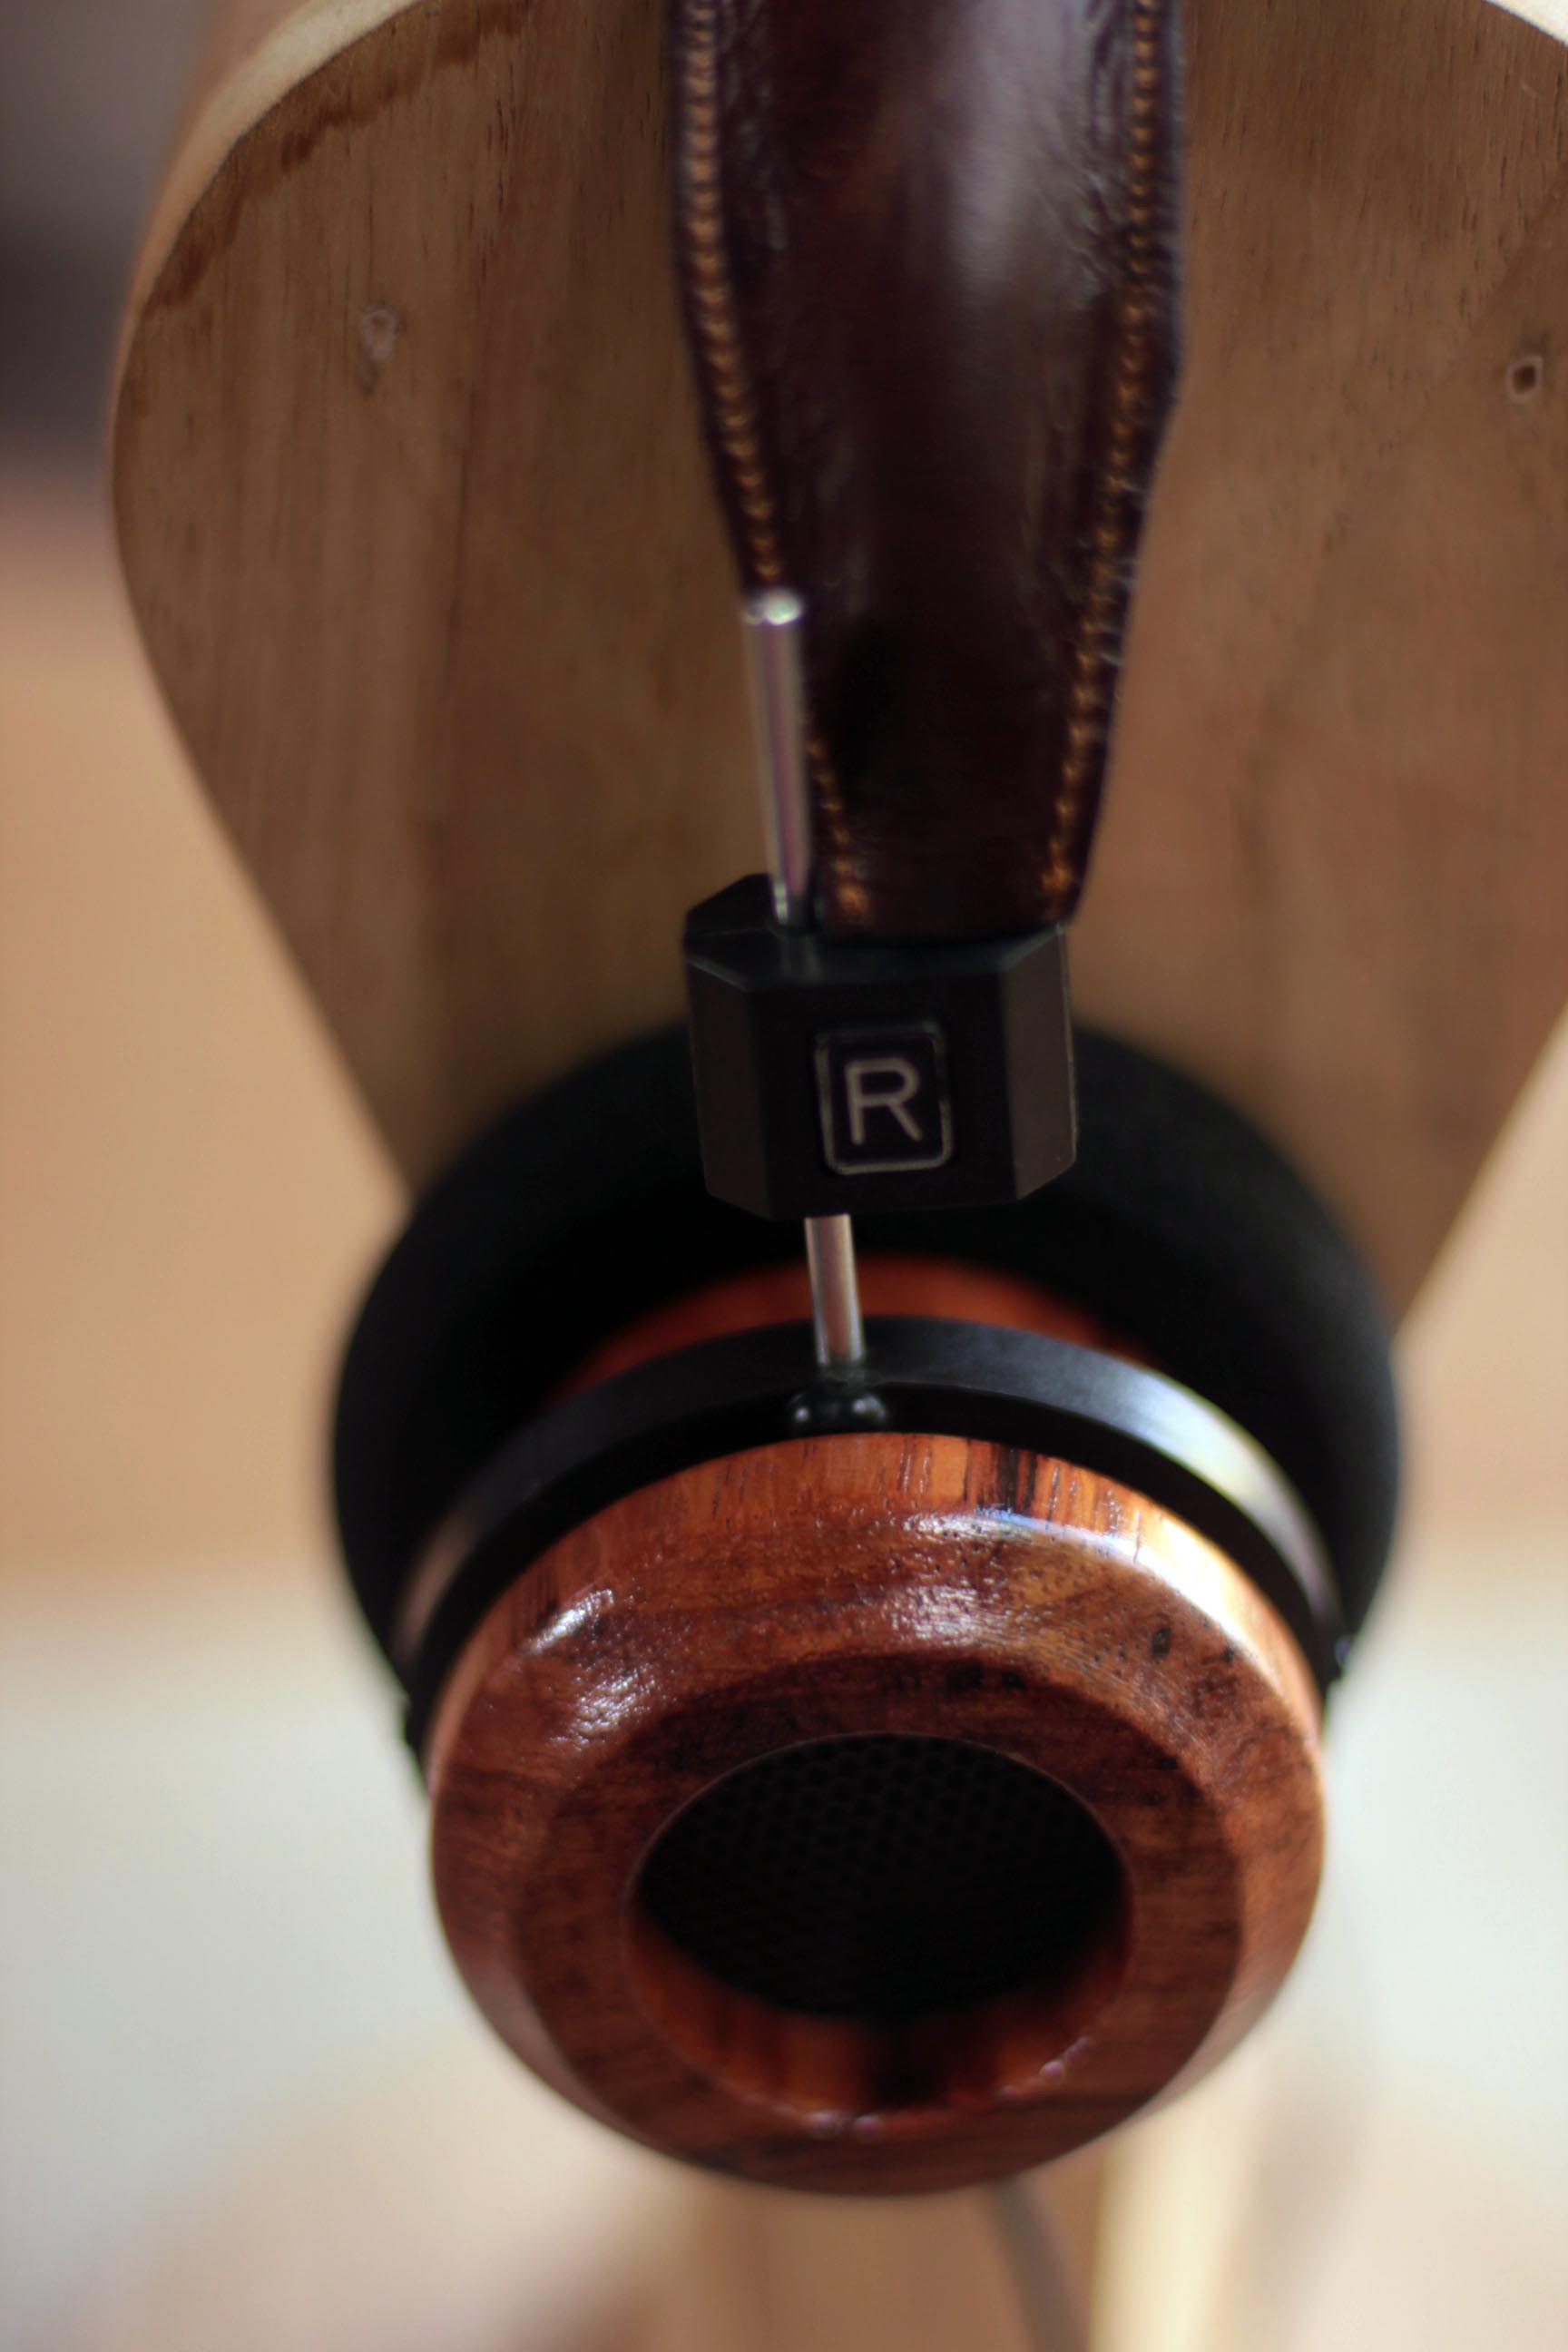
Grados mod like no other can. Just with these few mods, the process has begun - at least with this little pair. Whatever you can buy in a better Grado, you can build into the Grado you already have.
This little Grado has yet to receive any cosmetic upgrade, but it's already a different can. The cushions are modded. The front grills are cleaner. The drivers are more radically vented and the chambers are now damped.
It is closer to being a window of sound.

As light passes through, unhindered, so should the sounds of the driver, moving in both directions unimpeded.
The wiring upgrade begins tomorrow. I have obtained four feet of a four-wire weave of 24 AWG 99.99% pure silver wiring sheathed in teflon. (Total cost, with nylon mesh and shipping: $60.) With a shorter, more conductive wire, using separate grounds for most of the signal path, I'm hoping to end up with a svelt, lightweight, low-impedance signal path for the unamped listener. We'll see if it works.
Ninth post:
- Bilavideo
-
- offline
- 3,135 Posts. Joined 2/2008
- Location: Florida

This is an $8 mod involving small, felt button pads (for the magnet back and back of rear-grill button) as well as a roll of felt liner. The felt liner had to be cut to the right length and then clipped, in width, a few millimeters, to better facilitate the sliding together of the two halves of the cups. This mod may not look like much but it makes a very pleasing difference in the sound. Spikes are smoothed out and the bass feels tighter. Both effects seem reasonably related to the reduction of inner-chamber resonance.
Tenth post:
- Bilavideo
-
- offline
- 3,135 Posts. Joined 2/2008
- Location: Florida
I've been eager to test the hype surrounding high-end silver cables. I've long been something of a fine-wire skeptic. I have trouble reconciling myself to the idea of paying $500 for interconnects and headphone cables. Given the right diameter, copper will love you red, but given silver's higher conductivity, there's something attractive about trading in the garden hose for a svelt little light saber.

After analyzing the "active ingredients" of the big boys, I'm still skeptical of everything that isn't the actual wire. I don't care how your mom made up her special batch of silver cabling, just give me 24 AWG 99.99% silver wire, four-braided and wrapped in teflon, with a nylon mesh. If that doesn't do it, I'll stick with my garden hose.

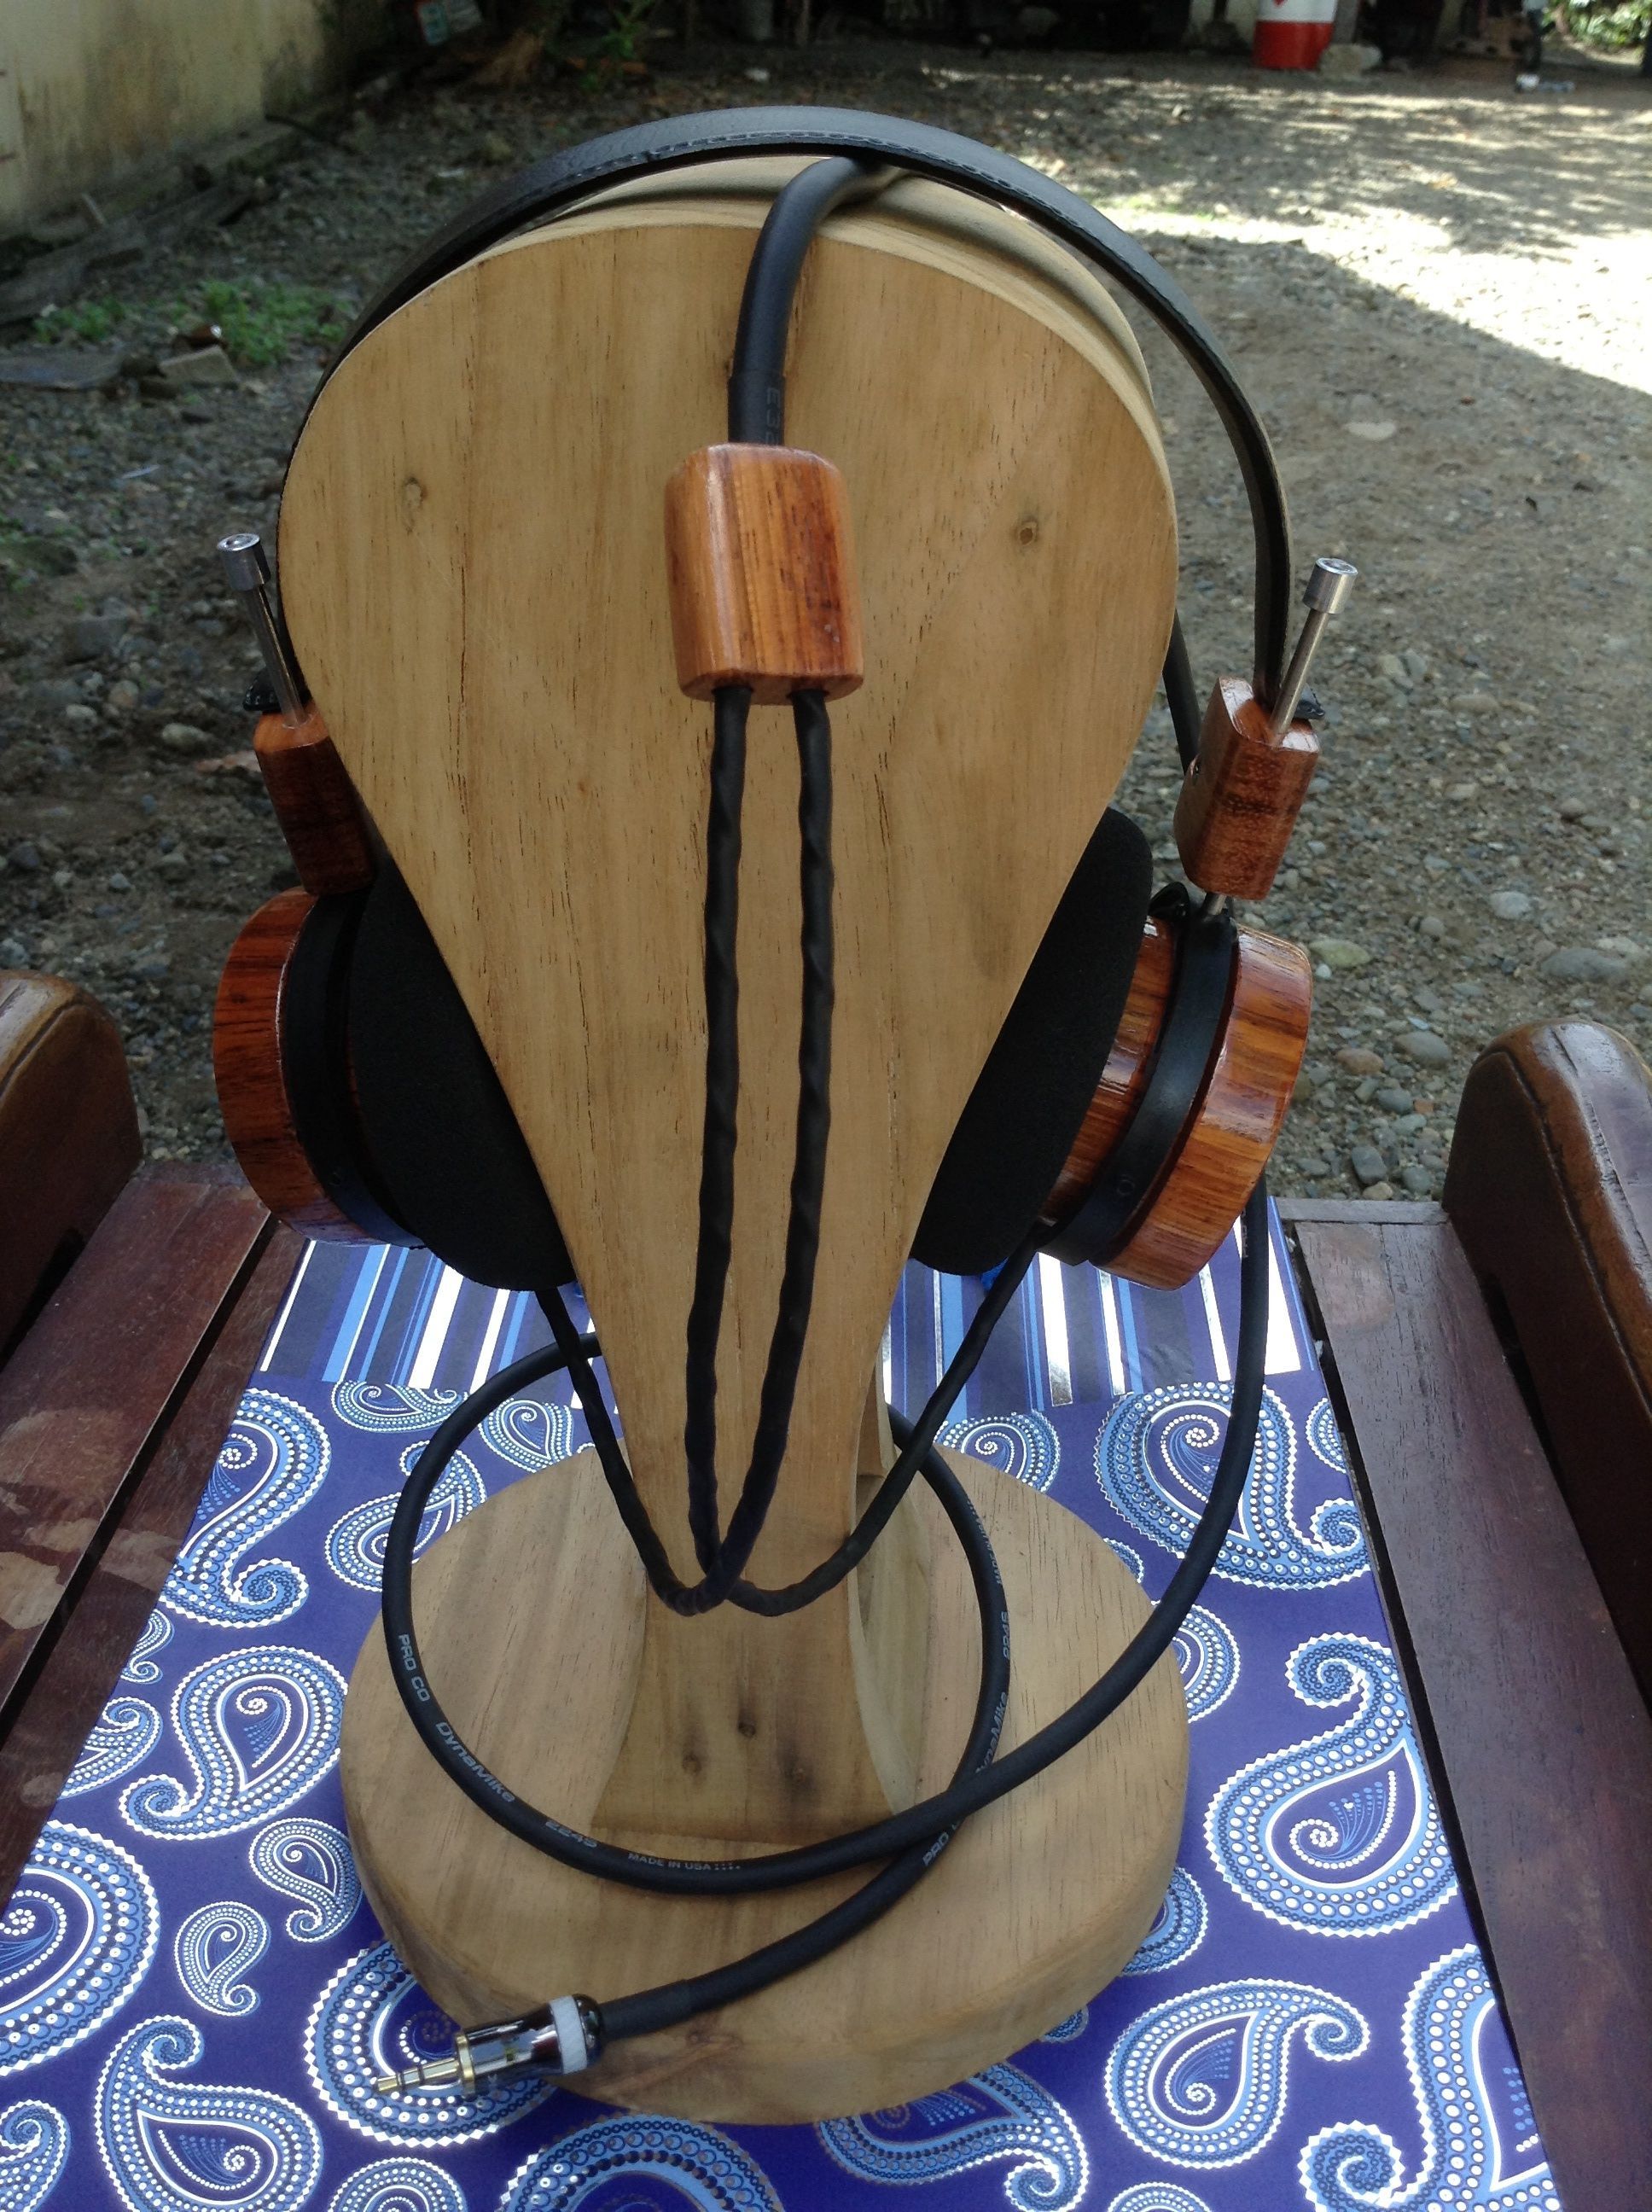
Thanks to the kind folks at Homegrown Audio Co., I get to check this out for myself without breaking the bank. The four-wire braid cost me $47.40. I couldn't decide on the color of the nylon mesh, so I bought a black one and a clear one for $1.25 each. With $9.50 for UPS Ground, it cost me a total of $59.40. (The dirty socks are mine and are not part of the upgrade.)

With the help of my favorite surly cashier at Radio Shack, I grabbed up some gold-plated connectors to make these cables detachable.

I was initially unsure of how I'd tell my wires apart, but since two of the wires are sheathed in silver teflon while the other two are sheathed in white, it makes it easy to assign one color the common ground.
[size=x-small]Edited by Bilavideo - 8/22/10 at 9:55pm [/size]
Image is nothing. Style is nothing. Sound rules supreme.


