


100mW min will be ample unless you want to smoke your eardrums. They can handle way more power than you could tolerate. I have two 650mW class A amps and neither has any issue with strain at any volume I've attempted.
So this unit certainly has plenty of power, but many options exist. I have an audio-GD 12, entry level unit, and frankly though it has tons of power, it doesn't sound as good as my DACPort with the T50.
So this unit certainly has plenty of power, but many options exist. I have an audio-GD 12, entry level unit, and frankly though it has tons of power, it doesn't sound as good as my DACPort with the T50.

|
Make every day a fun day filled with music and friendship!
Stay updated on Dan Clark Audio at their sponsor profile on Head-Fi.


|

 ) that sound this good! DR2d is as big as a (long ones?) cigarette pack. Will fit a big pocket or a small sling bag.


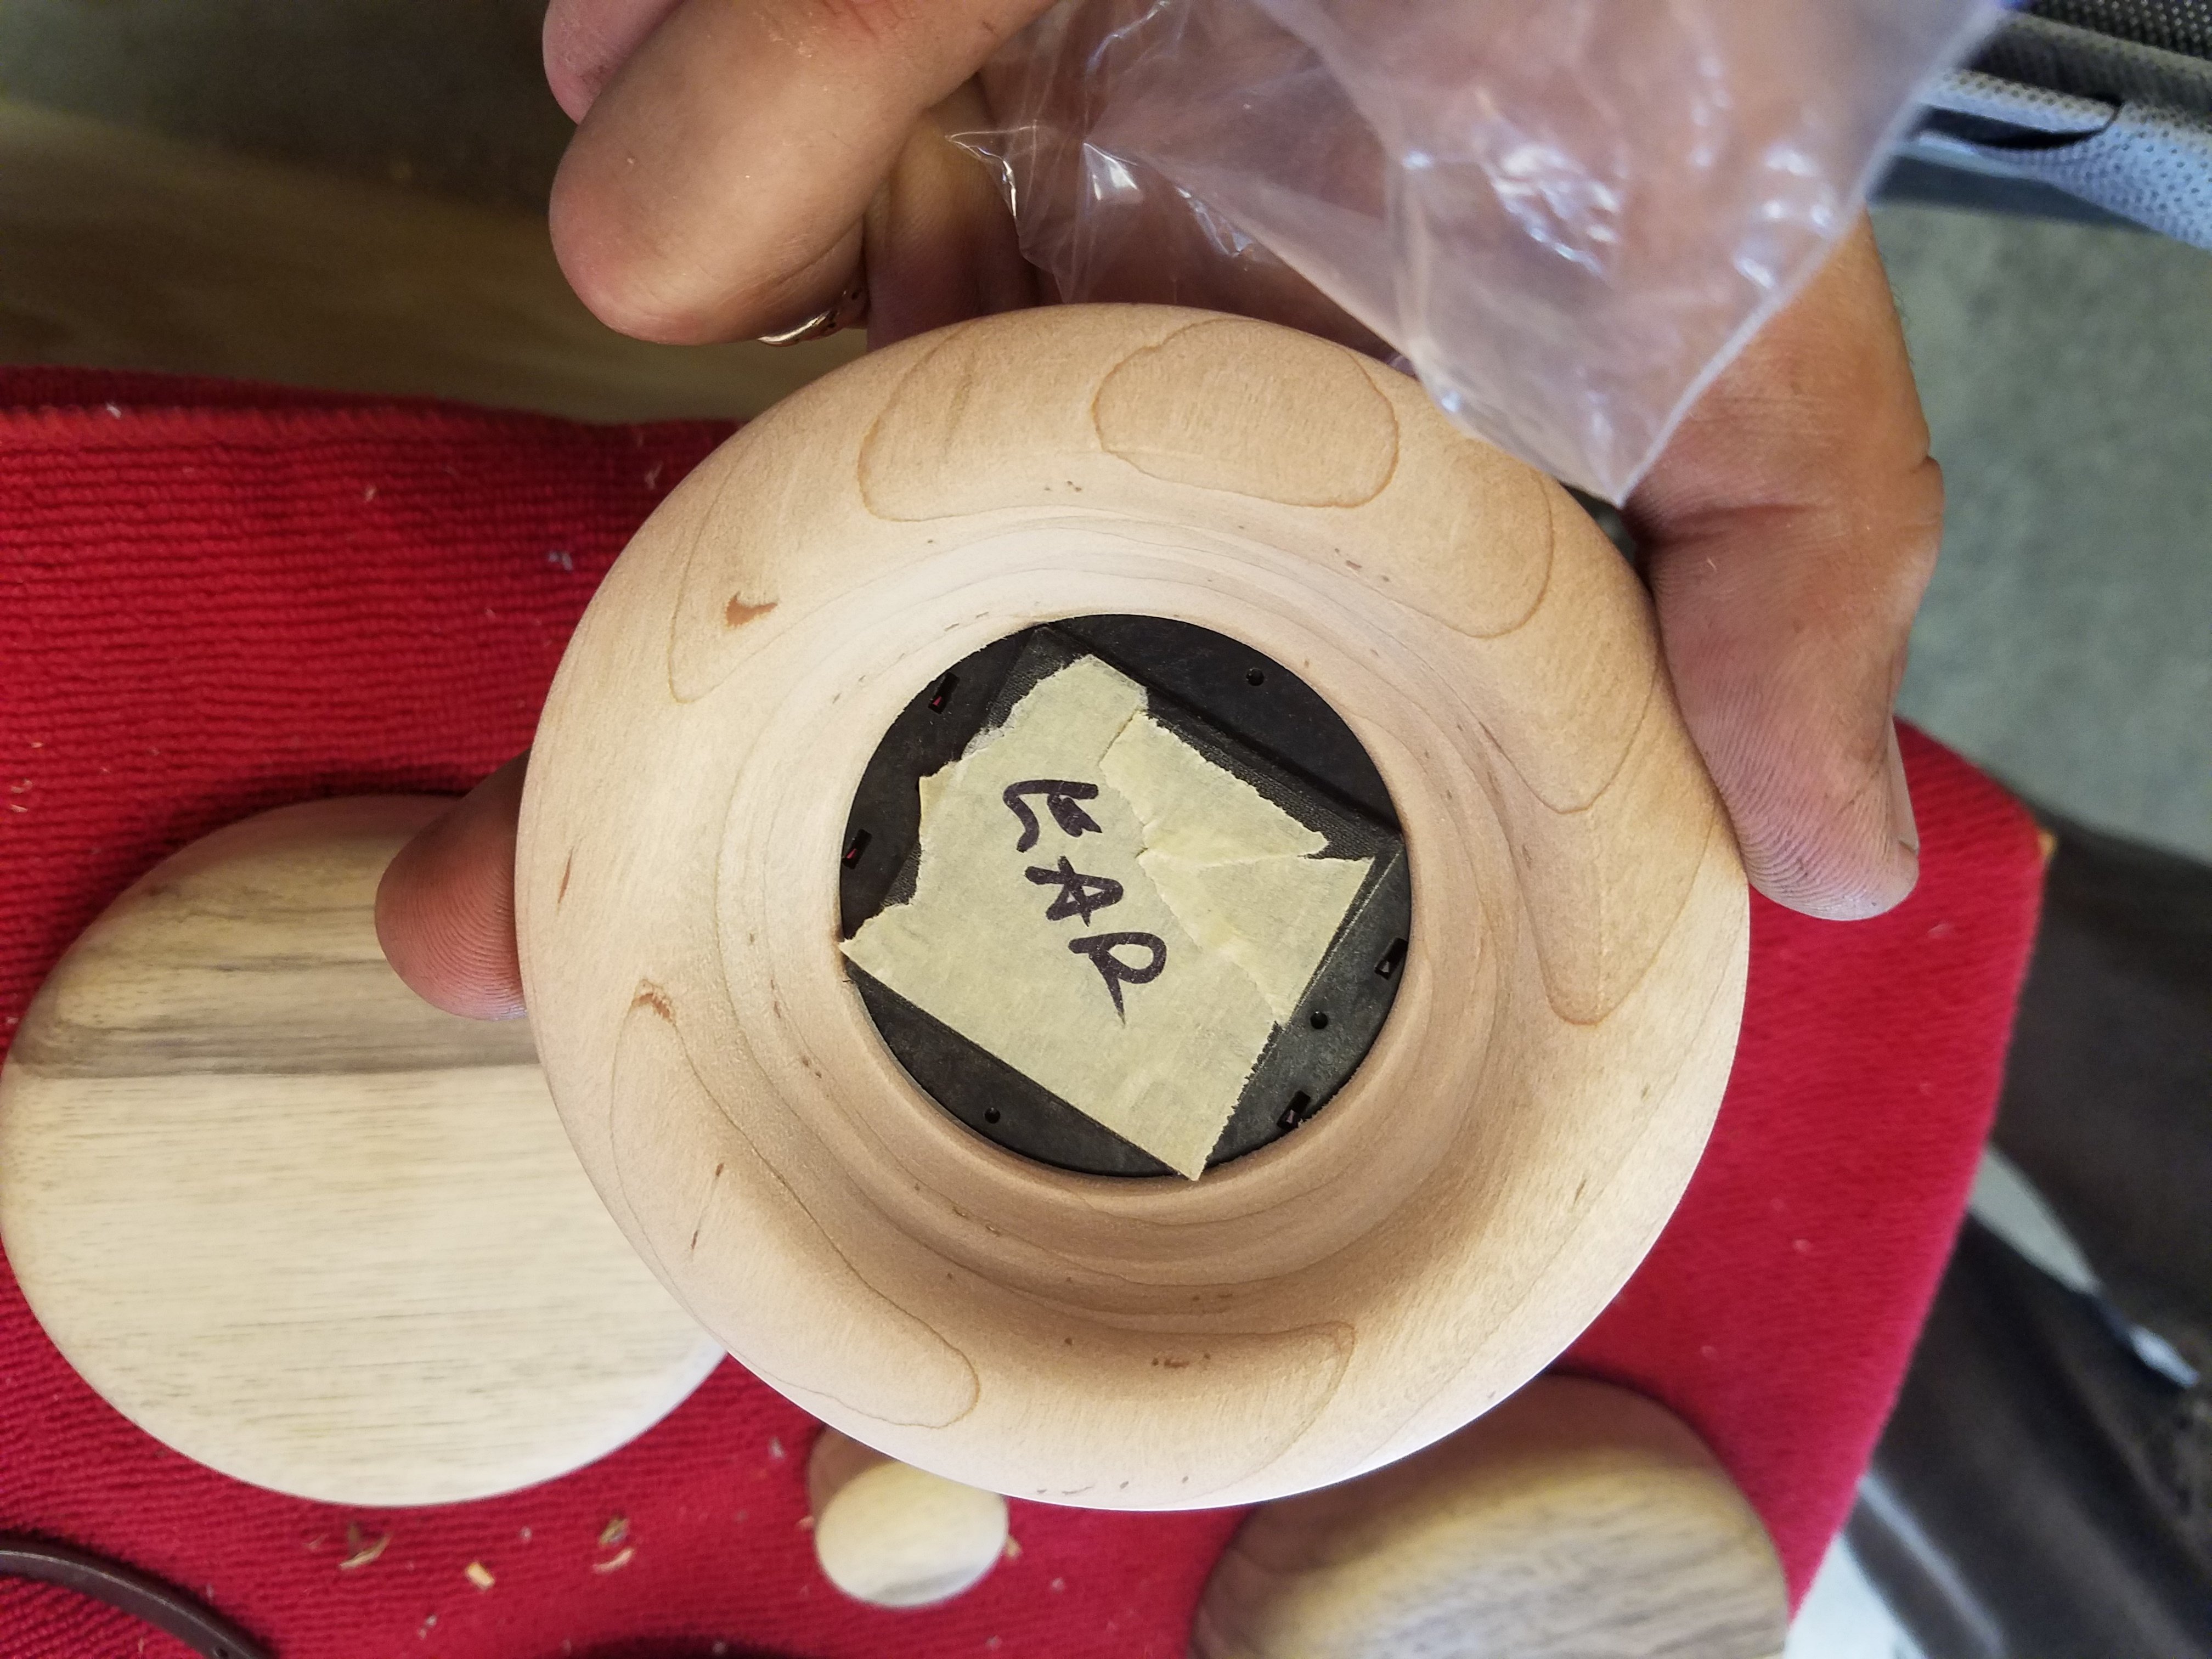
") cotton that is. Not sure if i'll venture to put fatmat on the front of the baffle? seems like lots of work for probably not a lot of difference
cotton that is. Not sure if i'll venture to put fatmat on the front of the baffle? seems like lots of work for probably not a lot of difference 
