Those sound like reasonable mods to make, if you're really into modding. The power supply makes the most difference, however. In the extensive testing that cetoole and I made, though, the biggest difference in the PS was made through an improved ground plane under the PS. That's kind of hard to put back once the PCB is made without it.
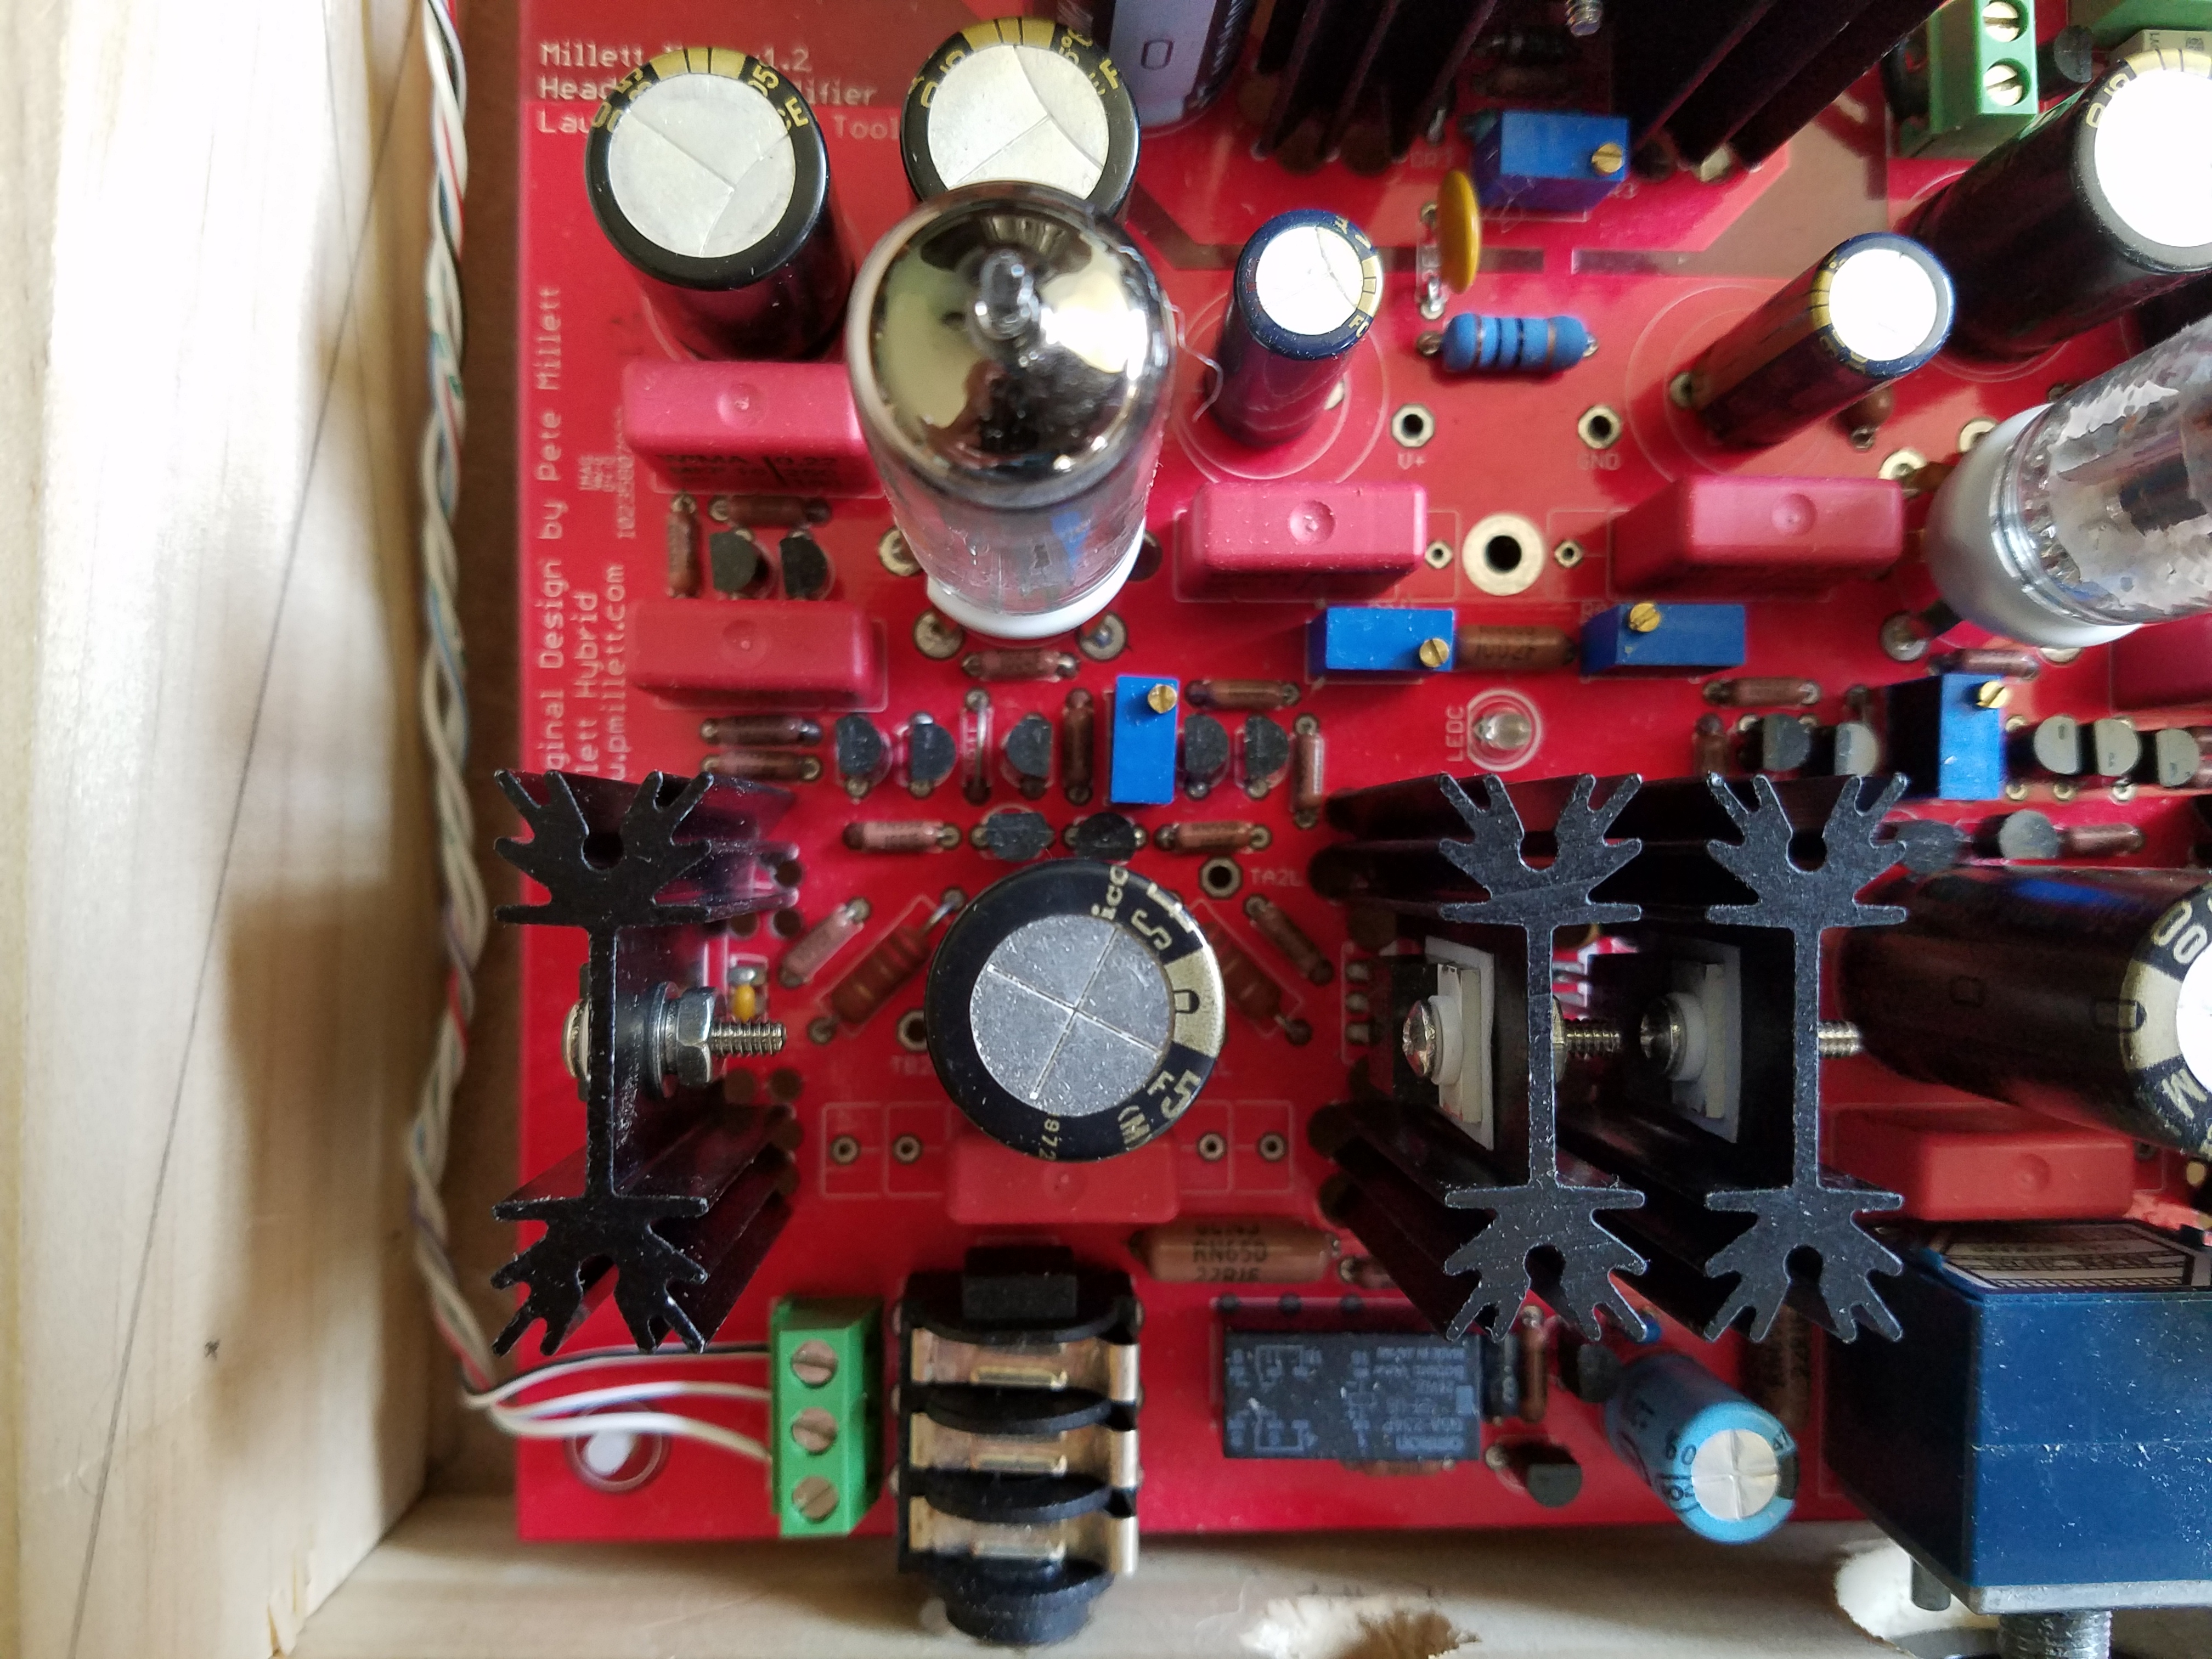
The original Millett MAX PCB removed the ground plane from under the PS section to remove some audible ripple and hum in the production MAXes. However, it left the PS with a performance in the 1-2mV range of ripple. That's a respectable performance and comparable to an Elpac regulated power supply, but not something we were satisfied with as time went on.
Meanwhile, I had finished off one of the very first Millett MAX prototype PCB's - actually a forerunner to the MiniMAX (the very first MAX prototype PCB's were MiniMAX-sized). When finished with a proposed cut in the ground plane around the PS (very difficult surgery on the PCB), it had a ripple that measured around 0.06 - 0.07mV: a performance that equaled a STEPS or TREAD.
That set us on a path of extensive testing to 1) find out the best design for a new MiniMAX PCB (the current one that's been such a success), and 2) find out if the existing MAX PCB's could be sufficiently modded to result in similar performance in the PS. As things turned out, the bulk of the solution lay in a very small resistance connection between the PS and the amp circuit. You see, even a TREAD or STEPS usually has wire leads that connect it to an amp. Those wire leads provide enough of a "buffer" of resistance to keep the LM317 from oscillating, thereby causing the ripple.
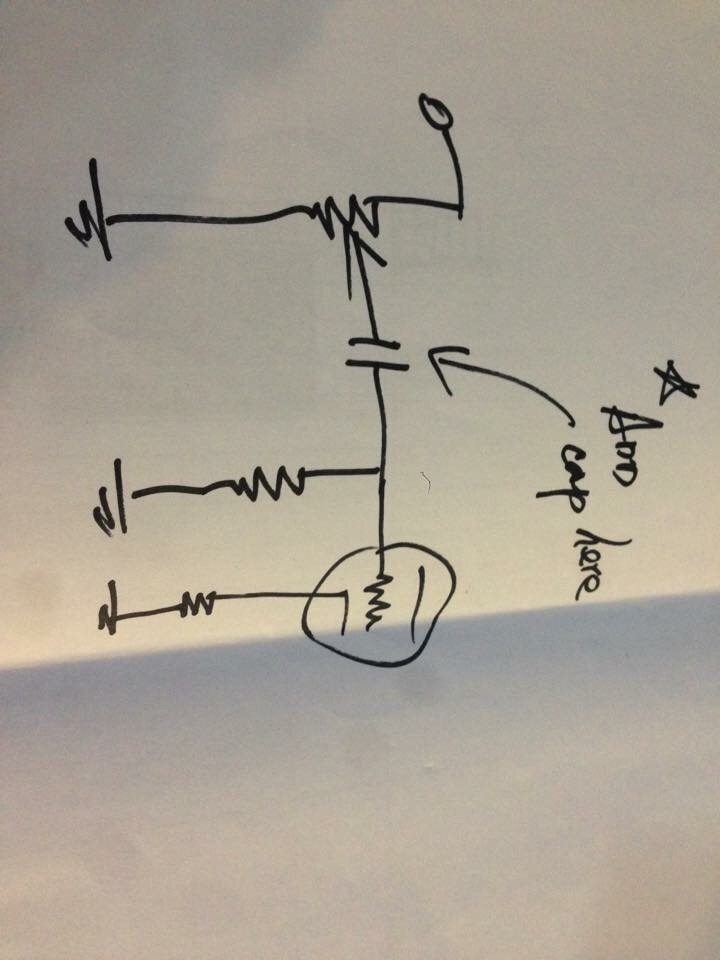
In the original MAX production PCB's, the connection between PS and amp circuit is a very short, almost zero resistance connection, with a huge bank of capacitors that immediately follow (CA4/CA5 and the Wima bypasses). Those capacitors are needed in the zero feedback, single-ended circuit to help sink the return ground signal from a pair of headphones, while at the same time helping to supply the current load to the tube heaters and diamond buffer Class A bias. Anyway, much to our surprise, regardless of the modding - we could not lower the ripple below about 0.2mV. on an existing MAX production PCB. Conclusion? The ground plane was needed under the PS.
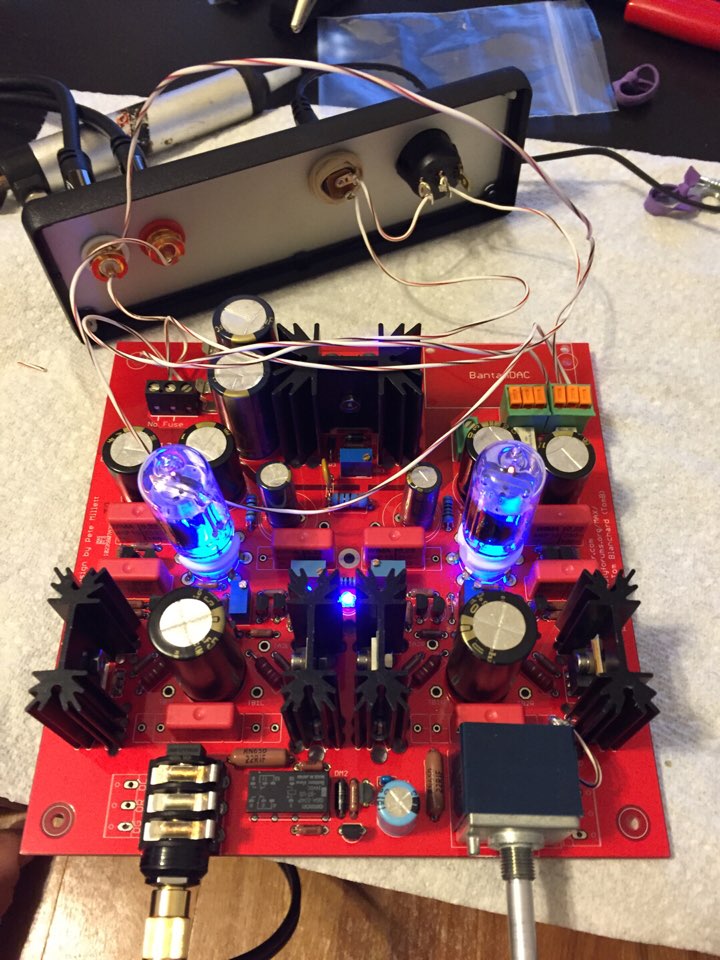
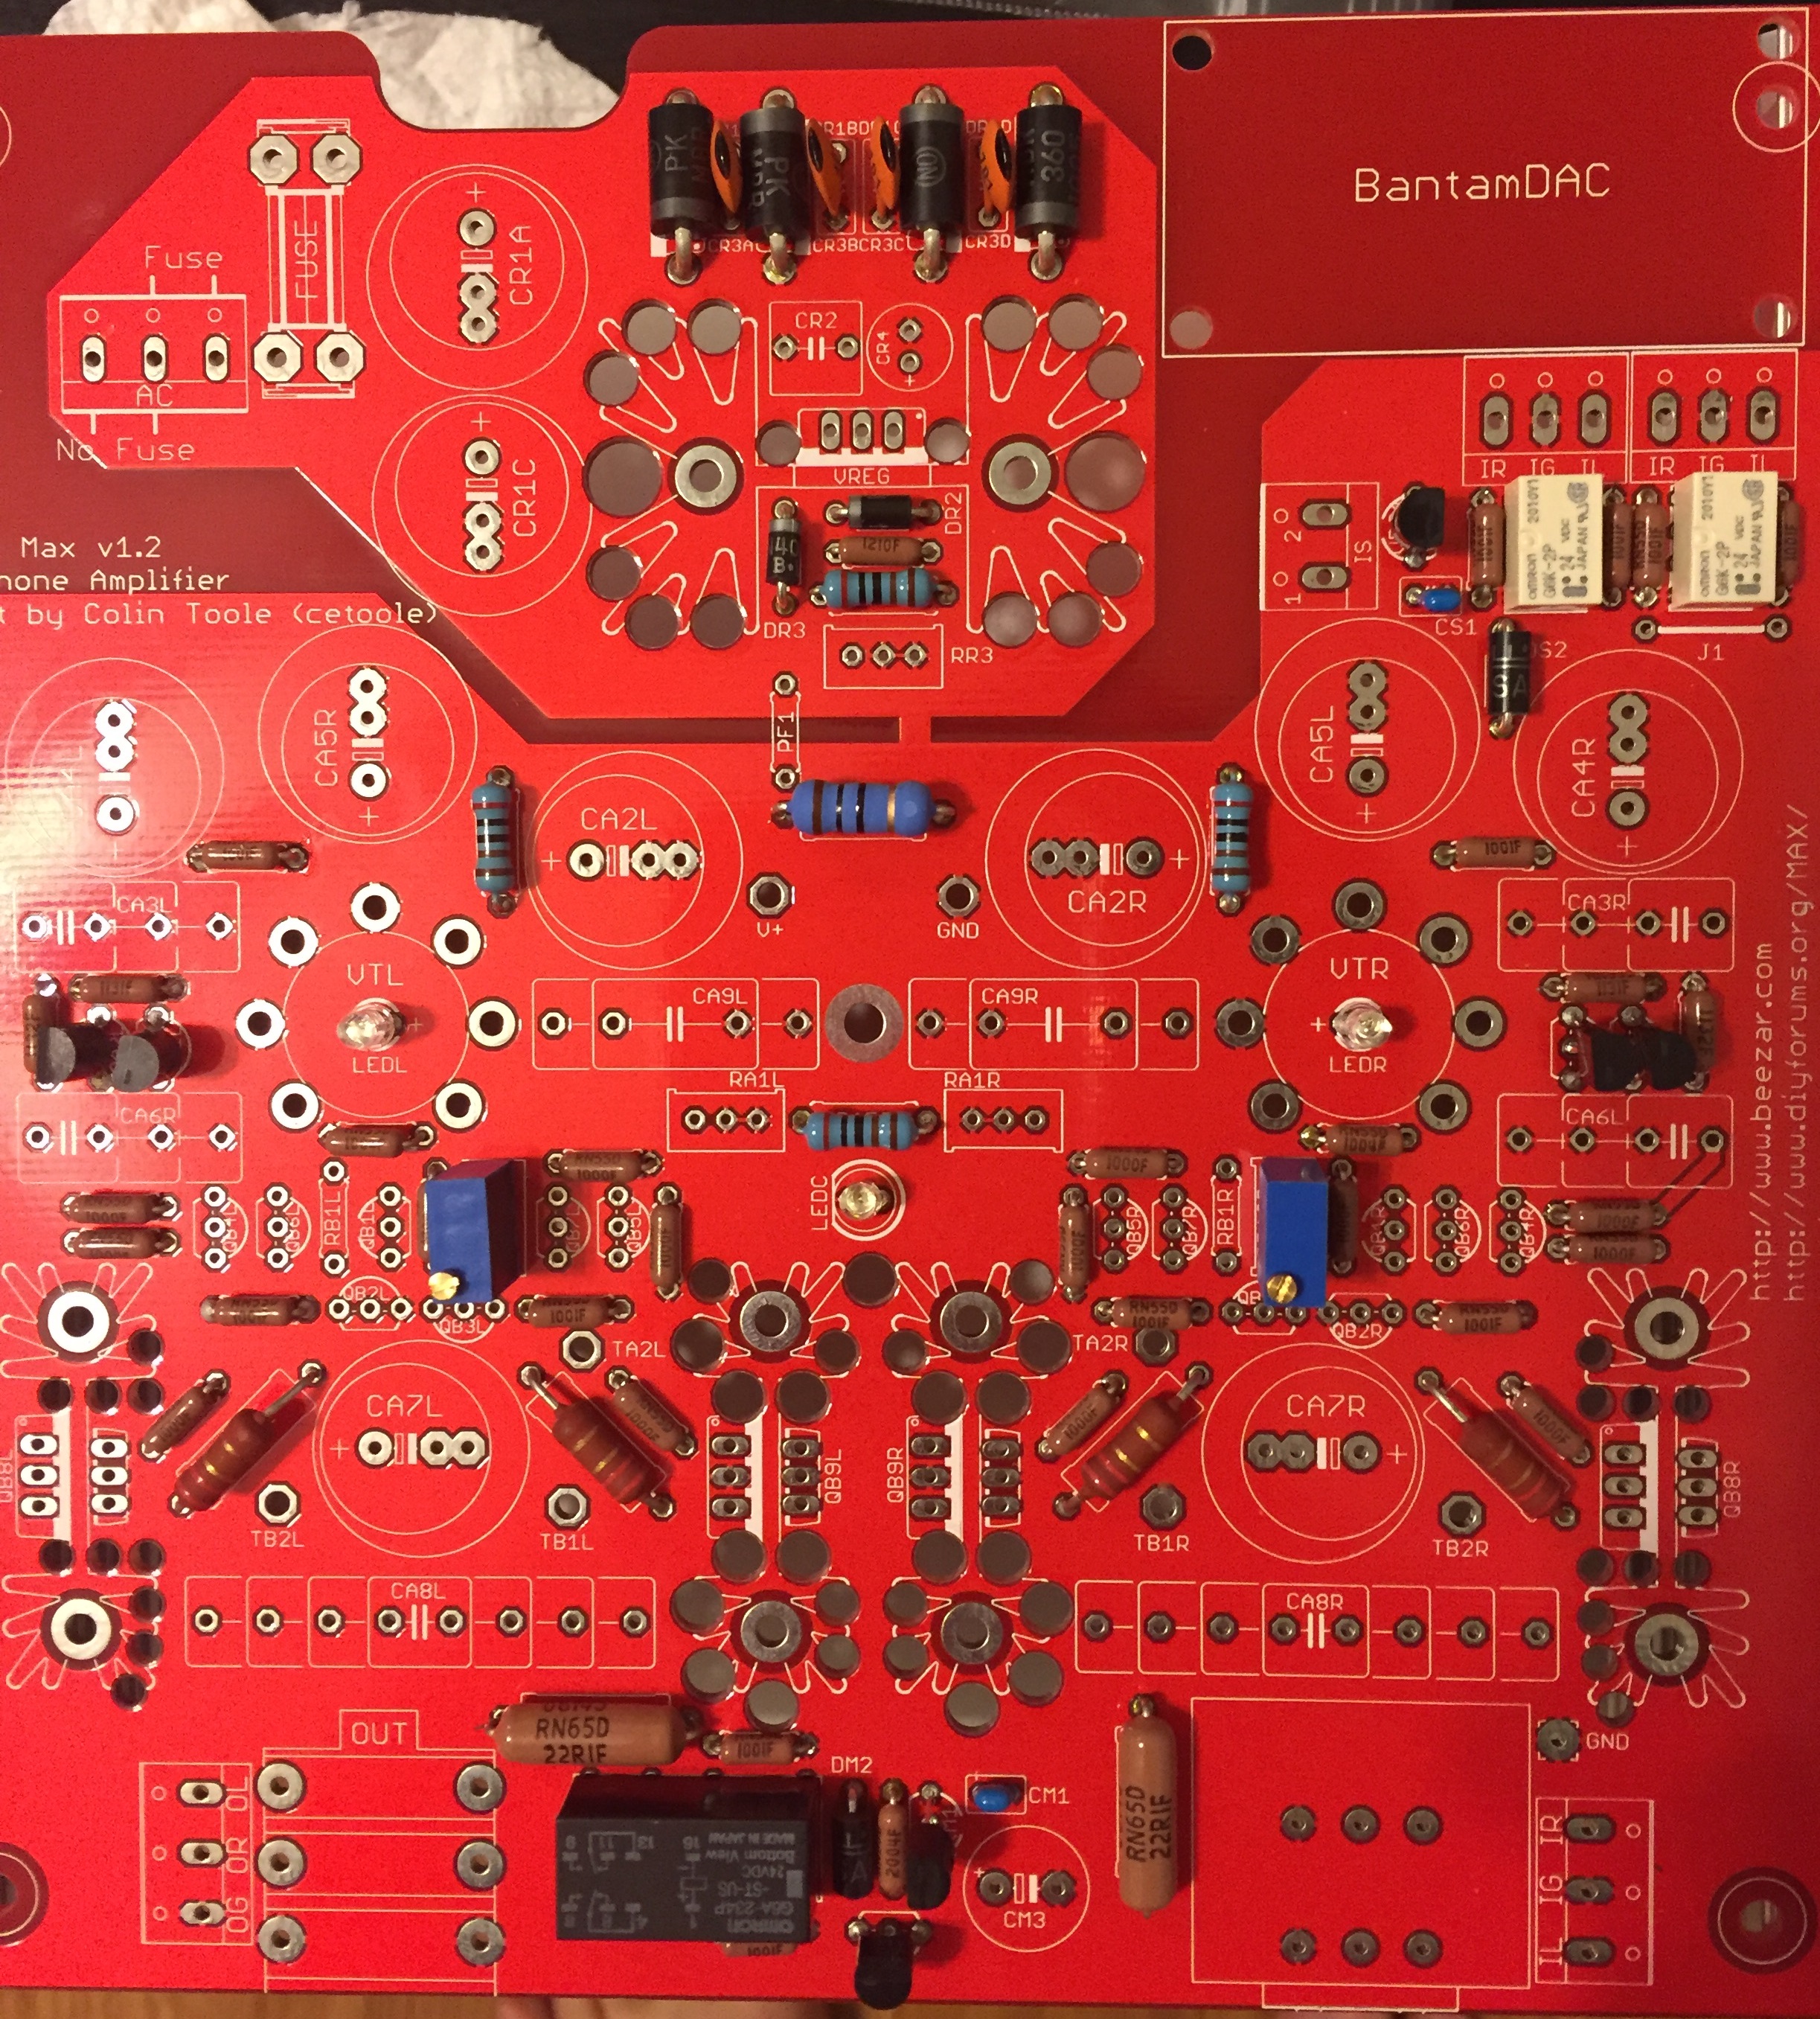
That's why the MiniMAX PCB has a different power supply design and the same design was incorporated into the MAX V1.2 PCB as well. Further testing and tweaking with electrolytics vs tantalums - as BMF stated - lowered the final ripple to around 0.045mV, a truly outstanding performance.
This history is chronicled in detail on the MiniMAX website -
http://www.diyforums.org/MiniMAX/MiniMAXhistory3.php


")


 So would there be anything I could change to the PS that would be worthwhile? Possibly changing the tantalum caps to equivalent value electrolytics? I'd rather do what I can while I'm making changes so that I don't have to take everything out of the case again...


