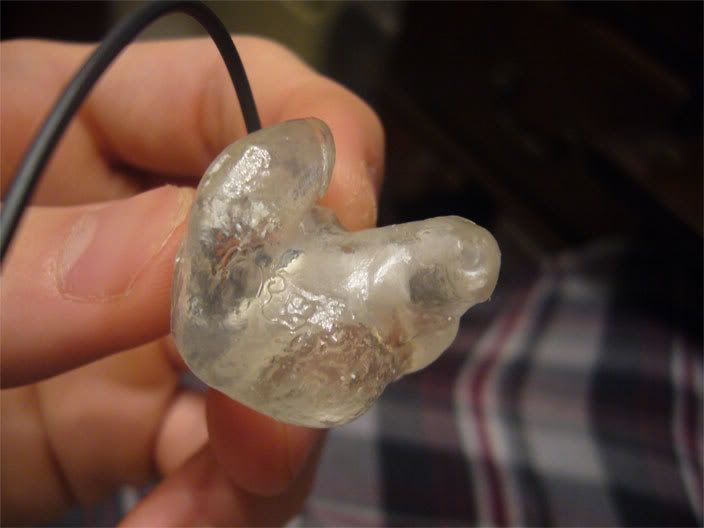
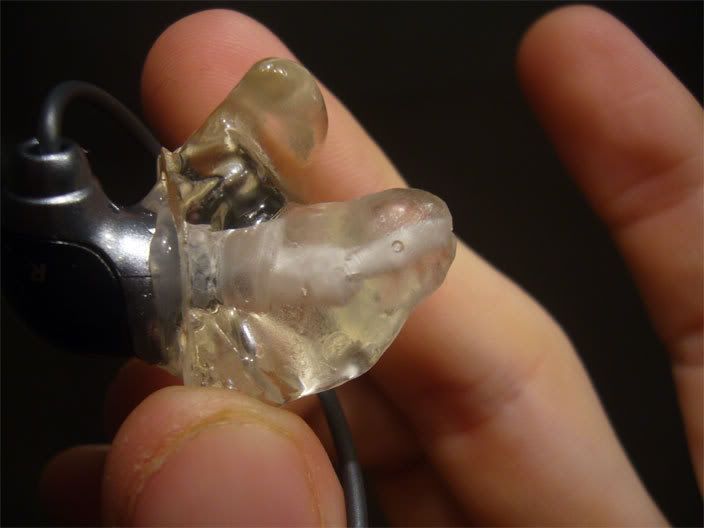
Haven't taken any pictures yet, but I got a set of acrylic ear molds I'm satisfied with. I drilled them tonight and installed the JVC's. I'll start off with some of the differences between the materials physically, and then go into sonic impressions.
Physical Differences:
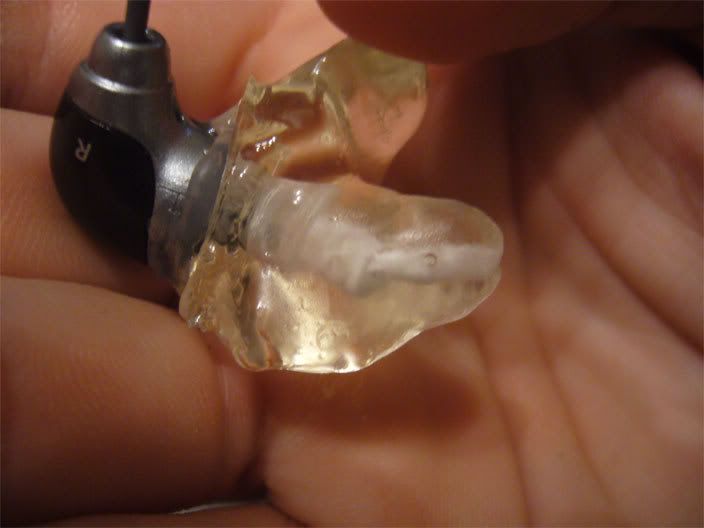
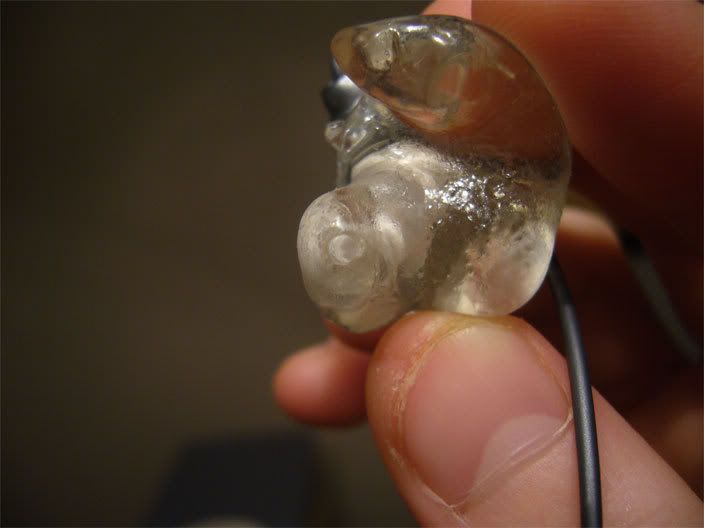
Drilling was so much easier I actually laughed once while in the process. They are clear which is obviously a huge advantage over the epoxy. No eye balling skills needed! I sanded down a tiny bit of the tip that inserts into the ear canal, and drilled with the smallest bit I had. Konish was right in that the drill was walking all over the place at first, but as soon as the hole was started, I zipped on through it just like I would with wood or the all fix epoxy. I drilled to a certain point, then went to the back to drill a second hole to meet up with the first. This was rather hard to do with the epoxy plugs which caused me to sort of drill around a little bit. This was actually better for sonics, I would think, in that it ended up making about 45% of the hole that much larger. However, to say this gave the epoxy any sort of advantage would be a lie. With the acrylic I got a larger drill bit and made almost 50-60% of the hole even
larger than in the epoxy.
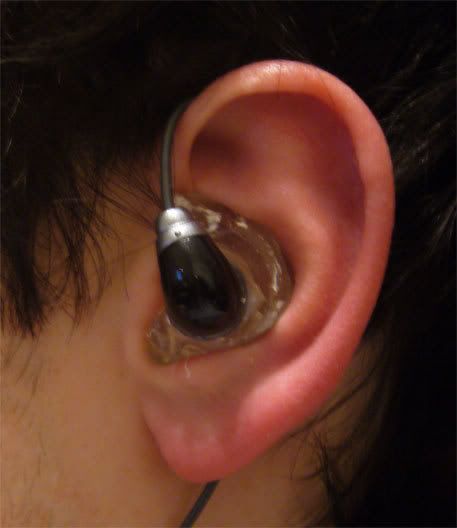
The acrylics slide in and out so much easier. It might sound gross, but all over your body you excrete oils from your skin. On the epoxy, it was much much less noticeable, but with these the oils stay on top which allows you to clean them off more easily. However, if I take 'em out so my annoying sister can tell me to do the laundry or something, the oil actually makes it about 10x easier to reinsert them, and, in addition, they give a better seal in that they almost have this cohesive bond with your skin. (if that even makes sense
)
The epoxy began to discolor because of wax and what not. I tried to wash them a few times. Once with plain water and a paper towel, another with a crappy toothbrush I got form the dentist for free and some Dawn. Neither really worked. We'll see what happens after using the acrylic molds for a little while, but I'm almost positive everything will be able to just wipe off either with a dry paper towel, or with a little bit of water and dish soap. That, and they look so much more professional!
Without further ado, the sonic impressions:
I set the EQ to flat and compared the two materials. Here are my findings.
Epoxy:
To me it seems that below 800Hz or so these impressions just sort of sucked out a lot of the response. EQ'ing helped a bunch, but due to their not-so-perfect fit, I could still hear some noise. When things got really noisy, the bass sort of disappeared. The treble range was the exact opposite, being pushed forward to where if tried to accentuate these frequencies with EQ, they quickly became shrill. Mids were fairly forward, with surprisingly good placement for IEM's.
Acrylic:
Wow... There's waaaayyyyy more difference than I thought was even possible. These guys have a lot more bass, imo. The highs don't seem tampered with. The mids aren't notably recessed, but they seem a bit further off and less involving than the epoxy. There's on thing I must note, I went to the Eq and sort of fooled around with the different freq. ranges with my Rockboxed H320. I started to crank up the 6000Hz range and the sound suddenly came to life. I think, for whatever reason, these acrylics just kill anything of about 5000-6000Hz. As soon as I jacked it up a bit the sound became a lot more realistic and a lot more fun. ELO's Balance of Power album played through my H320 has never made my foot tap this much. Portable cans have just never made my head swing or fingers jingle like this before. (then again, I've always bought crap portable cans to most of our standards)
My Recommendation:
Don't use these custom ear molds with portable CD Players or anything lacking an equalizer. Custom equalizers would be optimum seeing as the ones preloaded aren't trying to make up for headphone deficiency, but they may suffice. It just seems to me that ever since adding these custom ear molds, the sound has been slightly out of whack whereas the stock's weren't nearly as much. However, with an EQ I've been able to attain, for me, the perfect equilibrium of price, comfort, detail, and bass slam that I want while still keeping the vocals rather entertaining and involving. I'm highly satisfied with my DIY project and might just stop here. Home Depot may eventually call my name too many times and a set of "Dip-It" molds may be in line, but for now, I'm happy.
Concerning pictures, I'll try and get some up later tonight. (When I'm done listening to them.
) There's not much point though, really. They look like the acrylic molds I made, with the Marshmallows installed in exactly the same way as in the original post.
Hope you enjoyed the DIY custom ear mold journey! I did very much. Thanks guys for all your help and support. And special thanks to Konish for all your ideas. I would never have bought the Crystal Keepsake Kit if you hadn't suggested it.
khbaur