Correction: I'm very curious why HiFiMan is not offering the nicer new headbands on one headphone in their current line. The HE-6 is my personal favorite of the bunch, but I don't care for the old headband. I suppose I could always mod it thanks to the detailed steps the OP outlined, I've been waiting so long for them to make this change.
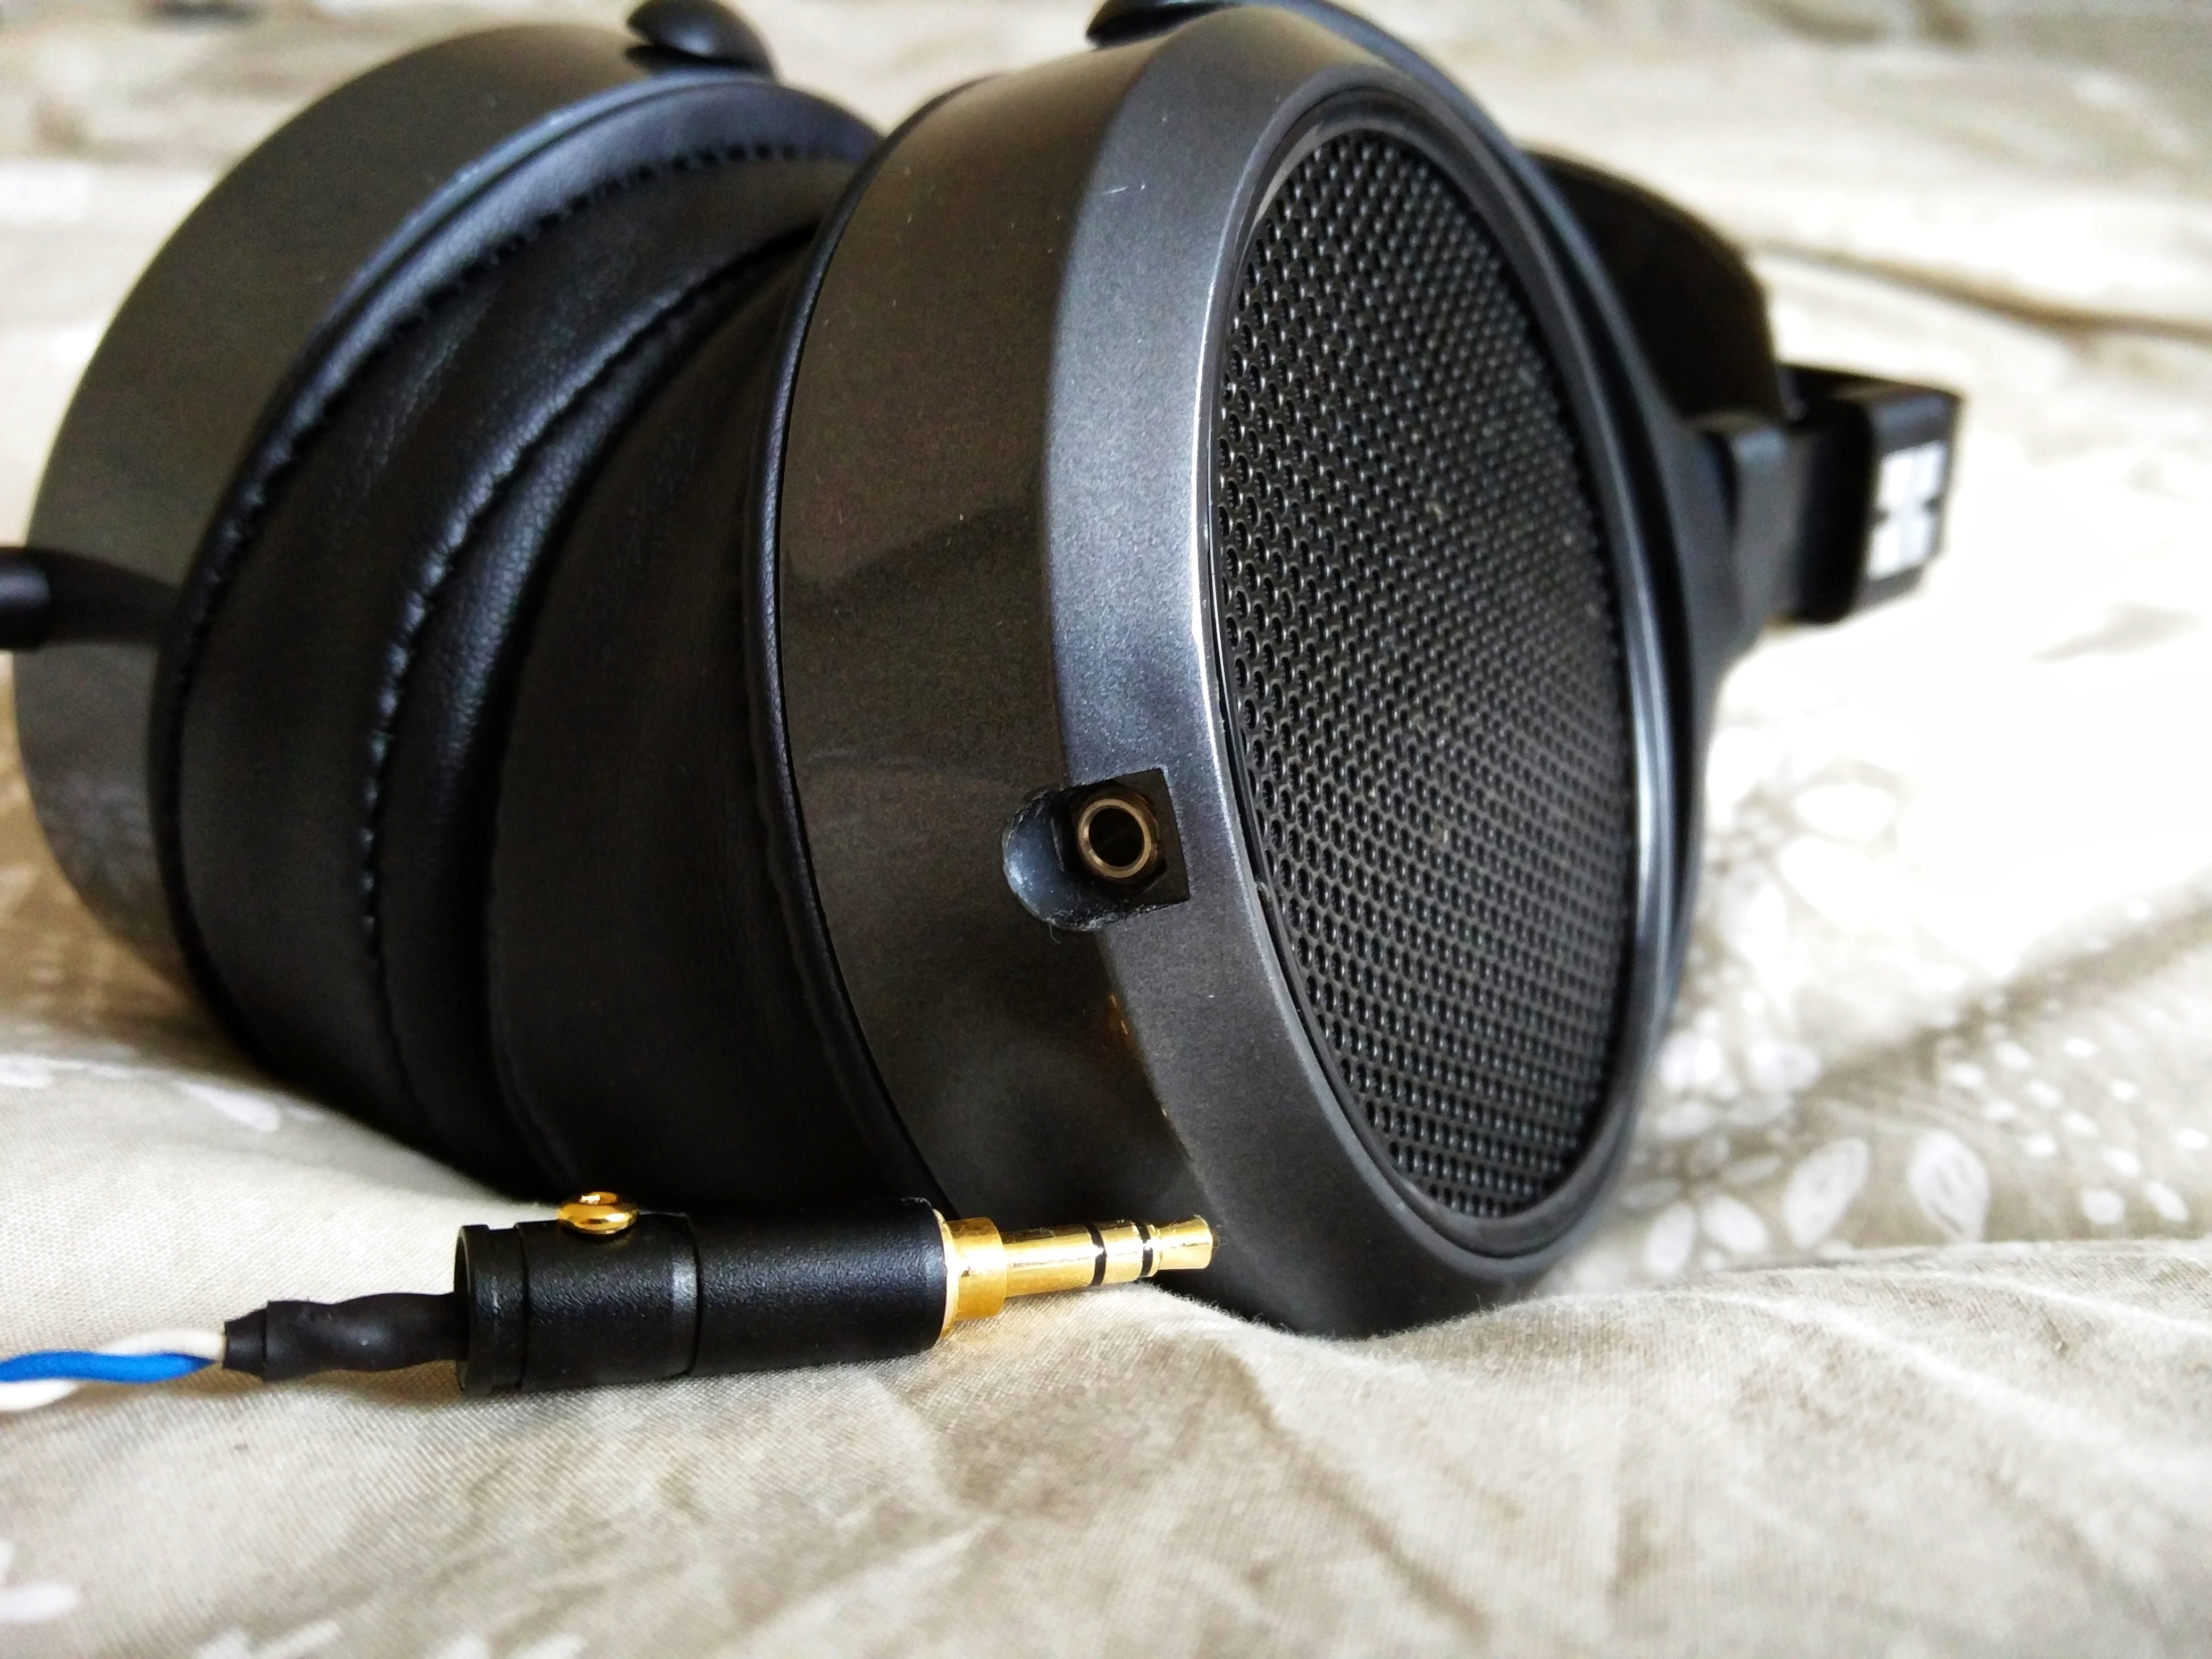
Has anyone ran into finding solder on their brass fittings (ferrules?) I tried asking Hifiman about it, but due to the language barrier and I assume they are using google translate, I am getting zero answers.
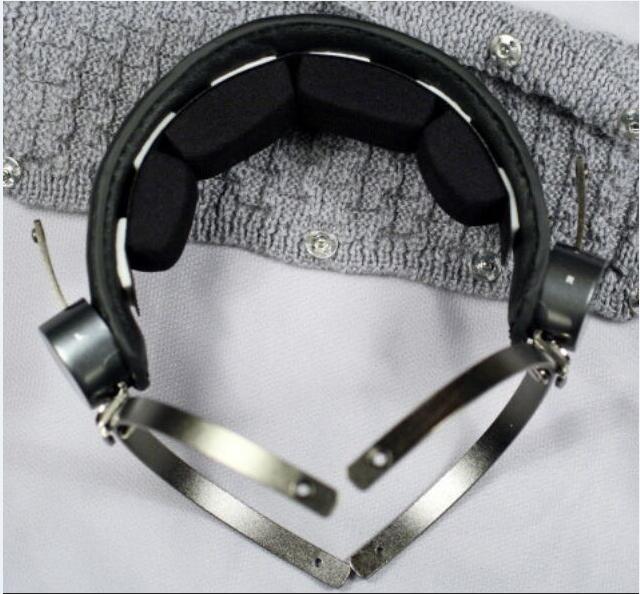
I have no idea how the OP managed to get the brass fitting out with that screw driver, but I went a different route.
Highly recommend finding a small nail, I believe what I used was a nail called a Brad Nail and a small hammer. Hell if you can't find a hammer you can use the handle part of the screw driver and just tap out the brass fitting. It will probably take a minute or two but it will slide right out.
Fantastic guide! I got the HE-400i headband from hifiman, started on the mod. I am doing the mod on my HE-500. OP called it on atleast one stripped screw when removing the stock headband, had one strip on each side, but was able to bend and break the stripped screw. Actually found it easier than I thought it would be. A few things that made it easier, atleast on the HE-500 --
I did not need to remove the cable connector. I actually tried to remove the cable connector, but was getting nowhere fast. I think you only need to remove the cable connector if you are going to spend extensive amount of time with the brass fittings, which came out really pretty easy for me. Here is what I did; I got the driver unscrewed from the housing, then moved out to the side a bit, put a zip lock bag to cover it as best possible. Then put a screwdriver over the brass fitting, and whacked the screwdriver with another (bigger) screwdriver. It took maybe 15 whacks to get it loose, just a minute of work. Got the idea from Eddyfcknp's post.
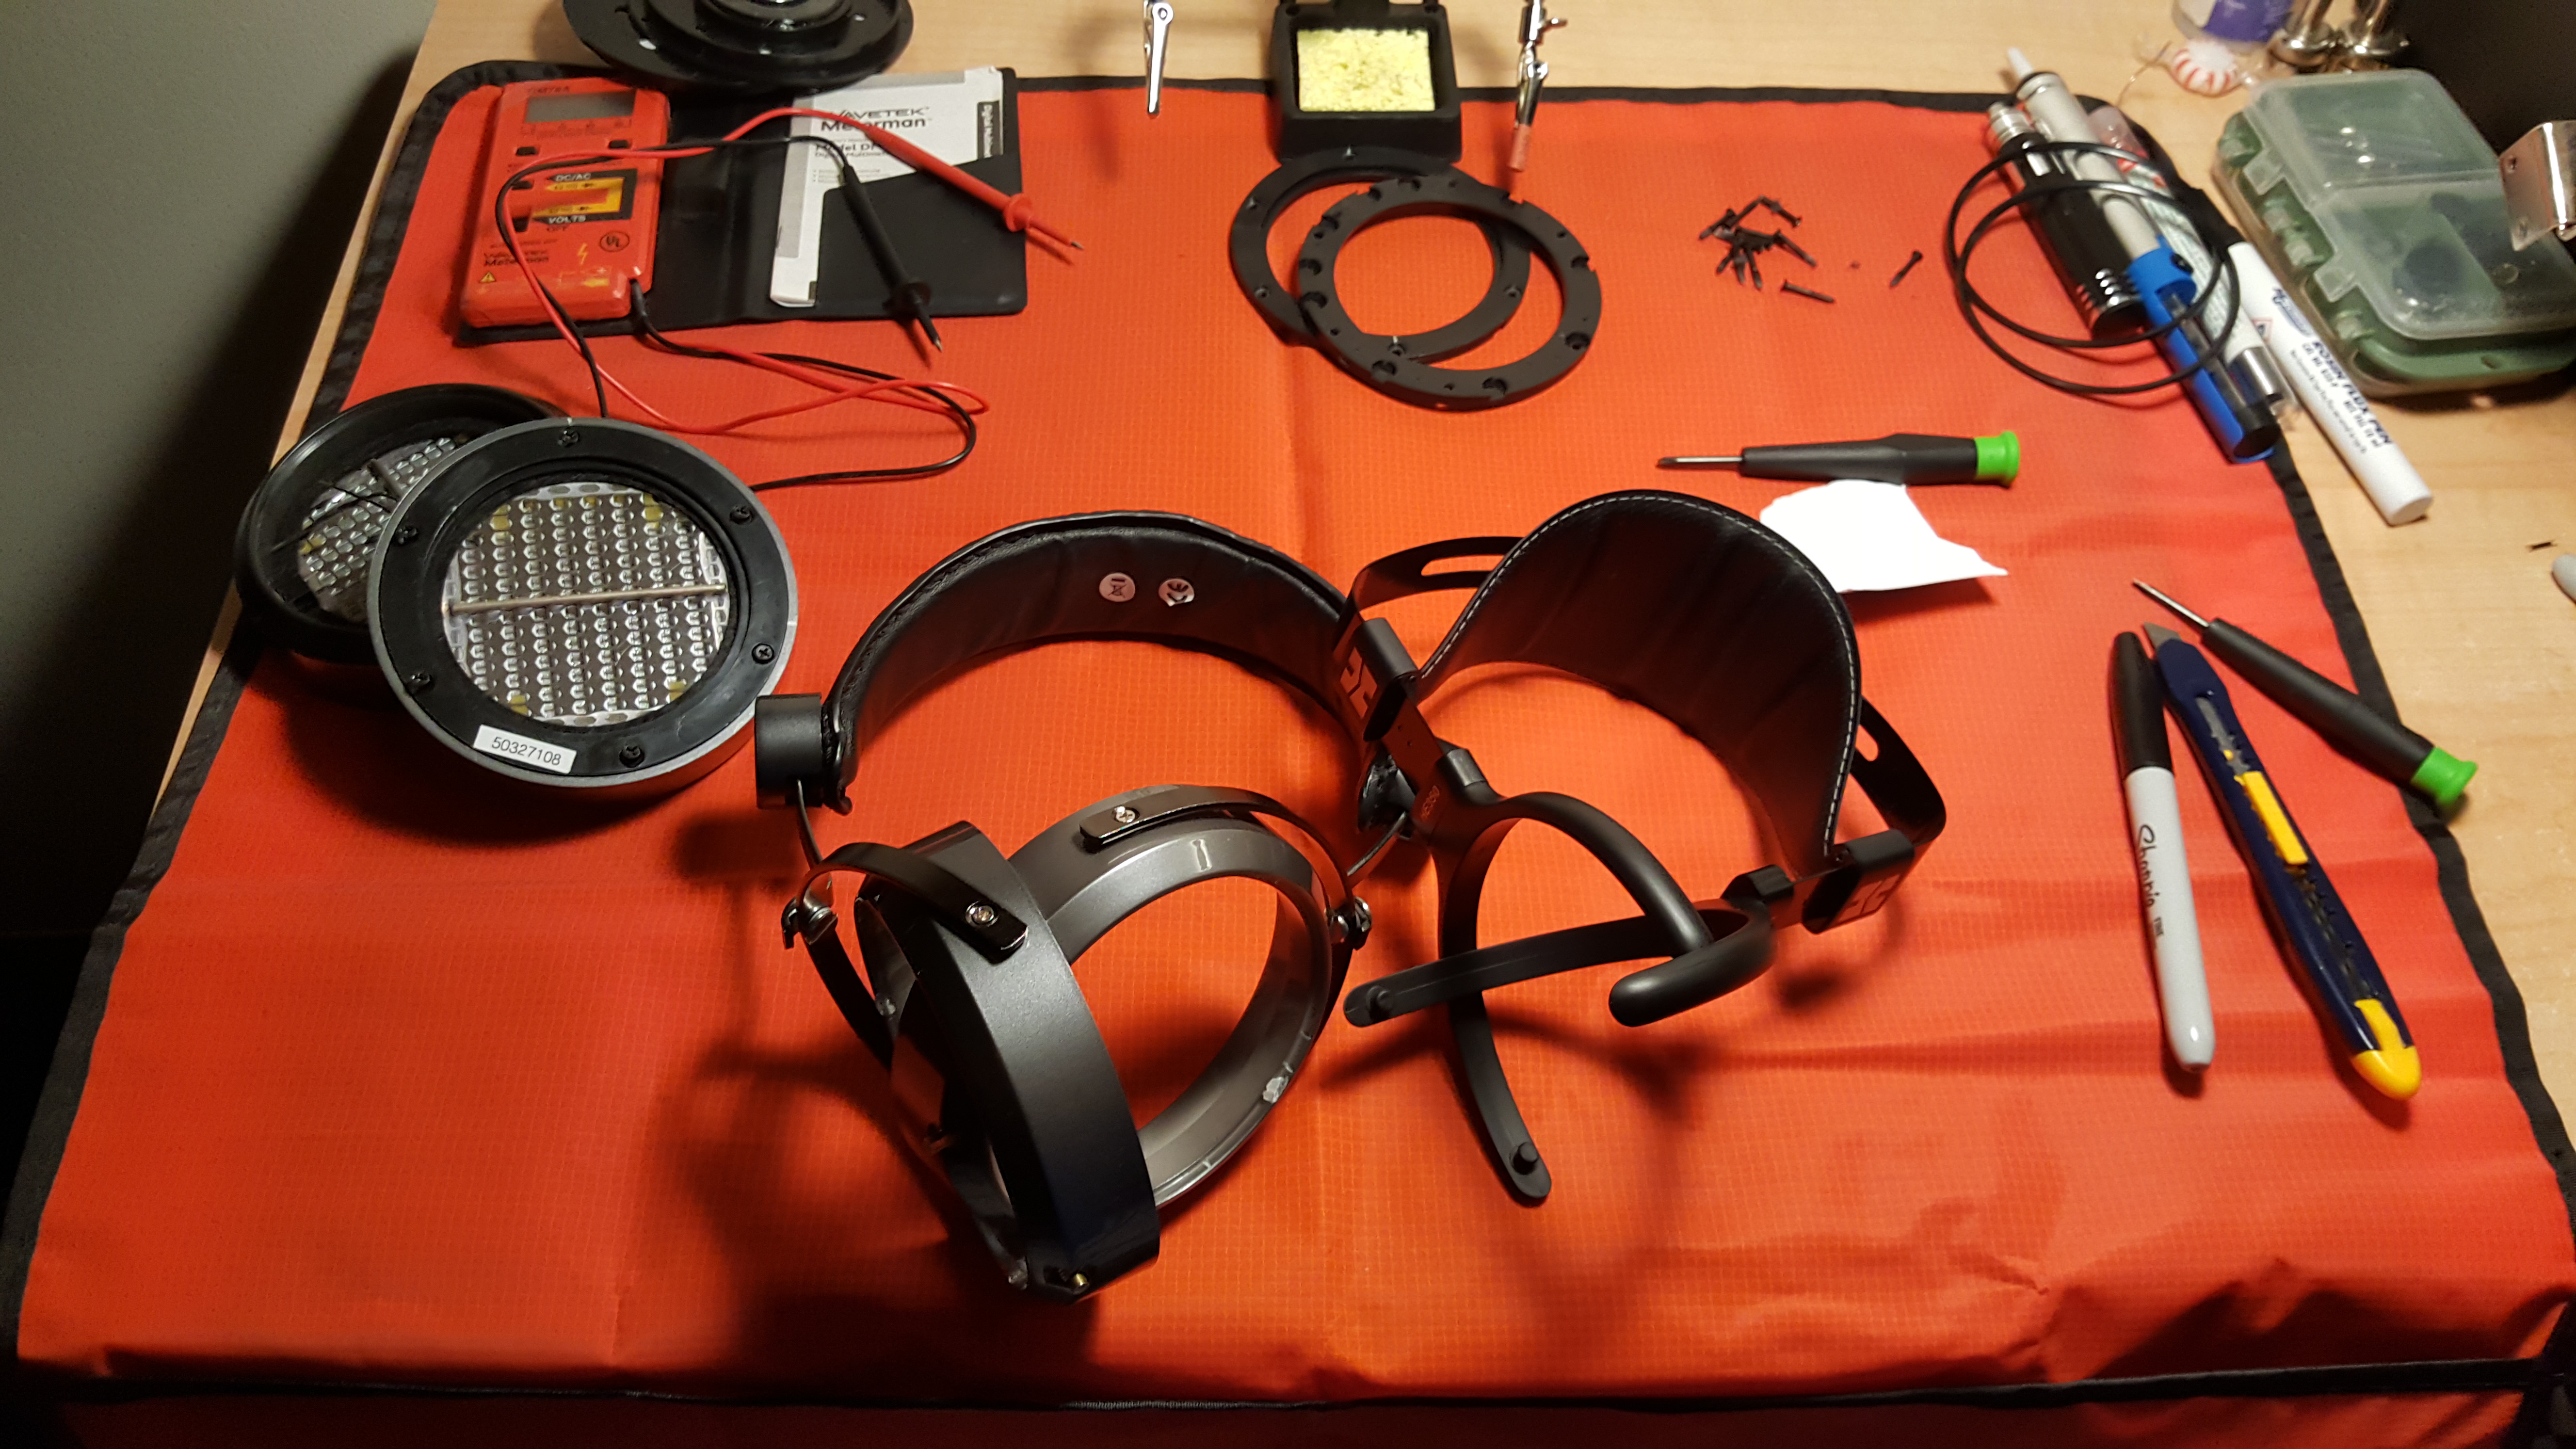
I'm not quite done yet, my brother is borrowing my drill. Just need to widen the holes on the housing just a bit and I should be done.
You're a brave man! Those drivers, even with plastic over them, will suck up ANY metal debris big or small. I would hate to see something like that happen, be careful!
I actually cover my drivers in painters tape during the entire process.
You're a brave man! Those drivers, even with plastic over them, will suck up ANY metal debris big or small. I would hate to see something like that happen, be careful!
I actually cover my drivers in painters tape during the entire process.
Good advice with the painters tape, didn't think of that. I did pick out pieces of solder that were on brass fitting on the inner side with some needlenoses. As you can see I worked at my kitchen table, not my workbench, to avoid any odd medal residues.
Quite honestly the section people need to be careful is when dealing with cable connectors, if you decide to try to remove them, be careful to not strip metal from the nut. This is why I don't recommend you try to remove the cable connector, and quickly tried to work around that.
I did just go over each driver thoroughly using a bright light, trying to spot any small pieces of metal. Think I am in the clear. But yeah, anyone else doing the mod, listen to Eddy!
This site uses cookies to help personalise content, tailor your experience and to keep you logged in if you register.
By continuing to use this site, you are consenting to our use of cookies.