the Pimeta-V2 thread
Mar 14, 2012 at 10:57 PM Post #407 of 651
Ouch!
 
Would you mind drawing up a simple block diagram showing how everything's connected, for the benefit of future builders? I'm thinking of two boxes with labeled lines between them showing the wires and what they connect to on each end. Maybe some caps between them if they are required, as I thought originally.
 
Mar 15, 2012 at 12:36 AM Post #408 of 651

Quote:
Ouch!
 
Would you mind drawing up a simple block diagram showing how everything's connected, for the benefit of future builders? I'm thinking of two boxes with labeled lines between them showing the wires and what they connect to on each end. Maybe some caps between them if they are required, as I thought originally.


Apologies for the ugly visio diagram - I'm still at work and it's all I have...

Fullsize image
 
So in summary:
 
  1. The Alien DAC design includes an option for powering from a virtual-ground amp. This uses a BUF634 to pass & isolate the ground level from the amp.
  2. The Alien DAC's outputs have a DC offset of 2.5V (half-rail)
  3. Since the coupling capacitors are installed on the PIMETA, there are no coupling caps installed on the DAC. Output from the DAC has been taken from the cap mounting pads.
  4. With the BUF634 installed on the DAC, the DAC ground is 0.5V above PIMETA ground. DAC OG is not connected to PIMETA IG for that reason.
  5. With the BUF634 installed, there is a clearly audible 4kHz tone present on the output. This tone is not present if the DAC is not connected to the amp, so it's definitely coming from the DAC.
  6. Coupling the DAC ground to PIMETA IG with a 47uF capacitor largely (but not completely) quiets the tone. This may suggest that the 4kHz noise is present on both DAC ground and signal, so passing that back to the PIMETA means the difference between output and ground contains less of the noise. (Not sure?)
  7. Removing the BUF634 (luckily it was a free sample) and passing power to the DAC via a LM317 regulator set to 6.5V above V- works. This means that USB ground is tied to V- on the PIMETA and the signal from the DAC is centred around 2.5V above V-
  8. I fear I may have shorted a DAC output to ground while removing an oscilloscope probe. Next time the amp+DAC was powered up I didn't have a right channel.
  9. I have ordered a GrubDAC kit to replace the DAC, seeing as the AlienDAC kits are now showing as backordered on Glass Jar Audio. (edit: they're not backordered anymore - oops)
 
 
Mar 15, 2012 at 1:24 AM Post #409 of 651
The diagram is more than adequate for the purpose. It's more than I expected. Thanks!
 
I know nothing about the Alien DAC, and only skimmed the 2702 datasheet, but from what I can see, shorting output to ground shouldn't hurt anything. I don't see any warnings in the datasheet about doing that.
 
I also don't see any mention of output short circuit current protection.
 
However, I do see that it says you have to ensure the load impedance is > 5 kΩ, but I expect that just means it's allowed to go out-of-spec below that point. It also implies that the output DACs inside the chip aren't capable of pushing a lot of current, which actually argues in favor of them being effectively short-circuit protected, because it means they can't put out enough current to burn transistors or melt bond wires.
 
Could be wrong, but I'd look elsewhere for the problem.
 
Do you have a way to test the DAC in isolation? Maybe play a test tone through it and measure it with an AC voltmeter? Or better, a scope?
 
Mar 15, 2012 at 1:52 AM Post #410 of 651
 
Quote:
Do you have a way to test the DAC in isolation? Maybe play a test tone through it and measure it with an AC voltmeter? Or better, a scope?


Here's a few pictures: http://imgur.com/a/ZUpw0
 
The noise on the DAC outputs looks the same when isolated from the amp. I set up a resistive voltage divider on a breadboard to simulate the ground level. When that was noisy I tried a TLE2426, same result.
 
Noise on DAC outputs, virtual ground buffered through buf634, USB not connected. The lower frequency you can see here is close to 4kHz and the higher frequency is inaudible. I stupidly forgot to take a photo of the voltage and sweep settings on this one, but the tone is audible with music playing over the top and I think it was around 80mV p-p.


After plugging in USB, it goes to this (4kHz, audible):

 
This is the last photo I have of the DAC working properly. BUF634 removed, 12V V+ from amp regulated down to 6.5V before passing to DAC as if it was a regular battery supply. Multimeter is showing current draw in mA. Scope is showing the right channel input (bottom) and output (top). Breadboard contains the LM317T regulator along with the battery meter prototype I mentioned a few days ago. The DAC is off the bottom of the photo.


Mar 15, 2012 at 2:05 AM Post #411 of 651
There have been a few reports of people frying one or both channels on their Alien DACs, eg: here. Possibly if the PCM2702 outputs see an unexpected transient, which I may well have done while disconnecting the scope probe.
 
More pictures
 
Top pic is a post-build, pre-clean shot of the DAC and PIMETA. Excuse the shocking SMT soldering work, it's been a few years.
Bottom pic is the DAC with the BUF634 removed (was in IC4 on bottom left) and powered from a regulated +6.5V referenced from V- on the PIMETA. Signal outputs are straight from the PCM2702 outputs, but are AC coupled via the input caps on the amp. The scope probes were hooked up between the DAC and amp, so anything bad I did was fed straight into the PCM2702 without anything in the way.
 
Mar 15, 2012 at 6:19 PM Post #412 of 651
Well, short of swapping the DAC chip, I have no ideas. Given that it's not an interaction with the PIMETA, that seems like a pretty good bet, since the outputs of that chip are directly connected to the output pads on this DAC design. (Ignoring the RC filter.)
 
You'll probably get more eyes on the problem with a fresh thread. (Or by joining another existing omnibus thread, if one exists for this DAC.)
 
Mar 15, 2012 at 6:44 PM Post #413 of 651
 
Quote:
Well, short of swapping the DAC chip, I have no ideas. Given that it's not an interaction with the PIMETA, that seems like a pretty good bet, since the outputs of that chip are directly connected to the output pads on this DAC design. (Ignoring the RC filter.)
 
You'll probably get more eyes on the problem with a fresh thread. (Or by joining another existing omnibus thread, if one exists for this DAC.)


Yeah, I think the PIMETA is blameless in this, but thanks heaps for taking the time to check it out... Unfortunately I don't have access to reflow gear (and no spare toaster ovens), so it's easier to just chalk it up to experience and buy a new DAC kit.
 
The batteries I ordered showed up today, so I can build the trickle charger and battery meter side of things.
 
 
Mar 15, 2012 at 6:51 PM Post #414 of 651
 
Quote:
I don't have access to reflow gear 

 
You only need that if you want to save the chip.
 
If you're prepared to destroy the chip, you can cut the leads away from the chip with a hobby knife. The leads can then be desoldered individually with a regular soldering iron.
 
Obviously you need to be careful with the cuts so as to not damage the traces on the PCB.
 
Mar 15, 2012 at 7:18 PM Post #415 of 651
Yeah, I suppose I could have done that, but I've already pulled the trigger on a new DAC kit 
frown.gif

In any case, a new PCM2702 from RS is around 60% of the cost of a whole new kit and would be a couple of weeks away if it came from the UK. Next order I make with RS I might get one and try to repair the broken DAC - I've still got a spare PIMETA pcb and all the parts except for the opamps and buffers. The plan was always to build one for work and one for home.
 
 
Mar 16, 2012 at 6:39 PM Post #417 of 651
Mar 17, 2012 at 12:45 AM Post #418 of 651


Quote:
 
"Wow,  Great job mfuerst. That's a lot of components to pack in such a small space.
Is that Lion battery control circuit board a commercial product, or did you design if yourself?"


As I mentioned in my first post, the Li-Ion pack has been specifically R&D'ed for this purpose - this includes also the CCB.
I haven't been able to find a commercially available product, hence I had to design and build it on my own...
 
 
Mar 17, 2012 at 1:09 AM Post #419 of 651


Quote:
 
I'm still having trouble keeping my mouth closed. I do not have the skill, or knowledge to accomplish something of this caliber yet but I find this to be very inspirational to keep learning. Amazing work. Can I ask about how long this took? For design, fabrication and troubleshooting and stuff. Just amazing.


Hi,
 
Thanks for the compliments.  It has taken indeed a lot of time, I would say 4-5 month considering that I could spend time only during the weekends and a few evenings.  Most of the time went into design and specification, the build phase was quite quick.  The selection and sourcing of components was the most frustrating phase, until I got all to properly fit and at a standard that was meeting my expectations (only the best - cost was secondary).  No troubleshooting required, all worked perfectly right from the start.
 
Note that I have an electronic engineering education, but I've never worked in this area.  Only now - 30 years later - I thought I could do something useful.  In a couple of weeks I will be posting the pictures of a desktop version that I built recently - stay tuned!


Mar 17, 2012 at 11:38 AM Post #420 of 651

 
Quote:
 
As I mentioned in my first post, the Li-Ion pack has been specifically R&D'ed for this purpose - this includes also the CCB.
I haven't been able to find a commercially available product, hence I had to design and build it on my own...


I found 2 sources for a PCB for the Li-IOn batteries, They are huge compared to yours, but will fit in the serpac.
http://www.batteryspace.com/pcbfor148vli-ionbatterypack5alimitwithfuelguagesocket.aspx
http://www.all-battery.com/protectioncircuitmodulepcbfor148vli-ionbatterypack4cellswith65alimit-lipcb14v4.aspx
 
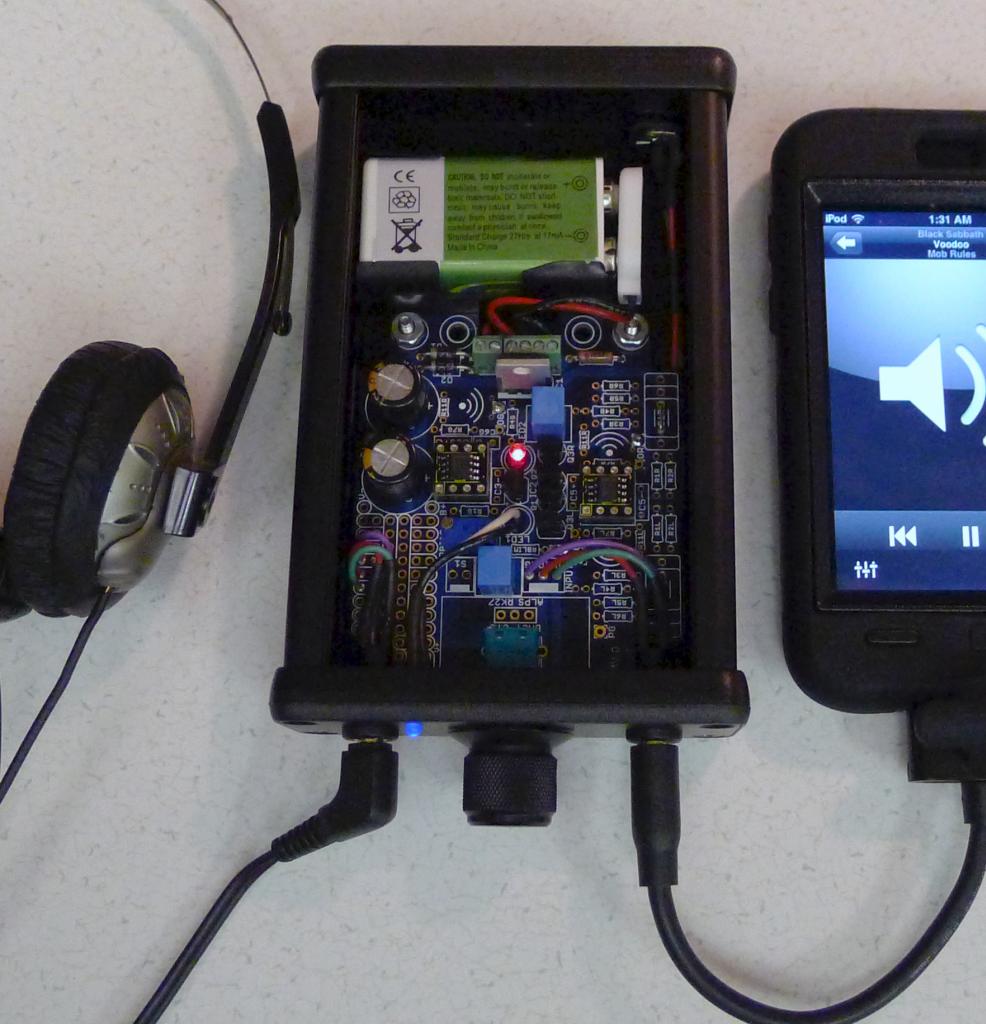
I finished my Pimeta and have been listening for a few days. I went with a smd build using thin film resistors, smd capacitors, with audiophile grade capacitors in a few places. I'm currently using OPA627's.
Impressions so far:
Clean, very detailed sound. On well recorded material you can easily pick out  individual voices and instruments.
 
My only disappointnent is is the battery life using 9v rechargables. I intend to change this to a 15v lion battery pack. I couldn't find a pre-built battery pack that will fit, so I'll have to build the pack myself using four of these 680 mAh cells:
http://www.all-battery.com/TenergyLi-Polymer3.7V680mAh603040Battery-30191-0.aspx
 
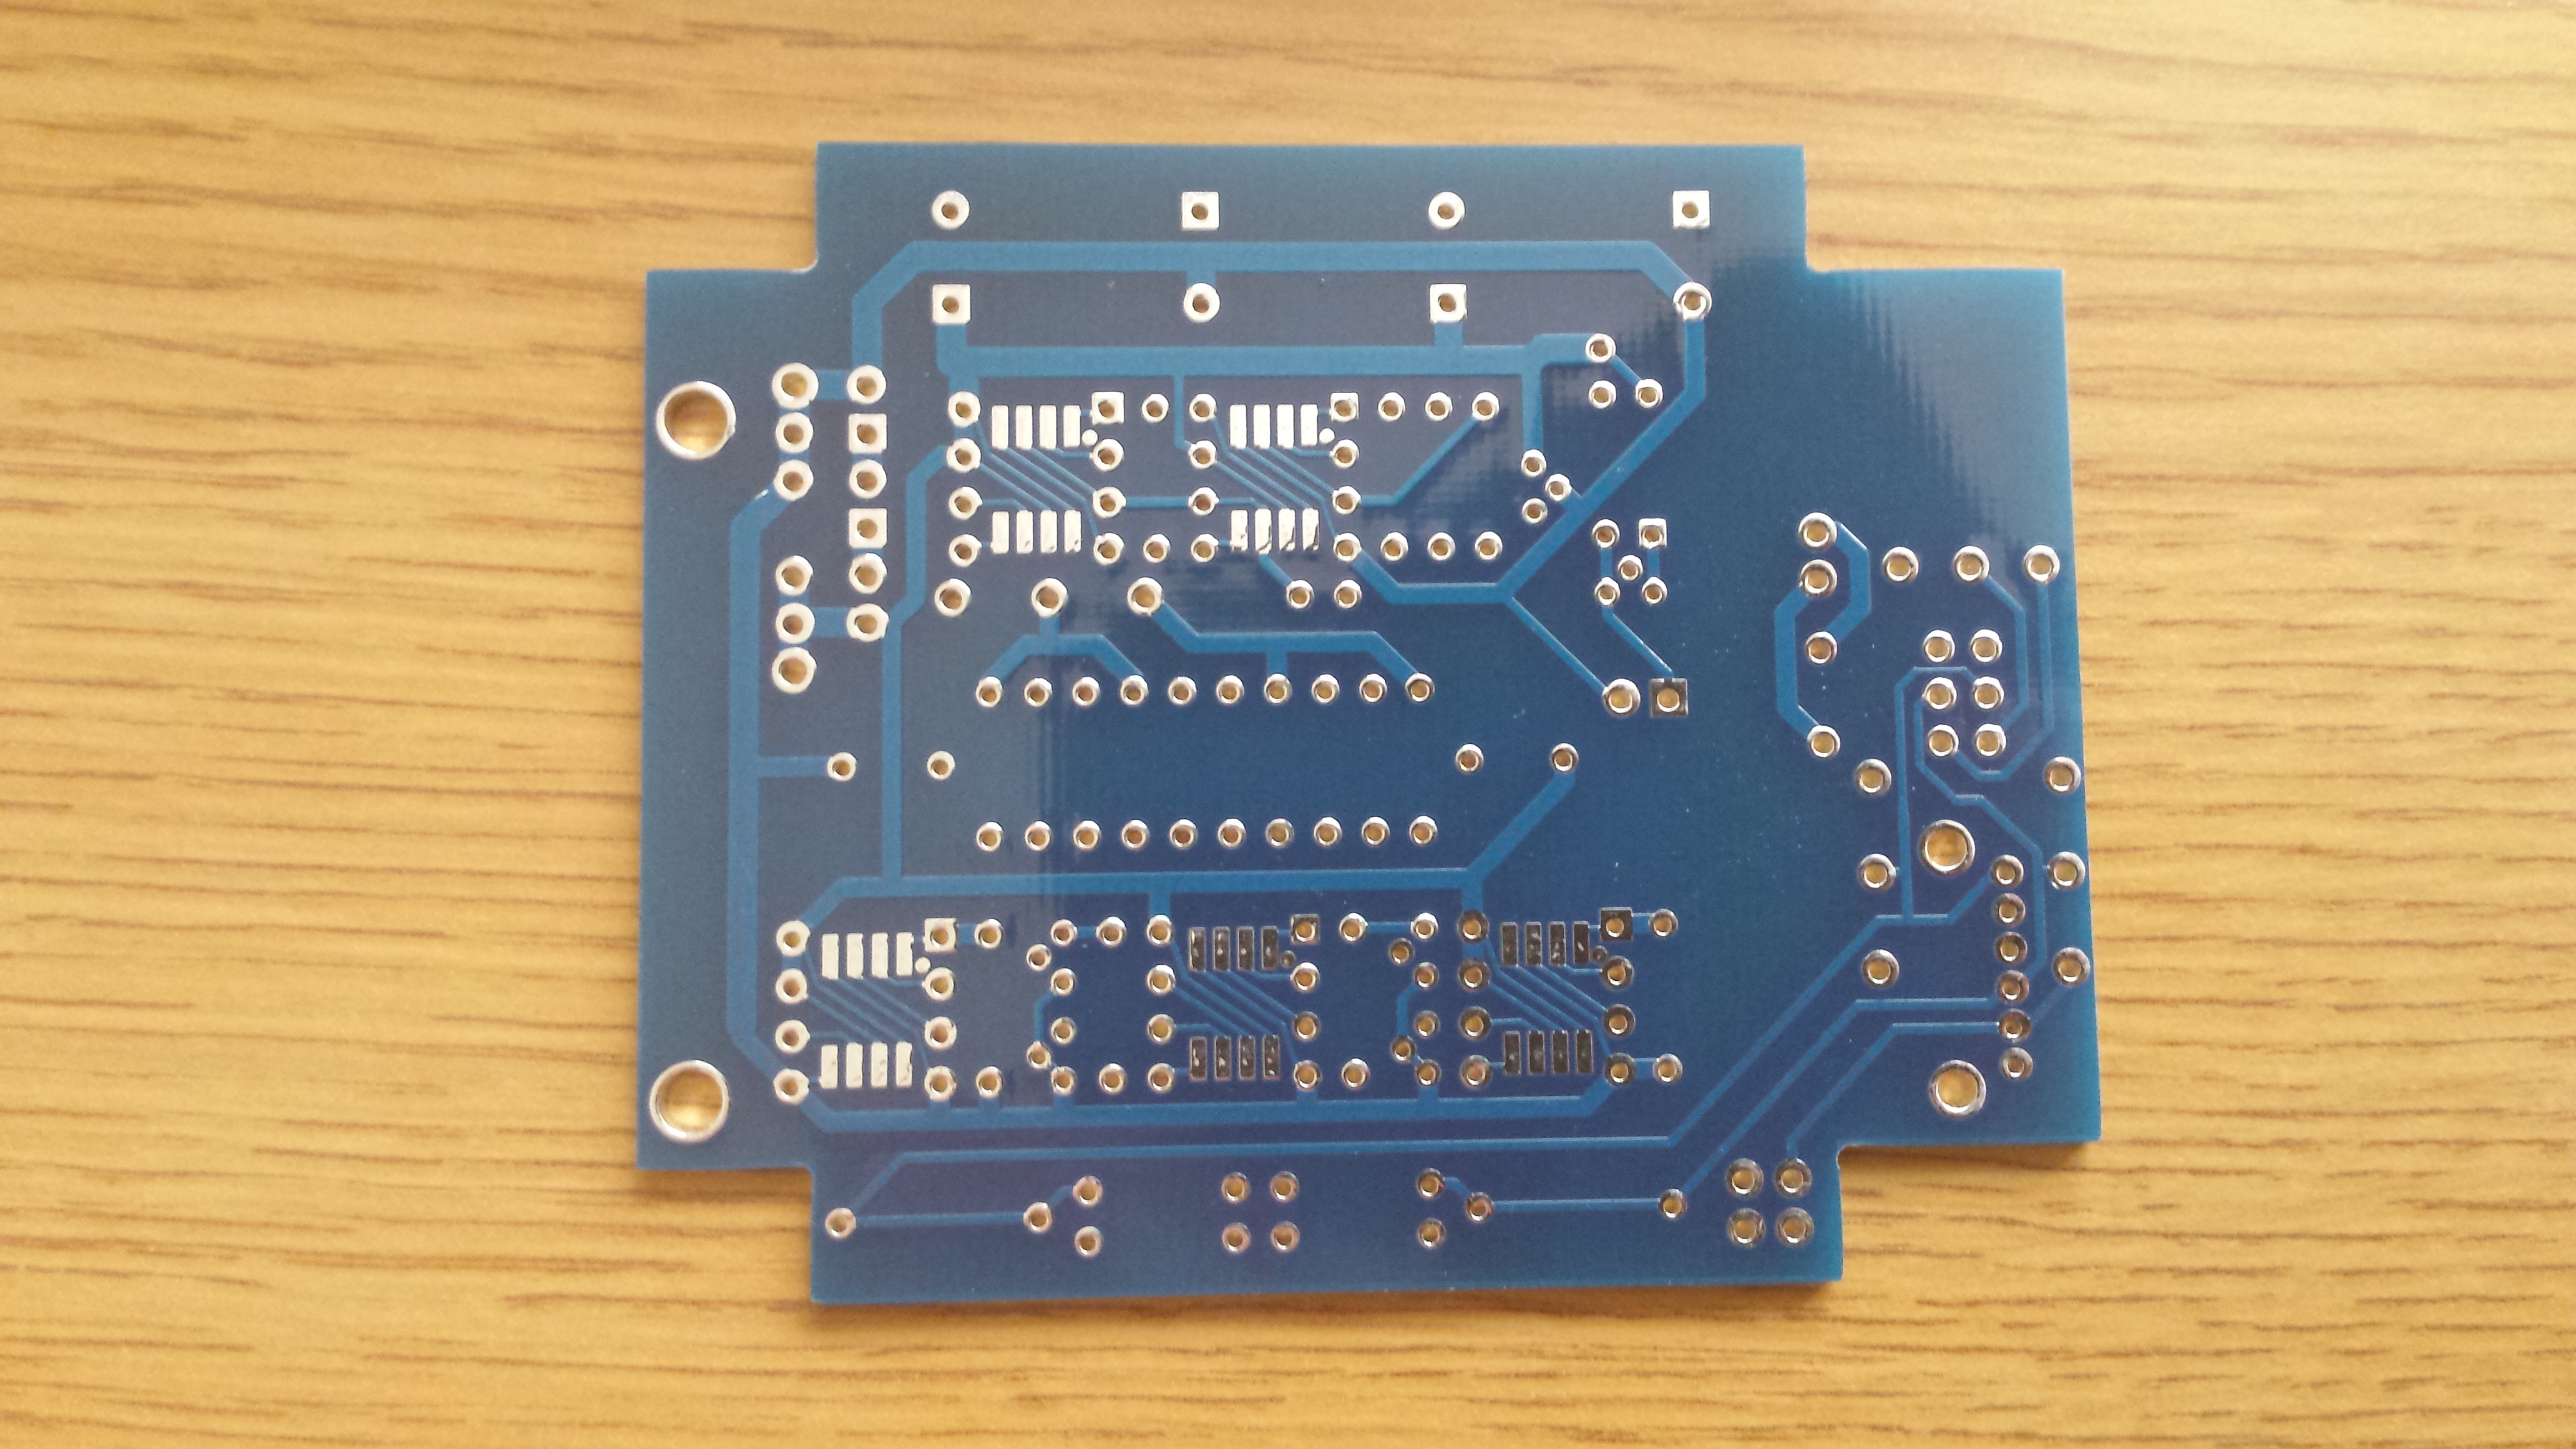
A question on the Pimeta V2 board. At the bottom of the board there are four holes. Are these for mounting a daughter board?
Can these be cut off? If so I might be able to squeeze in this 900 mAh cell instead.
 
http://www.all-battery.com/polymerli-ionbattery37v900mah463455.aspx
 
 
A few pics of my build:


Users who are viewing this thread

Back
Top