


jackiedh
100+ Head-Fier
- Joined
- Jan 11, 2012
- Posts
- 141
- Likes
- 11
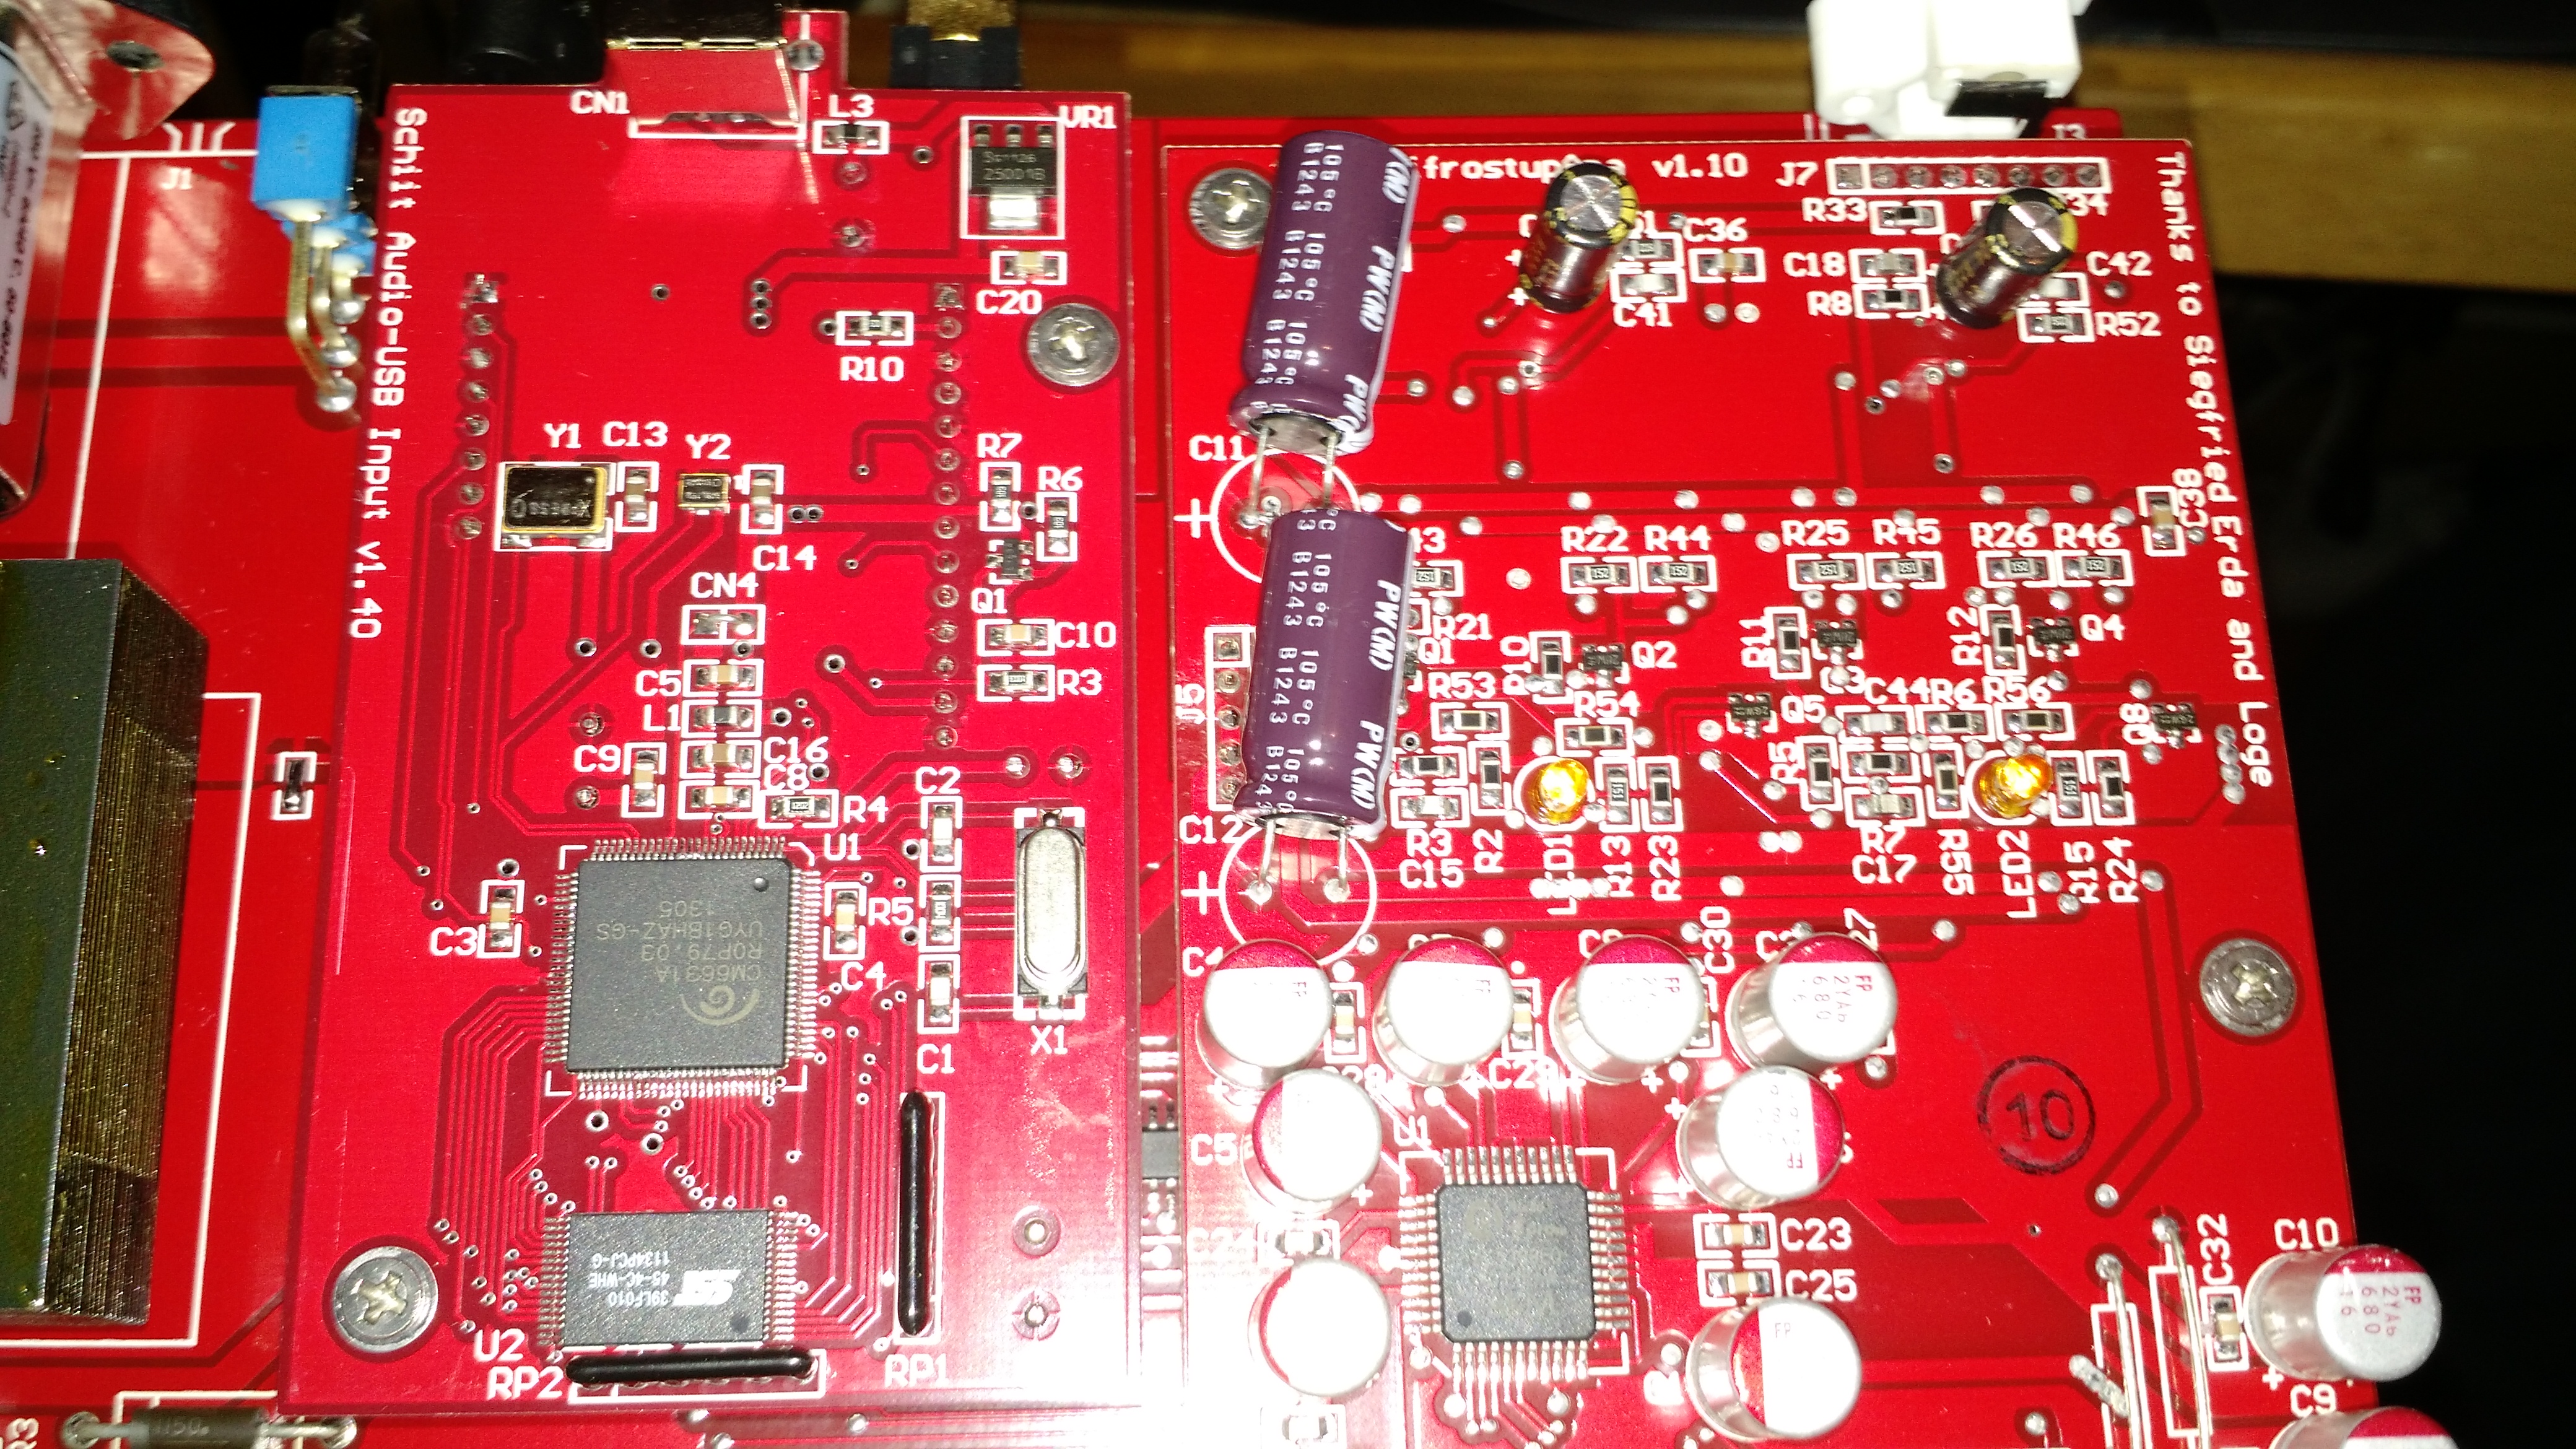
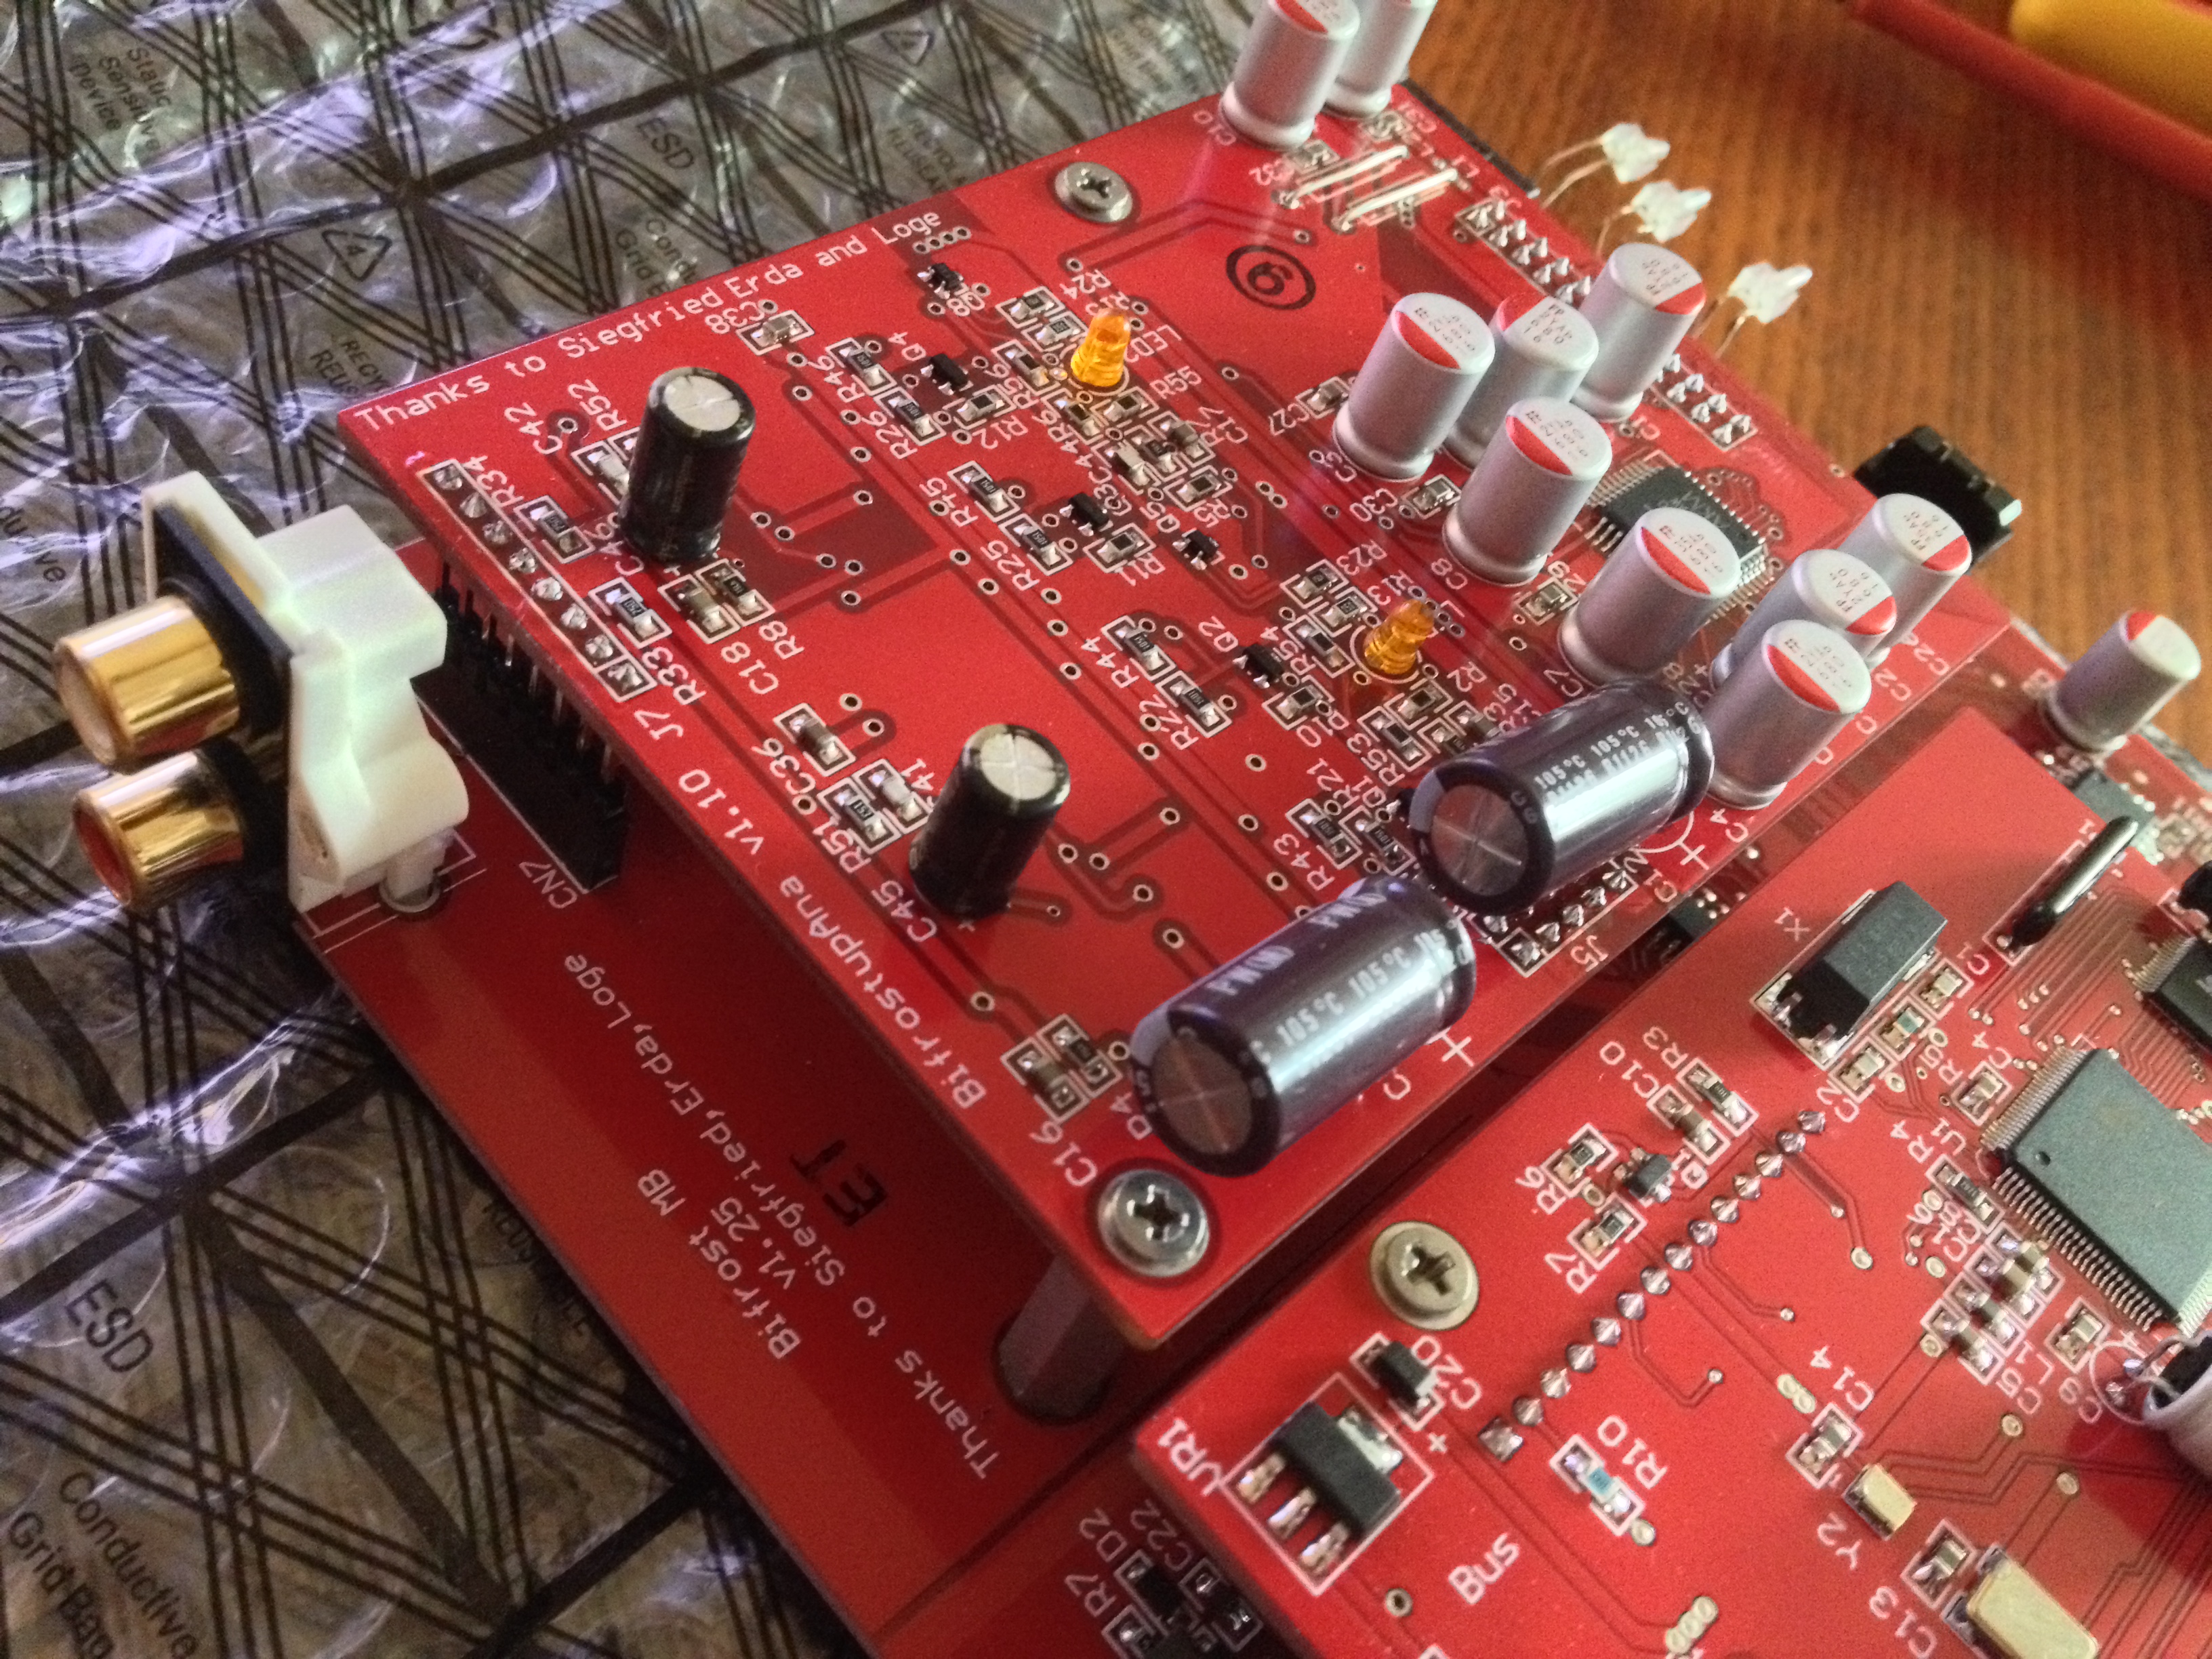
Anyone do the USB upgrade on the GUNGIR yet?
Same issues with the LEDS?
Jack
Same issues with the LEDS?
Jack


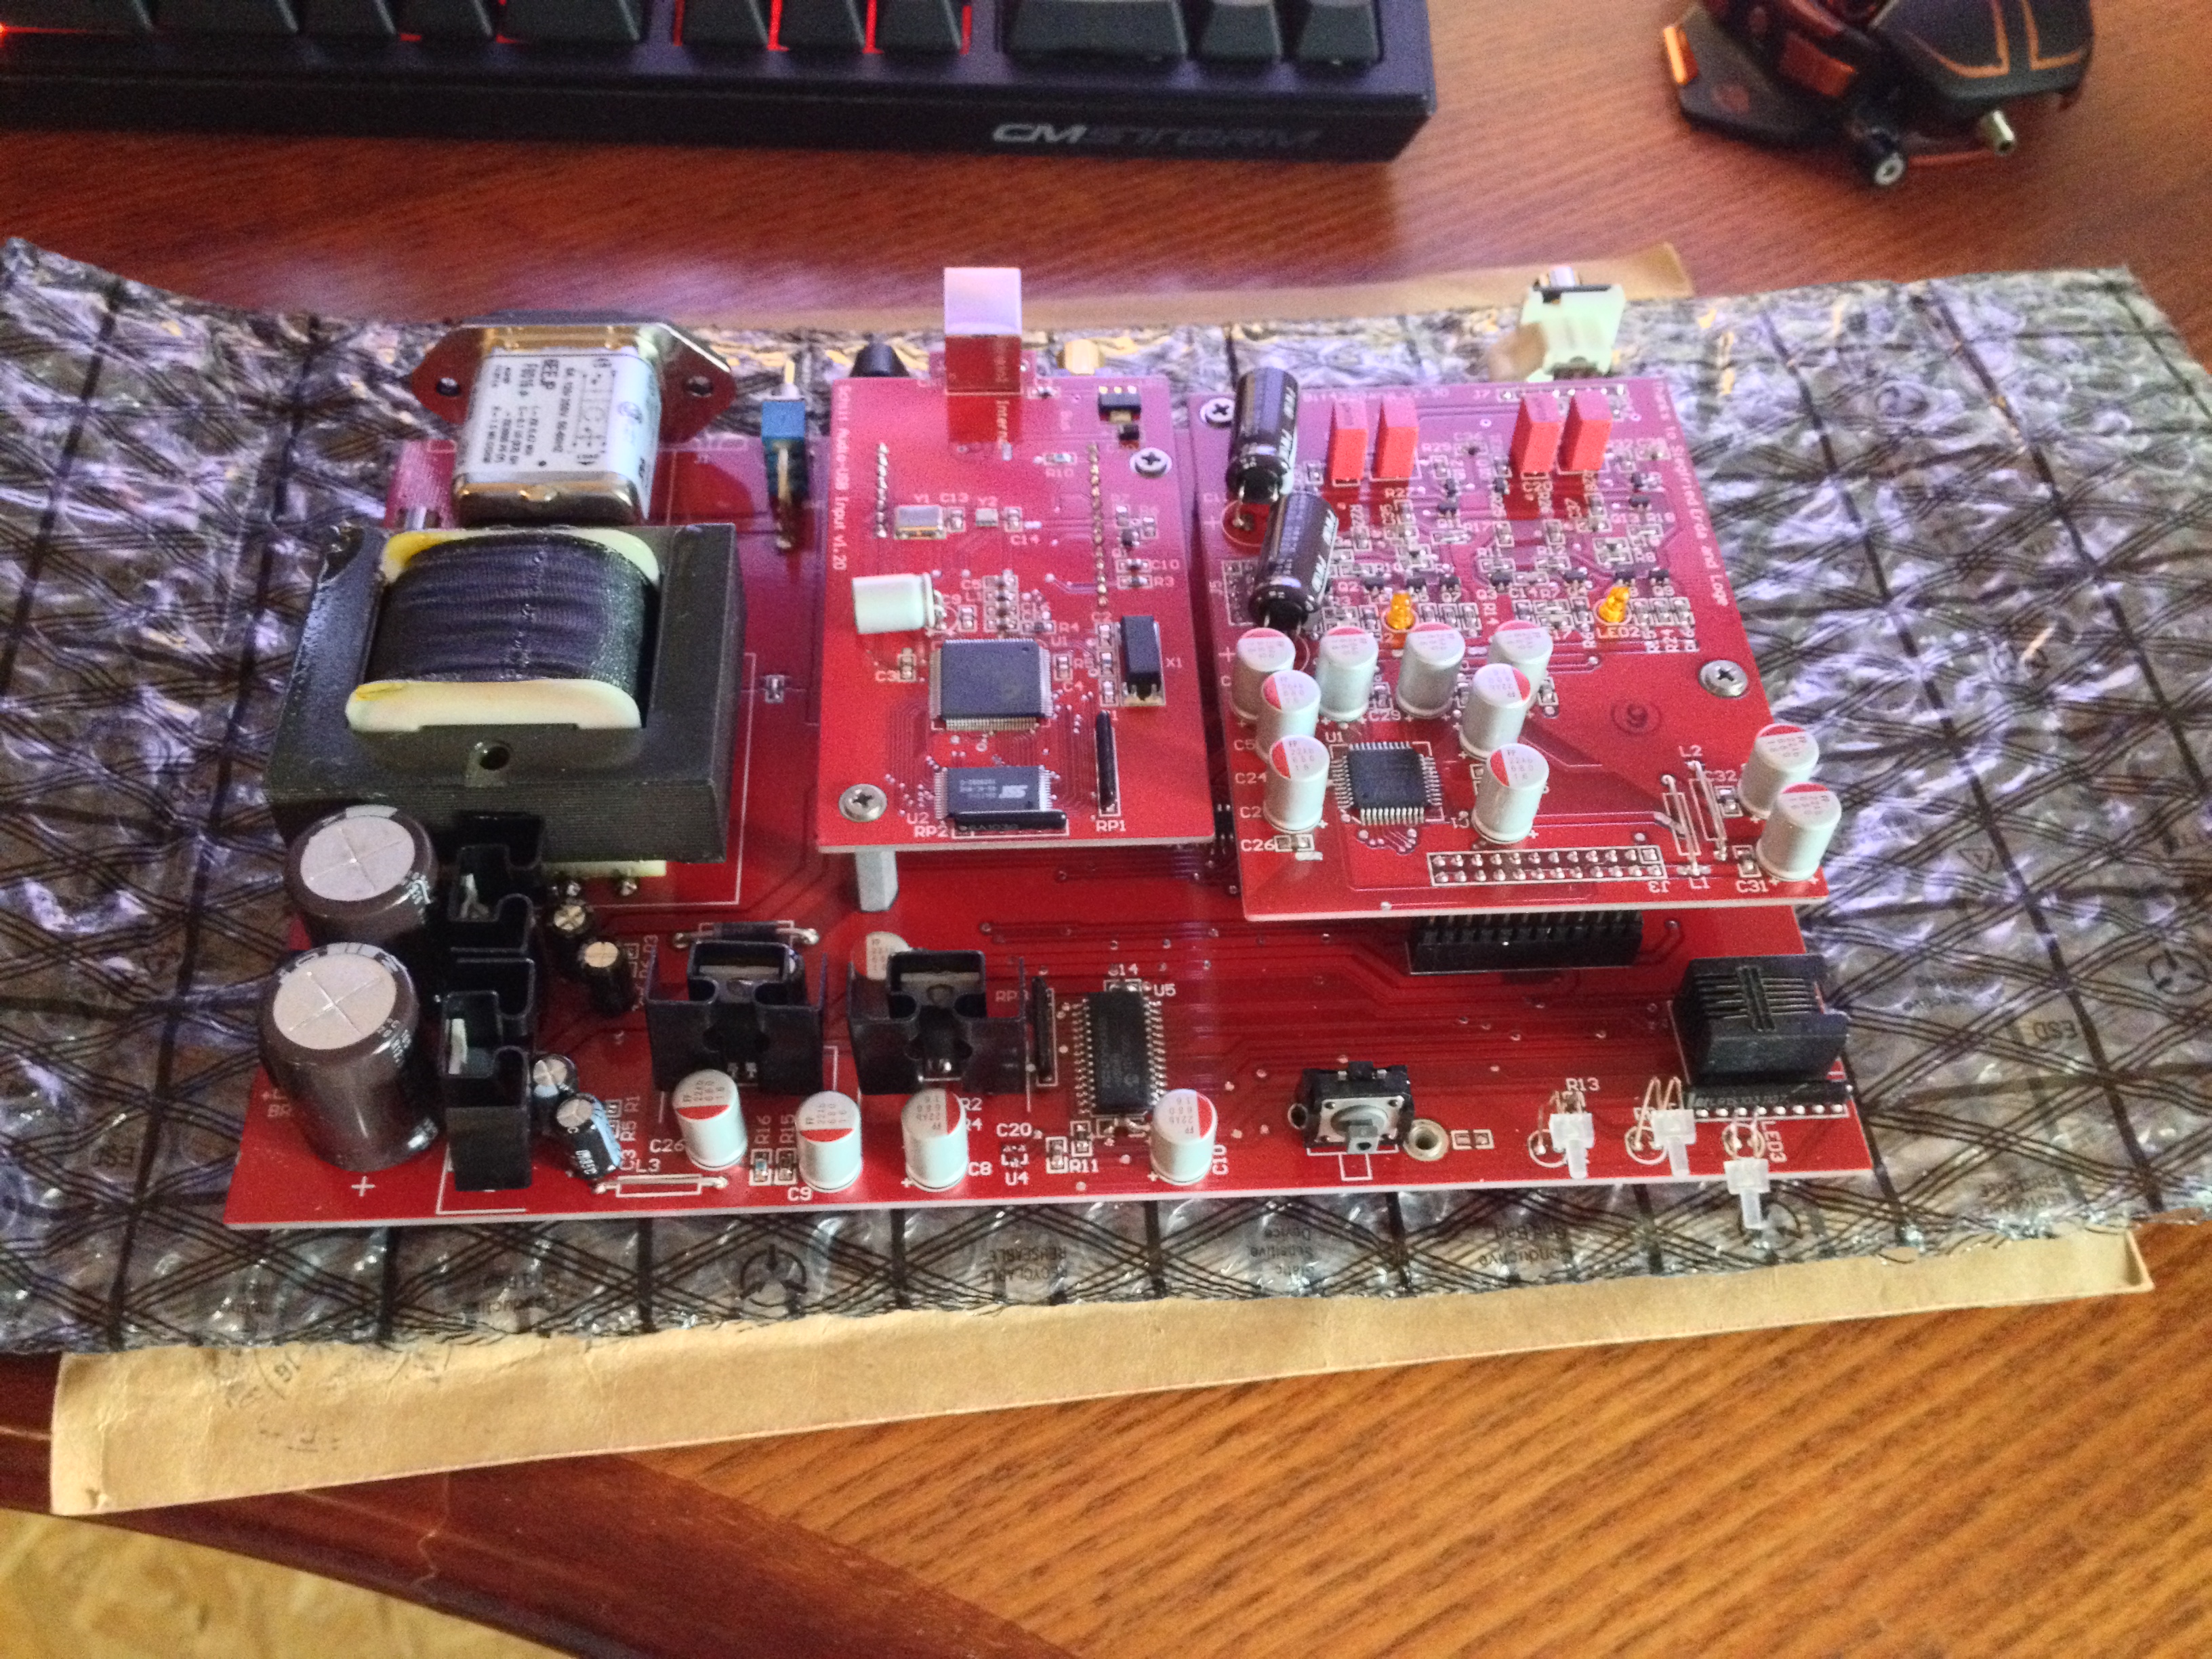
The upgrade path does not require any soldering?
Only electrical connections are managed by connector pin array?
Even mechanical engineer can do as graphical instructions laid by toschek?
Is the upgrade worthy to brave?
yes, there is no soldering required.
Yes, boards are plug and play via pin connectors. Only tools needed is a good screwdriver, some tape for the switch, and maybe some tweezers for the LED positioning.
Yes, with toschek's and Sceleratus' directions it is easy to do.
The more I listen the better it gets...I now know it is definitely worth it after some more time listening to it.
The upgrade path does not require any soldering?
Only electrical connections are managed by connector pin array?
Even mechanical engineer can do as graphical instructions laid by toschek?
Is the upgrade worthy to brave?
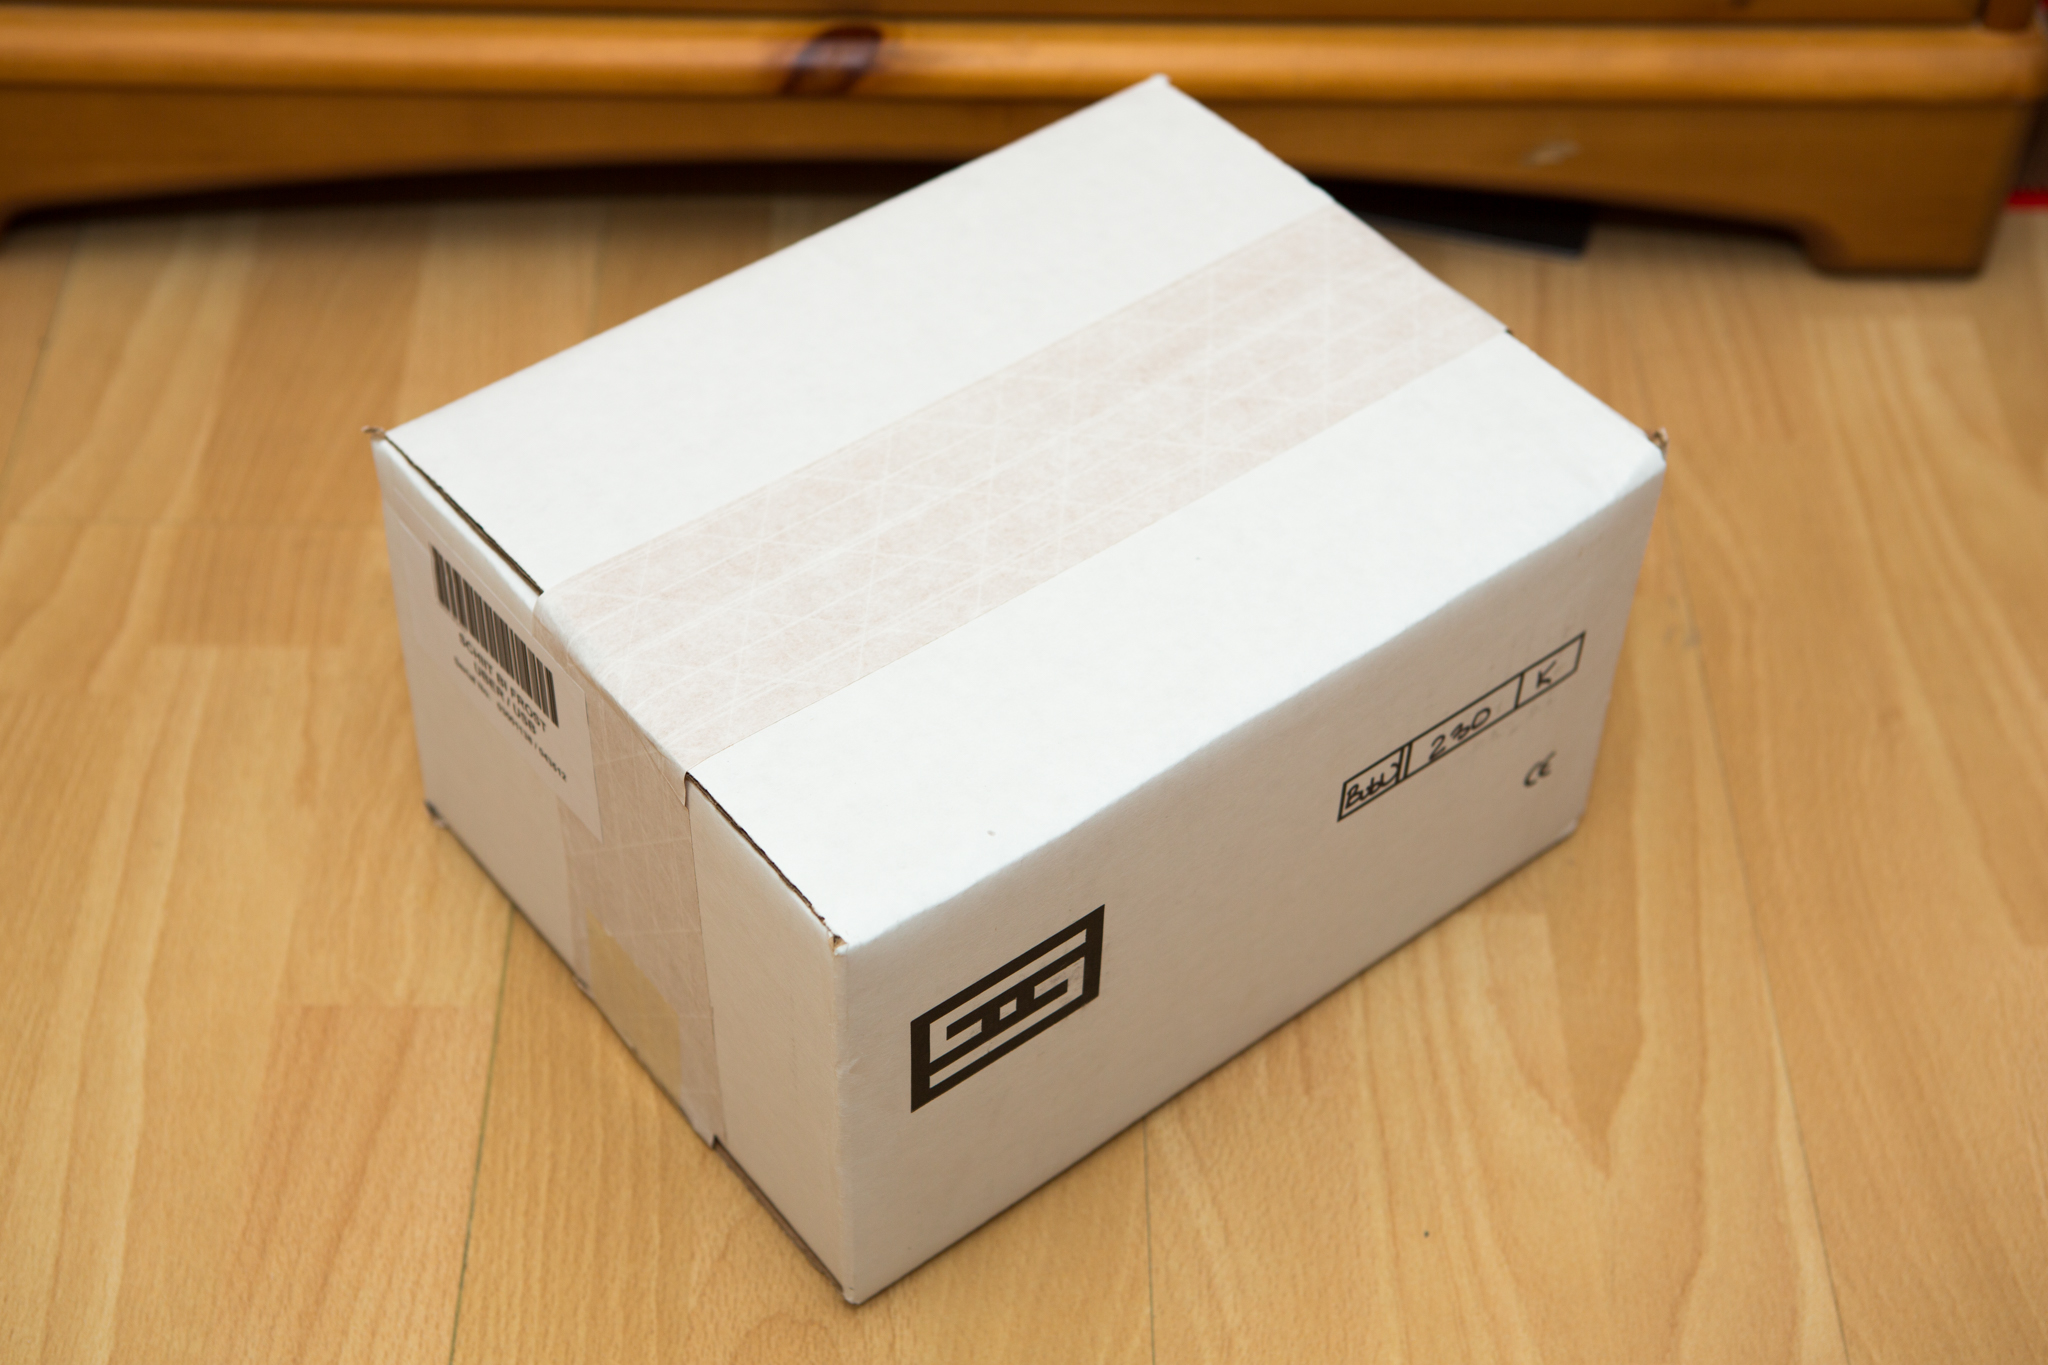
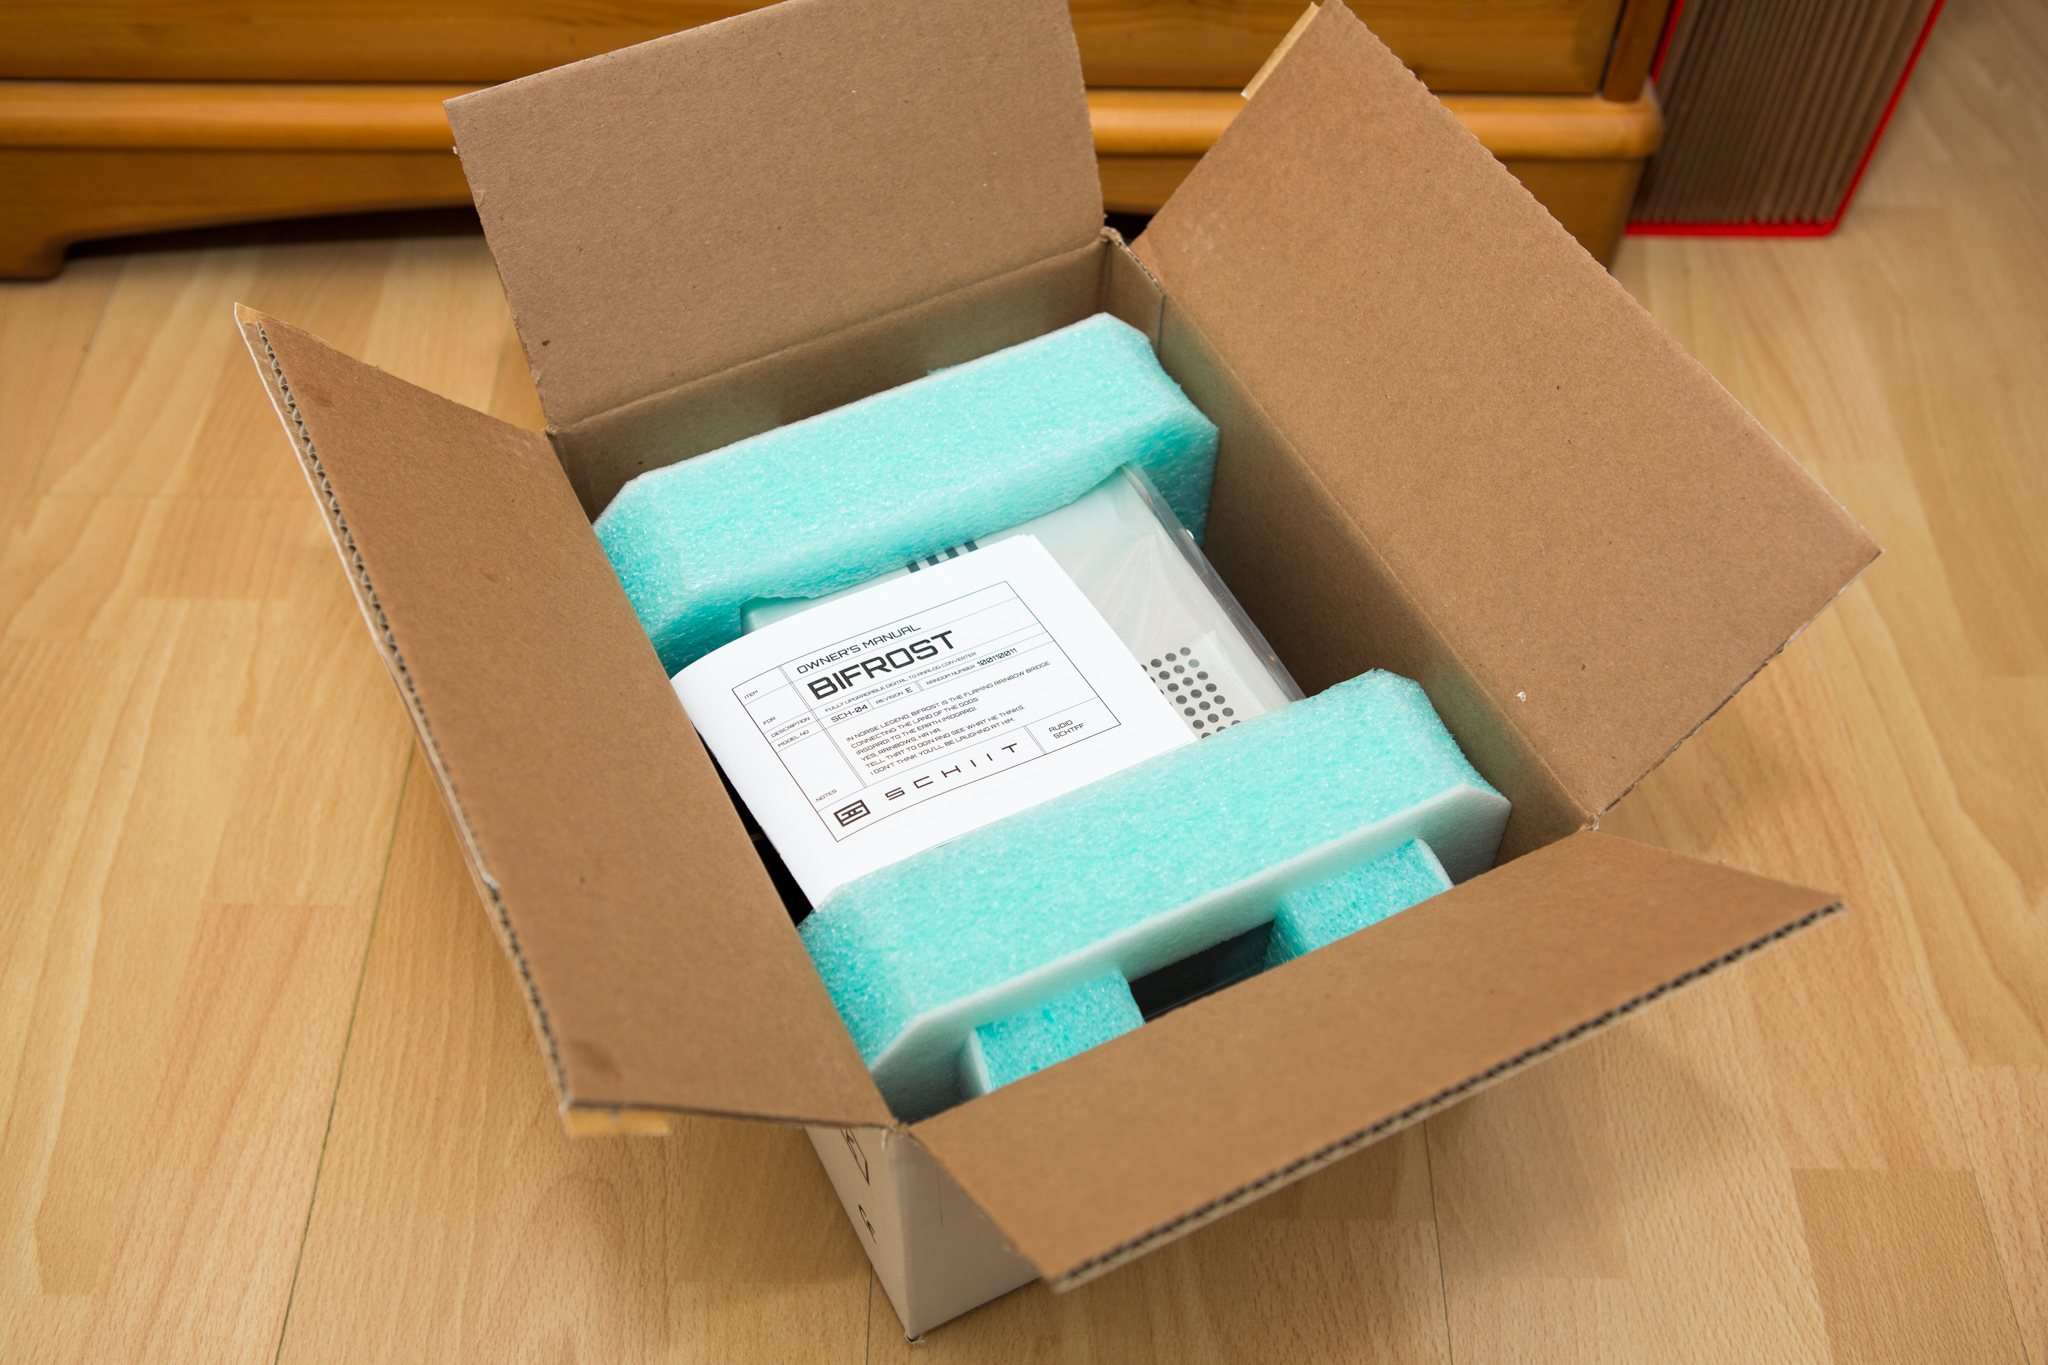
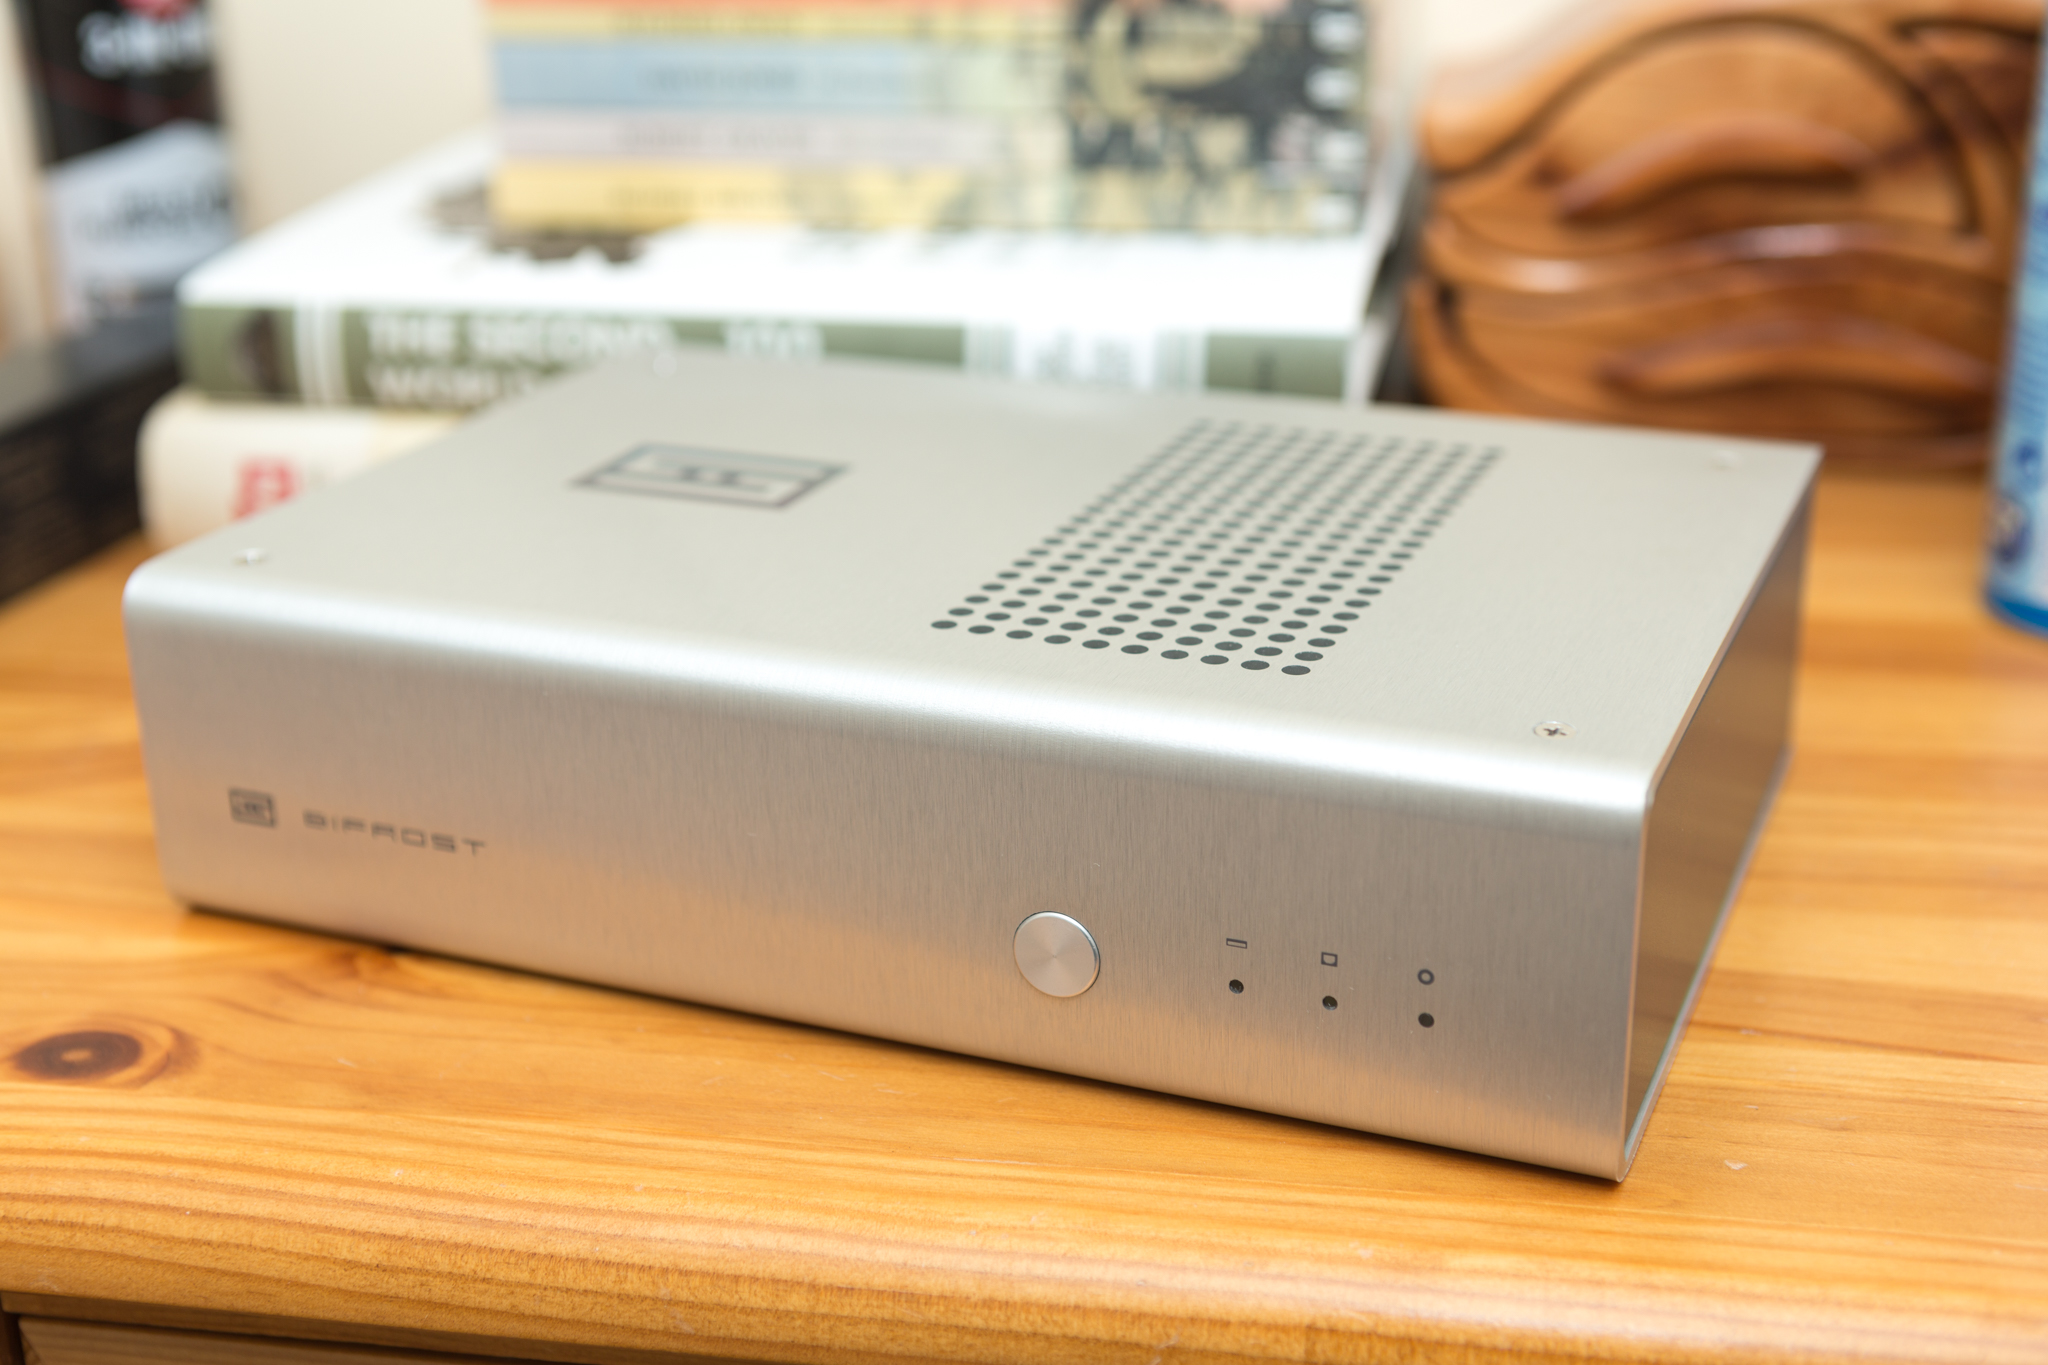
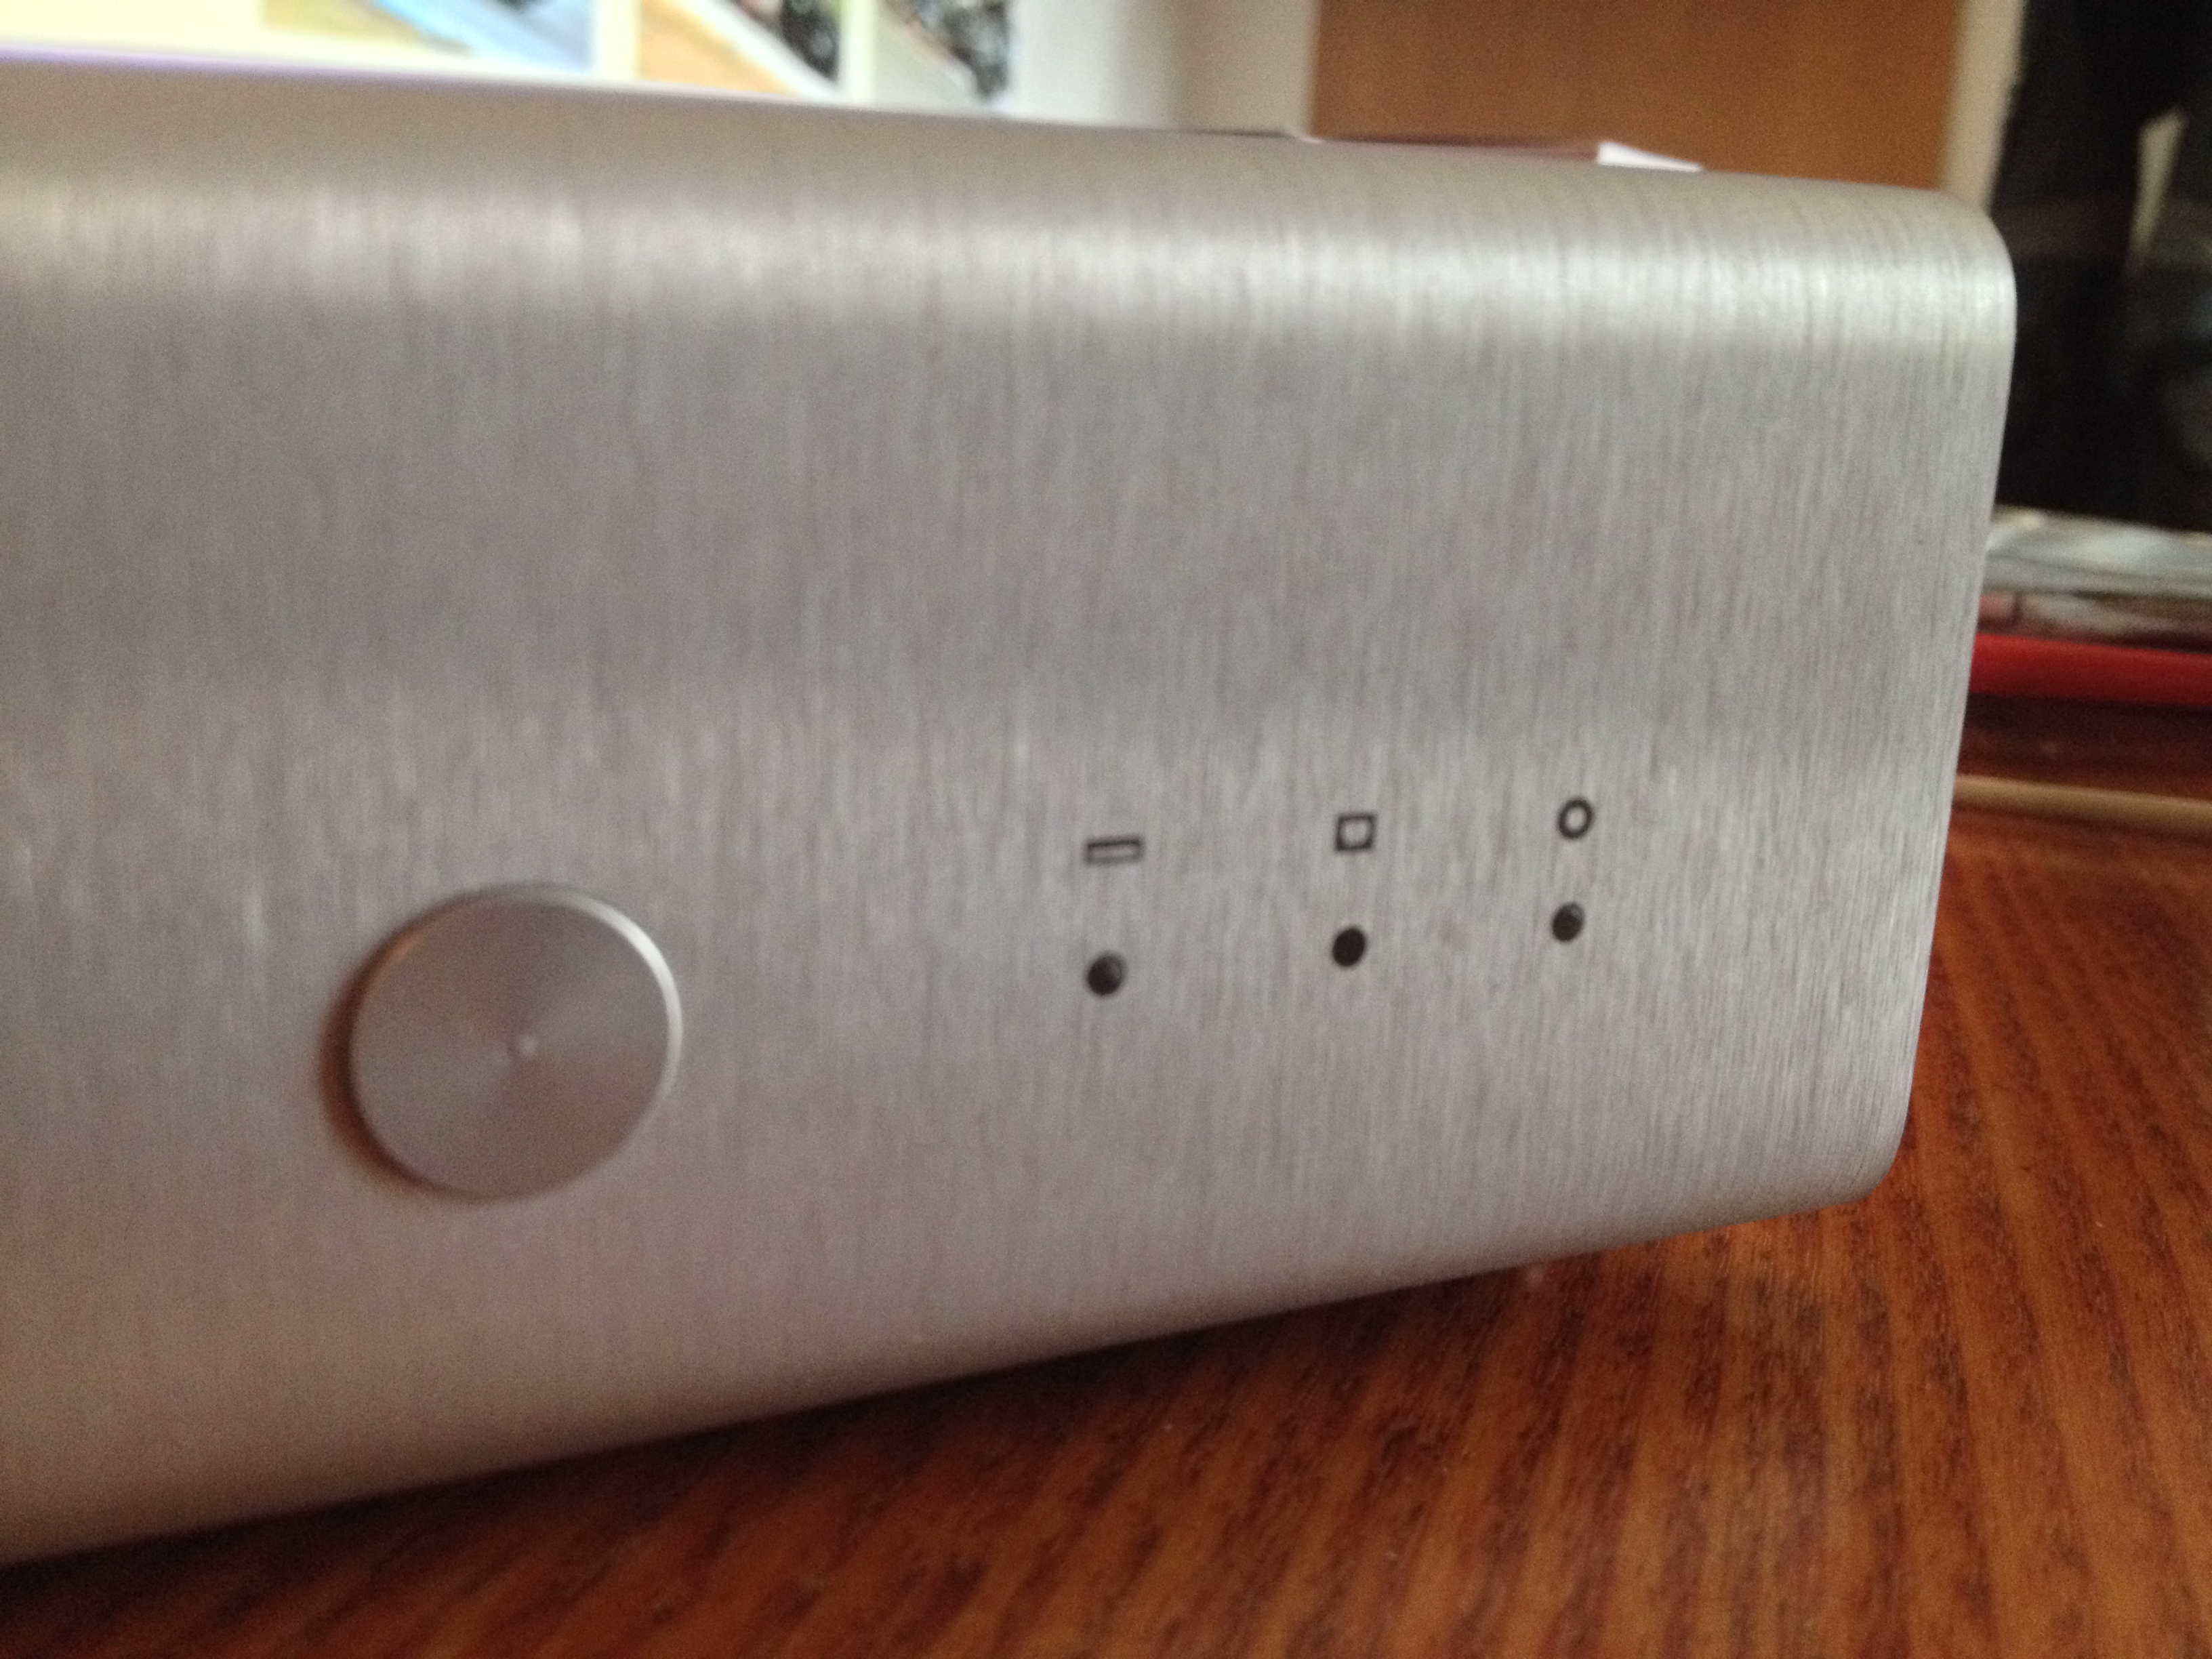
Now the important thing - where are you guys putting your uber stickers? I haven't seen a picture of where it is supposed to go!

May I ask what amp are you using with the Bifrost?
I didn't see a sticker.
Me like stickers
Mine was floating around in the box. Would have missed it except that I had just cleaned the bench where I was doing the work.
I placed mine just to the right of the serial number vertically above the coax connector.


