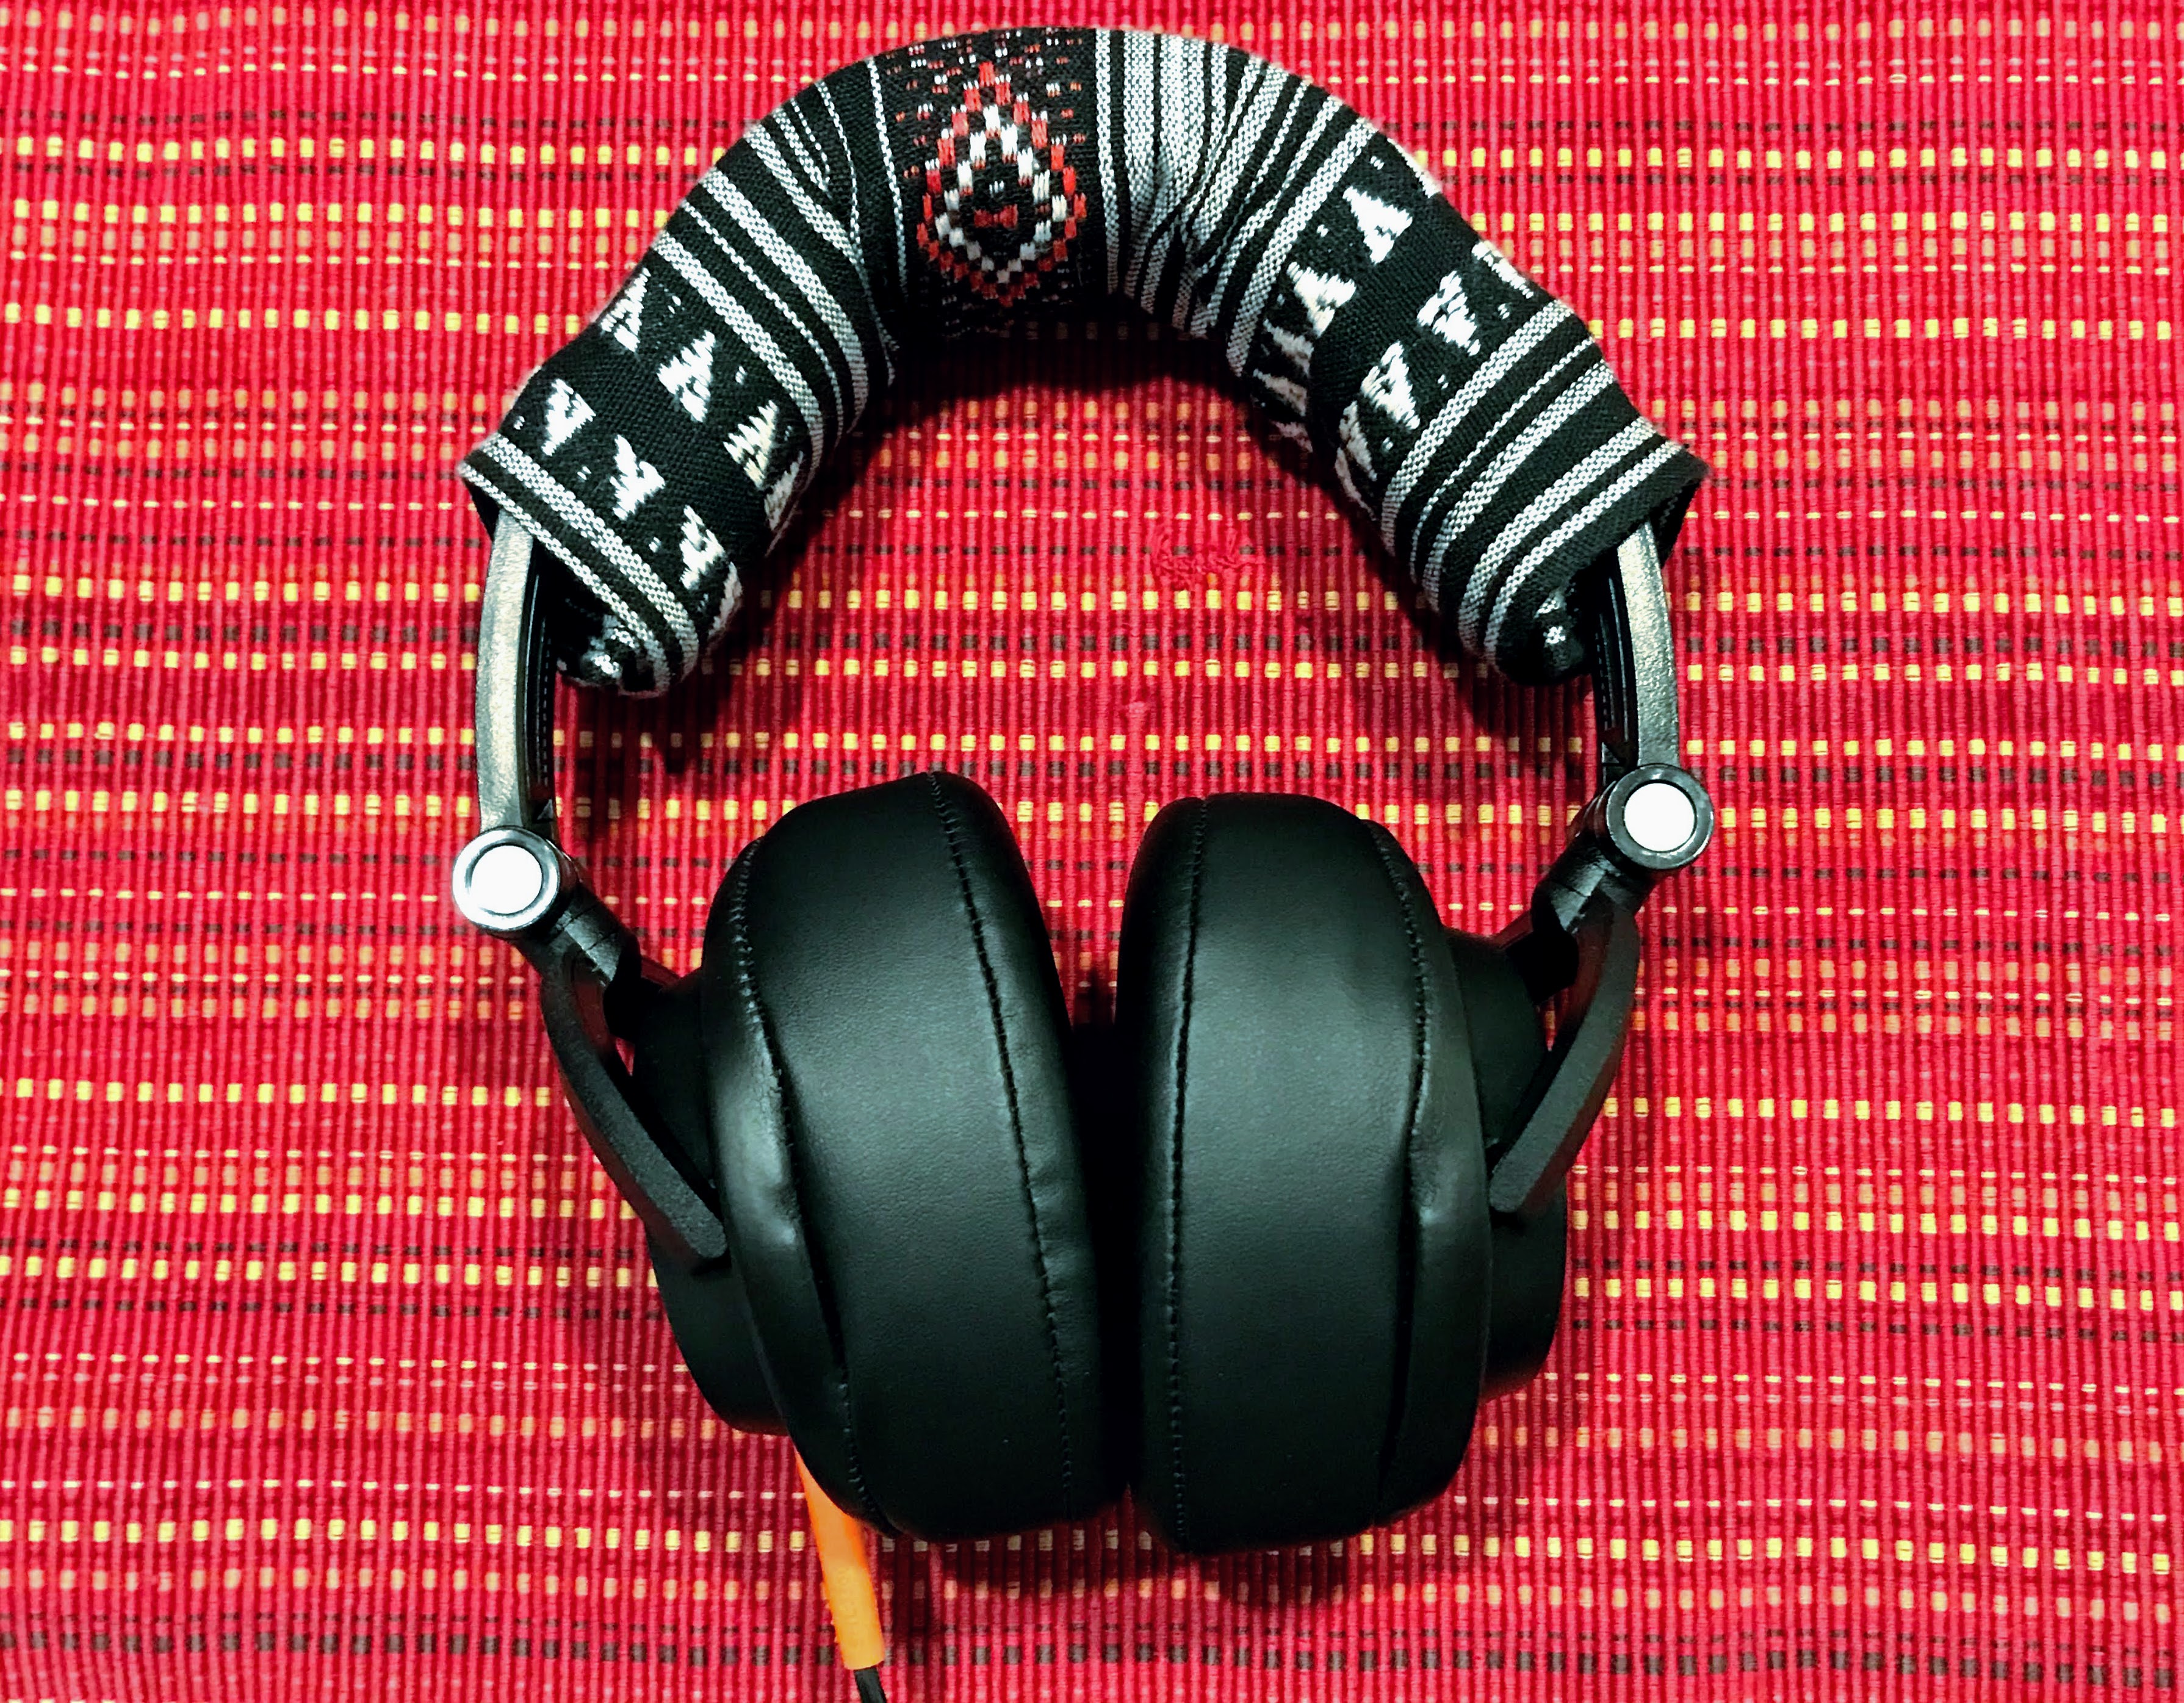
I wanted to provide an update to my SHL3300 mods.
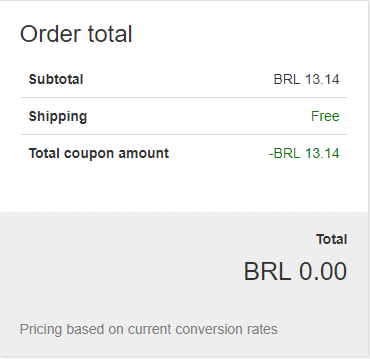
First, I went back and updated the original mod post with updated photos of the removable jack, inside of the cup, etc. So now that's as comprehensive as I can get it. Second, I completed the "Fake-elio" open mod to a 2nd pair of SHL3300 I bought for $7 shipped. I figured if I ruined them I'd only be out $7. I'm pleased to report that the mod was not only successful, but it exceeded my expectations! The open mod was time consuming (75% removing/grinding/cutting all of the plastic bits, cutting the plastic cups for the grilles and waiting for epoxy to dry, 25% desoldering and resoldering), but I feel it was totally worth the work.
It's very easy to A-B the difference, because all you do is reseal the open holes using the round disc of plastic removed as part of the mod (+ some tape). Then flip the taped covers down to expose the open holes & compare. You could technically also cover the holes with your hands as a quicky test, but your hand doesn't always seal the holes perfectly, & the act of covering the holes with your hands smooshes the headphones closer to your ear, causing false sound changes.
Here's a summary of the differences between the closed and open SHL3300:
Closed (modded) SHL3300:
- Soundstage is more shallow & closed-in vs open (modded)
- Excellent isolation
- Nice accurate, tight & fast bass. Bass-boost switch is required ON the closed version to get the equivalent bump in bass that the open version has with bass-boost switch OFF.
- Treble is more prominent in closed vs open, but sounds more "shallow" and slightly tinny. You wouldn't ever notice this unless you directly A-Bd them though.
Open (modded) SHL3300:
- Soundstage widened by approx 25%. Female vocals literally sound like you're sitting in the same room.
- Poor isolation (better than a completely open design like many Sennheisers, but anyone sitting near you will hear your music)
- Bass increased approx 20% vs closed. I actually have to turn OFF bass-boost, or else on some bass-heavy tracks it gets a little too boomy and distorted at really high volumes (ie "a wall of bass")
- Treble became more recessed by about 10-15%, but sounds much smoother, clearer & crisper, and less "shallow" and tinny. You wouldn't ever notice this unless you directly A-Bd them though.
Which ones do I like better? I love both modded versions, but it would depend on your preferences. I wouldn't hesitate to use the close modded ones at work or commuting - they sound awesome and have great isolation. Also good for movies due to the extra boost in treble. Excellent for pop, classic rock, industrial, country, new wave, etc (although soundstage and vocals sound better on the open modded version). I'm a basshead, so when listening at home (where I don't care about isolation), and when I just want to unleash bass cannons, I go with the open modded. They have nice smooth treble and increased bass, which sounds fantastic with bass-heavy music such as EDM/dubstep/techno/etc.
I'll be honest, you really can't go wrong with either modded version. Despite having never heard any open Philips (such as Fidelio X1, X2, or SHP9500), I think Philps should have sold an open version of the SHL3300 under a different model number but at the same price point as the closed SHL3300. Hypothetically if the Fidelio X1, X2, or SHP9500 has a similar sound as the open modded SHL3300, they are certainly at much higher price points.
The "Fake-elio" open mod steps:
The mod is basically identical to my original SHL3300, with the only exception removing some extra bits and adding the grilles. So if you're going to do the open mod, I suggest reading the SHL300 mod post as well - some of the steps in that post are more detailed than the same step in this post.
1. Remove the stock plastic grilles (Step 2 in my regular SHL3300 mod post). Once you remove the pads, the grilles just twist off by rotating COUNTERCLOCKWISE.
2. Pop the cups apart by inserting a flathead screwdriver in the crevice where the back of the pad goes and gently prying on the plastic tabs located at 10, 2, 4, & 8 o'clock. Some/all clips will break as seen here:

Make sure to remove all of the little pieces of broken tabs that will fall to the bottom of the cups as seen in the below photo. The hinges on the inside of the cups have grease on them, which will make some of the pieces of broken tabs stick. You don't want to forget a piece and have them rattling around after you're done modding!

Cut the stock wire at the end of the orange strain relief as seen here:

Now pull the short piece of cut off stock wire up into the cups through the orange strain relief, and remove the orange strain relief as seen here:

3. Note the colors of the wires going to each driver & write down. Desolder the stock wires from the drivers and set the drivers aside. Tape the wires out of the way so they don't get damaged.
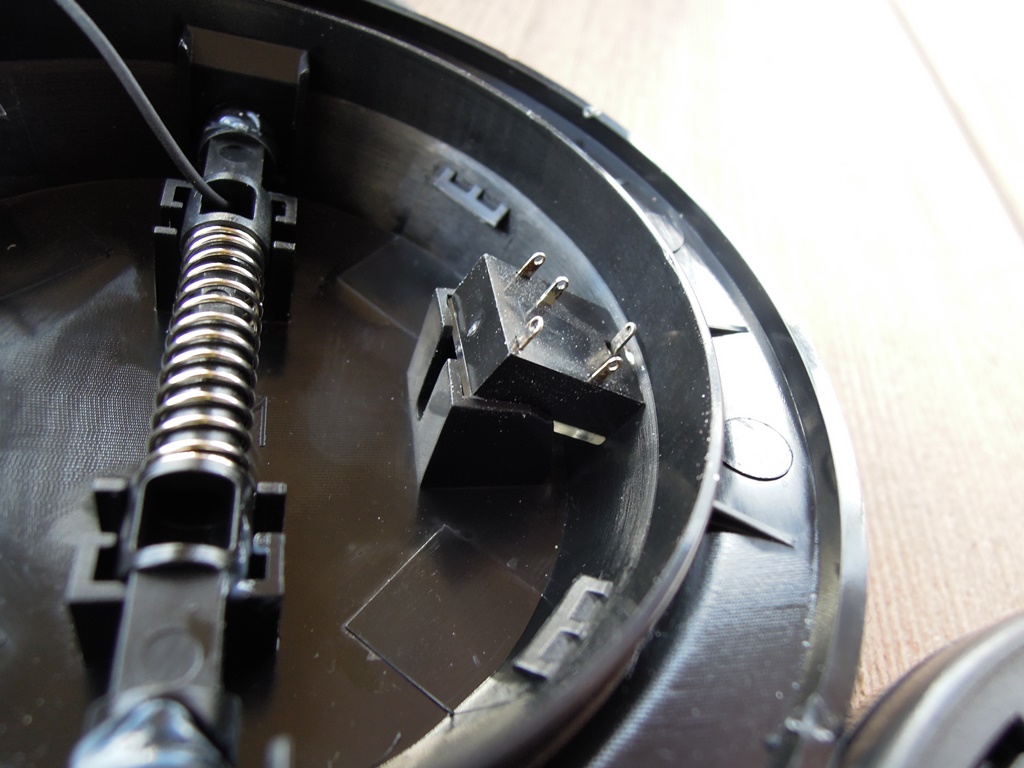
4. Remove the springs/plastic pins inside of the cups and discard as they are not needed. To do this simply slide the 2 halves of the pins towards one another (compressing the spring). The plastic pin (with spring attached) will pop right out. Slide the other half of the pin off (the one with the driver wire going through the middle - hence why you had to desolder the drivers in the previous step). You can see the (removed) plastic pins and springs here:

5. Now take pliers and break off the 2 plastic pieces in the MIDDLE of the cups as shown here:

Grind the remainder of the broken plastic bits smooth with a Dremel. Repeat for the other cup.
DO NOT REMOVE/DAMAGE THE PART IN BLUE (LEFT CUP)! IT'S NEEDED FOR THE REMOVABLE JACK!!
6. Mark the center of the cups, and scribe a hole 34mm in diameter with a compass as seen here:

Cut out the hole with a Dremel and sand edge smooth as seen here:

Repeat for the other cup.
7. Take some sort of metal grill material and cut (2) 40mm diameter circles. I bought a pair of 2" tweeter grilles on ebay for $1.75 as seen here, but old computer speaker grilles works too:

You'll have to cut a flat spot in the top of the LEFT grille so it can clear the spot where the removable jack will go (as seen here):


The RIGHT grille is perfectly round, since the RIGHT cup doesn't have the removable jack plastic thing:

8. Epoxy the grilles from the inside. I used JB Weld "Plastic Bonder", but I'm sure regular epoxy will work fine (don't use super glue). Here's the left & right grilles once glued in and cured:


9. Solder the wires back onto the drivers using the colors noted in step 3. Be sure to keep the polarity the same so you don't end up out-of-phase. Now do the removable cable mod (Step 5 in my regular SHL3300 mod post). Solder the wires between the LEFT driver & removable jack BEFORE you install the jack into the plastic "well". Once soldered, insert the removable jack into the plastic "well" by first tilting the jack at a slight angle so that the 3.5mm hole goes through the hole in the headphone cup as seen here (the jack in the photo is just for illustration, and doesn't have the wires soldered):

Then simply push the rear edge of the PCB jack downwards using a pencil eraser or some similar tool, taking care not to damage the solder pins. What you end up with is this (the jack in the 1st photo is just for illustration, and doesn't have the wires soldered):


A perfect fit! Tighter than a
12 year-old back injury haha (
http://imgur.com/kseKnBU for joke reference).
10. Once the jack wiring is soldered, test the jack to make sure it works. Then reinforce the jack with a bit of hot glue/epoxy on the inside of the cups as indicated here:

Here's the jack after soldering & hot gluing:

The glue serves to both reinforce the jack/wiring as well as seal the gap where the strain relief was (because the strain relief hole is slightly larger than the female jack's 3.5mm hole).
11. Now glue the cups back together with a drop of superglue gel/hot/glue/epoxy in the spots indicated here:

Just don't go berserk with the glue on the cups in case you ever need to take the cups back apart. One drop as indicated by each yellow dot is more than enough glue. You could probably even get away with only using 4 drops of glue total (every other yellow dot in photo).
To hold the cups together while the glue is curing, stretch a few rubber bands tightly around the cups in an "X" pattern to provide nice even pressure. Once the glue is cured, remove the rubber bands & fill in the gap around the jack on the outside of the cup where the strain relief was using a bit of hot glue/epoxy, as indicated here:
[COLOR=FF4400]

[/COLOR]
12. Once the glue is all done & cured, do the Dynamat mod on the outside face of the cups (dynamat on inside of cups is not possible due to the lack of room from the epoxied grilles). See step 4 in my regular SHL3300 mod post:

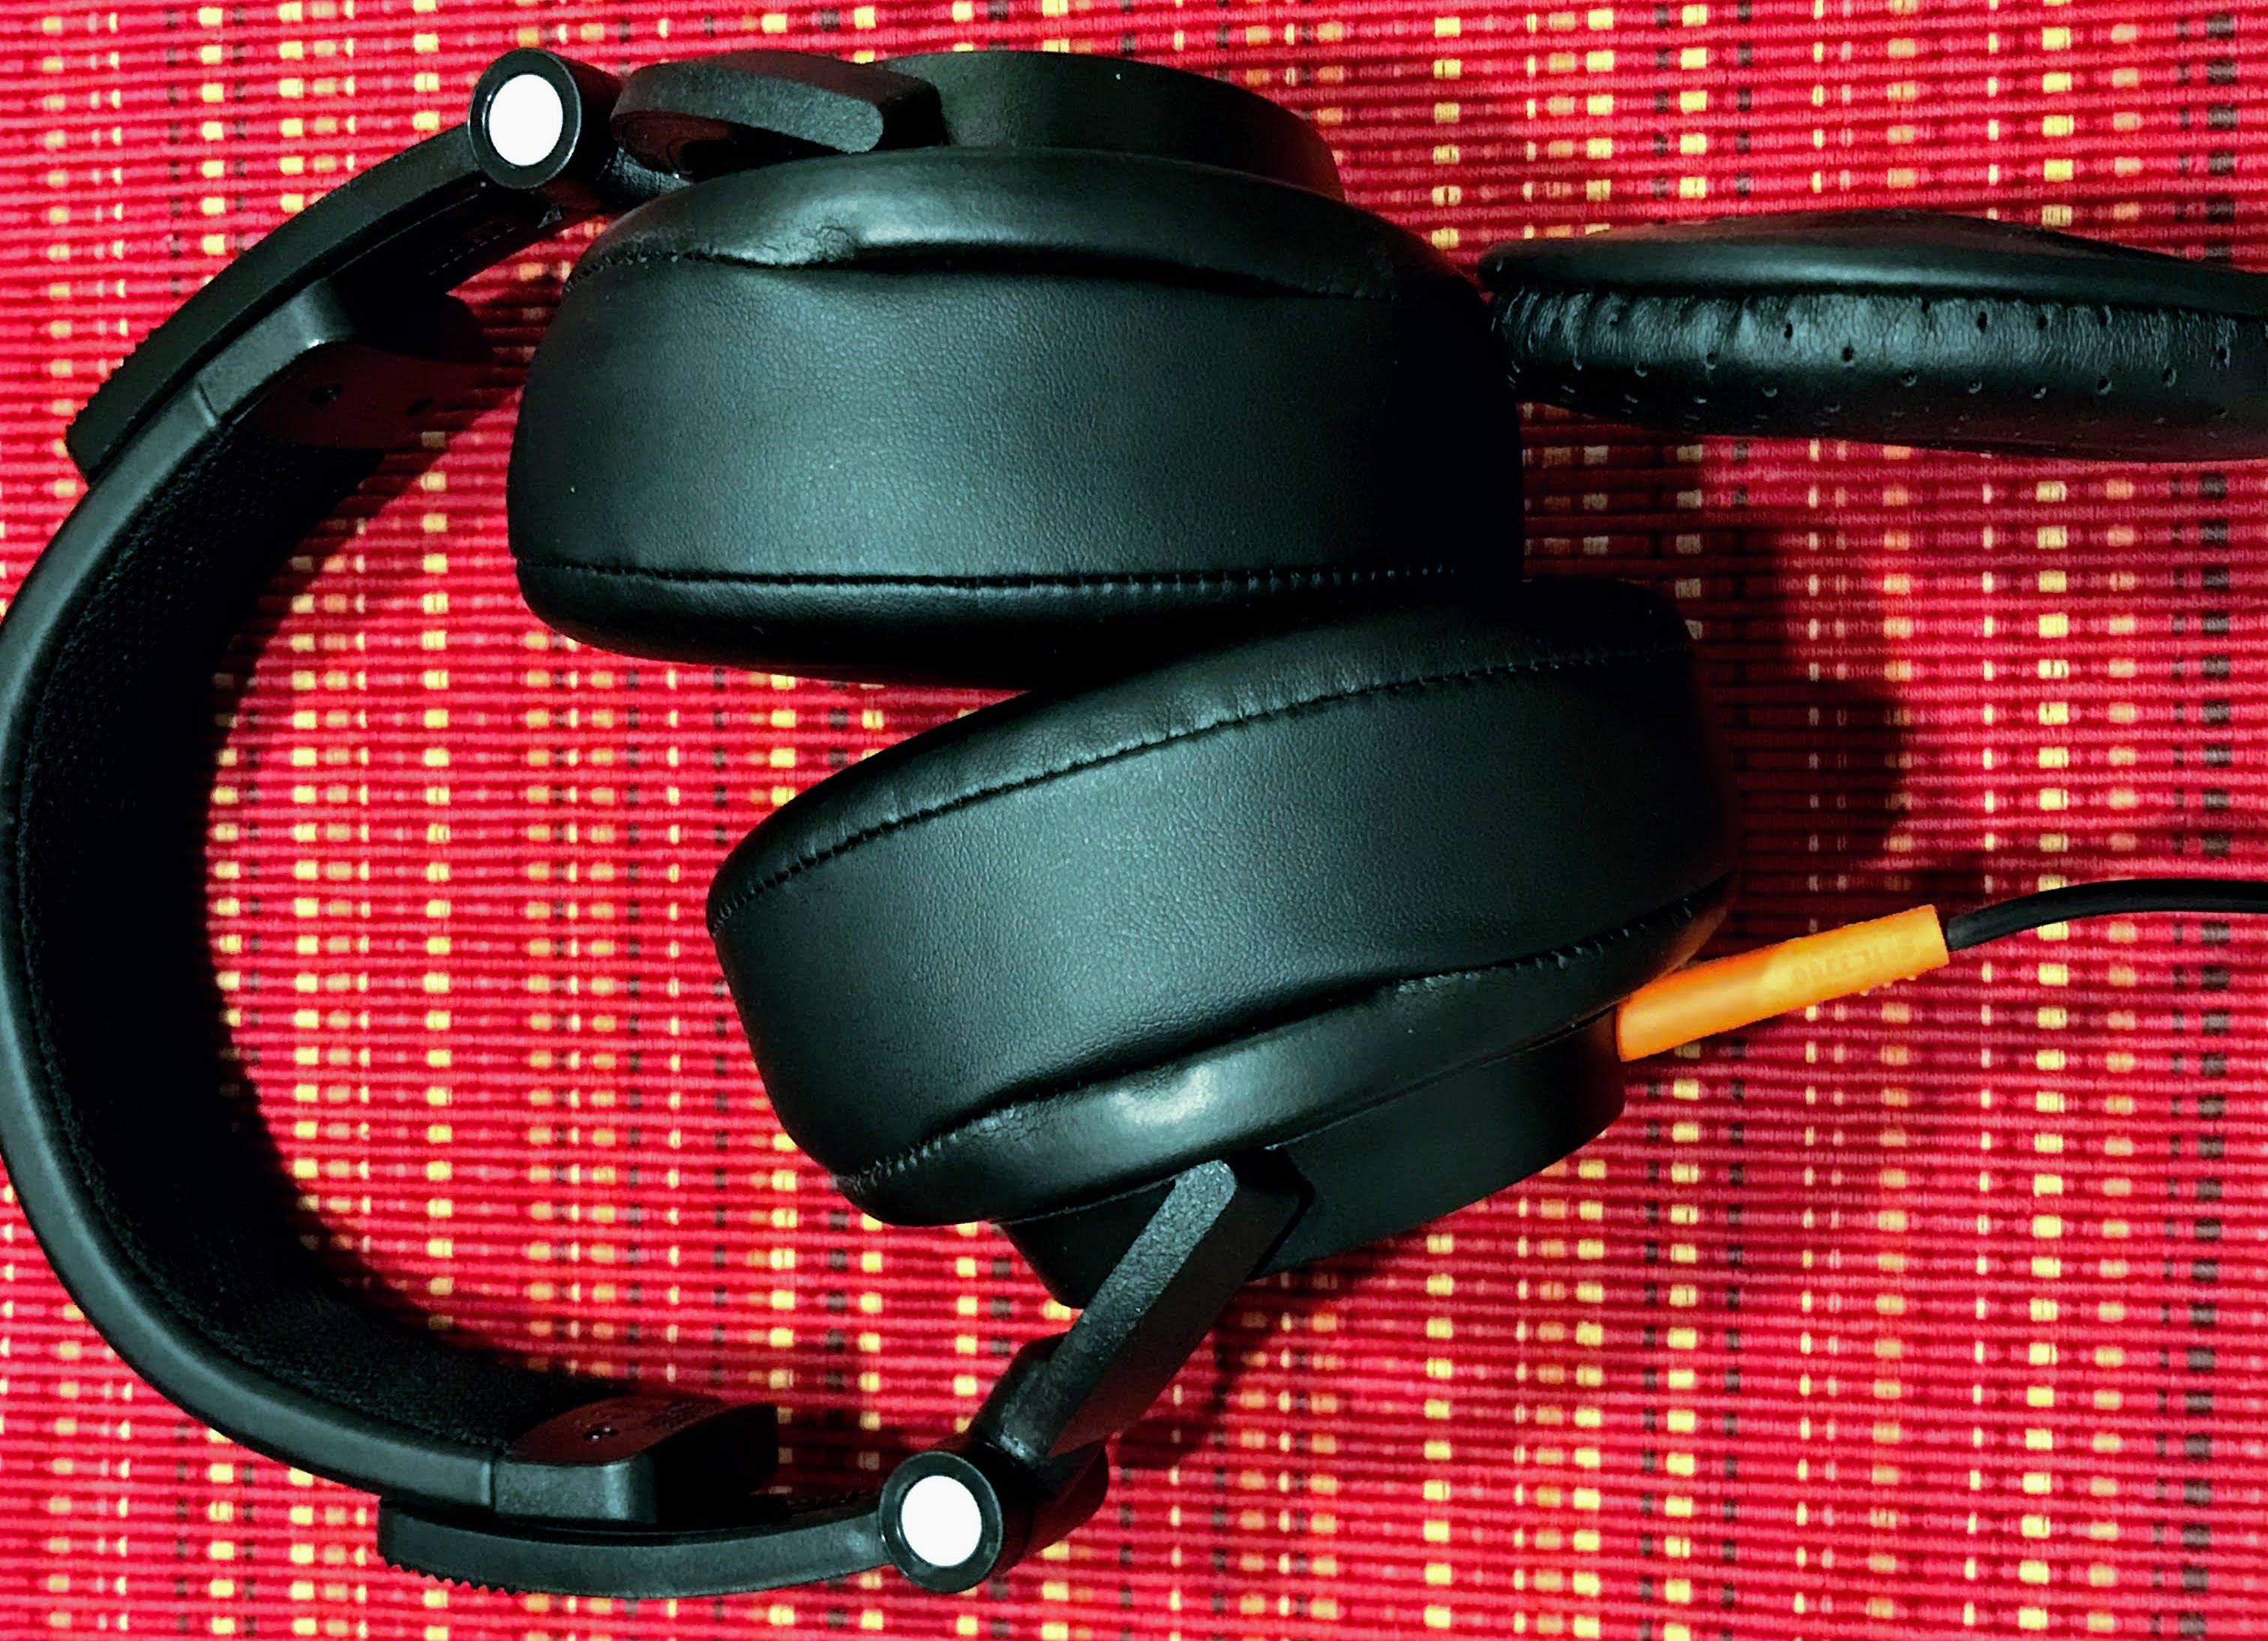
13. Reinstall the pads (HM5 or generic 90mm/95mm/100mm x 30mm thick for best sound), plug in a cable, and enjoy your Fake-elios!
[COLOR=FF4400]

[/COLOR]

Let me know if you have any questions.
- Slater