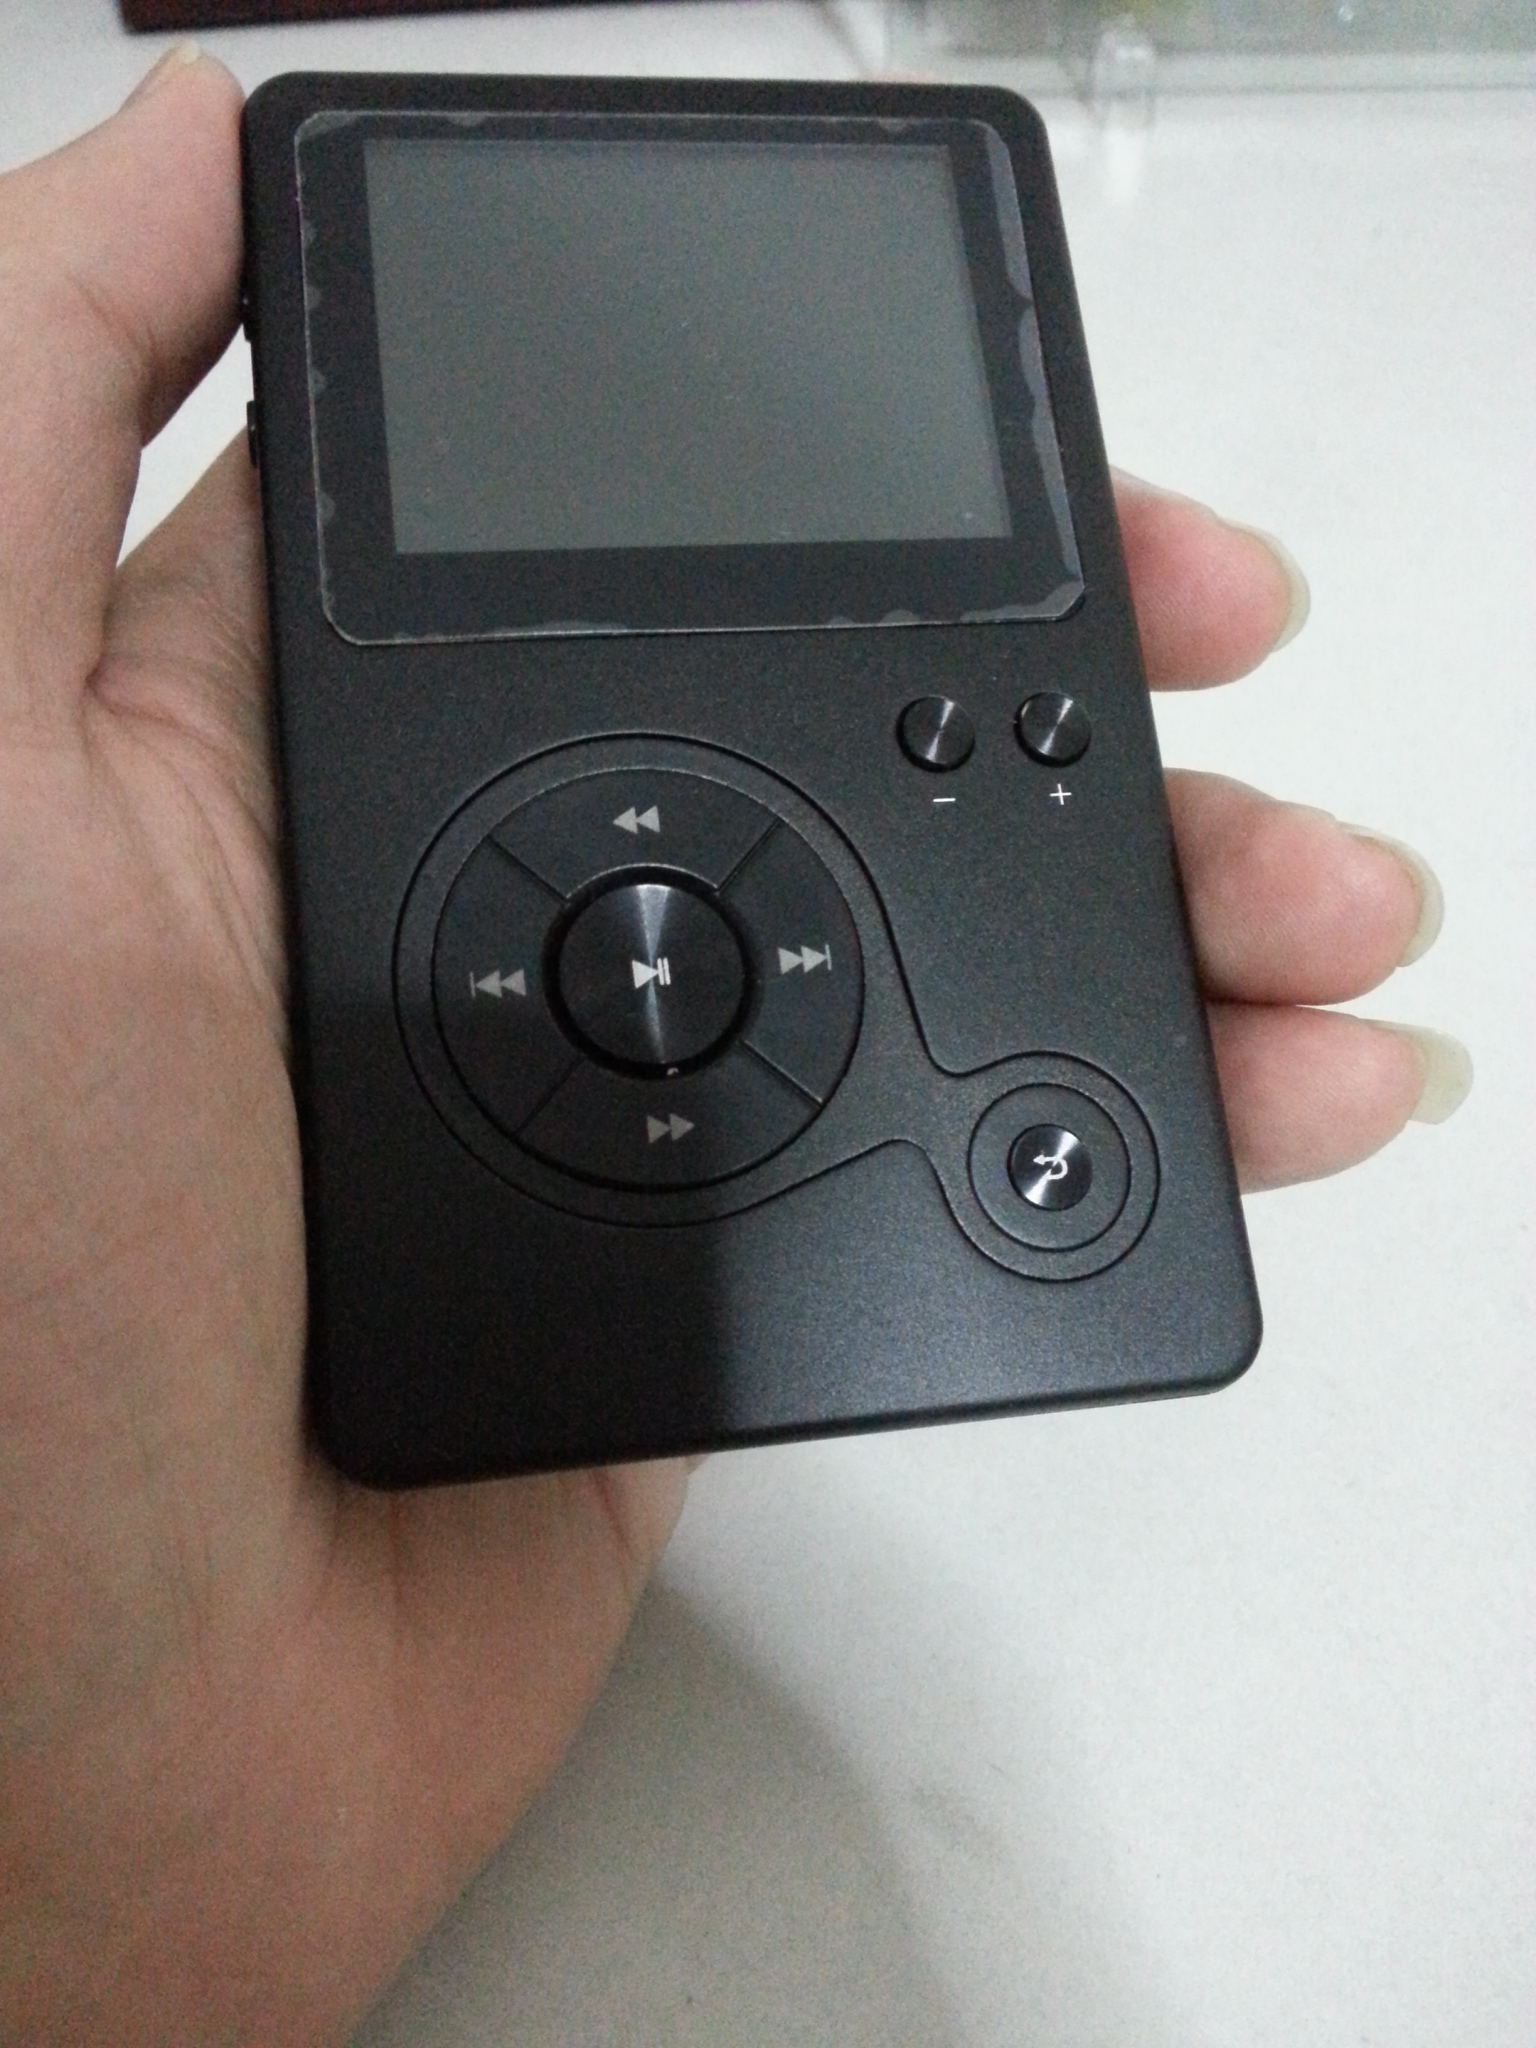
Hi guys, I would like to share my quite unique experience with Hidizs AP100.
Hope you are keen enough to spend 5 minutes reading this story
") Intro
Intro
Here we go.
Few months ago I saw a SALE for Hidizs AP100 by
70% discount off from a local audio store.
Don’t get me wrong, it was not a new unit; it was a demo-set unit they had for customer’s audition purpose. On top of that, this demo-set unit was painted in
all gold color!
Creative indeed.
I haven’t tried out this DAP before, but considering the offered price I had no brainer. Purchased it straight away!
In a couple of days the unit reached my hand and I turned out to be engaged by its neutral sound signature. Navigation is fast and friendly. Functionality is good. It is indeed a very good affordable DAP
Talking back about the handmade-gold-painted case, I tend to feel that the painting was poorly executed

Yes it makes the unit quite one-of-a –kind, but the surface was rough and dull. It wasn’t done with a good quality painting and finishing. I didn’t like it.
Part I
After a little effort to get the Hidizs Customer Support email address, I sent a query whether it is possible to order a new AP100 case (I told them the story behind). In a couple hours, the guy named Louis (Customer Support) replied me saying that they are not selling such spare part as queried. However, he was interested with this gold-painted case and commenting that it is a creative idea to do, while offering to sell a new rubber jacket to cover it.
After a short negotiation, to my surprise he finally decided to send me a new case (including a new battery installed) for FREE and I would need to pay only for shipping cost from Hong Kong to my place! Bring it on!
After 3 days the package came and surgery began to start.
It was quite an easy peasy task to do:
1. 1. Take off the 4 outer screws and your microSD card

op
2. 2. Carefully try to pull up the front case.
P.s. I used a credit card to swipe the case’ hooks all around.

3. 3. Take off the 6 inner screws (attaching the main board to front case).

4. 4. Take off the battery socket from main board.
5. 5. Plug in the new battery socket.
6. 6. Put back the 6 inner screws (make sure you have put all buttons in the right direction and position before do this step).


7. 7. Put it back to the back case and click all case’ hooks.
Ps: the female jack (upper part) must be inserted first to the hole before the front case can sit properly to the back case, so might need to slightly slide up the case first then push it to the back case to fit it in.
8. 8. Put on the outer screws.
9. 9. Voila! New case and new battery are dressed to the unit (I put a DIY screen protector so it doesn't look that good yet still protective

).

I turned the unit on and it was working normally. The battery was fully pre-charged so I may enjoy it straight away.
Part II
Unfortunately, after the battery power finished, here comes the new problem: the unit was unable to be charged! No matter how long I charge the unit, the battery indicator stuck at 3% and won’t increase anywhere although the battery icon was blinking. It was able to be turned on though, but the battery was not filled up
After reporting this issue, Louis told me that the new battery was tested before sent out and that he worried it was a main board issue encountered during case-replacement execution. Honestly I doubt it, thinking that the execution was fine and quite a simple task which can be done by anyone.
Anyway, simple checking to do next: exchange the new battery to the old one and see how it goes. Unfortunately, it didn’t work! Sigh.. Louis was right, it is main board issue
He advised me to check the solder contact of chip
AXP202 and re-solder it if any problem found.
I mentioned that I could not do that, because the solder contact to the chip is made robotically instead of by manual hand (I suppose) due to the level of complexity and micro-contact area.
I asked him whether it is ok to send the whole unit there and get it repaired. All costs are on my bill.
Yet, he told me to keep the new case and they will send a new main board (together with the screen installed) and do the exchange by my own (again). I wasn’t really sure why they seem to avoid repairing the unit at their site and rather to provide such spare parts for free. Because the unit was off warranty? Maybe. Just maybe.
I explained that I was worry to unexpectedly make the same mysterious mistake as before and requesting to have it repaired there. But he was firmed to send me the new main board (and requested me to send him the broken main board one). Ok.
Received the new main board, I straight away do an operation again. Not sure if something needs to be aware of, I just carefully change the main board as steps above and turn it on.
Yes it is able to turn on! I hurriedly plug it to my laptop, and thankfully it is charging normally! Fiuh.. Now with the full battery charged it is good to play lossless files around 8 hours nonstop and this ends the story happily
Still no clue what’s going on with the 1
st main board so I couldn’t advise anything about it.
End of words, I would like to thank Hidizs Customer Support (especially Louis) for the generosity as well as the fast response at any time I send him a mail
And please be careful when you'd like to disassemble this unit. Risks are on your own