Post pics of your builds....
Sep 28, 2004 at 11:52 PM Thread Starter Post #1 of 9,811

kramer5150

Headphoneus Supremus
Joined
Sep 20, 2004
Posts
14,427
Likes
209
Im not sure if this has been done before....

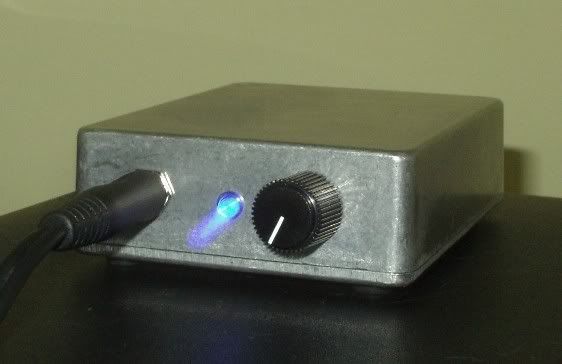
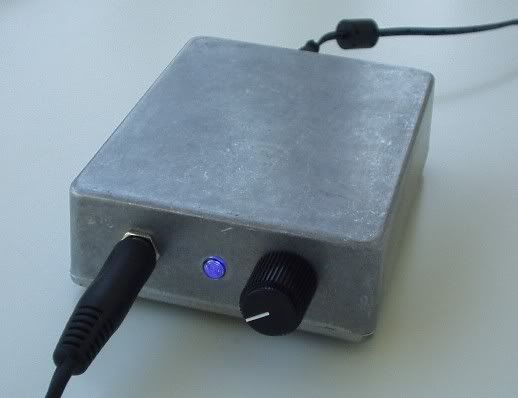
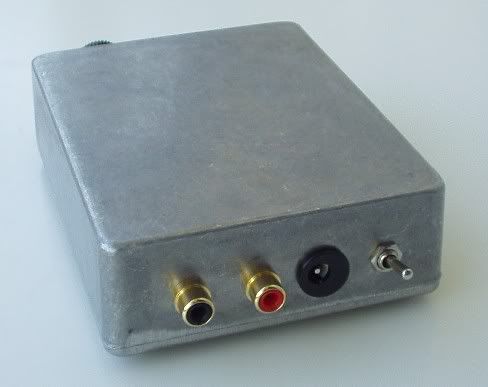
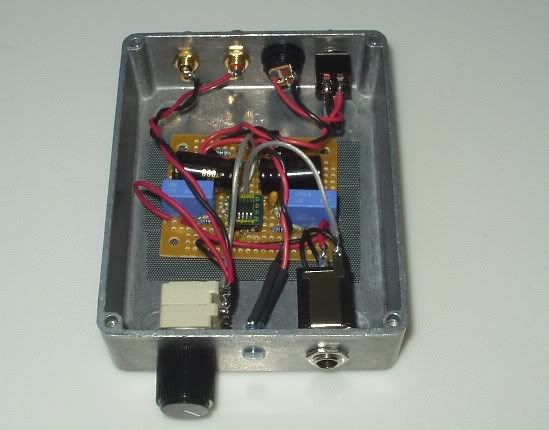
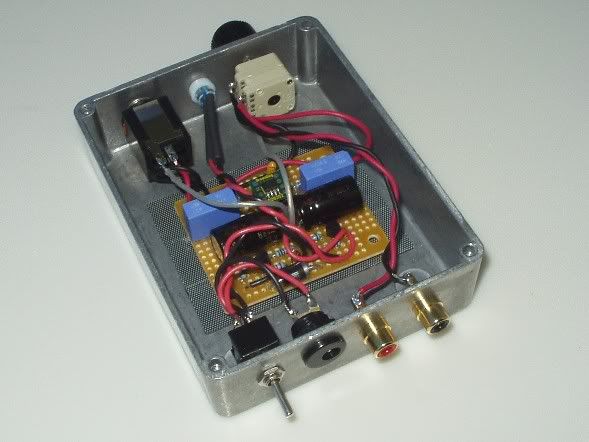
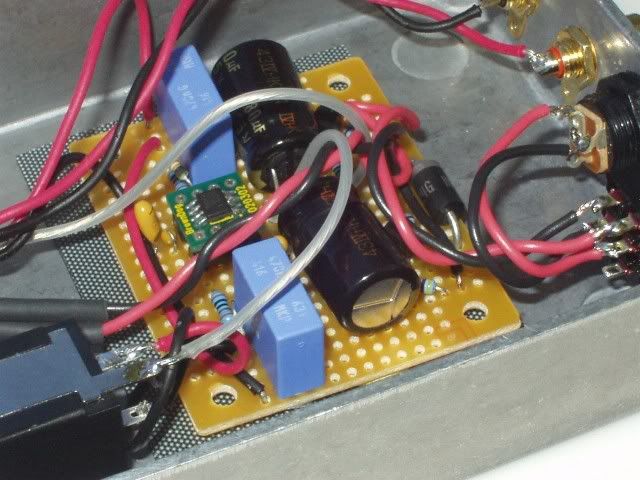
Post pics of your projects...

Build-up pics, completed projects, work-in-progress, valve, solid state anything goes.

Garrett
 
Sep 29, 2004 at 12:43 AM Post #2 of 9,811
yay project **** i'll start:

Gilmore Amp:
gil-l.jpg


Gilmore PSU closeup:
psu1.jpg


Time Delayed Relay:
brd-top.jpg


Hacked up CMoy:
mod-1.jpg


Modded M-Audio Transit:
trans-7.jpg


Unfortunatly no pics of the Cmoy / Fan controller inside my computer, and no camera either.

Oh well. I offically declare this 56k death.
 
Sep 29, 2004 at 10:58 PM Post #5 of 9,811
It seems like there was a rash of negative posts about CMOY amps over in the amps forum, so I decided to see how far I could take a simple wall-powered cmoy. I also wanted an excuse to use one of the aluminum stomp box cases. With a 24V wall supply and OPA627s, it packs a little more punch than your average battery powered cmoy.

Nothing extravagant, but I like it.
wink.gif


Outside1.jpg

Outside2.jpg

OutsideBack.jpg

inside2.jpg

inside3.jpg

inside1.jpg
 
Sep 30, 2004 at 9:41 AM Post #6 of 9,811
Subsonic Gilmore with Elpac power supply in a black Hammond.
This is one very nice entry level amp for Grado users.
wink.gif

Thanks Mark.

PPA + STEPS + G/M diamond buffer (not pictured) in a custom Par-Metal case.
Awesome amp for HD600's/650's

Pics removed
 
Oct 1, 2004 at 6:14 AM Post #8 of 9,811
hmmm, ok.

MINT and little mini-mini cable...

FSLO-1069131055-40250.jpg

MINT
FSLO-1069130940-146498.jpg

MINT
FSLO-1069130874-769837.jpg


1/4" -> 1/8" adapter...

FSLO-1076999405-996686.JPG


and my favorite...The Millett Hybrid
biggrin.gif

FSLO-1078638047-235801.JPG


FSLO-1078638017-319233.JPG

Bias adjusters remotely located.
FSLO-1078637561-243619.JPG
 
Oct 1, 2004 at 4:59 PM Post #12 of 9,811
Oct 2, 2004 at 12:58 AM Post #13 of 9,811
DIAR, beautiful work there, congratulations.
smily_headphones1.gif
One question: why such a big case and extension shafts? It seems that for just two switches and an attenuator you could have made it much smaller. Did you simply want something that looked more substantial?

Anyway, welcome to head-fi and sorry about your wallet.
600smile.gif
 
Oct 2, 2004 at 10:54 PM Post #15 of 9,811
Quote:

Originally Posted by amb
DIAR, beautiful work there, congratulations.
smily_headphones1.gif
One question: why such a big case and extension shafts? It seems that for just two switches and an attenuator you could have made it much smaller. Did you simply want something that looked more substantial?

Anyway, welcome to head-fi and sorry about your wallet.
600smile.gif


Thanks for kind words
tongue.gif

Great designs here. I really like the caramel box enclosure
biggrin.gif


No crosstalk. Not one bit. I did the wiring the hard way and used coaxial cable to prevent any crostalk or interference. It was worth it.

I made the enclosure a bit bigger than was necessary for a few reasons:
1. If I feel the need for volume remote control, there is enough room for Bent Audio remote control unit. Unfortunately the system is very expensive.
2. It looks better
icon10.gif

3. I'm working on a tube preamp and I wan't all my enclosures to be pretty much similar also in the future.

This seems to be a great forum. I've been mostly on Finnish forums and in DIYAudio. At the moment I concentrate on modding my CDP and. I'm building two different regulators for Tentlabs XO clock next week. Modding would be impossible for me without these forums.

So much to do and so little time
rolleyes.gif
 

Users who are viewing this thread

Back
Top