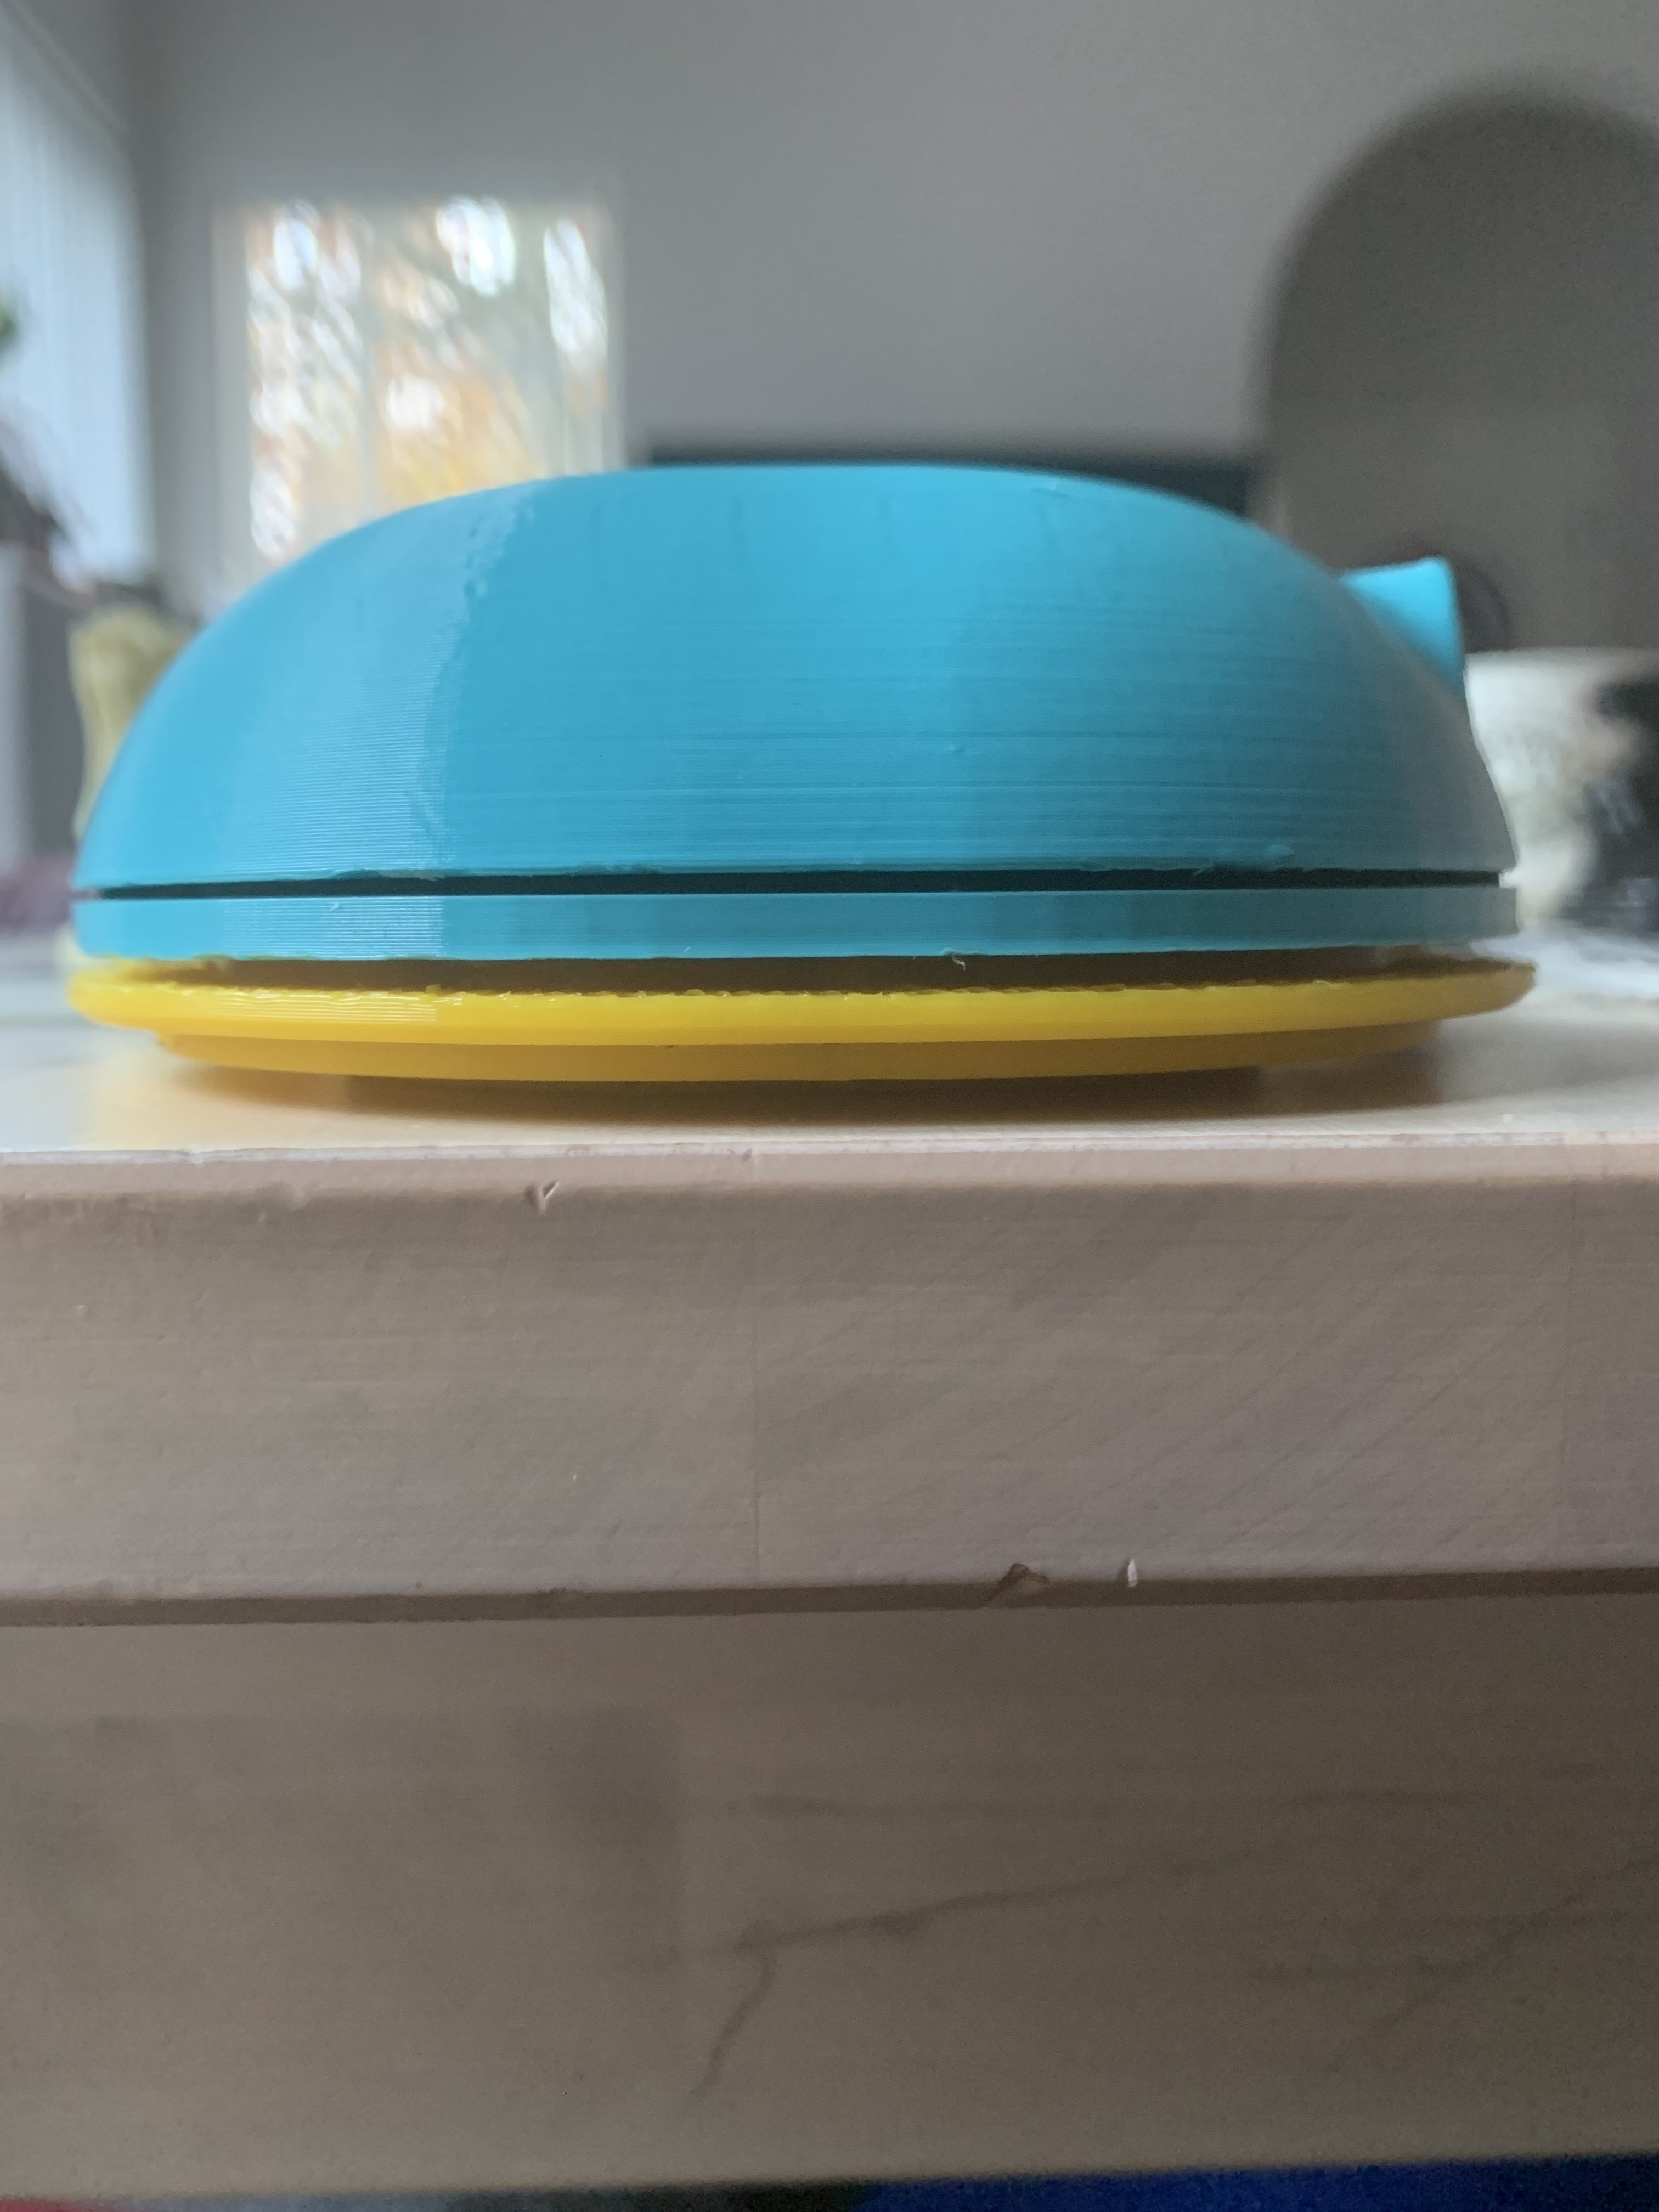
Sorry to necro this thread, but I am building these on a budget as I am currently a college student.
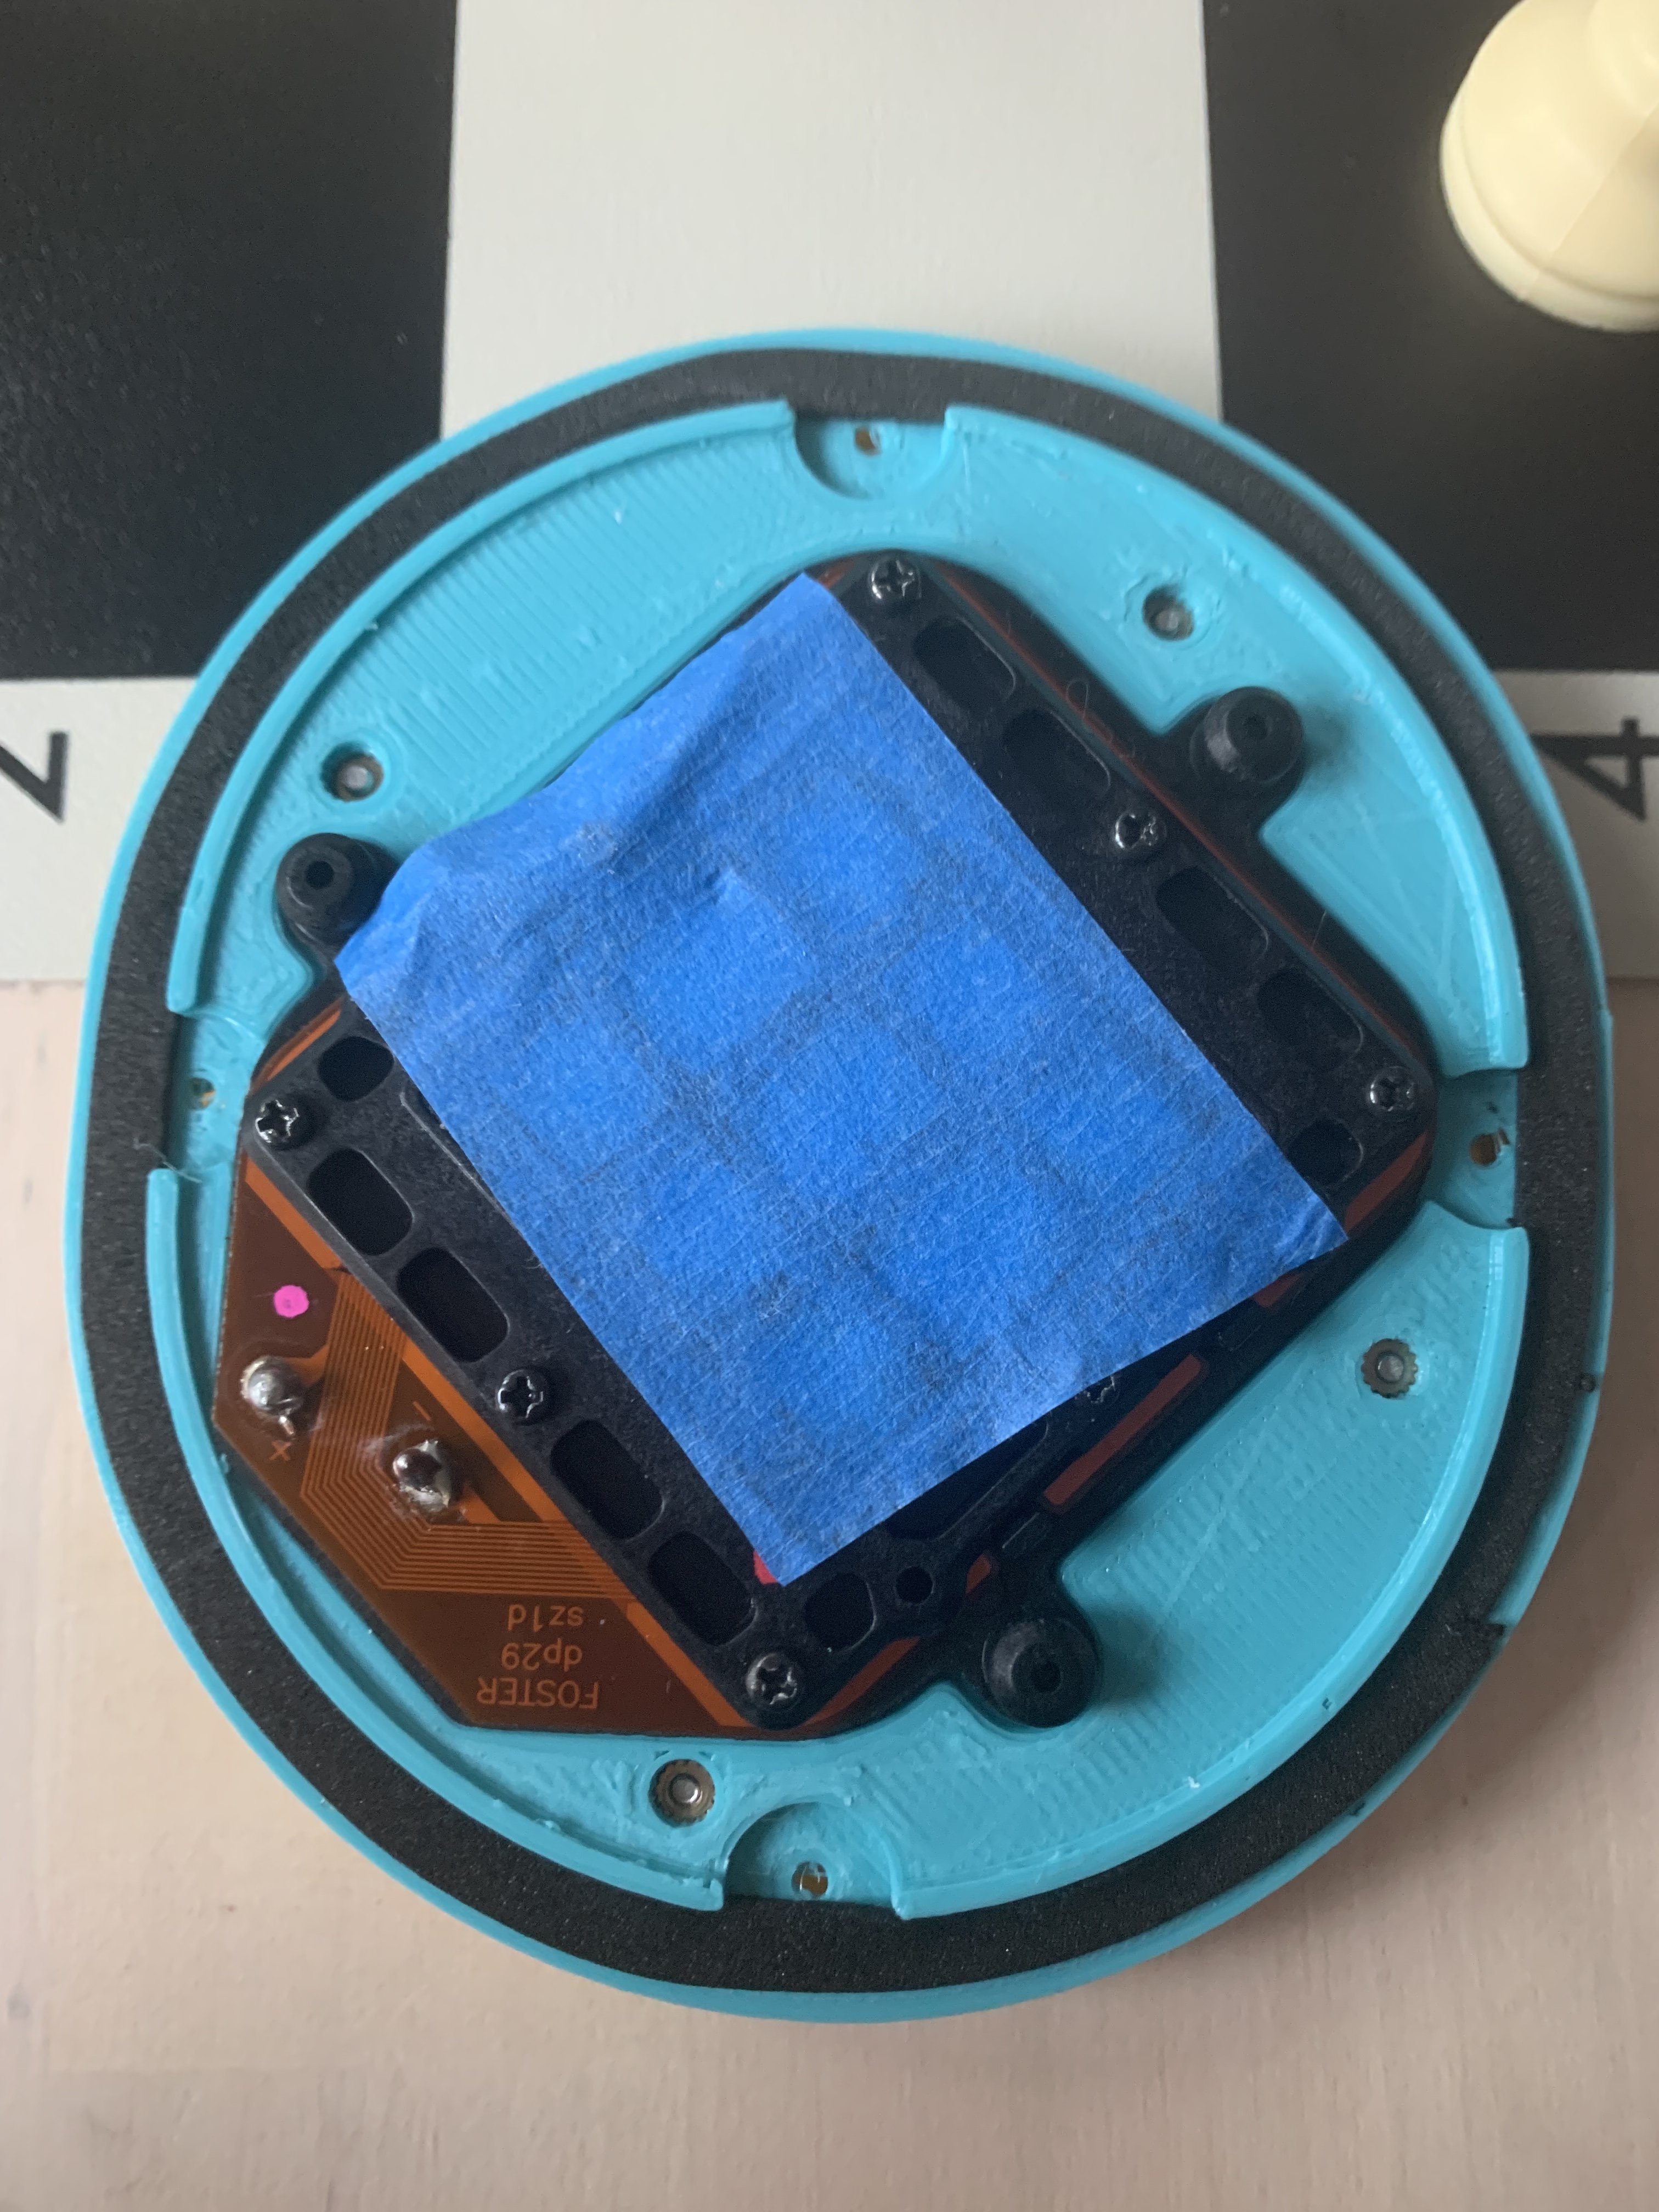
I currently have free use (dont even have to pay for material) for ABS or PLA 3D printing, I got some old t20RPs for $20, and have a good cable lying around. I have 2 questions:
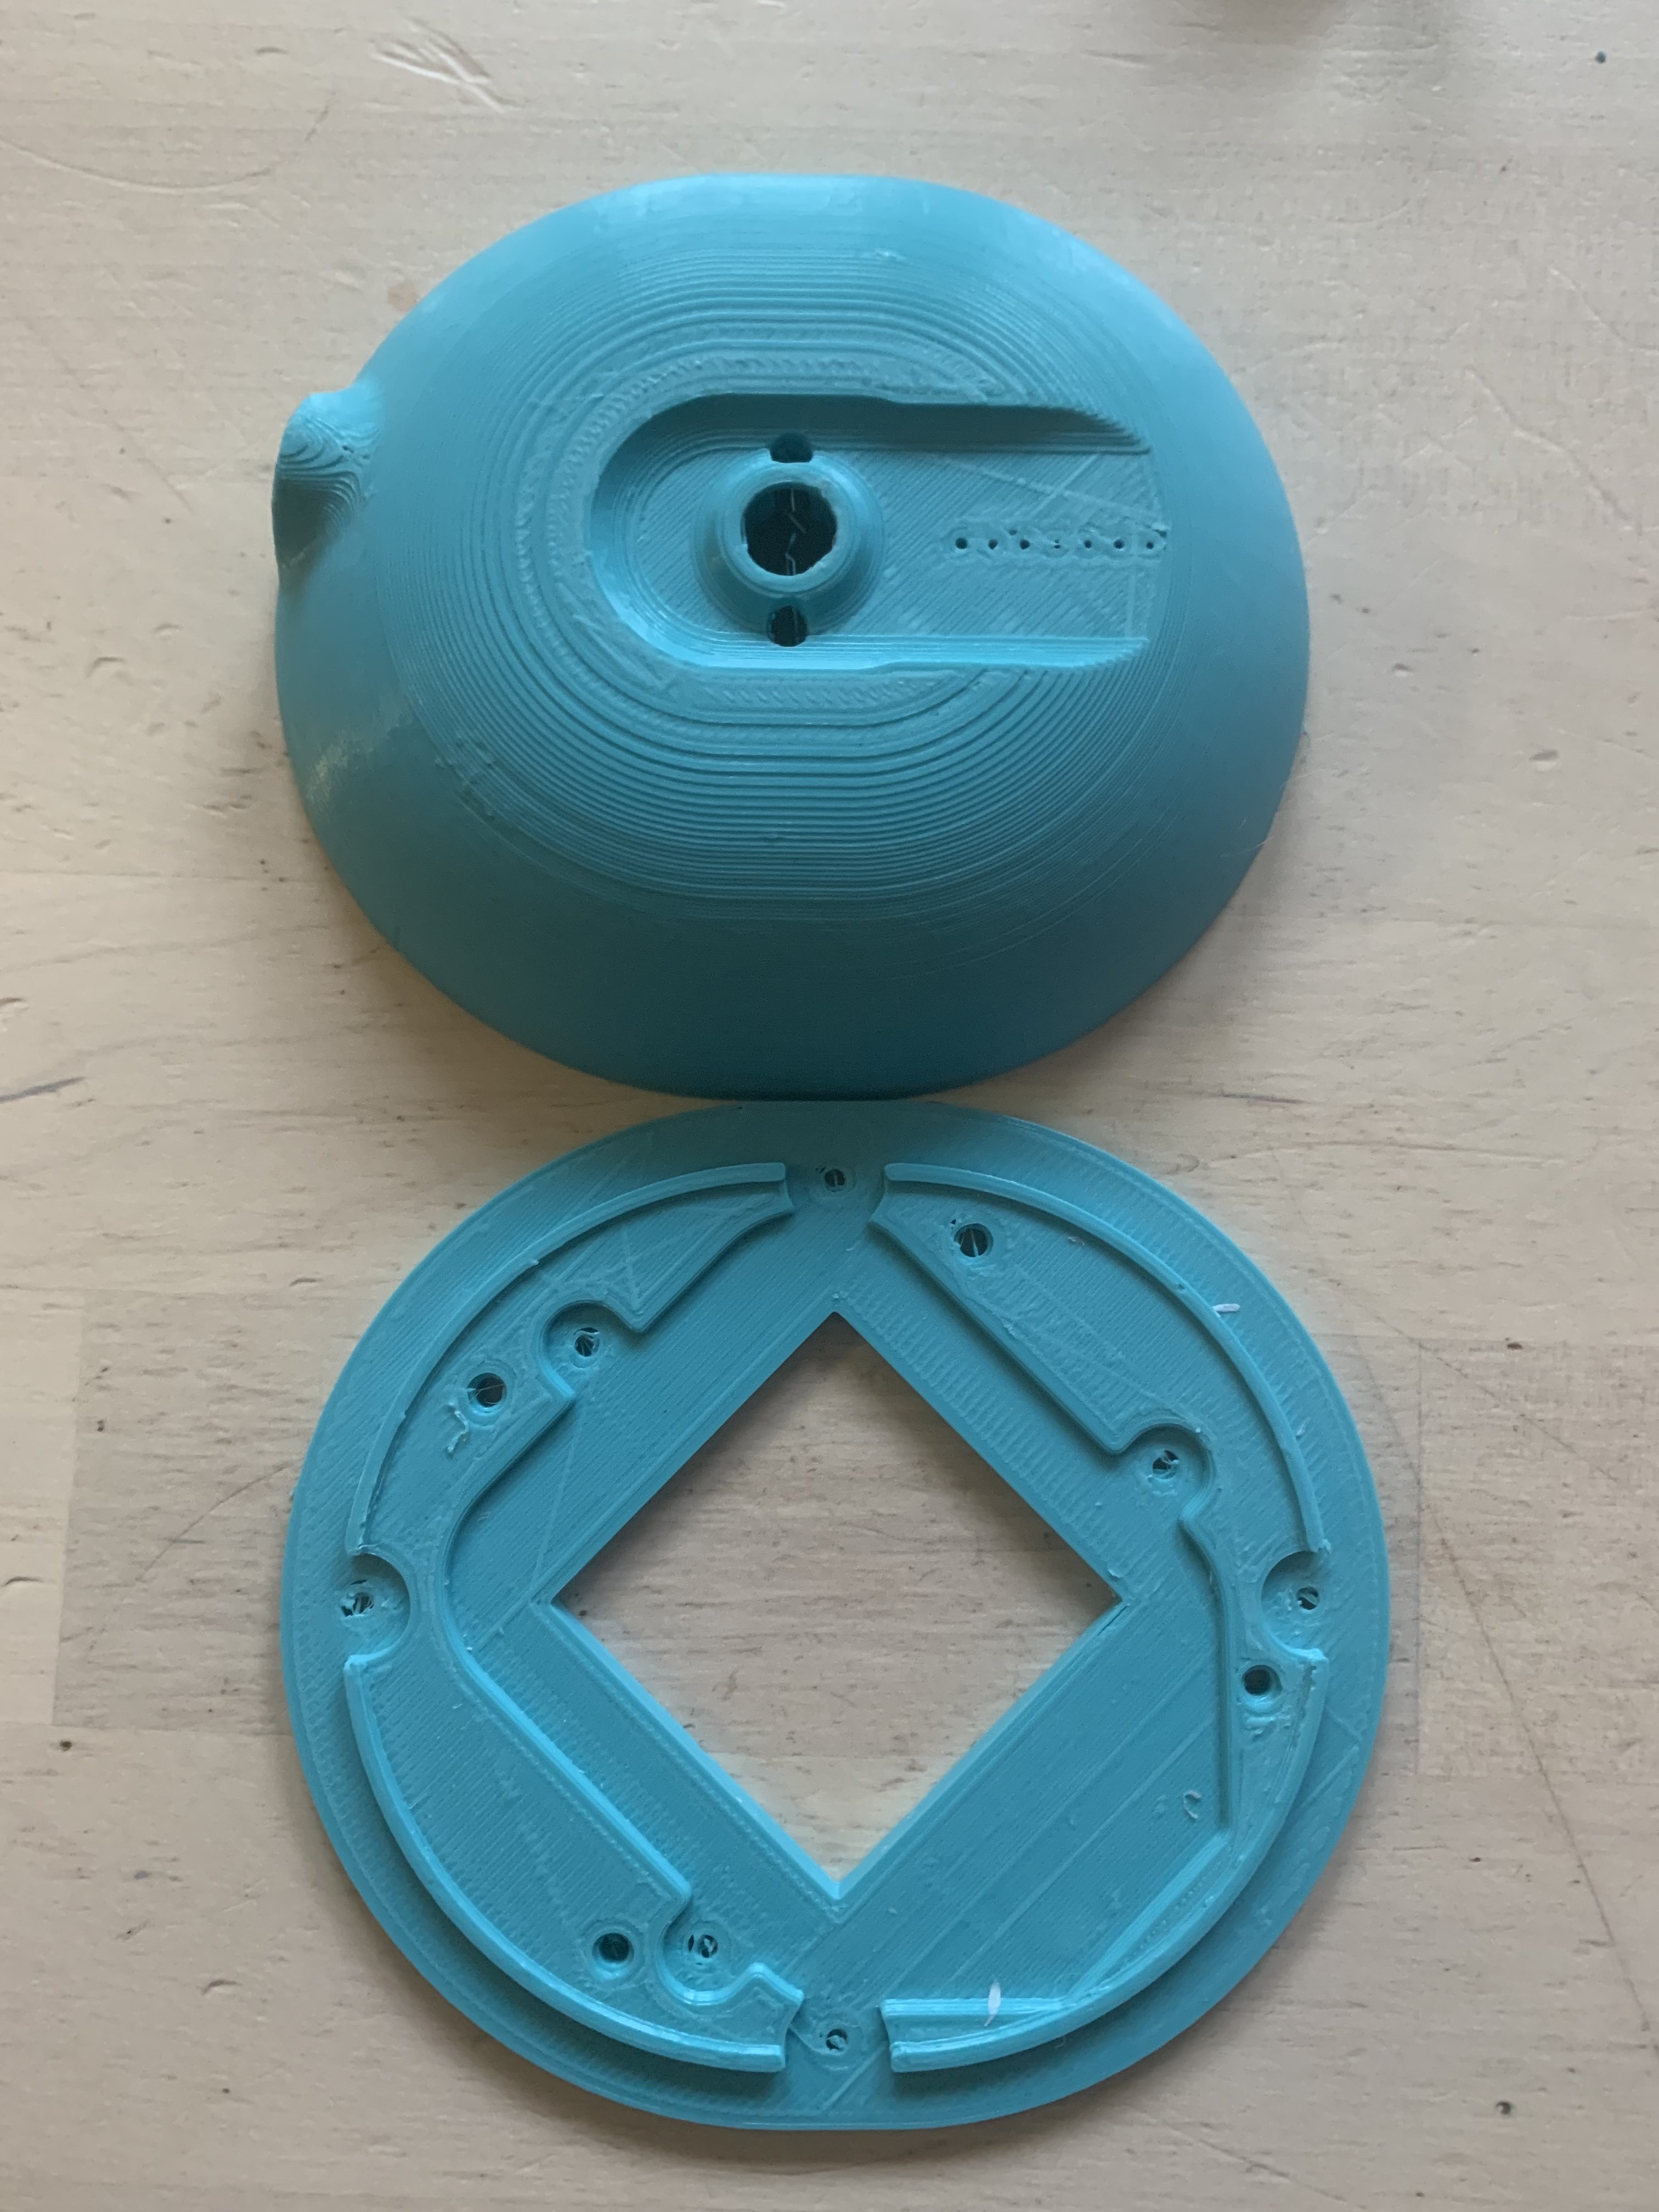
1 Will PLA or ABS render better results? I can print both, but I only have 20 hrs with the printing machine (lots of demand for free printing), so I might not be able to print 2 full sets.
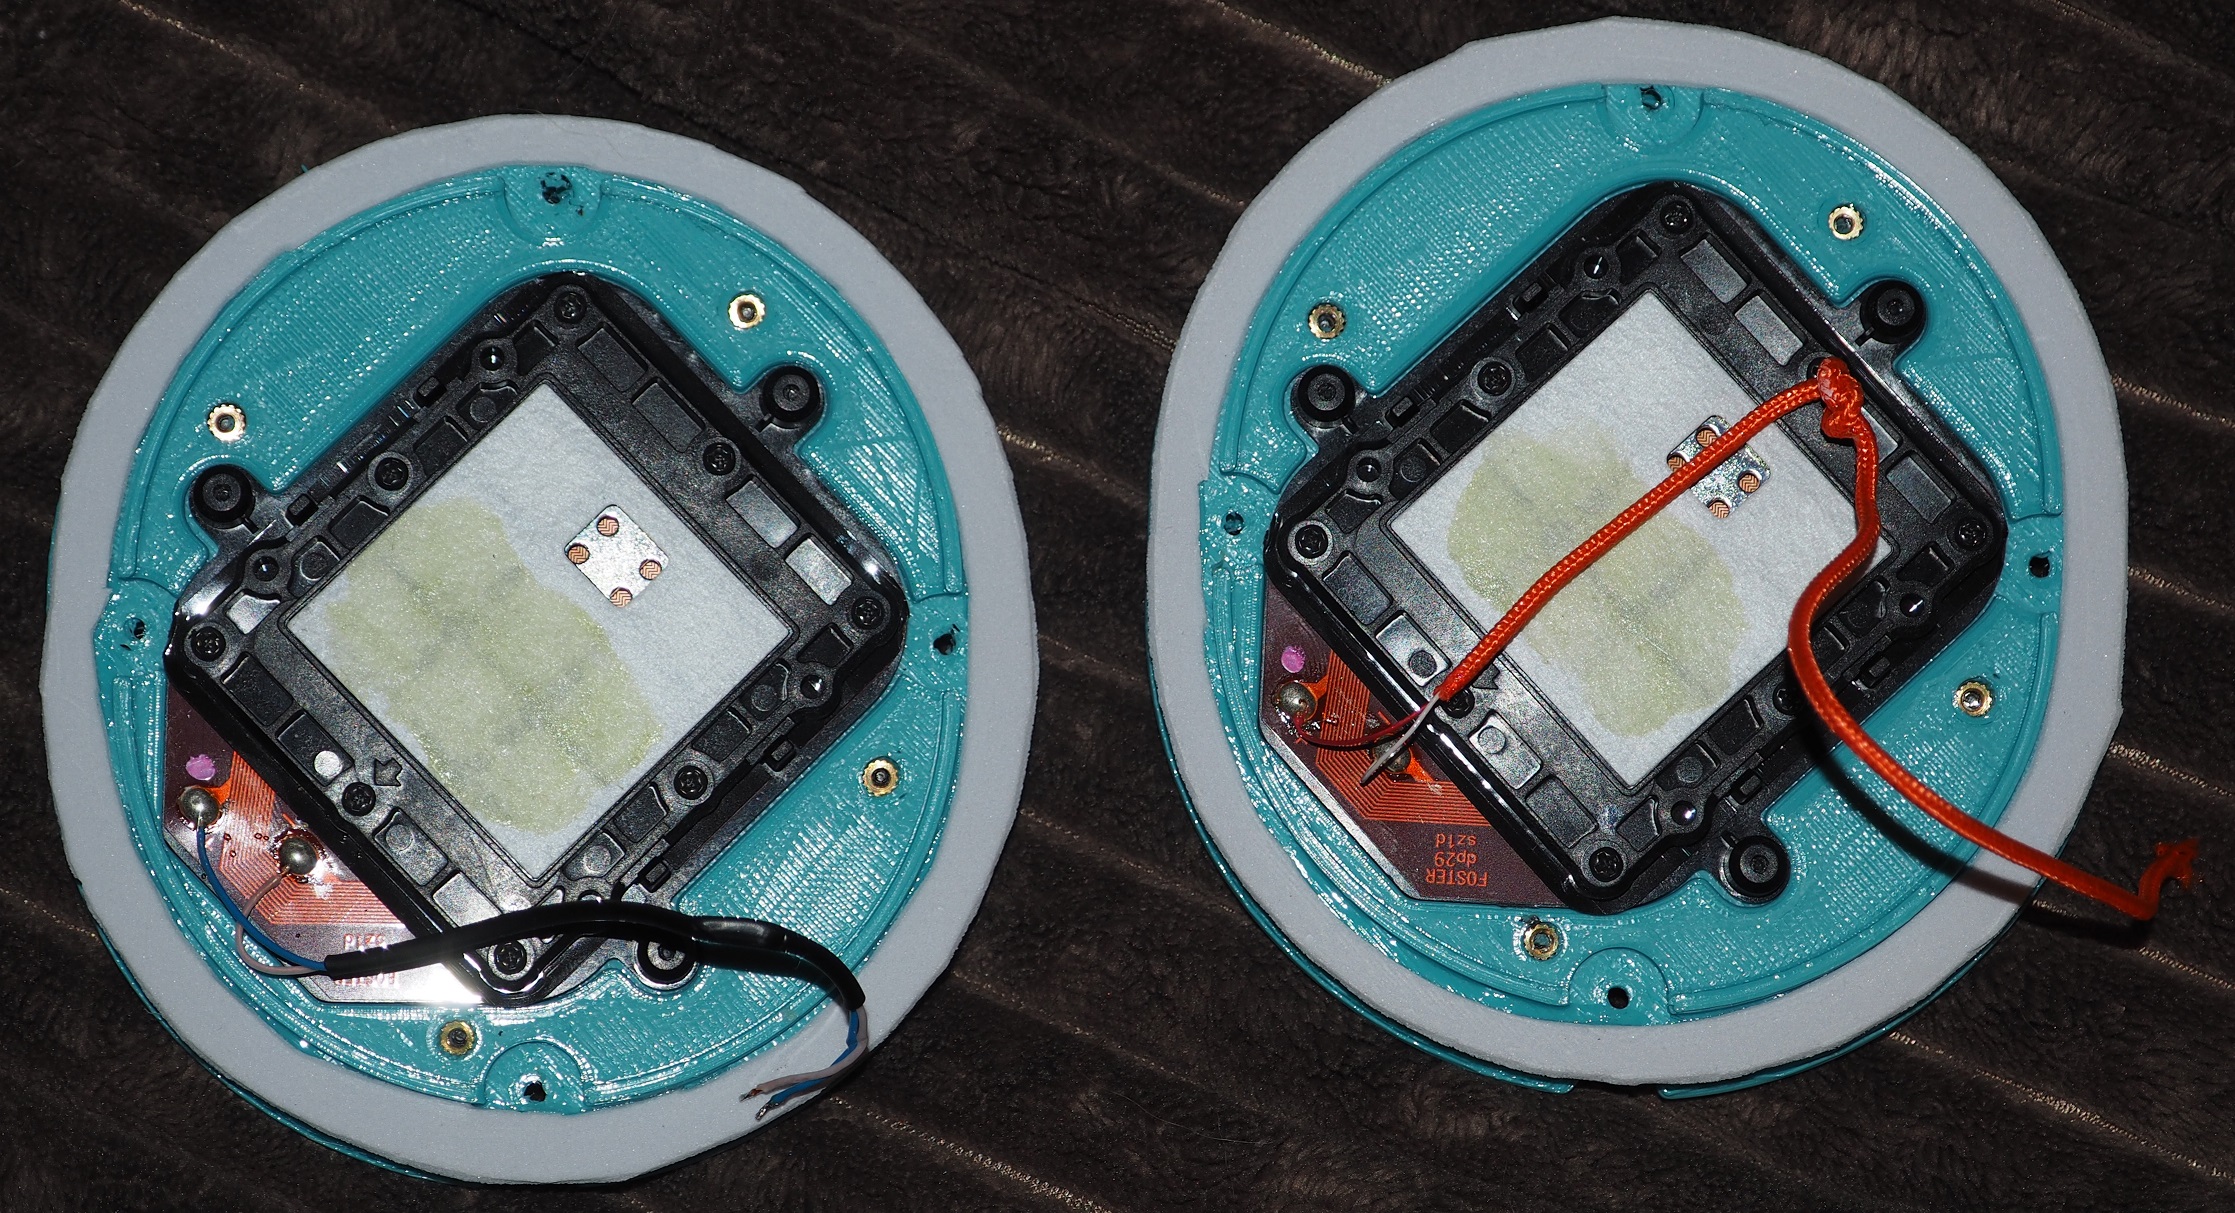
2 What are alternatives for the connector? I already have paxmate and dynamat, so this project looks like it will total ~$30 (have to buy cotton and the 3.5mm connector and paint), and buying the connectors from mr speakers is ~$25 shipping to japan(+$12 for the 2 connectors). I dont really want to buy these connectors at this price. Will anything else fit in the design? If not I am just going to directly solder the wire to the driver.
I couldnt reserve the printer until December 7th, so take time with the replies(and I only need to decide a material by this date or get the cad file before).
I can do work in cad, and make custom cables, and have worked with ABS printing in the past, so assume difficulty of the task isn't important. I also have access to a wide variety of tools as I am working part-time as a mechanic, so soldering tricky connectors wont be a problem.