Quote:
Originally Posted by tomb /img/forum/go_quote.gif
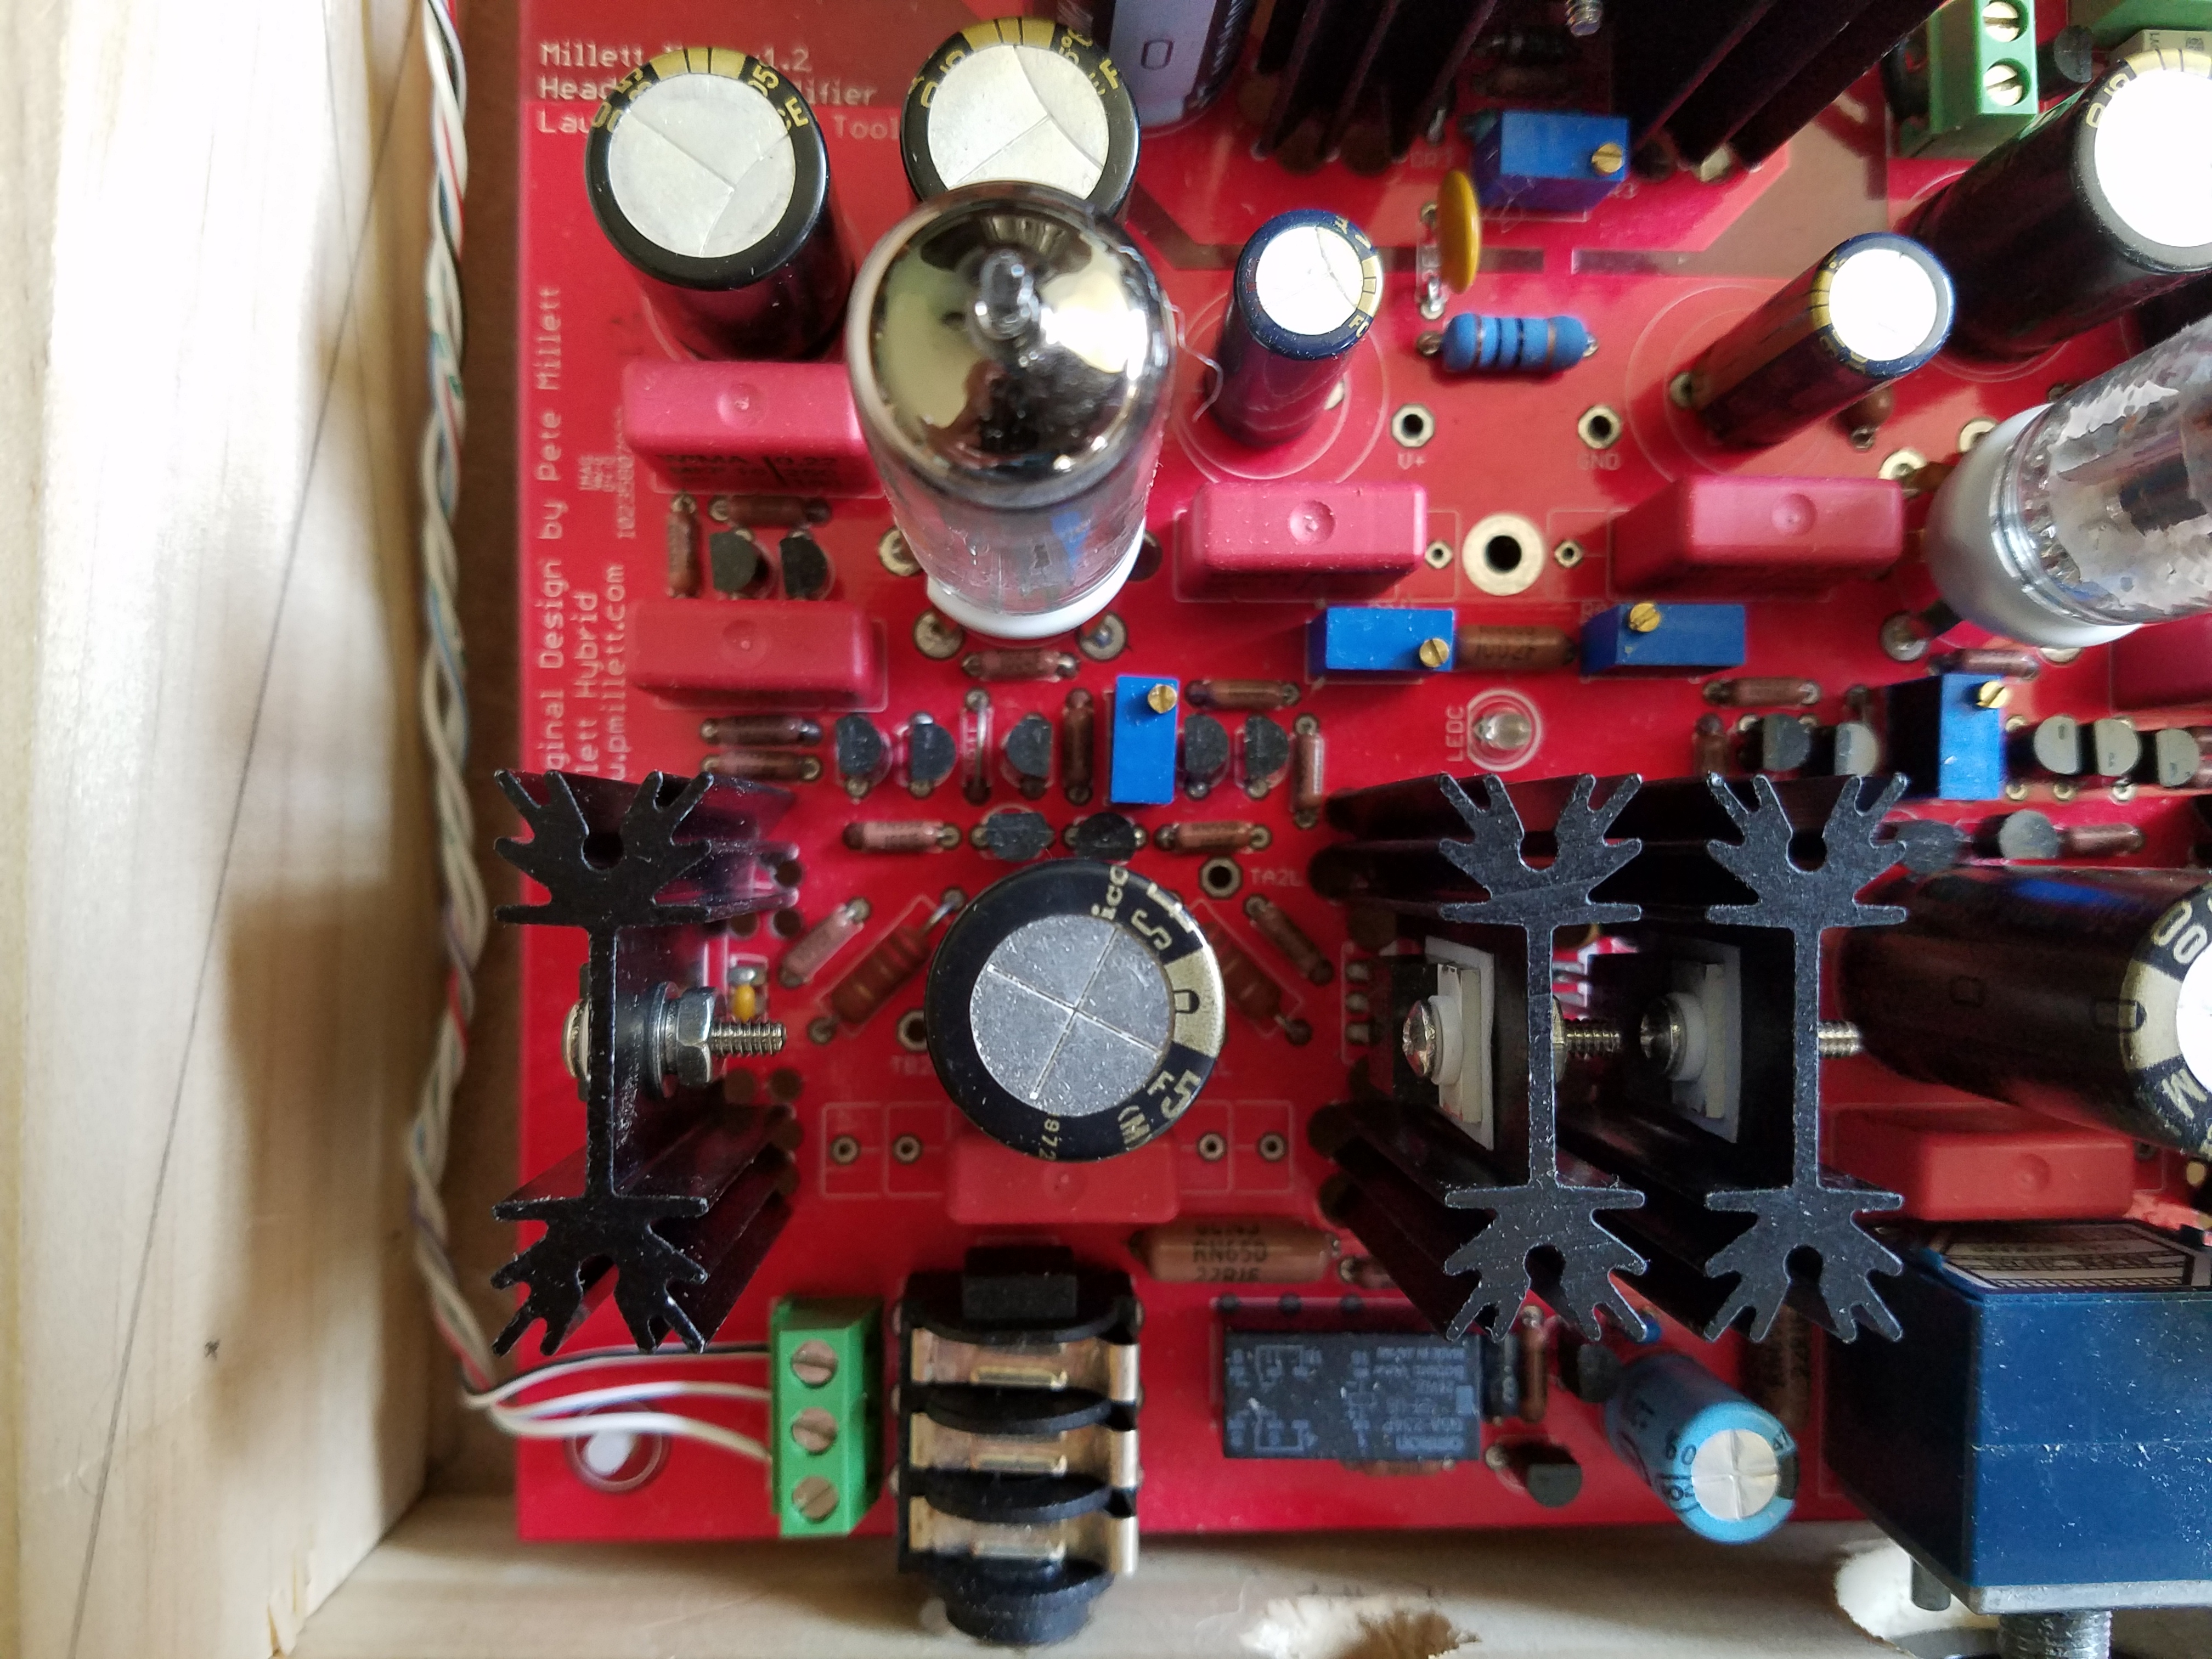
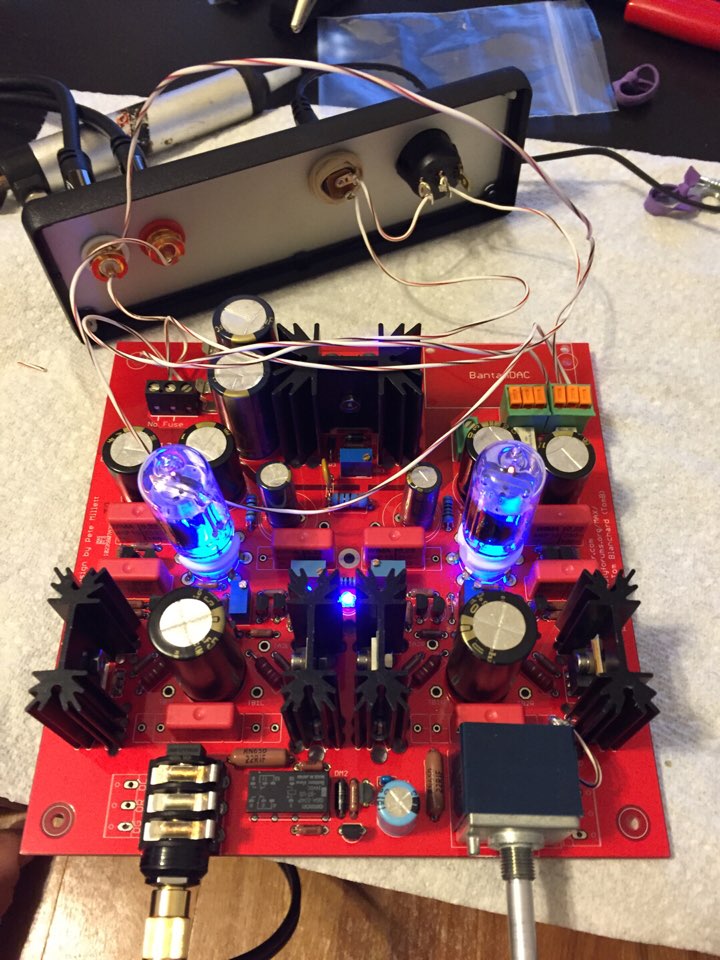
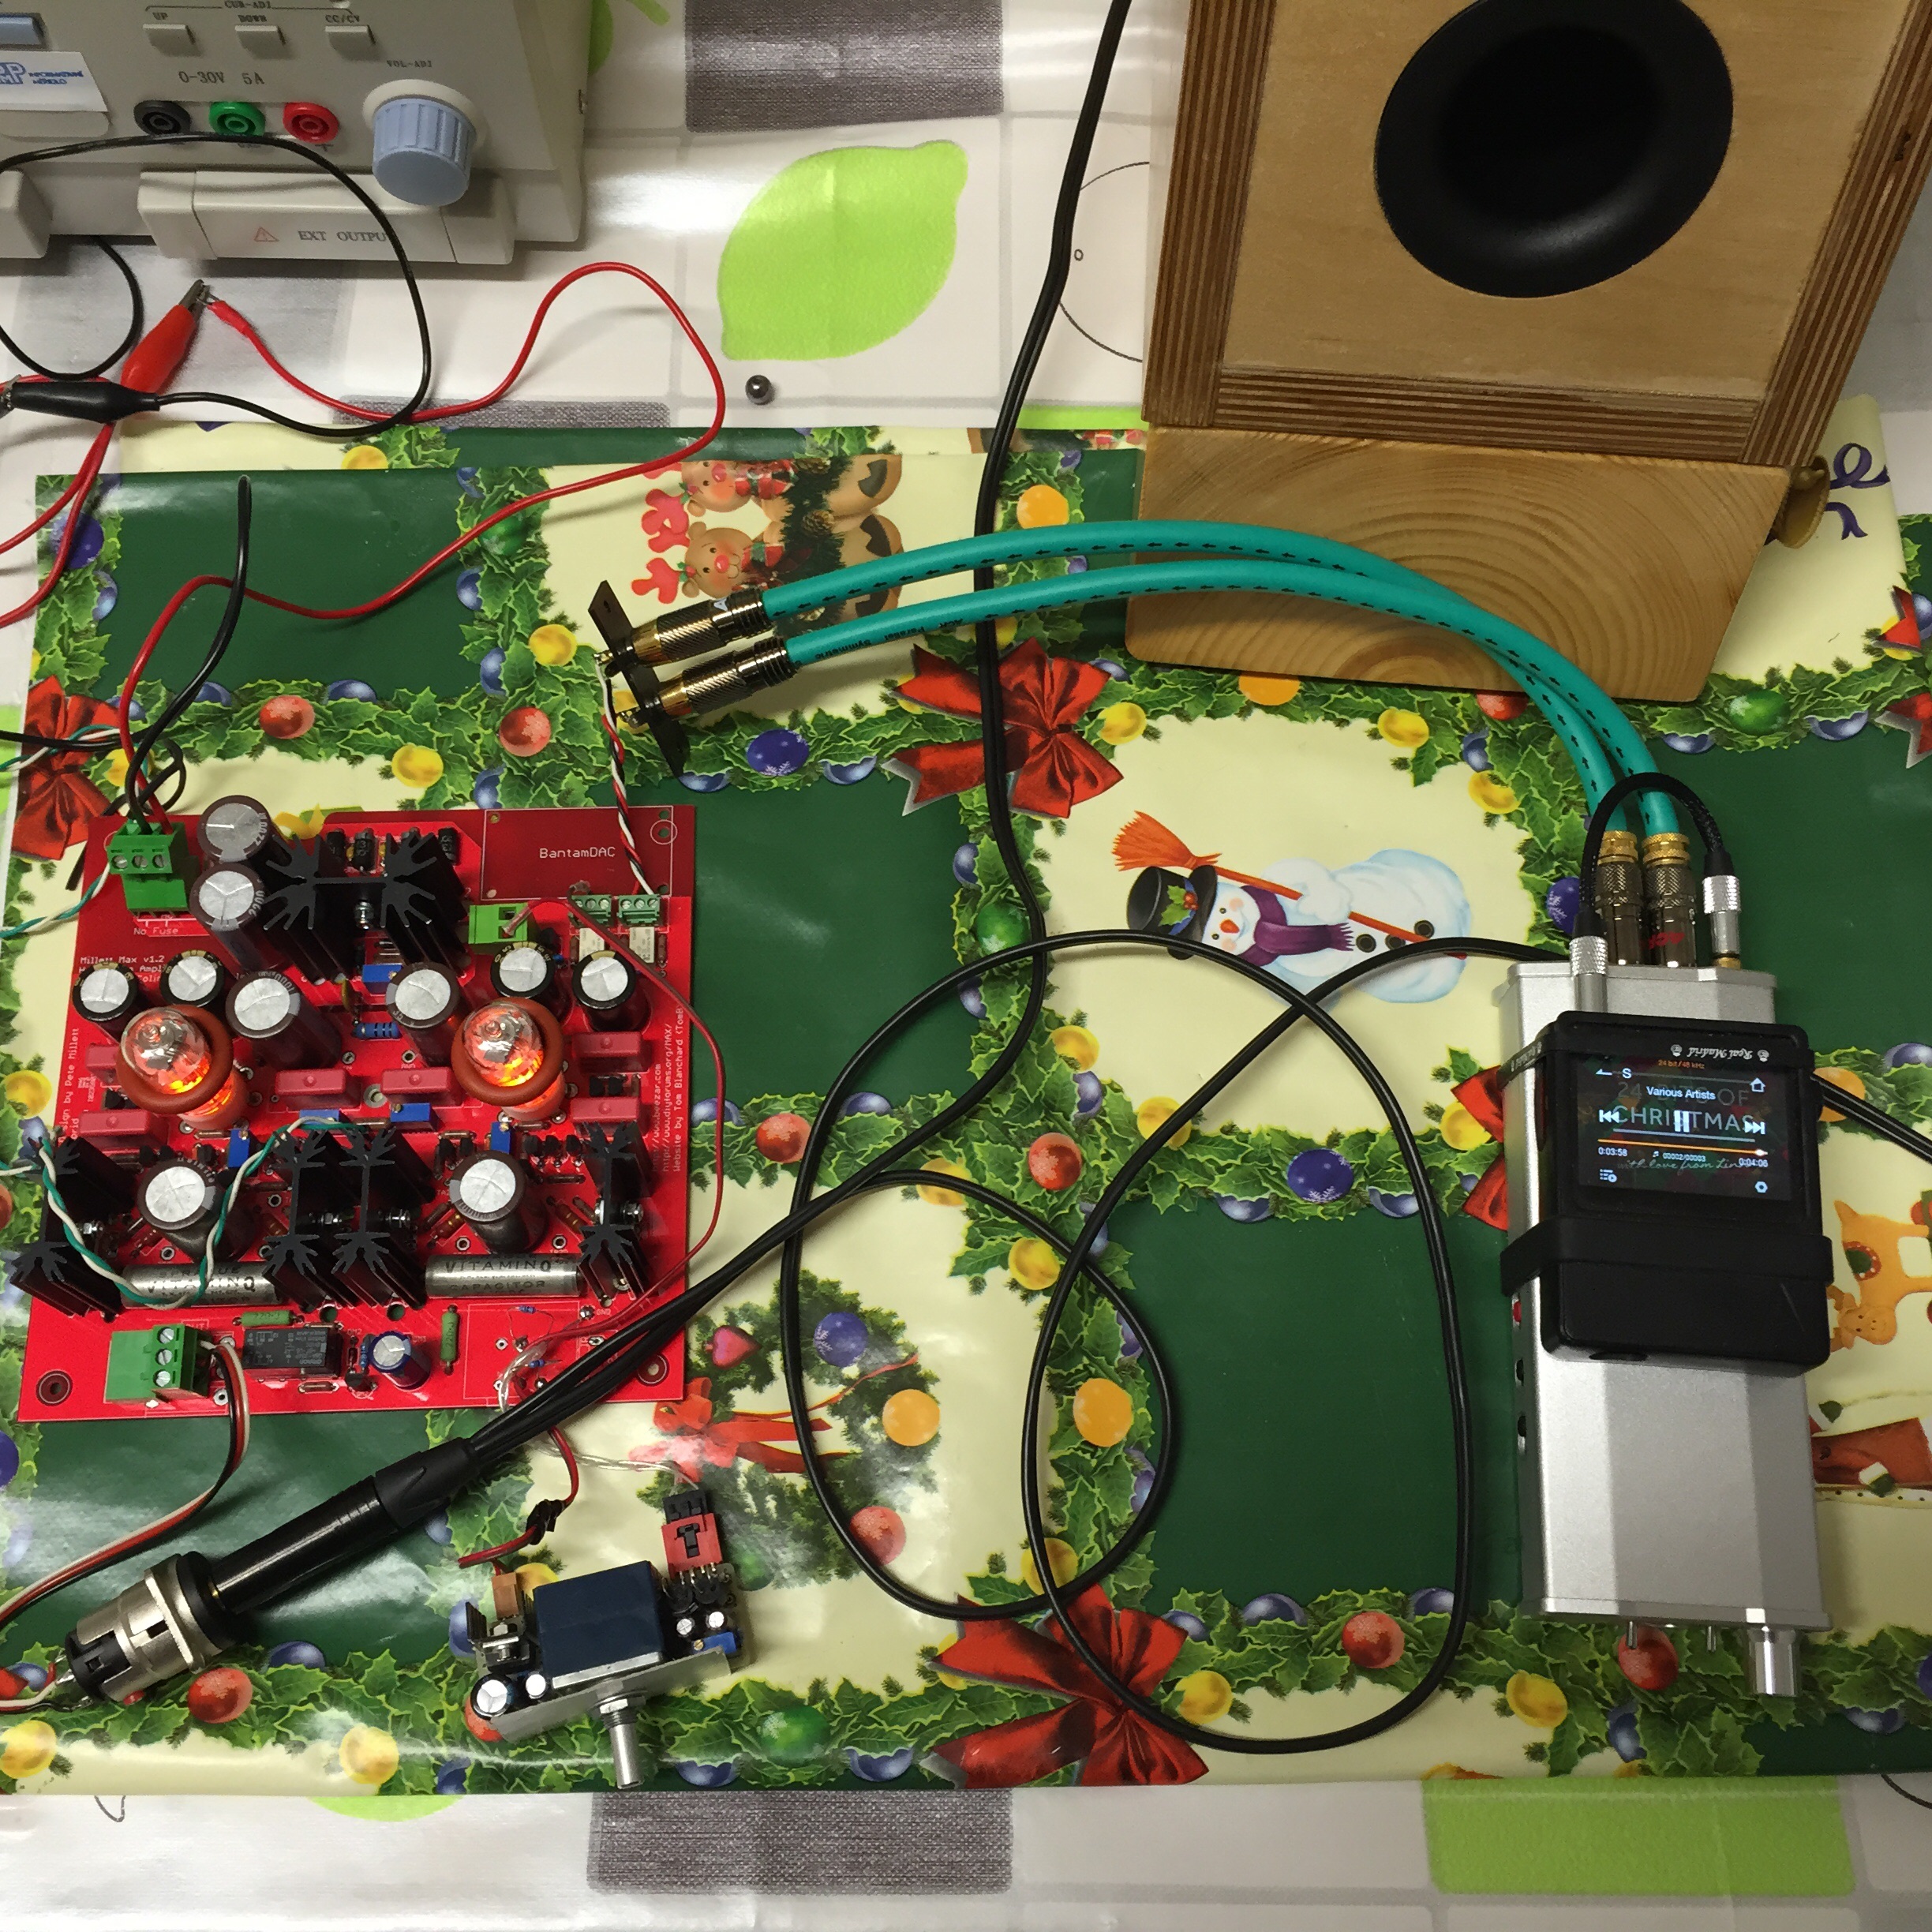
Success!! The MOSFET-MAX V1.2 prototype now lives with an onboard BantamDAC and operating switching relay between the DAC and RCA inputs. The operation is seamless, no switching noise, nada - it works flawlessly
!
Today I spent some time building another BantamDAC and hooking it up to check the final feature in the MAX V1.2 PCB - the onboard Bantam with relay switching between RCA inputs and the Bantam. Pics below.
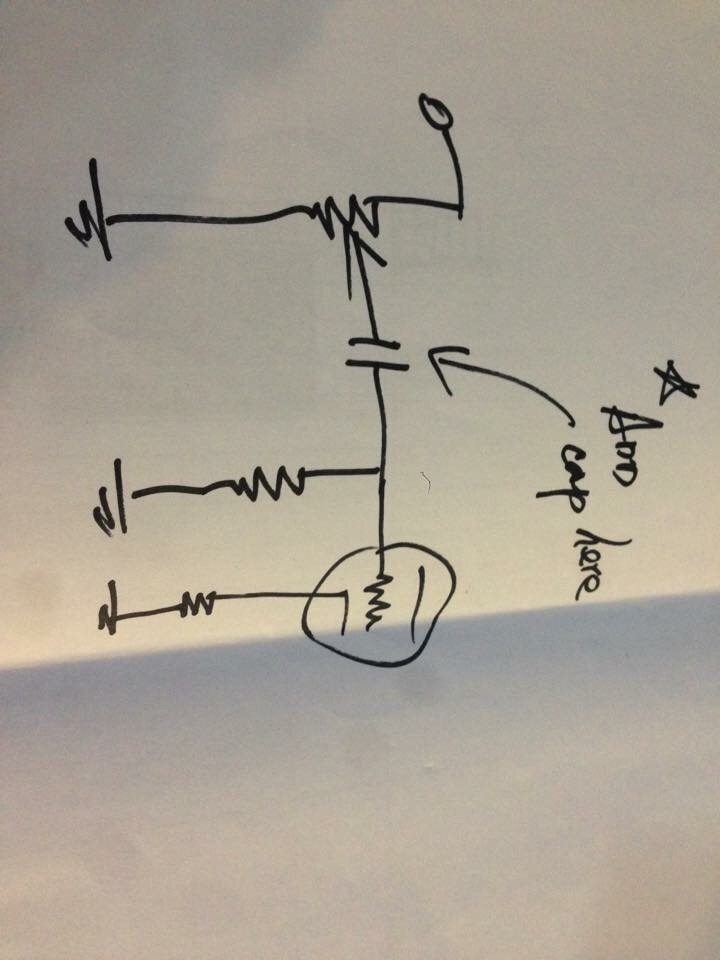
Note the Bantam with output leads plugged into a 6p terminal block (2x3's in this case). The three leads on the right are from RCA jacks. The 2p terminal block is connected to a DPDT switch. I haven't populated the LED because I'm going to use the other two poles on the switch to activate the LED when the switch is thrown. This will all be wired to the front panel.
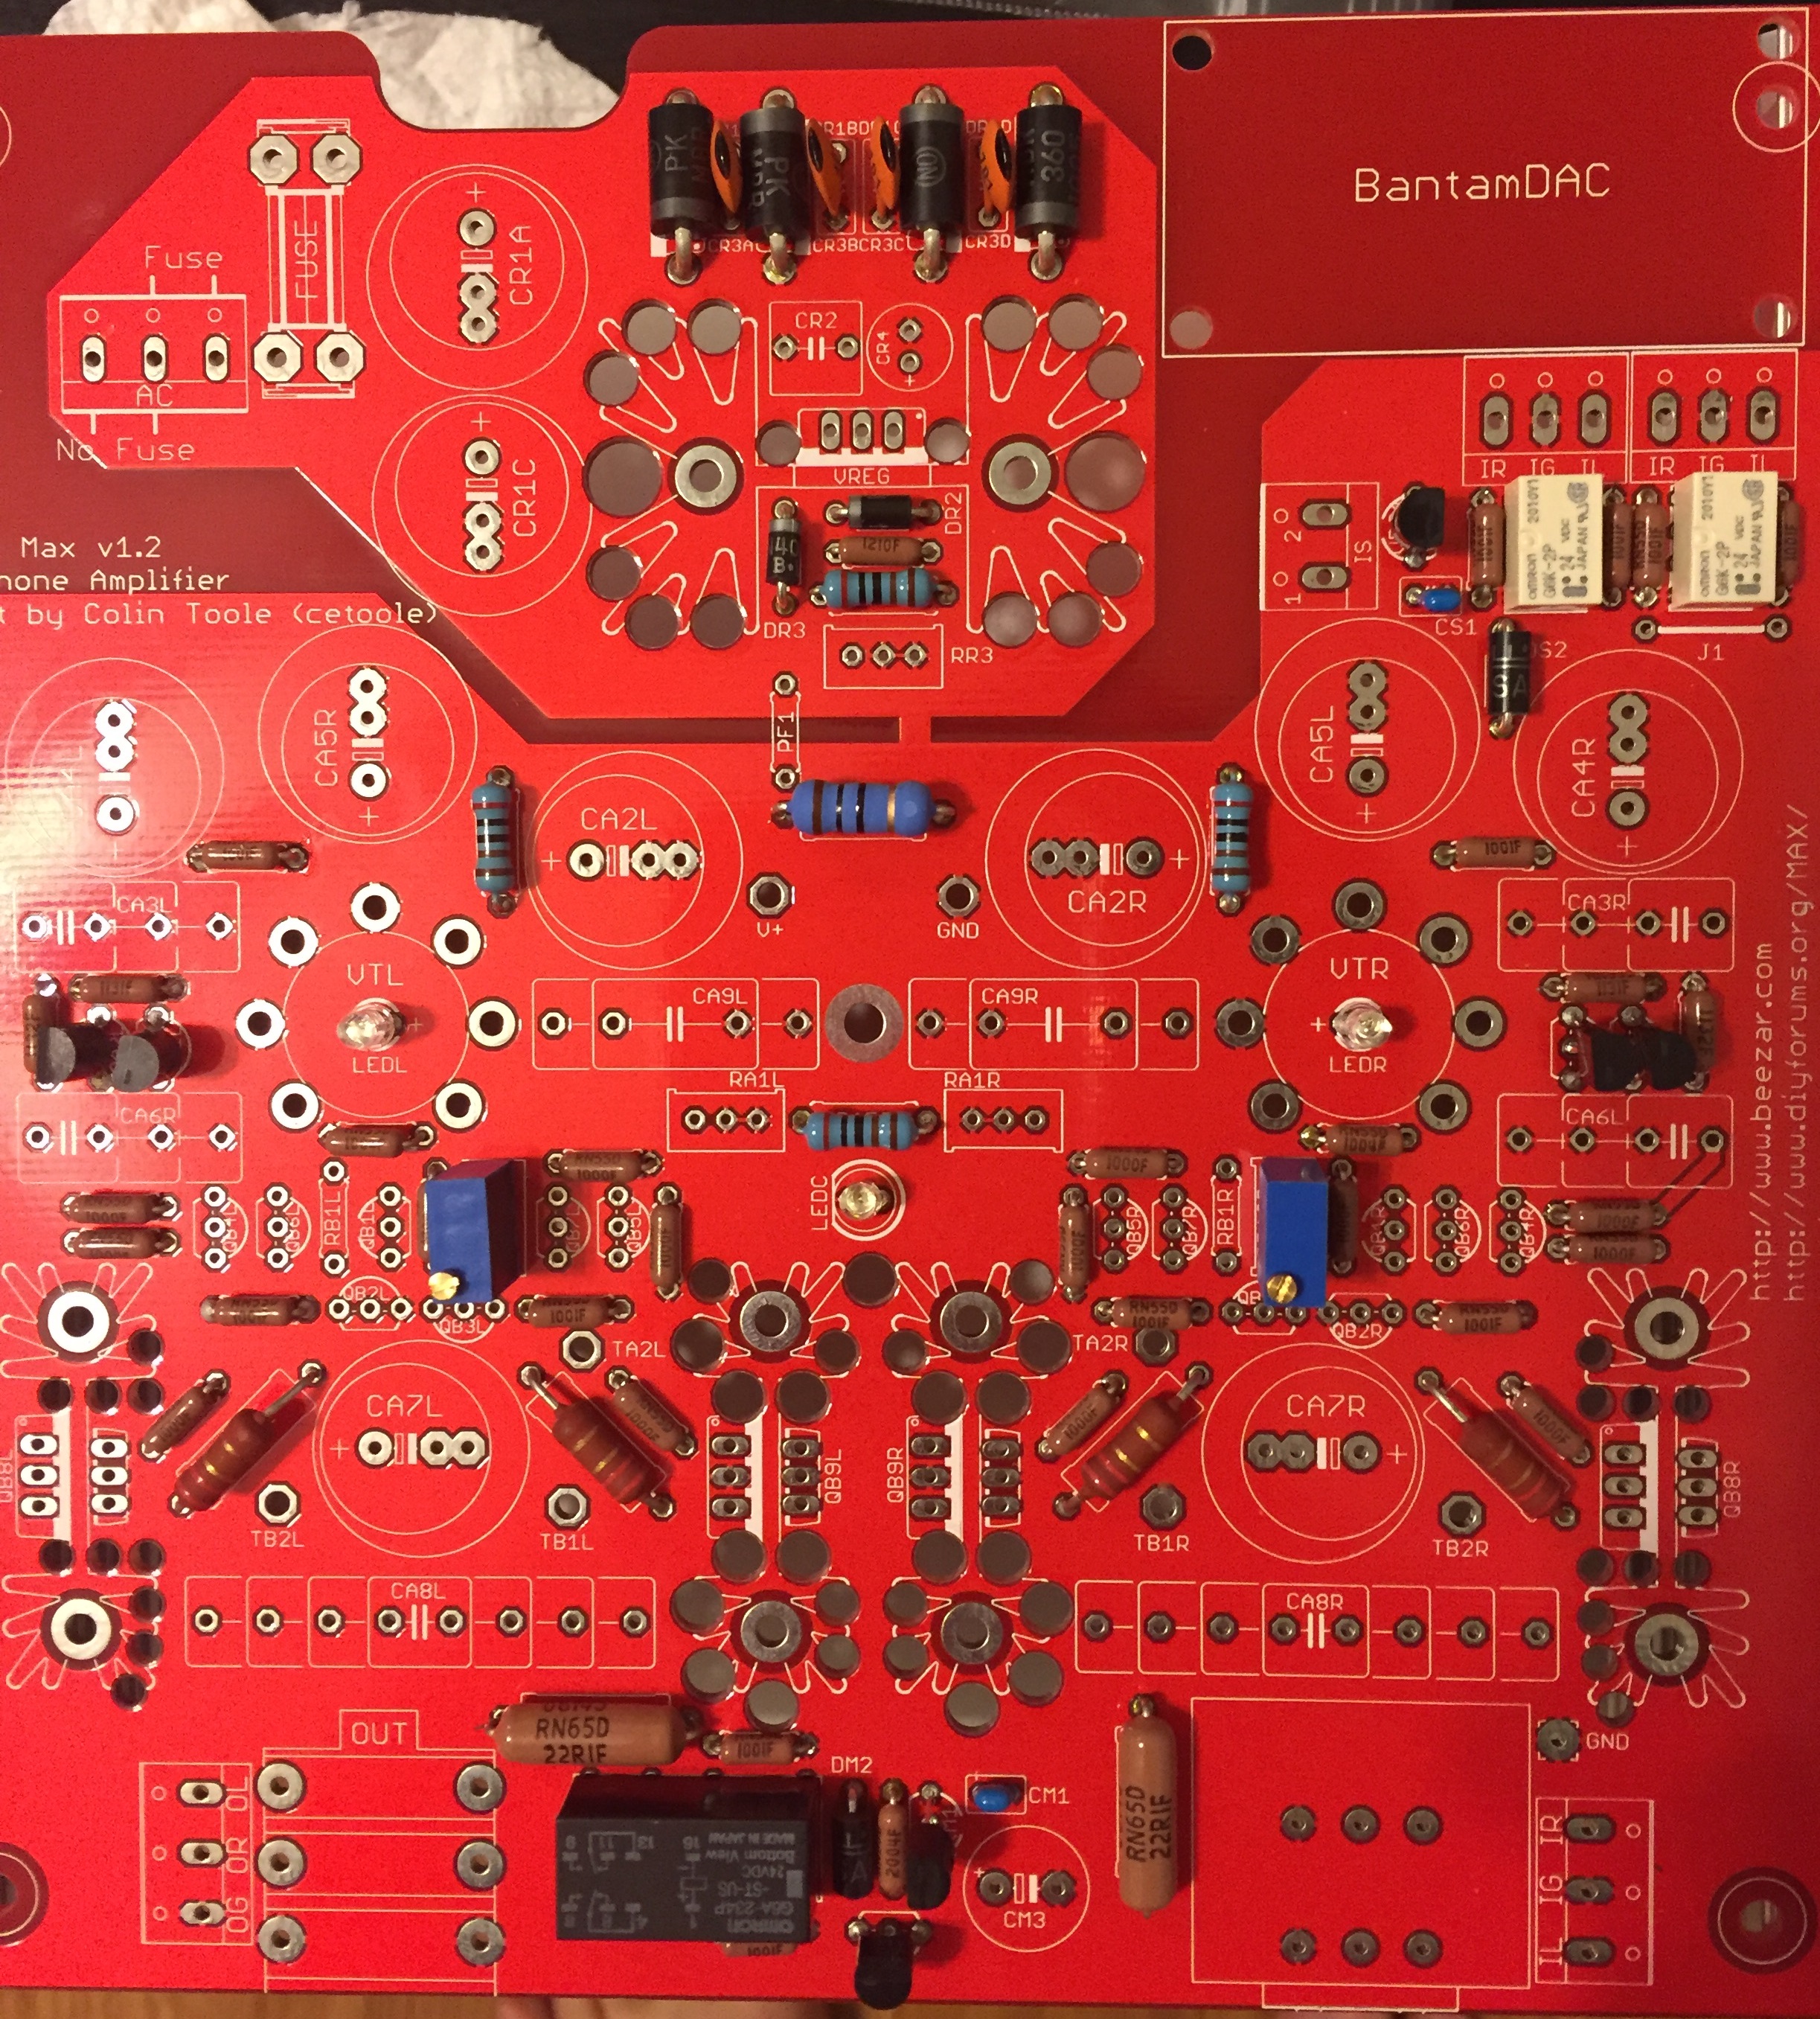
Cetoole has some tweaks we've discussed to add to the board, but we're essentially ready to go to production.
|
Woohoo! Can you do us a huge favor for those of us who have full parts count for V1.0 MAXes that are waiting for the V1.2 release? When it's in production, can you do a small BOM for only the new or changed parts calling out exactly what has changed and what new parts we'll need to order for the V1.2 build?
It's nice to see I can use my Darwin I/O control and bypass a DPDT, although I did drill holes in the rear for them in two chassis as a precaution.
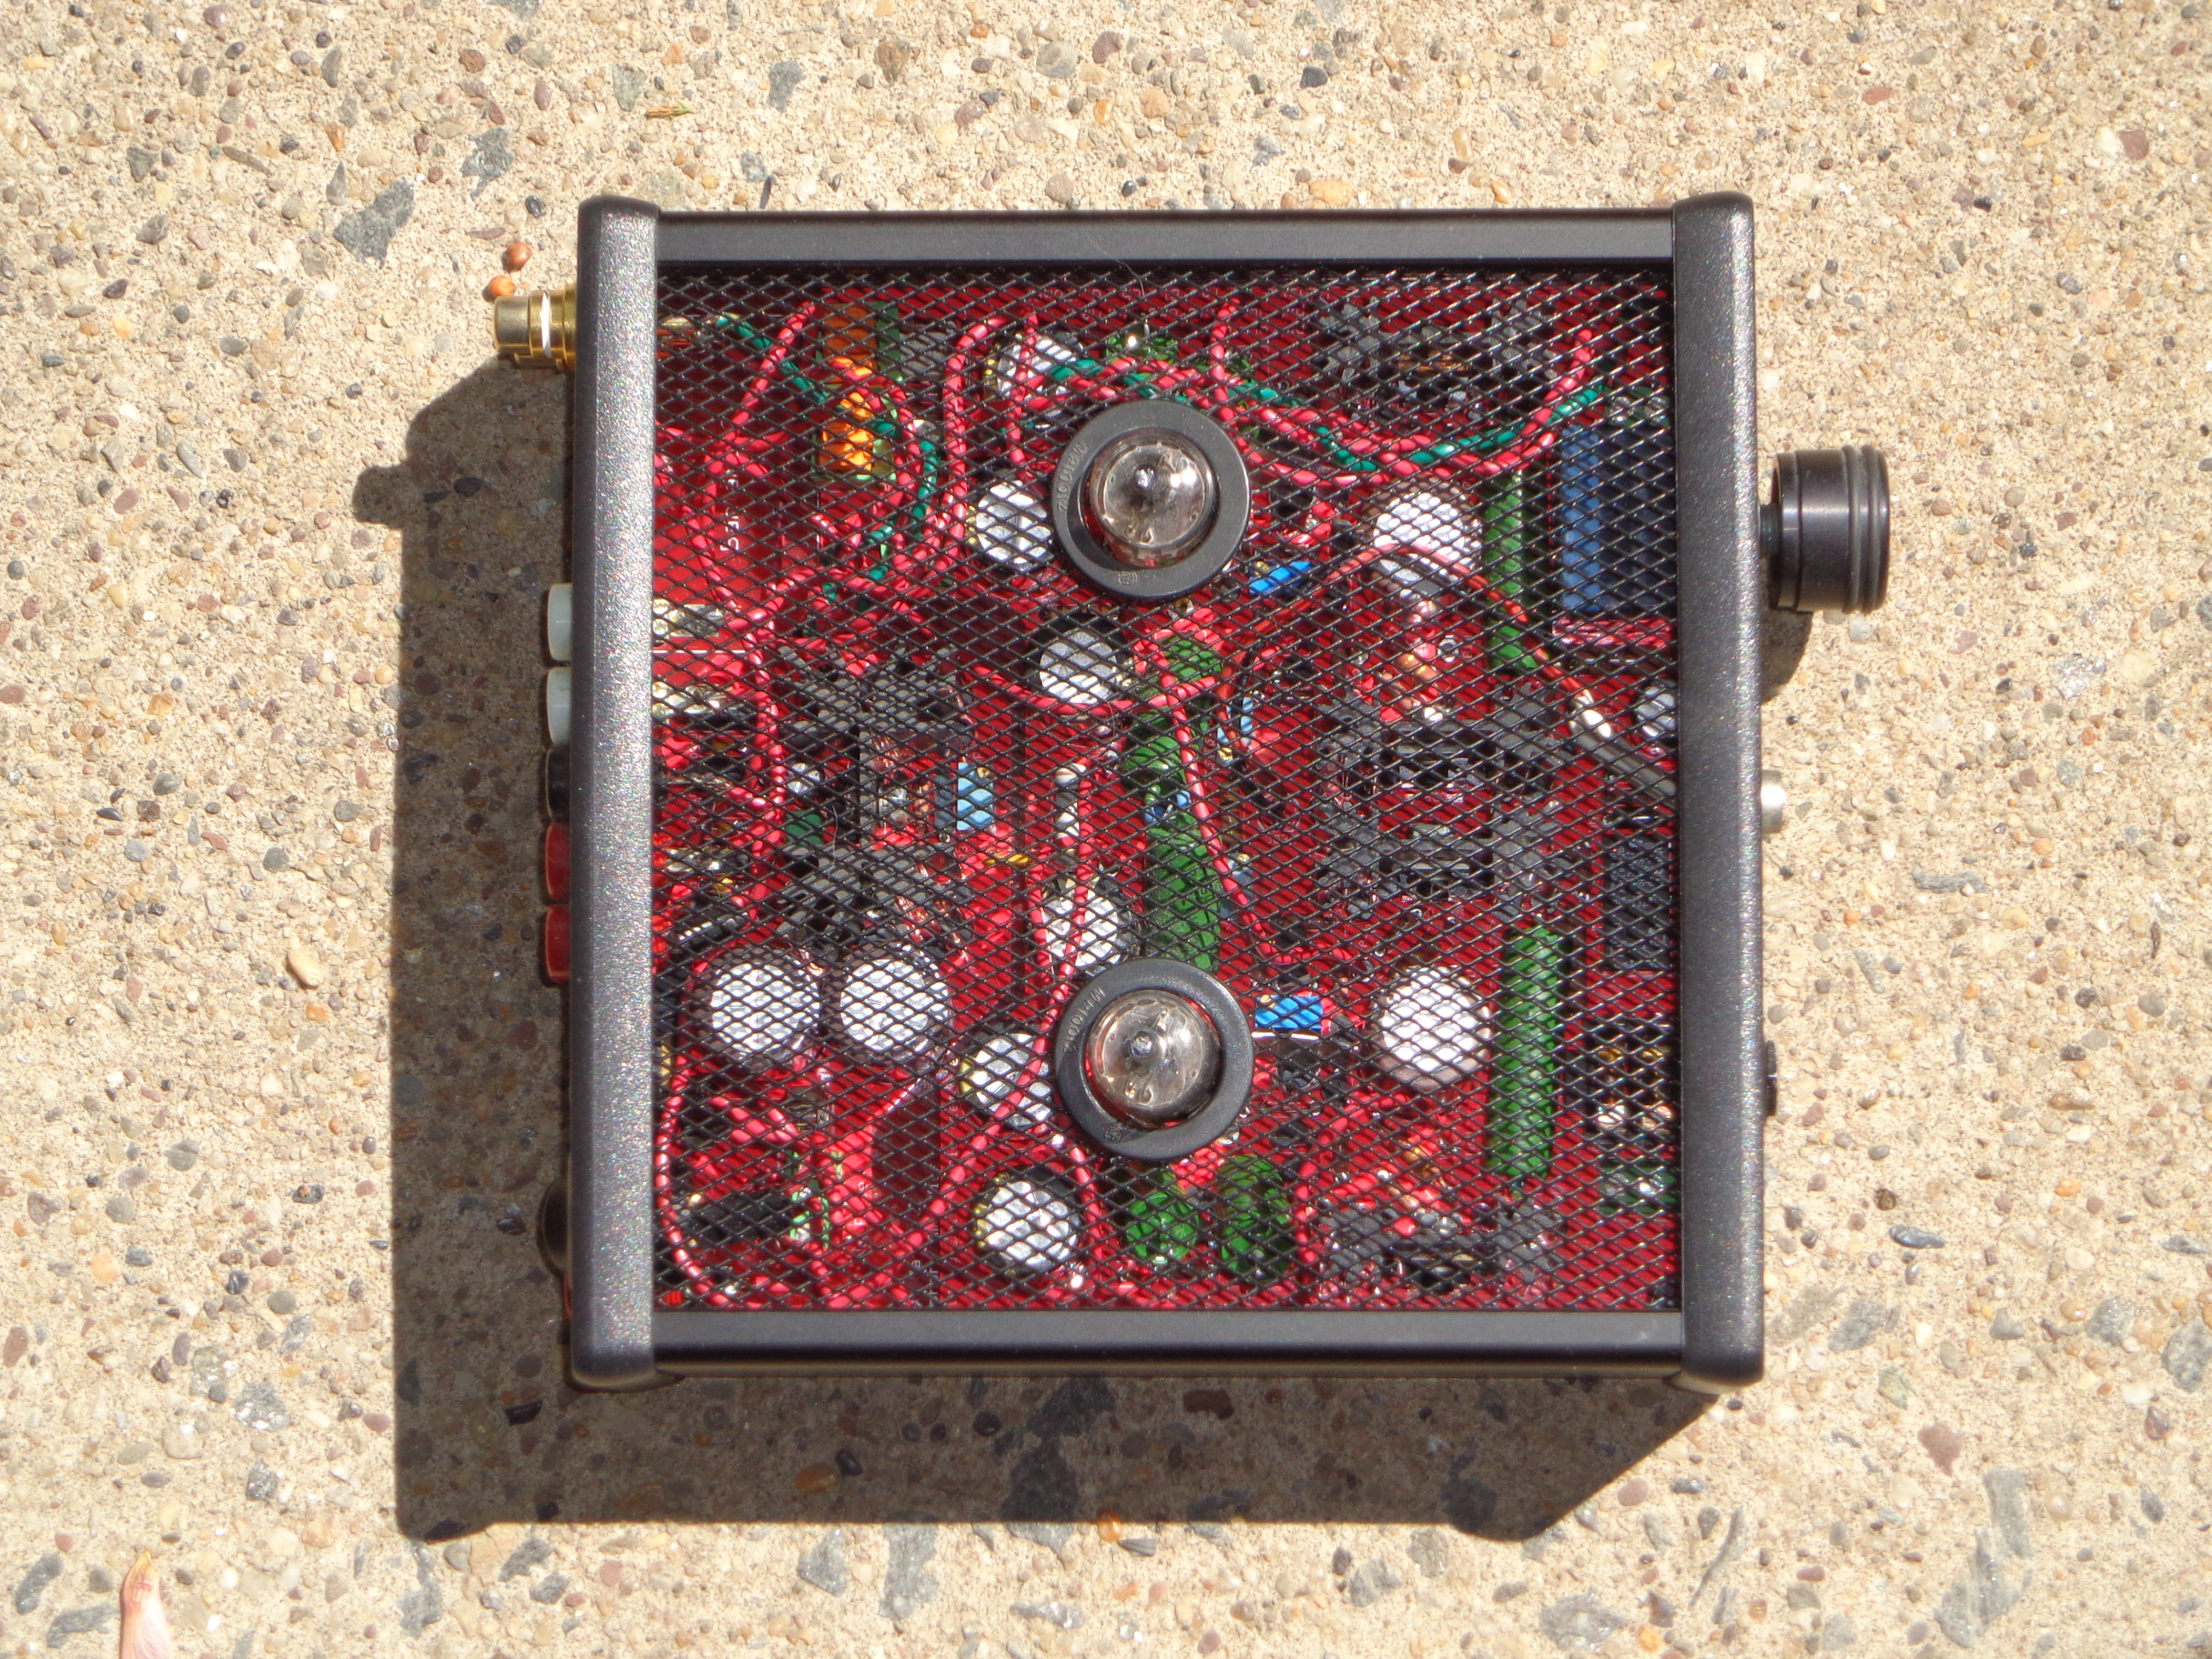
I have pics of my V1.0 board mocked up in it's NABU chassis that will be my console amp so it also has the AudioSector Gainclone boards in it. With 1/4" PCB standoffs and 3/8" spacers between the PCB and 2-1/2" DB heatsinks, I still have 1/4" of clearance between the top of the DB heatsink and the chassis top! So it's a full 3" of available clearance from the top of the PCB! Tubes and everything else will remain safely under cover.
I have pics, but need to upload them to photobucket...
Quote:
Originally Posted by tomb /img/forum/go_quote.gif
Thanks! It's been a long time coming (more of that one-man band thing and too much to do). I can't wait to case it up. The MOSFET buffer is really something else with the Elna Silmic caps, too.
EDIT: I suppose my HF-1's will be passe', soon.
|
Why do you say that? They look great next to the V1.2 MAX. I have Silmics and Cerafines, but was planning to use the Cerafines in my MOSFET-MAX. Muse ESs are going in V1.0 with the console amp. Maybe my V1.2 BJT MAX needs the Silmics?
You might be able to talk me into prepping a NABU case for you too (but I'll need to order more...).
I have the layout pretty standardized now (including access to the DB heatsink mounting screws from below to allow fast swaps of DB with socketed boards). I also figured out how to maximize utility and aesthetics by reusing or cutting out the existing holes in the chassis so only the old TO-3 V-reg holes are visible if they aren't used (using mine for the Darwin and phono stage regs so they're closed).
OT, but the Aikido 24V was much more challenging to prep since it's so much bigger. Almost as many cooling holes in that PCB as the new MAX too!