New DIY Altoids Tin Amp - The Pocket Class A "Wintergreen Handwarmer" by xrk971
Sep 2, 2017 at 6:46 PM Post #451 of 468
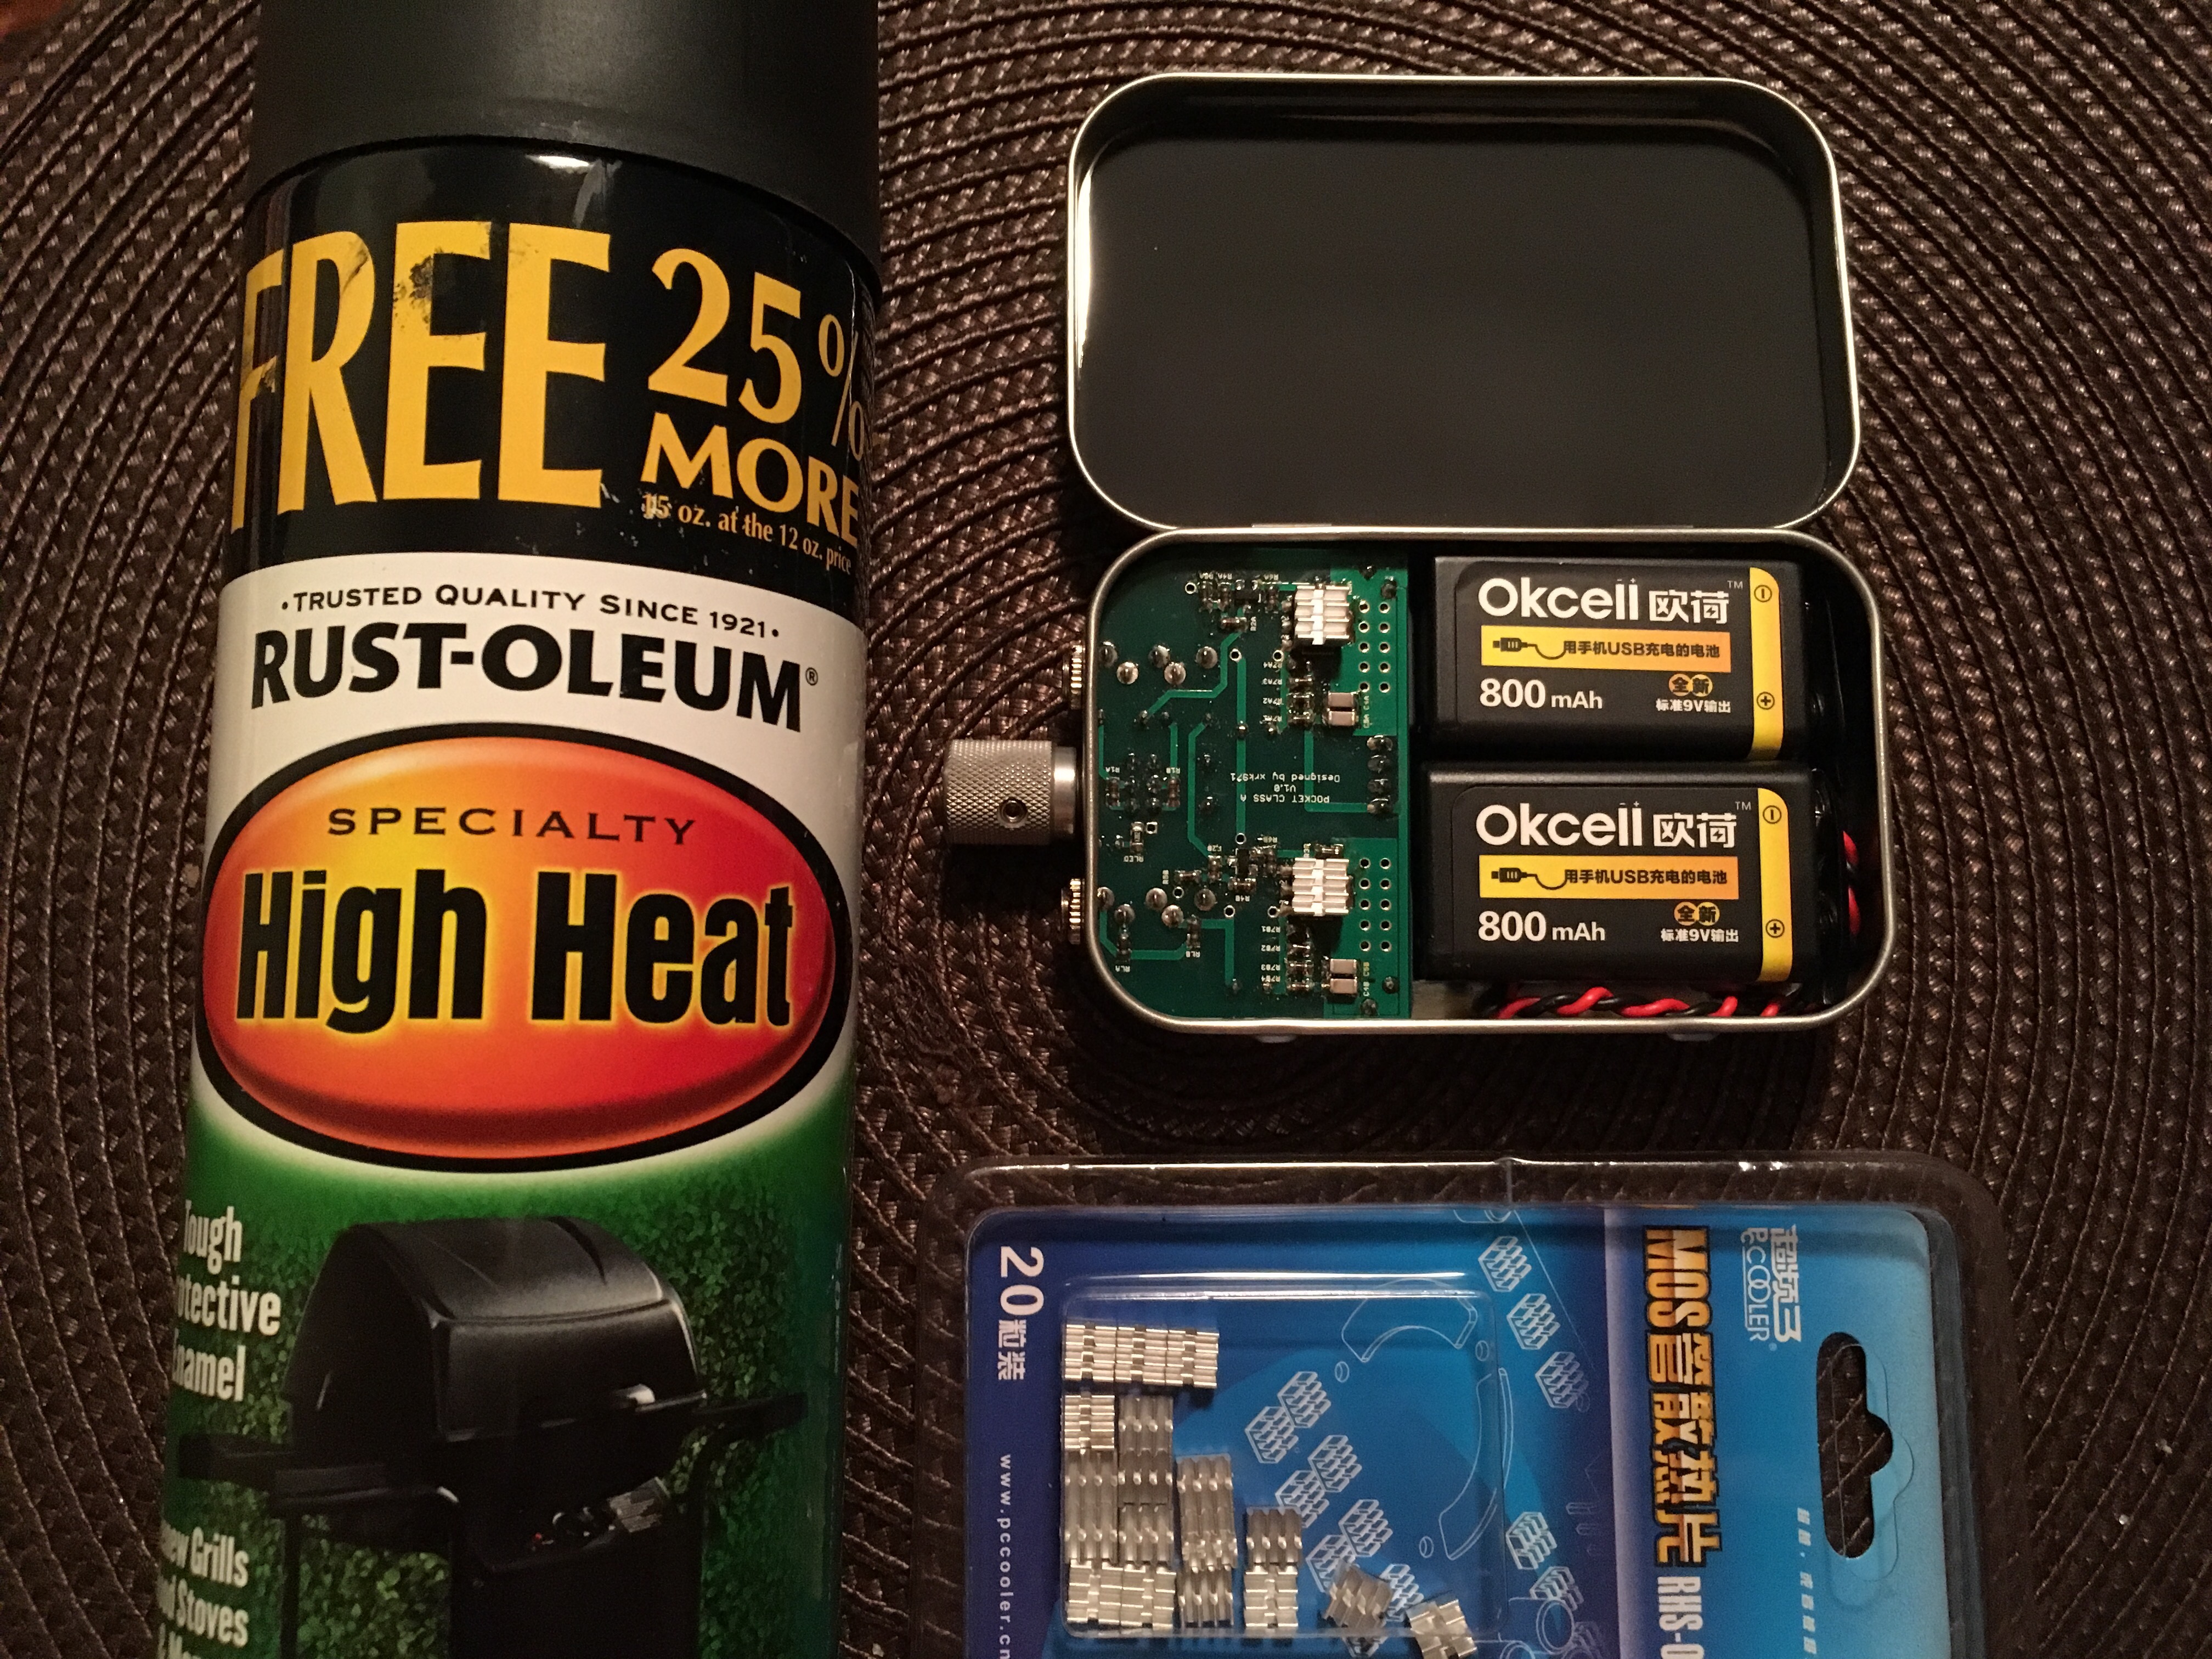
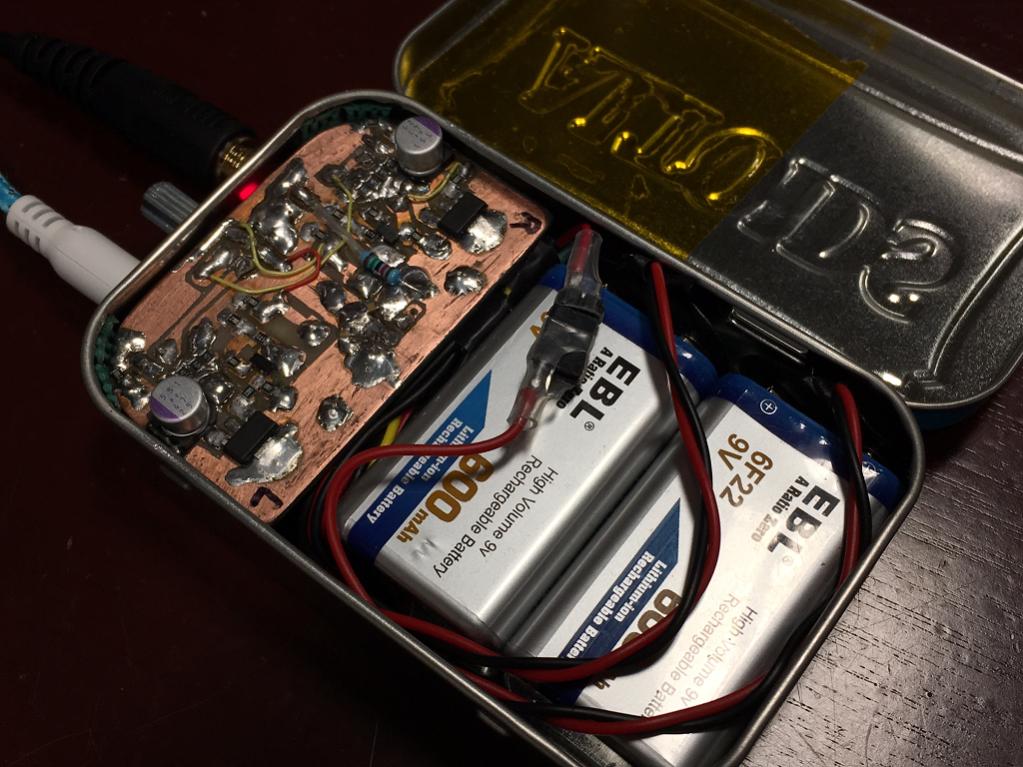
Woot woot! DIYAudio member Raptorlightning has successfully implemented a USB-charging single cell lithium battery pack in the Pocket Class A! The amp can also run directly off USB power with this setup--a major benefit IMO.

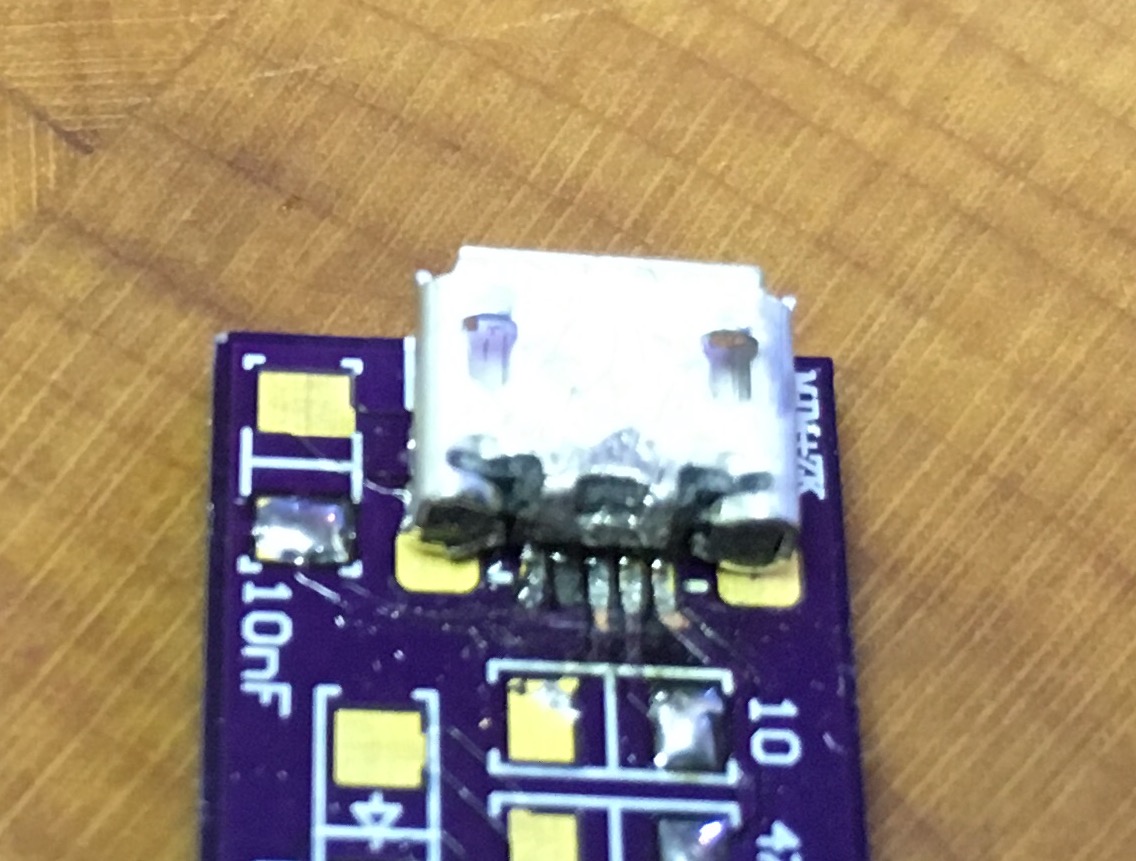
He used a LiPo cell and three small circuits: an off-the-shelf boost converter board, a custom load-sharing board with a micro USB power input, and a tiny custom cap multiplier board that keeps the battery from going into auto-protect when the big capacitors charge up at turn on.

I'm hoping to do the same for my builds as soon as I fully understand his approach.

Hoo Yah. That is what I have been awaiting. Need to explore this big time.

On insane clown mode. I have an almost irresistible urge to go old school with this design and do a point to point wired version. I will consult a therapist obviously before going there, but still....

On heat dissipation. There are several great choices out there readily available at most large hardware retailers. Begining with aluminum paint available at Home depot, to hammertone copper, Krylon Silve and gold plate. A lot of the above mentioned were pioneered in the laptop trade as coatings to inhibit rf interference and somewhat alleviate the heat generated by high clocked cpu's in an enclosed space.
 
Sep 3, 2017 at 1:53 AM Post #452 of 468
Well this was almost hand made P2P for the serial number Zero:

591358d1484063759-bf862-based-se-class-headamp-without-heat-pocket-class-bf862-zvn5306-ha-v1-new-oscons.jpg
 
Sep 4, 2017 at 8:14 PM Post #453 of 468
Hmm not seeing an image there.
 
Sep 4, 2017 at 9:49 PM Post #455 of 468
Actually I do, which is all the more puzzling.
 
Sep 4, 2017 at 9:55 PM Post #456 of 468
Raptorlightning kindly shared Gerbers for the two custom PCBs that enable his battery mod, as well as a BOM, schematics, and some instructions.

For folks without a DIYA account, you can also grab them here:
https://www.dropbox.com/s/y5hk5w1mlvtjya2/Raptorlightning Mod.zip?dl=0

I ordered several of each board from OSH Park a few days ago. The two zipped folders within the main folder I've linked worked perfectly for me when I uploaded them for printing. If you order from OSH Park, as Raptor and I did, expect to get a warning that they can't do slot drills. According to Raptor, this is fine and just means you'll have to use wire cutters to trim the micro USB jack somehow. I assume this will make sense once I see the part and the board.

To do the mod, you'll also need a MT3608 boost module and a 2600mAh 3.7V tablet battery that measures 7.8x52x51mm.
Both items are all over eBay and AliExpress. They look like this:
s-l1600.jpg$_12.JPG
Anybody have tips for cutting PCB traces? X-acto knife?
 
Last edited:
Sep 6, 2017 at 10:13 PM Post #458 of 468
Raptorlightning kindly shared Gerbers for the two custom PCBs that enable his battery mod, as well as a BOM, schematics, and some instructions.

For folks without a DIYA account, you can also grab them here:
https://www.dropbox.com/s/y5hk5w1mlvtjya2/Raptorlightning Mod.zip?dl=0

I ordered several of each board from OSH Park a few days ago. The two zipped folders within the main folder I've linked worked perfectly for me when I uploaded them for printing. If you order from OSH Park, as Raptor and I did, expect to get a warning that they can't do slot drills. According to Raptor, this is fine and just means you'll have to use wire cutters to trim the micro USB jack somehow. I assume this will make sense once I see the part and the board.

To do the mod, you'll also need a MT3608 boost module and a 2600mAh 3.7V tablet battery that measures 7.8x52x51mm.
Both items are all over eBay and AliExpress. They look like this:

Anybody have tips for cutting PCB traces? X-acto knife?

May I know an estimate of the total cost to do this mod?
 
Sep 7, 2017 at 10:33 PM Post #459 of 468
Pretty cheap. The three boards can each be had for less than a dollar. Battery is like $10. I haven't made a Mouser/Digikey cart with the BOM yet, but I am hoping the assorted parts needed to populate the load sharing board and cap mx board will total $5 or so plus shipping. Ballpark $20, all shipped? About the same as buying some rechargeable 9V batteries and a charger.
 
Sep 8, 2017 at 10:07 PM Post #462 of 468
Hi StellarE, would you mind running a GB for us? I am in for 4 sets of boards. :)

I'd love to, but man, I am covered up with work and house projects for the foreseeable future. I'll be lucky if I find time to get the mod done! With free shipping available for all the parts, I'm not sure it would really help much anyhow. Except maybe for folks outside the US.
 
Sep 9, 2017 at 10:39 AM Post #463 of 468
That's cool StellarE - we have all have been there, and totally know that family and "yes, Honey" duties always come first if one wants longevity with diy. :)
 
Last edited:
Sep 13, 2017 at 10:27 PM Post #464 of 468
Just filled up a Digi-Key cart with parts for the RaptorLightning mod. All the components for one mod add up to about $9.50 plus shipping (cheapest shipping option is $3.50). Adding in the battery and the 3 boards, I'm at about $26 total cost for the mod, not including the few cents worth of extra wire I'll need to connect all the boards together. X, can you recommend a certain wire gauge?

I had to substitute a different 1uF cap and 47R resistor, as the ones on the BOM were not available.
Also, here is the 47uF cap that Raptor used (this replaces the 100uF on the BOM): https://www.digikey.com/scripts/DkSearch/dksus.dll?Detail&itemSeq=238395325&uq=636409334171526774
Other than those three parts, I'm ordering using the exact part numbers on the BOM Raptor provided.
 
Last edited:
Dec 8, 2017 at 7:23 PM Post #465 of 468
I soldered up my first cap MX but failed my first attempt at the USB load sharing board. Tiny pins under that micro USB jack... Must buy a fine solder tip and liquid flux!
IMG_2892.JPG IMG_2894.JPG

In the meantime...I bought some new planar Mayflower V1 cans. These are a T50RP v3 modded for accurate frequency response.

IMG_2981.JPG

I was worried that the Pocket Class A wouldn't have enough juice for them, but alas, it seems this amp fears no headphone. According to X, it helps that I'm running the amp at full 18V. It probably also helps that I boosted bias further with my resistor values. And thank goodness my x3 player puts out a generous 1.5v line out signal. First impressions tell me that I have headroom to spare (pot set at about 2:00 is loud) with good dynamics and more detail than I have ever gotten from a headphone before. :)
 

Users who are viewing this thread

Back
Top