HEKV2 & SE "FEILIAN PORT" MOD!

Do you feel V2 lost soundstage?

  • A bit

    Votes: 1 20.0%
  • Yes definitely

    Votes: 1 20.0%
  • Nope I like the new perspective

    Votes: 2 40.0%
  • Naw Im deaf and just like looks

    Votes: 1 20.0%

  • Total voters
    5
Apr 2, 2018 at 11:24 AM Thread Starter Post #1 of 34

Maxx134

Headphoneus Supremus
Joined
Oct 15, 2010
Posts
5,676
Likes
4,454
Location
NYC
Introduction/Preface:
Hello again, for those that don't know me I am the creator of the HEKV1 mods:
** "Rear strips" mod
** "Acoustic Coupler" mod
** "Rear damping" mod
They have been out about a year but only on *(redacted).
I had planned to post these here quite a while ago so apologies for delay.
They will be here soon for those with original HEK.

I have so many mods I will be posting on other headphones too,
*Pic*
but the HEKV2 is the most requested, so Now onto the only HEKV2 Mod...

Update:
For newer HEKSE & future versions, please refer to member "TheAttorney" version of the porting mod
, in this link..

**Disclaimer**:
I take no responsibility for those willing to take on this part of the MOD.
It needs a steady hand and technical/mechanical experience.
I will try my best to show you how to proceed, BUT
You need to be good at handling delicate small objects (like a jeweler),
So proceed at your own risk..

I will be using a methodology of giving all my mods names for easier recognition.
So I will now give this HEKV2 mod the name:
Feilian port Mod...

Feilian means "Wind", which is basically what we are dealing with (air pressure), with this mod.
We will relieve, and funnel the air pressure damping... a pressure created by the pad-to-head coupling, which impedes the thin/sensitive driver membrane.

As you know, the HEK &HEKV2 driver membrane have only single sided magnets and using driver tensioning for control,
(instead of dual sided magnets for control)..
These conditions make thinner membrane planars more susceptible to air pressure than others.

You can observe this when lifting the cup away from ear, how the drivers move more in "free air".
This actually also occurs on other new planars like Susvara and Abyss Phi, (which I had on hand at times for this mod.)

For the HEKV2, this "Feilian mod" will result in relieveing this air coupling pressure,
Which will then result in the membrane being less affected by the enclosed air pressure inside the cup.

This internal air space inside the pad-to-head coupling results in a form of frontal damping that all the new thin membrane headphones have (HEK,HeKV2,HEX, Susvara).
Relieving this "air pressure" resuts in a membrane that is more optimally affected by the magnets instead of the internal cup air pressure..

Sonic reults are:
More ambiance,
More 3Dspace,
More natural depth
More natural tonailty,
More and greater nuance and definition across the board, from bass to trebles.
Overall I would say a 20% step up (yet still in not at Susvara/ABYSS Phi level that I did compare results to)...

Feilian Mod:
OK so onto the mod , which will definitely seem simple enough, but is actually a delicate procedure, which has specifically chosen materials and two specific shapes.
It is imperitive for success of this mod to follow the details as there are specific reasons to not deviate, as the space we are making is only about 2-3mm thick..

STEP ONE:
First buy this:
NEOPRENE WASHERS...
*PIC*
sK8gJ6W-2.jpg

Yes, it looks like a simple small piece.
This neoprene type material was chosen specifically for its flexibility/density/durometer,
and center hole (for centering/positioning onto the chosen location. )..
So any alternate chosen compatible materials must to be of similar "soft" durometer density (like sorbothane),
Which do well in vibrations and pressures applied when installed.
The washers chosen are most durable and easier to work with.
It will gently flex the black plastic piece It goes under a few millimeters.

Step Two:
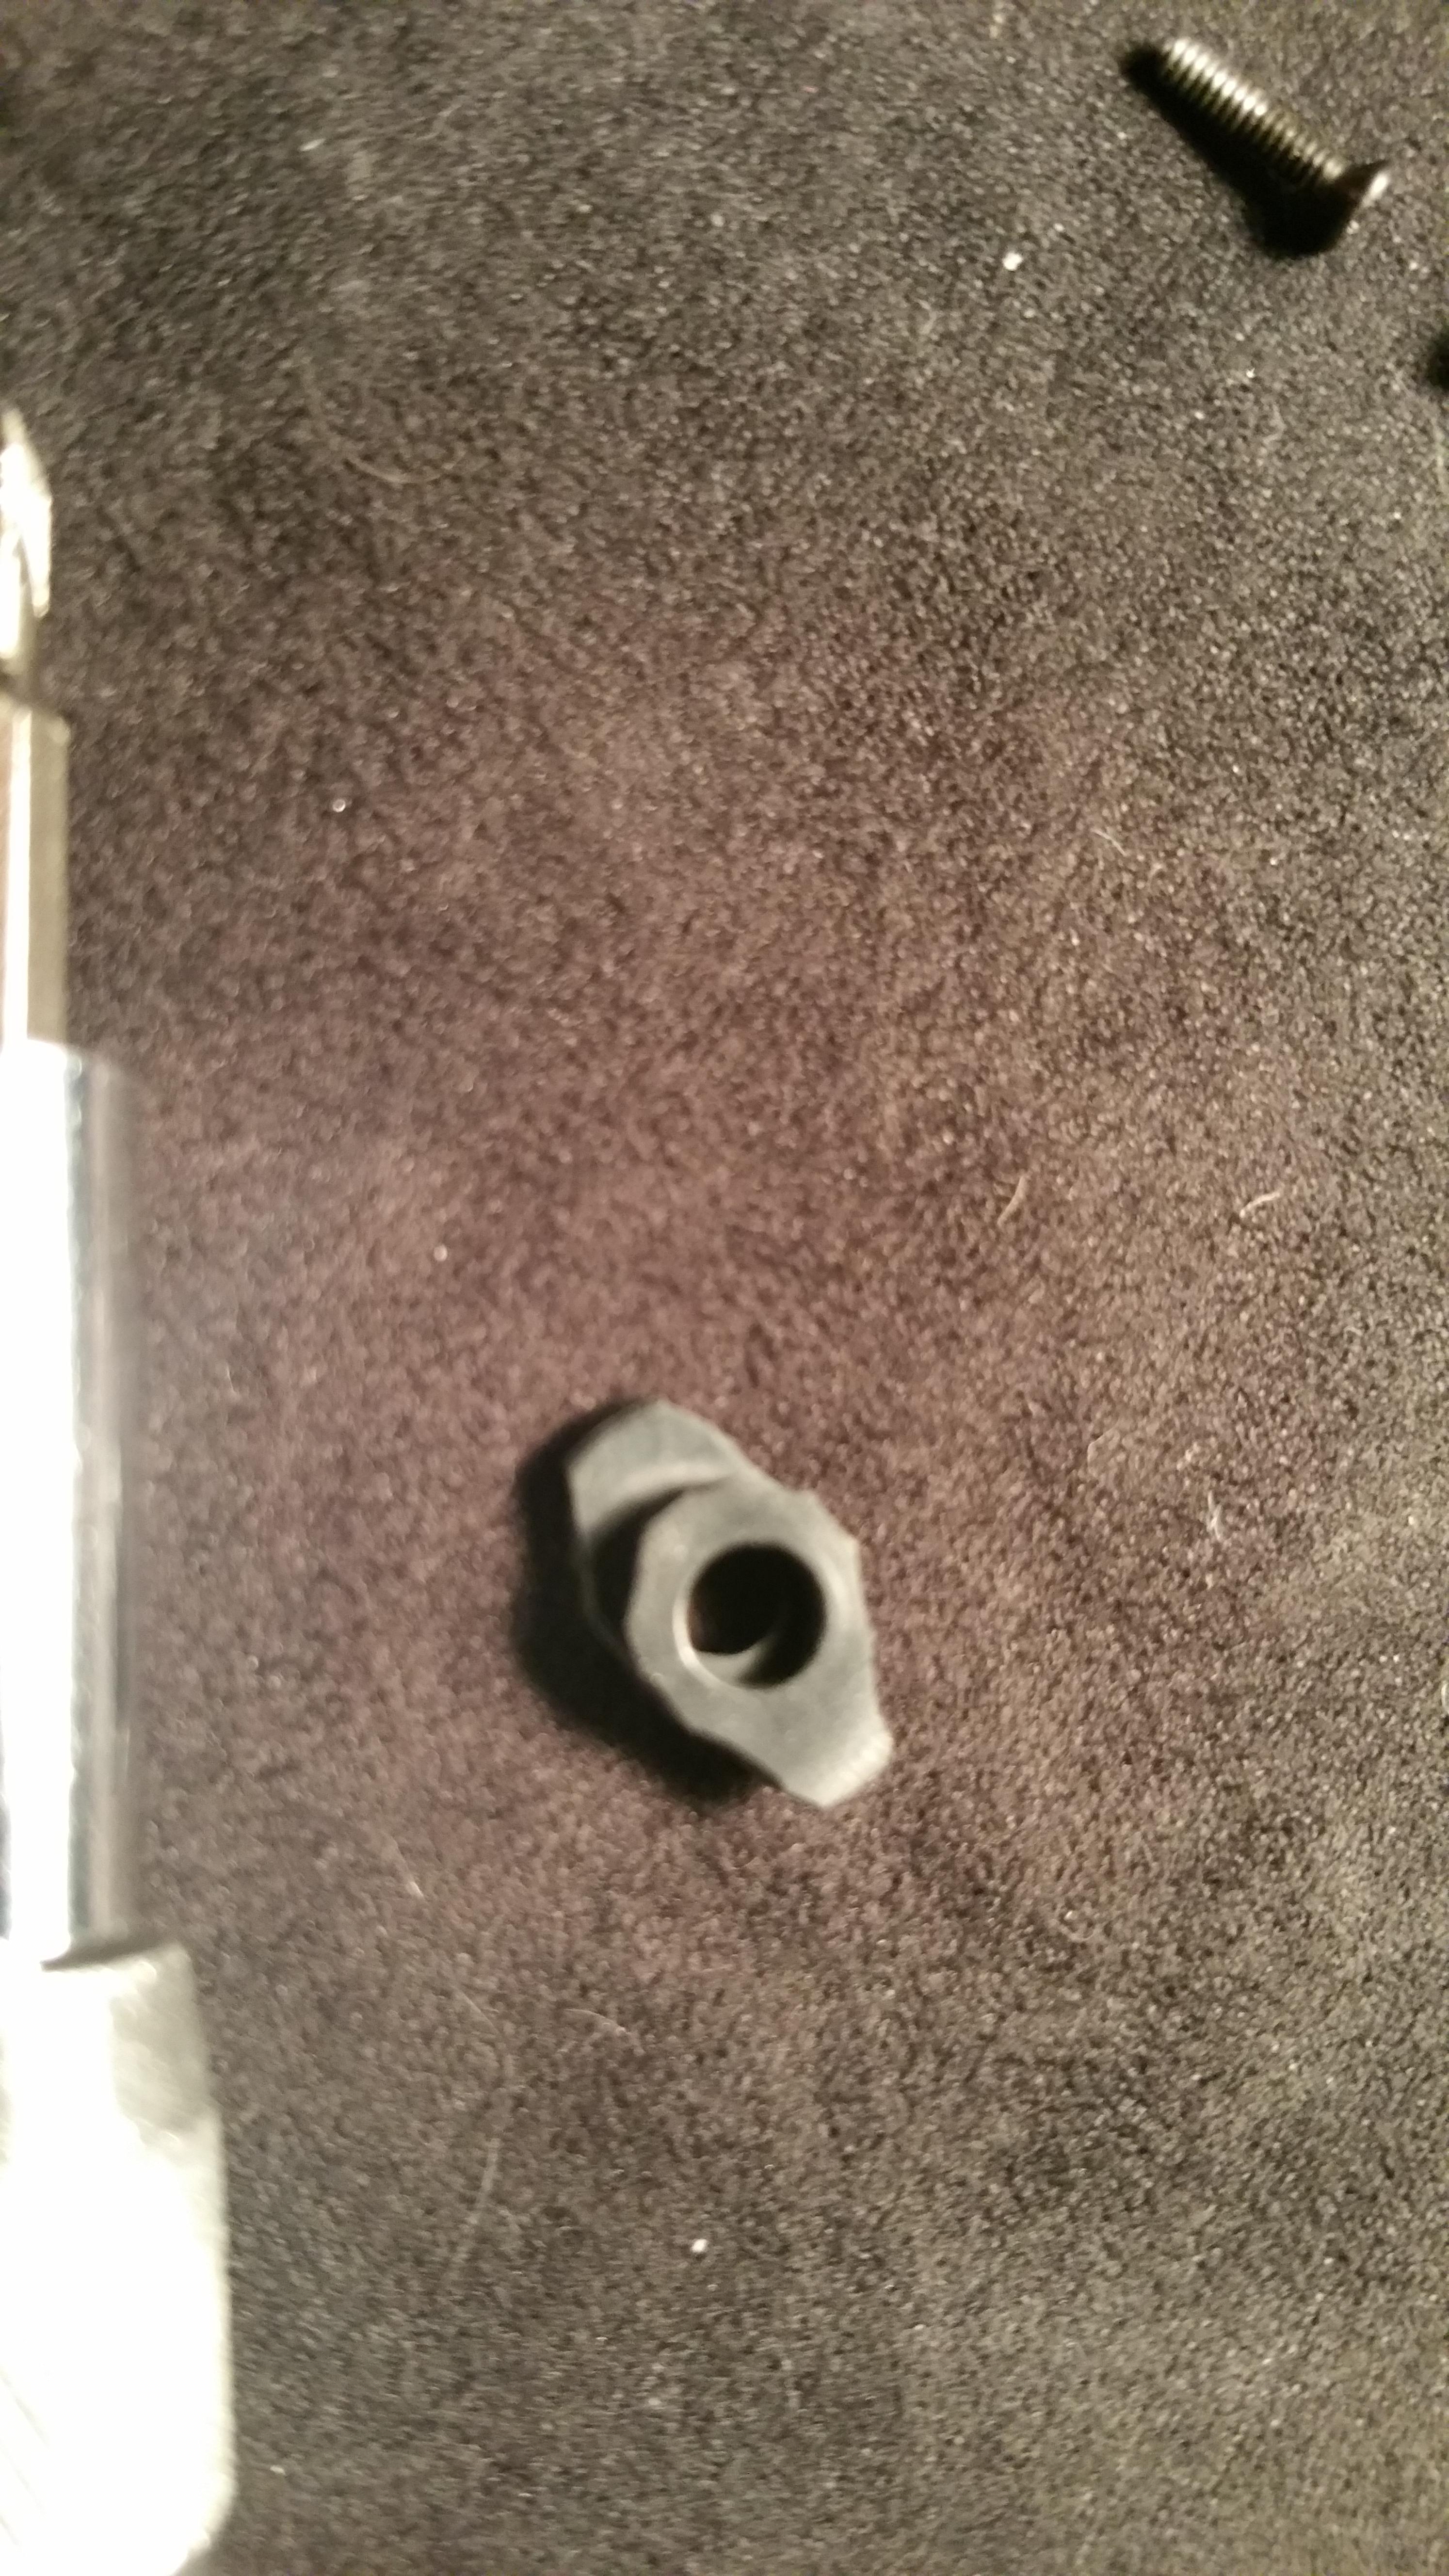
Cut the two pieces as illutrated in picture for optimal air flow.
*pic*
zkb5kK0.jpg

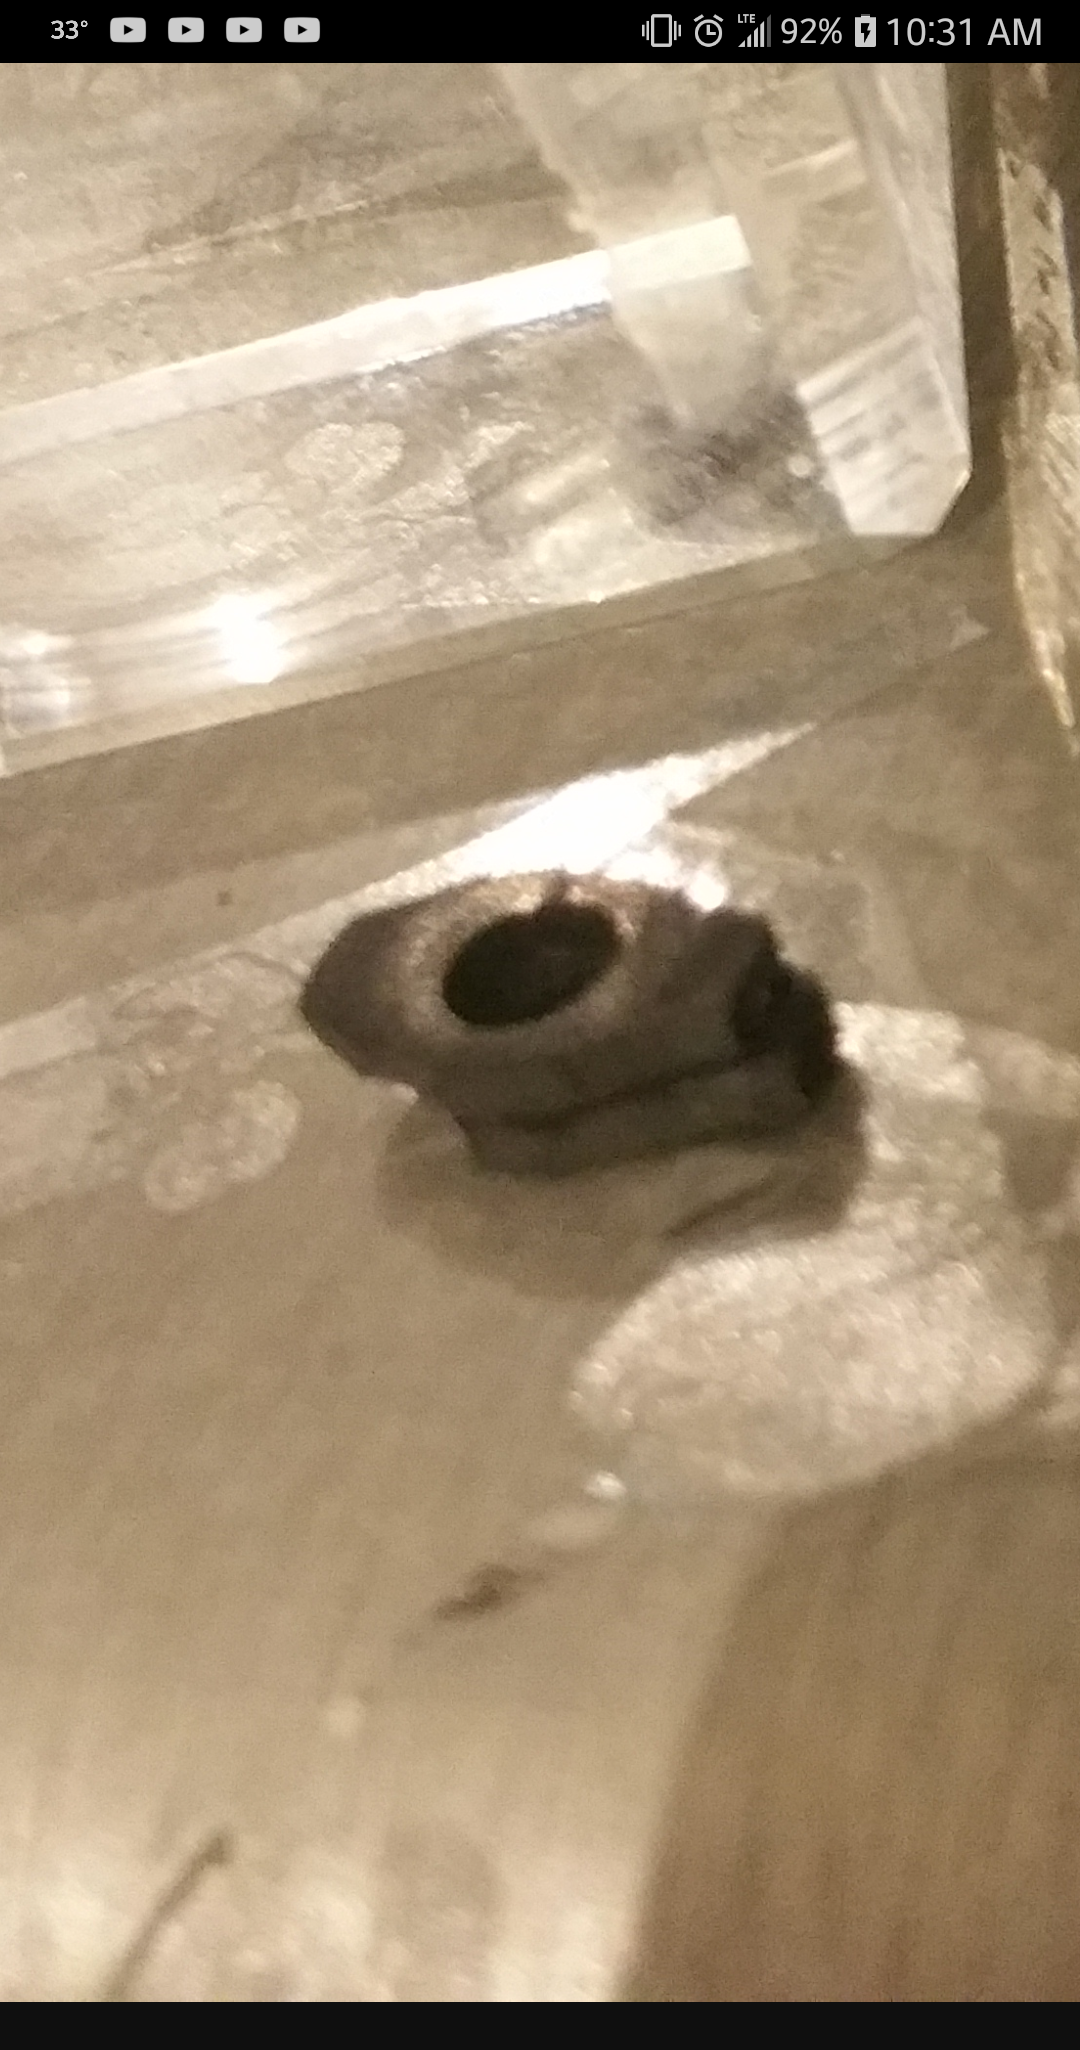
One (top) piece more longer, two pieces stacked
*Pic*
Capture+_2018-04-02-10-31-39.png

Cut exactly as seen, Four pieces total.

Reasoning is not only for creating the port,
But also for a wave/pressure guide, as it will act as so.
An analogy is like what a rudder in a boat does as it guides the water(and thus the boat).
All areas of the diaphragm will benefit from the release of this pressure.
Another analogy is like the tensioned inner surface of a blown balloon, (pressure created during driver excursion) when you open hole to let pressure out.
Not the best analogy, but you get the point that it is this internal pressure on the membrane,
Which is creating a type of damping that is holding your planar driver down from moving it best..

Step Three:
Ready for placement.
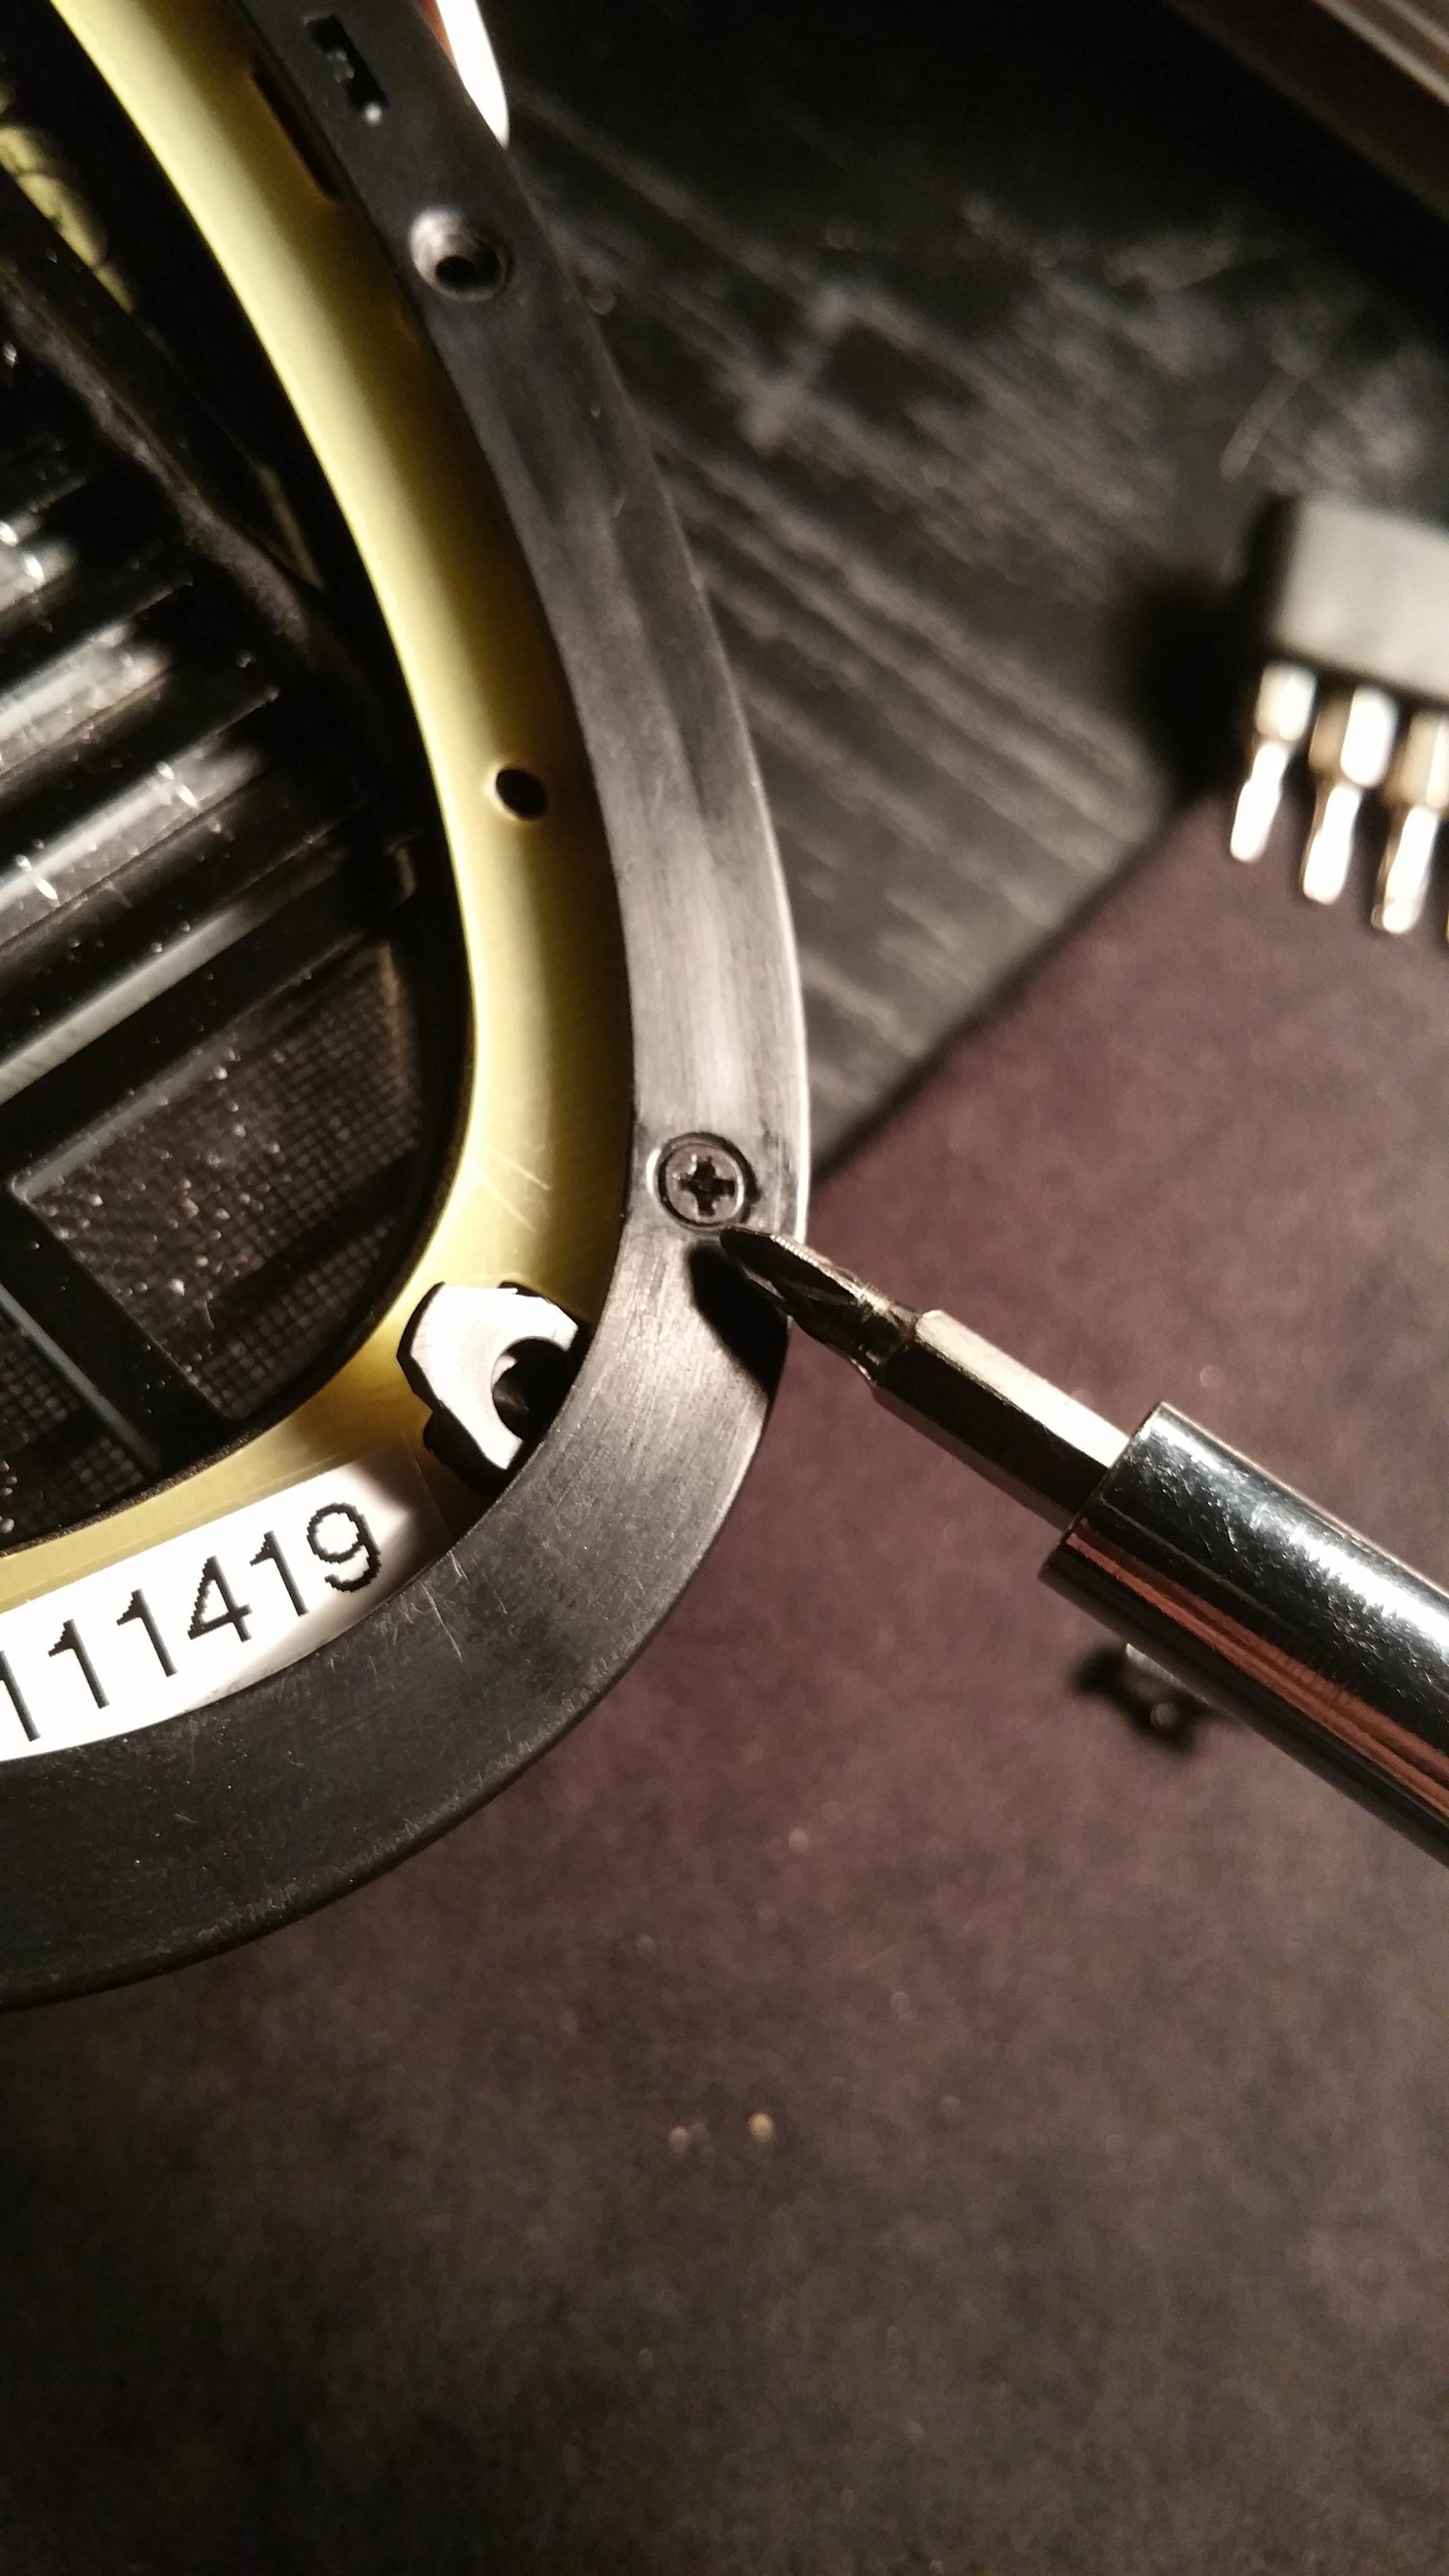
Remove half the bottom screws, CAREFULLY,
By holding the whole driver unit aways above the screwdriver,
So both screw and screwdriver cannot FALL INTO THE CENTER...
Remember, the diaphragm covers the whole area, and is thin and invisible on top and bottom,
Which also may look oily/dirty, but as explained in my HEK "Acoustic Coupler" mod thread,
DO NOT TOUCH the membrane..!

Step Four:
Once you loosen the black plastic ring,
Now you can slip both rubber pieces right over the socket solder connection... AS PICTURED.
yrIXsBw.jpg

*Pic*
4vTgcMu-2.jpg


Notice now why the center hole of this "washer" is intended to rest on the soldering point of the headphone jack,
And holes help with positioning.
Both pieces rest exactly in this position.

Step Five:
Start screwing back the screws...
Make sure the black plastic riing tabs are going in all the way before screwing down, by pressing down on them to make sure they go in freely.
The two closest screws on either side of the socket will not be screwed down all the way,
as the material will be creating a lift for the gap/port there..
The black plastic will be lifted there by about 2-3mm
You will need a flashlight next to check.
*pic*
KEGCKKP.jpg

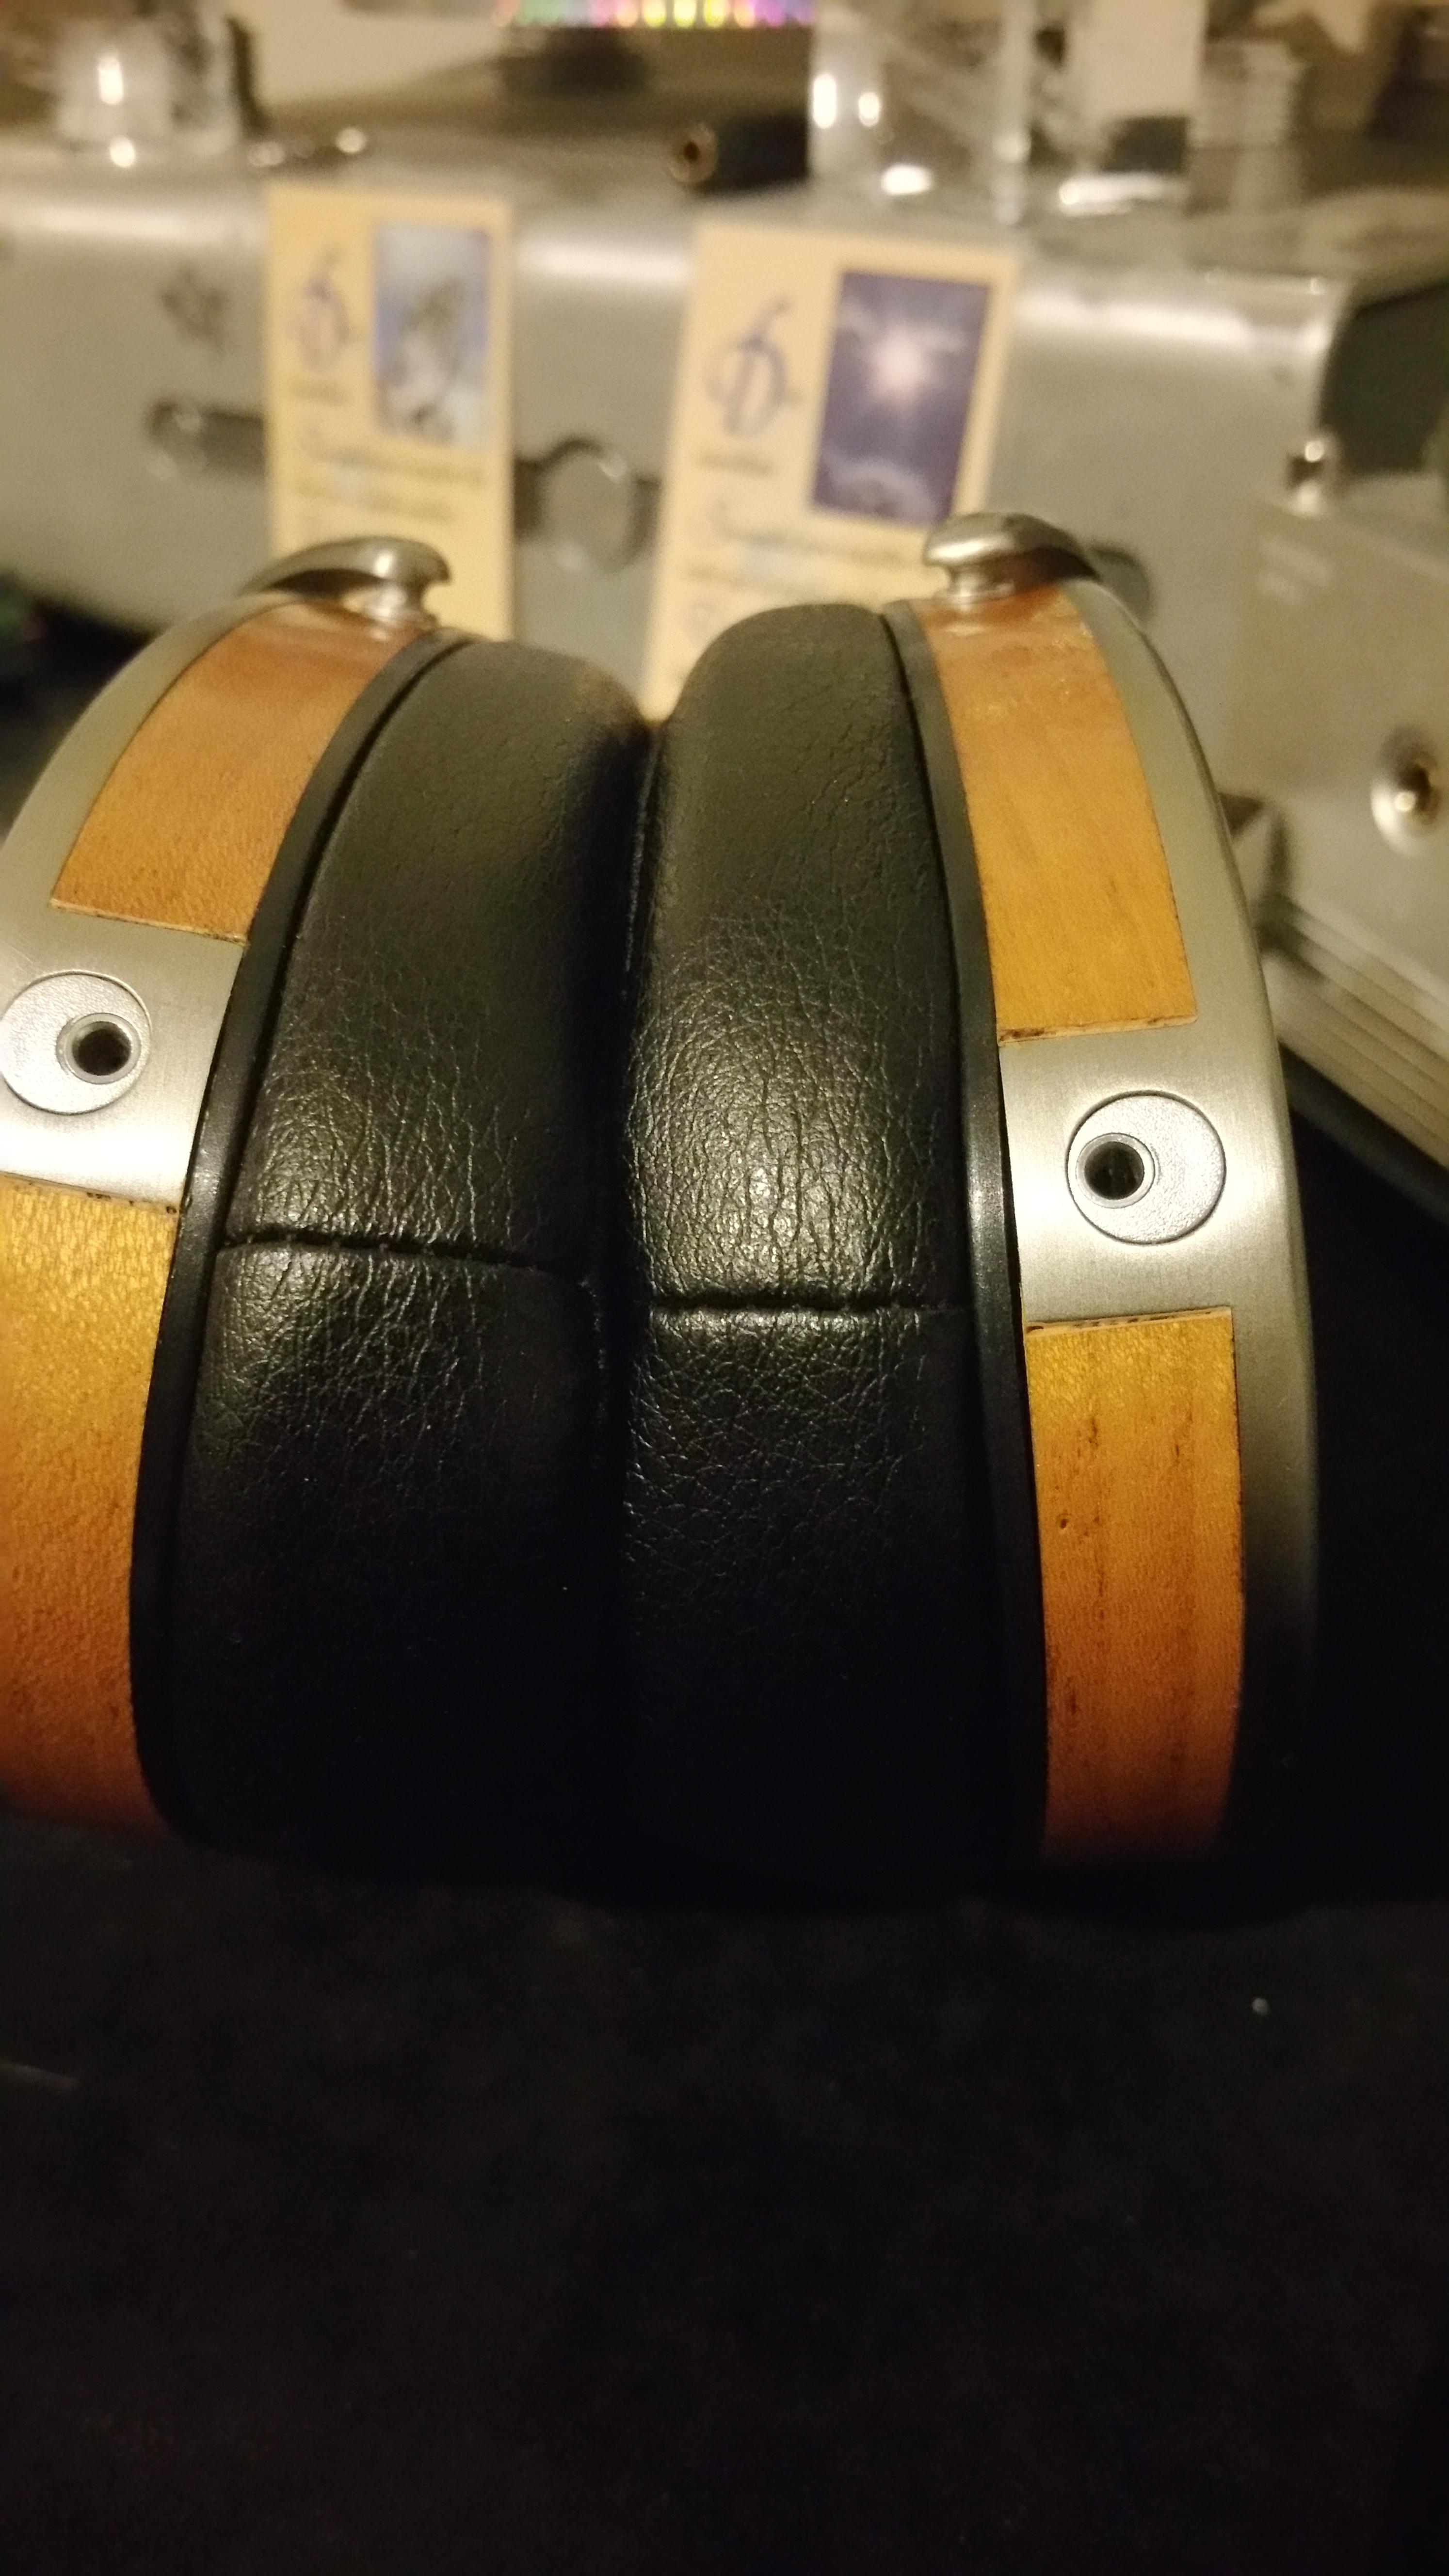
This will not even be visible or detectable once pads are on ,
Shown in next pic..

Step Six:
So remember to Shine light inside as pictured above,
to see the gap and visibly guage to compare and make both sides similar.
Place the earpad on to protect driver, and then do the other side.
*Pic*
h6mrPbG.jpg

See how invisible (but effective) it is!
Patience is a virtue so no rushing as this is delicate work which is worth the effort involved.

Step Seven:
Enjoy your new sounding HEKV2 Feilian Port Mod.

Enjoy!
 

Attachments

  • d5rbOjn.jpg
    d5rbOjn.jpg
    2.2 MB · Views: 0
Last edited:
Apr 2, 2018 at 11:26 AM Post #2 of 34
Will be uploading pics next.

I have been asked about how to cut the shapes of the washers and basically I settled on two shapes for optimal air flow.

A shorter piece below and longer piece on top.

So I placed one of each together,
with the longer one on top:


I do feel this mod is substantial and should be tried if your able.
 
Last edited:
Apr 3, 2018 at 8:07 AM Post #3 of 34
Some of you may have come across Maxx134's recent "Feilian" port mod for HEK V2, on the other site (not that one - it's the other other site). In short, the mod uses some soft neoprene washers to introduce a tiny air port into the otherwise fully sealed pad enclosures. Max suggested that anyone could simulate a similar effect by slightly prising away the pads from the head. Well, I tried that in various ways without too much success - the sound changed slightly, but I couldn't reliably quantify the differences. I then tried adding a port in a different way: by simply putting on my glasses! [Background: as a long term Stax user, I always take off my glasses in order to keep a full pad seal for best SQ of these headphones. And also for comfort. And I've maintained that ritual for my HEK V2's].

So, now I slip on my glasses whilst listening to music and… voila! An instant improvement in SQ. It's across the board, but I particularly noticed a sharpening of images and details.Taking my glasses of gave softer, more diffuse images and a flatter soundstage. I haven't noticed any downsides yet - the resulting greater impact and presence does not appear to have a trade-off with increased glare/brightness as sometimes is the case. Ignoring for the moment that these early findings could be affected by imagination, I think these changes are quite substantial - in the same ball park as, say, a good cable upgrade to the stock HEK cable.

My immediate question is how close does my glasses trick get to the Feilian mod proper? Because if the full mod gives still better results then that will be something well worth hearing. My glasses frames are very small - just over 1mm diameter at the pads, so visually they don't appear to be affecting the pads much. I imagine that different sized/shaped frames will give highly variable results - cue lots of jokes about audiophile glasses (does a titanium frame sound better than plastic?).

Anyway, I'm now very interested in doing the mod properly. Apart from the extreme care needed not to touch the ultra thin driver membrane, the mod looks quite straight forward and is well documented - the only thing I can't see clearly from the pictures is the exact cut shape of the underneath of the washer pairs. Are the cut shapes identical and just positioned in opposite directions?

Edit: After a 2nd evening's listening, I've turned down my excitement-o-meter by a notch, as the effects of my glasses-port mod do vary with the recording, with compressed/flat/thin recordings benefitting less than the more dynamic recordings that I listened to the first time. But the benefit is still there overall. Only @Maxx134 probably knows how his proper internal mod compares to the temporary "pull away the pad" type of mod.
Yes I did expwrimeex with pad tests first, but results were not stable and more varied, with a greater effect on bass than clarity.

Update on my HEK V2 port experiments:

I couldn't find the exact 5/32" washers as used by @Max134 for his "Feilian port" mod - because most of the world outside of USA went metric about 200 years ago. So I ordered a mixed set of metric sizes (under £3 for 50 assorted neoprene washers from UK supplier via ebay). None of the metric sizes were the same as the Max originals (in particular they had larger inner diameters), but I went for M6 size, which at least had the same 1.6mm thickness, even though they had larger both inner and outer diameters.

I cut 2 pairs of M6 washers to make them look much the same as Max's and fitted them easily enough, taking great care not to drop anything onto the delicate driver membrane. At the end, the pads looked to be more apart than Max's photo, even though the washer thickness (2 x 1.6mm) were meant to be the same. Anyway, my initial listening session was disappointing - at best this mod resulted in a different, rather than better sound. So I had a second go, this time the washer pair consisting of M6+M5, which resulted in reduced thickness (1.6 + 1.0mm) and I cut smaller outer diameter than before. The second listening session was more promising - now I felt the mod gave an incrementally improved, not just different, sound.

But then things got a bit weird when I added my glasses mod by, erm, putting on my glasses: This further improved the SQ by at least the same margin as it had previously done prior to the Feilian mod. The two mods combined gave me a minor wow moment - as if I had stumbled across a HEK V3 implementation before Fang had even thought of it. Whilst both mod SQ improvements seemed to be incrementally across the board, my glasses mod gave two particular further improvements: Firstly, increased depth where the sound images stretched forward slightly out from my head. Secondly, a punchier bass with increased both quality and quantity. Yes, that surprised me too.

At least there is some science behind the Feilian mod, but I can't think of a rational explanation for my glasses mod. Maybe my version of the Feilian mod is not yet optimal. Maybe 2 ports are better than one? Maybe the location of my glasses port immediately in front of my ears matters? Maybe my glasses mod is nothing to do with air gaps and is something else. like localised pressure on the pads? I just don't know. What I do know is that the HEK continues to scale higher with both upstream and local improvements.
The resultant factor,
is the amount of opening that the end result gives..

I am assuming the difference in yout different center washer opening,
played a part to lay more flush and give less vent opening.

Also the bottom and top areas are what effected the diaphragm properly on the strip mods(another thread on HEKV1),
so I assume you selected an optimal area.

When testing for greater opening, I did not necessarily encounter better results.

The main objective was to improve performance by release of diaphragm back pressure as described first post.

Glad you made it work.
 
Last edited:
Apr 3, 2018 at 8:47 AM Post #4 of 34
I did also tested ports on top as well,
and it worked, but was more involved and I didn't get reliable results as was more difficult to adjust the opening, and also accomplish without altering the plastic.

Being able to return to stock (for warranty purposes) was one of my important criteria,
And why I do NOT recomend any mods that would cause a such a problem of permanent altering.

The end result of my mod,
I was able to achieve benifits without more ports.

I also noticed that the port benifited from proximity closer to the driver. It was better than further away porting by the pads.
 
Last edited:
Apr 3, 2018 at 12:12 PM Post #5 of 34
Ok, so here's my updated 2-port mod, which I've cheekiy dubbed the Fellian2 mod.

I think that my original attempt resulted in a gap slightly smaller (<2mm) than yours. I could have tried making it larger, but instead I wondered if 2 small ports would be better than 1 big one (along the lines of pressure escaping more evenly across the whole driver). And it took a while to get the first attempt in place so I was reluctant to mess with it again. And I did get a promising result with my glasses mod, so I added a single washer to the point as close as possible to where my glasses frame touch the pads. As in the picture below on the right hand driver only at this point, just abovethe gimbal connector thingey.

Fellian2 port mod.jpg

As you said, it was trickier to add the washers away from the original location, and I was starting to get frustrated. I couldn't get 2 washers to fit, so just ended up with 1 washer and a very small gap, 1mm or maybe a bit less. And I tightened down the screws more gently than before to avoid permanently bending the delicate plastic frame.

Whether this was the perfect combination I don't know because I'm not going to take any more chances now.
Because I can't A/B the 1 vs 2 port mod, I'm not confident is quantifying the difference. The 2 port seemed to sound a bit better, but that could just be imagination.
What I could A/B easily though was to now add my glasses to the 2-port mod and compare that to my solid memory of the glasses with the 1-port mod, and this was interesting:

With 1-port, adding my glasses definately improved the sound, bringing the soundstage slightly forward of my head and adding an extra kick of dynamics. Maybe a tiny bit brighter.
With 2-port, the soundstage did still slightly move forward with the glasses, but only marginally, and now I wasn't noticing any other improvement. In fact I now slightly preferred glasses off to give a more full bodied and effortlesss presentation. Which is a great result as I prefer not to wear my glasses with headphones for comfort reasons, but it's good to know I can also get an excellent sound should I choose to wear my glasses (which hasn't always been the case with other headphones).

What I think is very clear is that tiny details matter with this mod. It's easy to over do it. But for anyone whose wondering why bother, then I say the level of improvement is significant, particularly if you feel your HEK still sounds a touch soft. This mod can increase the definition and dynamics without any brightness downside that often accompanies such changes.
 
Last edited:
Apr 3, 2018 at 12:44 PM Post #6 of 34
This mod can increase the definition and dynamics without any brightness downside that often accompanies such changes.
Haha that's great you made modification of the mod.

In comparison to stock, I found that tonality and timbre to be more real and have more nuance and body.

Stock version was less dimensional to me.
Once you find this out there is no going back.

The HEKV2 moded is essentially elevated closer to the Susvera in realism, although different in presentation.

The HEKV2 is more like the Abyss Phi in a lively presentation,
While the Susvara reminds me of the original HEK with a more relaxed and further out presentation.
 
Apr 5, 2018 at 11:44 AM Post #7 of 34
I have been asked about the shapes of the washers and basically I settled on two shapes for optimal air flow.

A shorter piece below and longer piece on top
So I placed on of each, together with the longer on on top:
20180404_193736_HDR.jpg

I will post above.
 
May 8, 2018 at 2:11 PM Post #8 of 34
One question about the gap size, I read you didn't find any difference in making an even bigger gap, but did you find if there's a minimum size gap needed for the best results? Or any kind crack will do?

I did the mod but ended up with a tiny gap that's 1mm at most, maybe less. Since it's essentially acting as a pressure relief I'm wondering if this should achieve the same effect as having it open 2-3mm as you suggested? I just didn't want to go back in there and try it again if it wasn't absolutely necessary.
 
May 8, 2018 at 3:23 PM Post #9 of 34
Try unscrew (maybe a quarter turn) the screw by the socket to adjust the size of the gap..
No need to open.
 
May 8, 2018 at 3:24 PM Post #10 of 34
Maybe I forgot to say the two closest screws weren't tightened all way down
 
May 8, 2018 at 3:37 PM Post #11 of 34
Maybe I forgot to say the two closest screws weren't tightened all way down

Ahhh okay, I was actually looking for that specific detail in your description but since you didn't mention it I just assumed the screws should be tightened down all the way. I thought their might be some looseness or play in the plastic if not tightened down completely that would cause extra vibrations.

I'll unscrew it just enough to get that 2mm gap then and see how it goes.

Thanks for the help!
 
May 8, 2018 at 4:08 PM Post #12 of 34
Yeah you don't want to tighten it down all the way because then the angle of opening which the plastic has to bend is more ,
it needs to be a gradual Flex opening.
Thanks for pointing that out. I need to include that detail.
 
May 8, 2018 at 4:10 PM Post #13 of 34
Please post impressions also I'm sure you will notice
 
May 8, 2018 at 11:51 PM Post #14 of 34
I made the corrections and listened most of the night. It's difficult for me to quantify the changes since you can't A/B back and forth, but there was a noticeable change I heard in depth and space/soundstage, and a bit smoother at the higher frequencies. I didn't really notice greater definition though. To visualize it, it seems like the mod helps balance out the frequency response above 5k. I was able to actually here this because I had a mildly corrective EQ set previous to the mod, and after this mod I noticed the HP's now sound better without any EQ applied.

One thing I was a bit freaked out the first time I opened it for not wanting to have anything fall into the diaphragm but it was fine.

Definitely a worthwhile mod IMO, appreciate all your work!
 
Last edited:
Nov 28, 2020 at 7:43 AM Post #15 of 34
A while back, after upgrading my HEK V2 to SE, I tried the Feilian2 port mod on my HEK SE - with no success.
Firstly, the SE cup frame structure seems subtly different to the V2. Maybe because SE has the dust protection mesh directly onto the cup. Maybe because of the new 3.5mm socket. Maybe I just forgot how to do it. But whatever the reason, I couldn't get those neoprene washers into position as easily as before.
Secondly, the mod sounded different, but not necessarily better, than no mod on my SE.

So I gave up on this mod.
But something still bugged me: My SE sounded better when I was wearing my glasses (compared to not wearing glasses). As per my earlier posts on my V2 mod, this implied that some additional porting could be beneficial. So I came up with a much simpler solution: Instead of making the port between frame and cup, make it between frame and pad. This means that there's no need to unscrew the frame from the cup and risk losing the screws. All that's needed is to partially unclip the pad from the frame, as follows:

1. Pull away the pad from frame at 2 of the clips, so that there's a thin crescent of air gap between these 2 clips. I chose the two clips at eye height and above because (a) it was close to the same location as my glasses frame and (b) the resultant very slight bulge in the pad nested nicely into the concave bit above my cheek bone.
2. Listen to some music. If you notice a difference, good or bad, then proceed with the next steps. If you don't notice any difference, then don't bother with this mod.
3. Cut a small tab of neoprene approximately 1mm thick. I had an assorted set of washers spare from the V2 mod, so this was easy.
4. Place the tab midway between the 2 clips (see photo) and then press down the 2 clips, which should partially shut. If you shine a torch from the inside of the pad, you should see a thin crescent of light between the 2 clips, with maximum height of about 1mm on either side of the central tab.

Fellian3a.jpg


The photo shows the tab in it's intended position on the pad (front of pad at top of photo).
The final tab I ended up with was smaller than above and I trimmed off the corners and curves for a more rectangular shape.
You could just push the tab in without removing the pads, but I took the pads off completely so that I could mark on the pad the exact central position with a small square of masking tape.
I let the tab very slightly protrude beyond the pads so that I could easily see that they were in place. But too far with this and they'll snag when you move SE's frame.

The exact thickness of tab seems to be important. I tried one around 1.5mm and this gave obvious improvements but at a cost of a brighter sound that was not welcome.
A smaller thickness around 0.6mm was fine tonally, but didn't boost SQ as much as the thicker one.
I ended up with around 1.2mm and that seemed the best of all worlds (which doesn't mean it can't be bettered with further experimentation).
My assorted el cheapo neoprene washers had quite large variations in thickness - even with the same diameter washer. So it was easy to find different thicknesses above and below 1mm. Other materials and other locations may also be OK, but I didn't feel the need to try.


So, was it worth it?
For me, absolutely! There was an increase in focus, impact and clarity that resulted in a more engaging listening experience. Going back to no-mod resulted in a softer, less focused and slightly flat, smeared presentation. I find it hard to quantify the magnitude of change, but would guess it was broadly equivalent to going from V2 to SE.
This variant is sufficiently different to previous mods that I'm calling it Feilian3.

CAVEATS
As always, you do this at your own risk. Take extra care and don't come to me if something goes wrong.
The Fellian3 mod may also work with HEK V1 and V2, and maybe even with Susvara, but SE is a bit safer because the dust protection mesh on the cups will help if you accidentally drop the tab, or anything else, onto the drivers.
The plastic clips on my SE pads were fairly loose, i.e. they clipped on and off very easily. This mod may not stay in place in the same way if the clips are tighter or looser than mine.
Repeatedly clipping and unclipping may wear down these plastic clips, which is one reason why I didn't do much A/B comparisons, so my results are highly subjective.
YMMV.

POSTSCRIPT
After further tests, the exact thickness of the tab is absolutely crucial to SQ. My previously stated 1.2mm is about right, but tiny adjustments can be worth it. It's near impossible to find the right thickness from a random selection of neoprene washers, but I've found an easy way to fix this:

1. Get some washers that are about 1mm thick. This is quite common amongst the small/medium washers.
2. Cut them up to give two or three equal pairs of tabs.
3. Cut a small bit of masking tape (or other thin sticky tape) and wrap round once or twice one of the pairs.
4. Wrap round a bit more for one of the other pairs. Trim any excess tape.
5. Ending with a selection of pairs of tabs with, say, 0, 2, 3 etc layers of masking tape.

Then try each pair in turn to find the SQ sweet spot. Trust me, the results are worth it - prepare to be amazed - the results are more impressive than I had first experienced. This is much easier to do in practice than to write about. I've found an easy way of quickly swapping tabs: First mark the position by a tiny square of masking tape on the edge of the driver enclosure; then slightly prize open the gap with fingernail; then use a pair of fine tweezers to pull out and push in each tab. It's quicker to do than it is to write about.

POSTSCRIPT 2
I had an unscheduled opportunity to try this mod on a different set of pads (nearly-new V2 pads with the built-in dust mesh) and found that the clips on either side of the neoprene tab didn't lock in the way as before, which meant that the thin crescent of air gap extended further in both directions. So I didn't go beyond the 1mm (maybe slightly thinner) tab thickness. The resulting SQ was outstanding, which ties in with my hypothesis that a thinner, wider air gap is better because the air pressure relief is more evenly spread over a larger area of diaphragm. This begs the question whether a second air port on the opposite side would be better still? I'm not going to try this because I don't want to upset the superb balance I already have - I can't imagine it could get better than this!
 
Last edited:

Users who are viewing this thread

Back
Top