


Believe it or not, I only watched one movie last night and I was so tired of this dark sound that I felt like I was at a concertIt's kind of crazy for us. I also changed three shells. The worst is heard in the wooden shell
You are using an out of date browser. It may not display this or other websites correctly.
You should upgrade or use an alternative browser.
You should upgrade or use an alternative browser.
DIY Earbuds
- Thread starter gwompki
- Start date

I'm proud to present you my little family, from left to right :
Upside : Mr Wong modded Vido, Blur MX300 美魔女 Beautiful Witch
Downside my own DIY buds : 64Ohm Full TI, 64Ohm composite TI, 400Ohm Graphene, 130Ohm Beryllium, 150Ohm red film.
My ranking :
1. Blur MX300 美魔女 Beautiful Witch
2. 400Ohm graphene, I've added a small piece of blu tack that covers all the back of the shell, added black foam horse shoe on the shell and let stock white cotton on the driver. Mids are less recessed. I had to play with a right amount of blu tack to do not impact too much the sound until I found something that suit me.
3. 150 Ohm red film, just put black foam to cover holes.
4. 64 Ohm composite TI, I've put the a round piece of black foam (black foam horse shoe extra foam from the middle) just before the tube and put some surgery tape all around the rest.
5. Modded vido
6. 130 Ohm beryllium, followed furyossa recommendations
7. 64 Ohm full ti, same tuning than 64 Ohm composite ti
Thanks a lot guys for all precious information from this thread
")
I've read a lot of good things from 130 Ohm and I've tried a lot of tuning, but nothing to do, highs are too fatiguing for me.
Great collection you have there.
I'm proud to present you my little family, from left to right :
Upside : Mr Wong modded Vido, Blur MX300 美魔女 Beautiful Witch
Downside my own DIY buds : 64Ohm Full TI, 64Ohm composite TI, 400Ohm Graphene, 130Ohm Beryllium, 150Ohm red film.
My ranking :
1. Blur MX300 美魔女 Beautiful Witch
2. 400Ohm graphene, I've added a small piece of blu tack that covers all the back of the shell, added black foam horse shoe on the shell and let stock white cotton on the driver. Mids are less recessed. I had to play with a right amount of blu tack to do not impact too much the sound until I found something that suit me.
3. 150 Ohm red film, just put black foam to cover holes.
4. 64 Ohm composite TI, I've put the a round piece of black foam (black foam horse shoe extra foam from the middle) just before the tube and put some surgery tape all around the rest.
5. Modded vido
6. 130 Ohm beryllium, followed furyossa recommendations
7. 64 Ohm full ti, same tuning than 64 Ohm composite ti
Thanks a lot guys for all precious information from this thread
I've read a lot of good things from 130 Ohm and I've tried a lot of tuning, but nothing to do, highs are too fatiguing for me.

I didn't try Blur buds, but I'm curious: are they really that much better than say 400ohm and 150ohm "red film" models?
Are you solved the issue with 130ohm Bery? I forgot to mention one more easy solution to reduce the highs.
Cut a round piece of medical mask and putt as first layer over the openings on the driver cover, then full foam over and donut at the end (donut is optional).
Visit this post to see changes. I tested only one layer, but you can use more.
On this post you can see how this piece need to look like (see paper filter on image)
Last edited:
earfanatic
100+ Head-Fier
- Joined
- Oct 31, 2007
- Posts
- 330
- Likes
- 255
Nice collection there!
I'm proud to present you my little family, from left to right :
Upside : Mr Wong modded Vido, Blur MX300 美魔女 Beautiful Witch
Downside my own DIY buds : 64Ohm Full TI, 64Ohm composite TI, 400Ohm Graphene, 130Ohm Beryllium, 150Ohm red film.
My ranking :
1. Blur MX300 美魔女 Beautiful Witch
2. 400Ohm graphene, I've added a small piece of blu tack that covers all the back of the shell, added black foam horse shoe on the shell and let stock white cotton on the driver. Mids are less recessed. I had to play with a right amount of blu tack to do not impact too much the sound until I found something that suit me.
3. 150 Ohm red film, just put black foam to cover holes.
4. 64 Ohm composite TI, I've put the a round piece of black foam (black foam horse shoe extra foam from the middle) just before the tube and put some surgery tape all around the rest.
5. Modded vido
6. 130 Ohm beryllium, followed furyossa recommendations
7. 64 Ohm full ti, same tuning than 64 Ohm composite ti
Thanks a lot guys for all precious information from this thread
I've read a lot of good things from 130 Ohm and I've tried a lot of tuning, but nothing to do, highs are too fatiguing for me.
Nice collection!!!
I'm proud to present you my little family, from left to right :
Upside : Mr Wong modded Vido, Blur MX300 美魔女 Beautiful Witch
Downside my own DIY buds : 64Ohm Full TI, 64Ohm composite TI, 400Ohm Graphene, 130Ohm Beryllium, 150Ohm red film.
My ranking :
1. Blur MX300 美魔女 Beautiful Witch
2. 400Ohm graphene, I've added a small piece of blu tack that covers all the back of the shell, added black foam horse shoe on the shell and let stock white cotton on the driver. Mids are less recessed. I had to play with a right amount of blu tack to do not impact too much the sound until I found something that suit me.
3. 150 Ohm red film, just put black foam to cover holes.
4. 64 Ohm composite TI, I've put the a round piece of black foam (black foam horse shoe extra foam from the middle) just before the tube and put some surgery tape all around the rest.
5. Modded vido
6. 130 Ohm beryllium, followed furyossa recommendations
7. 64 Ohm full ti, same tuning than 64 Ohm composite ti
Thanks a lot guys for all precious information from this thread
I've read a lot of good things from 130 Ohm and I've tried a lot of tuning, but nothing to do, highs are too fatiguing for me.
Just put a mask on 130 ohm beryllium as furyossa said and he will be in the top 3. With my warm NW A55 he sound awesome!
Last edited:
Great collection you have there.
I didn't try Blur buds, but I'm curious: are they really that much better than say 400ohm and 150ohm "red film" models?
Are you solved the issue with 130ohm Bery? I forgot to mention one more easy solution to reduce the highs.
Cut a round piece of medical mask and putt as first layer over the openings on the driver cover, then full foam over and donut at the end (donut is optional).
Visit this post to see changes. I tested only one layer, but you can use more.
On this post you can see how this piece need to look like (see paper filter on image)
I've tested with toilet paper :'). I'll try with a piece of medical mask a let you know if it's better.
Concerning Blur Witch it's clearly subjective, but it is more balanced than others, no major default except a little bit more bass could be welcome. Blur are smooth and musical. Not as punchy as 64 Ohm composite ti or full ti.
Forget about these, they are "PUNCHY" kingsNot as punchy as 64 Ohm composite ti or full ti.
 at least full Ti.
 And that's how we return to the stubborn 300 ohm driver. There have just been a few debates above on his subject. How much did you pay for Blur earbuds ?I've tested with toilet paper :'). I'll try with a piece of medical mask a let you know if it's better.
Concerning Blur Witch it's clearly subjective, but it is more balanced than others, no major default except a little bit more bass could be welcome. Blur are smooth and musical. Not as punchy as 64 Ohm composite ti or full ti.
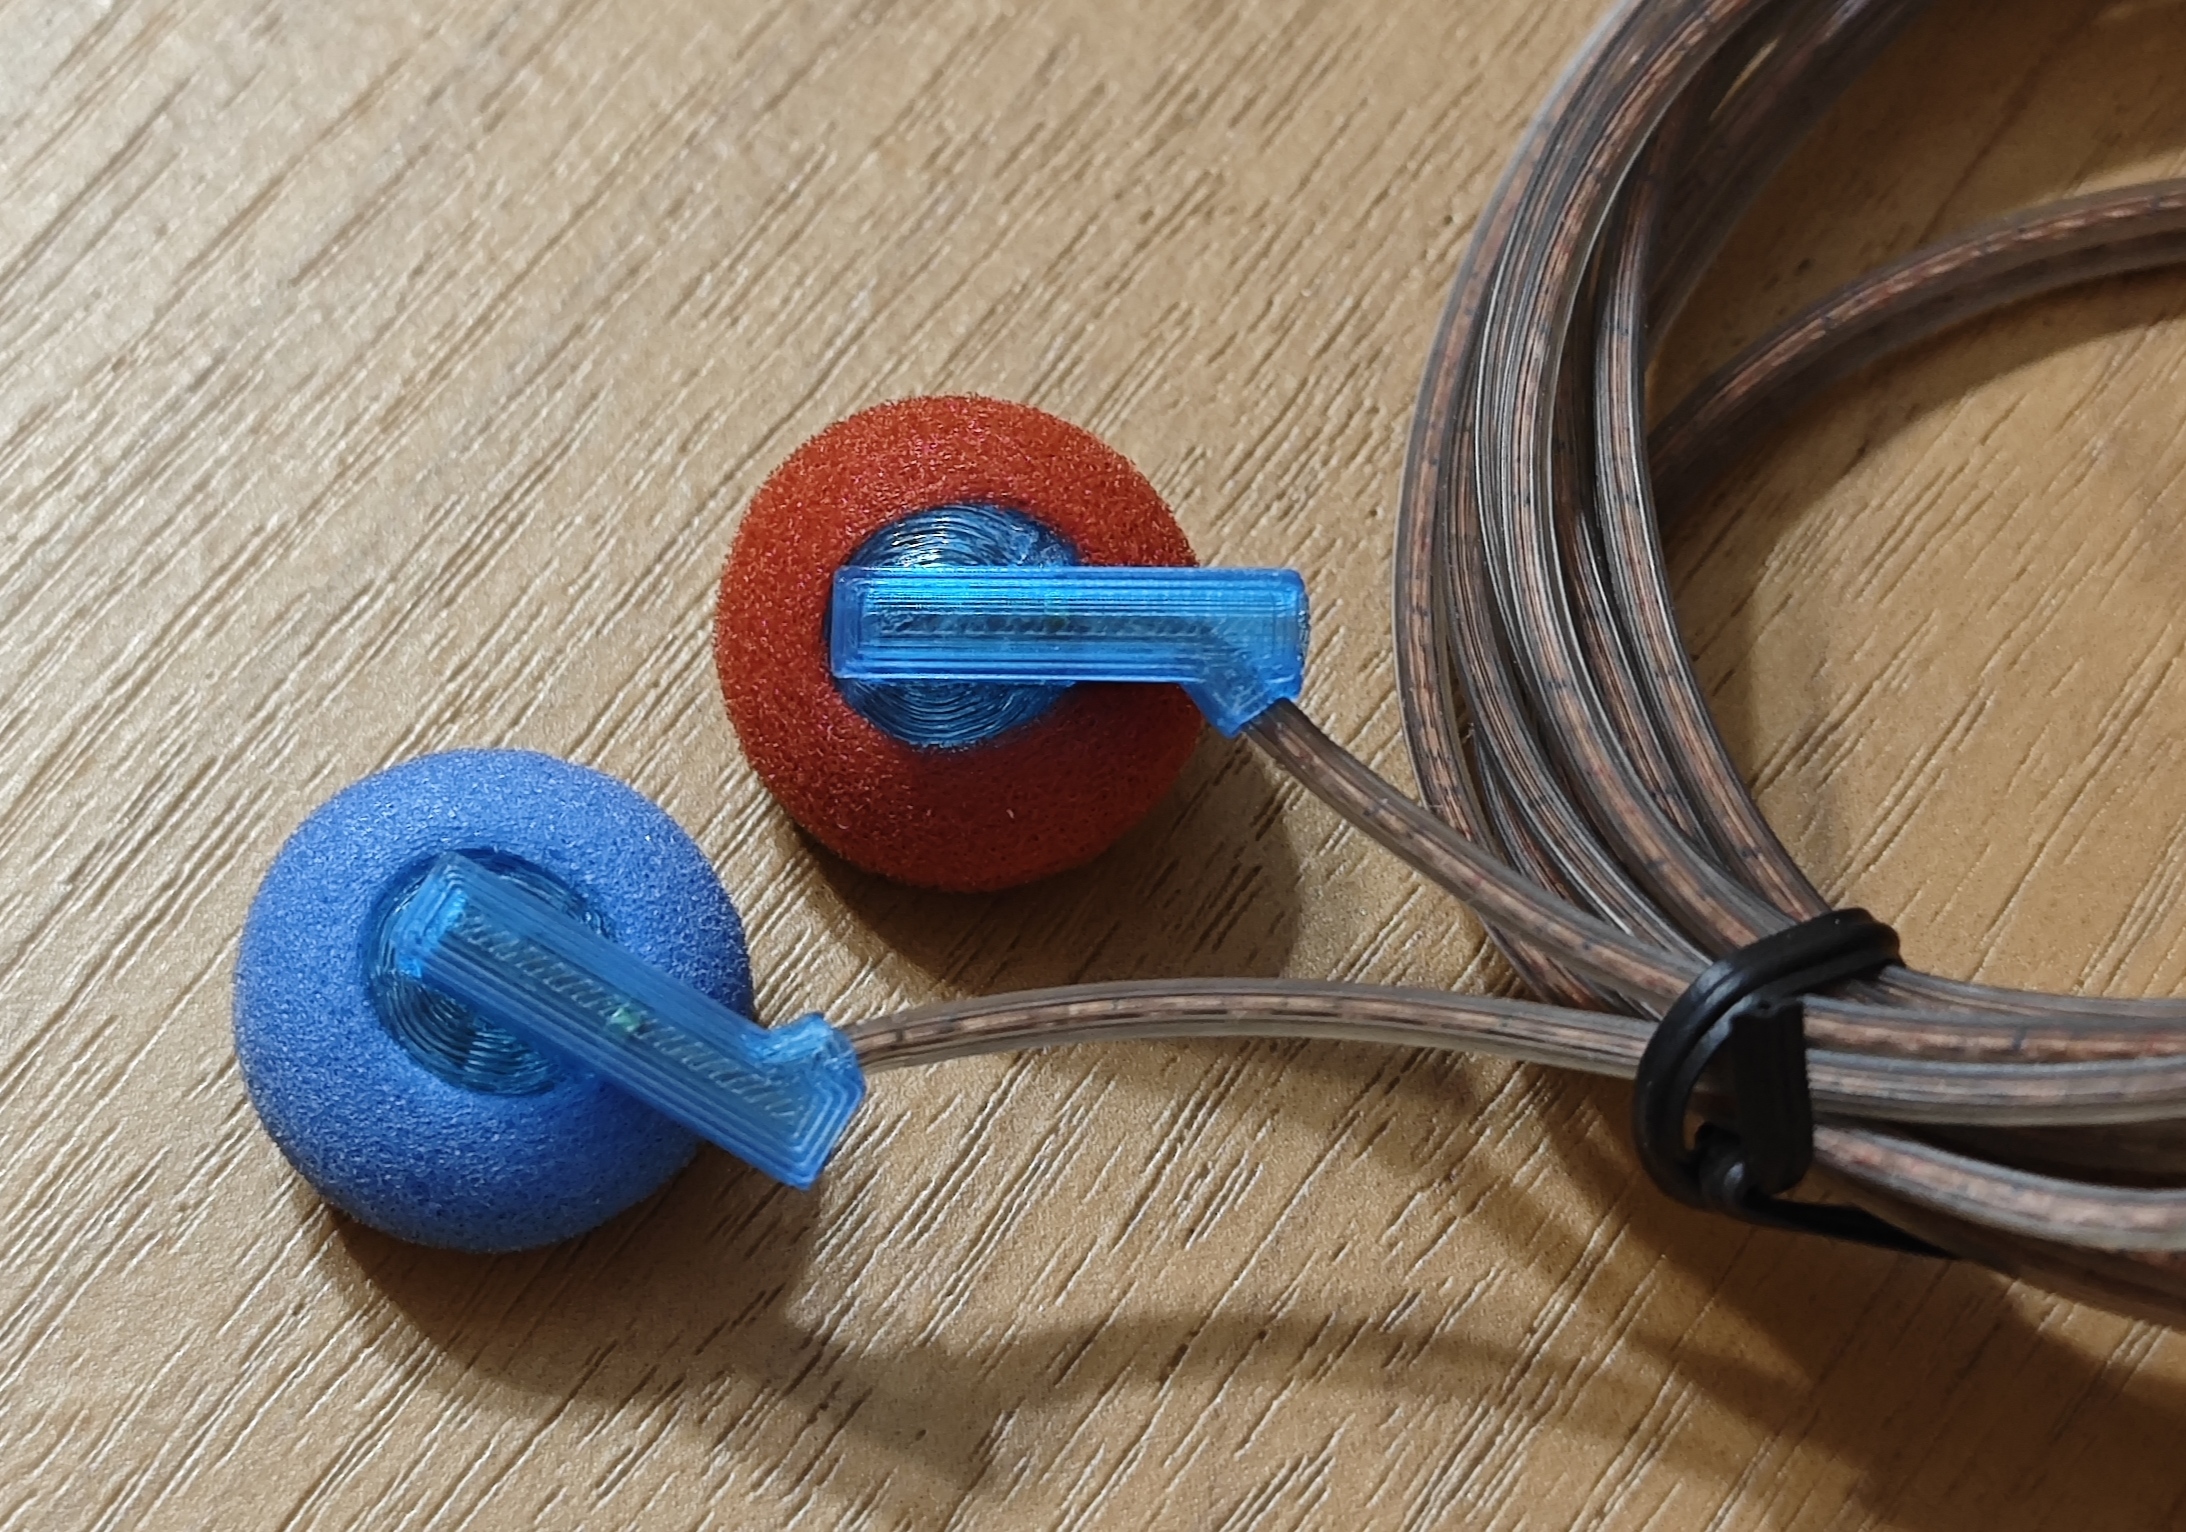
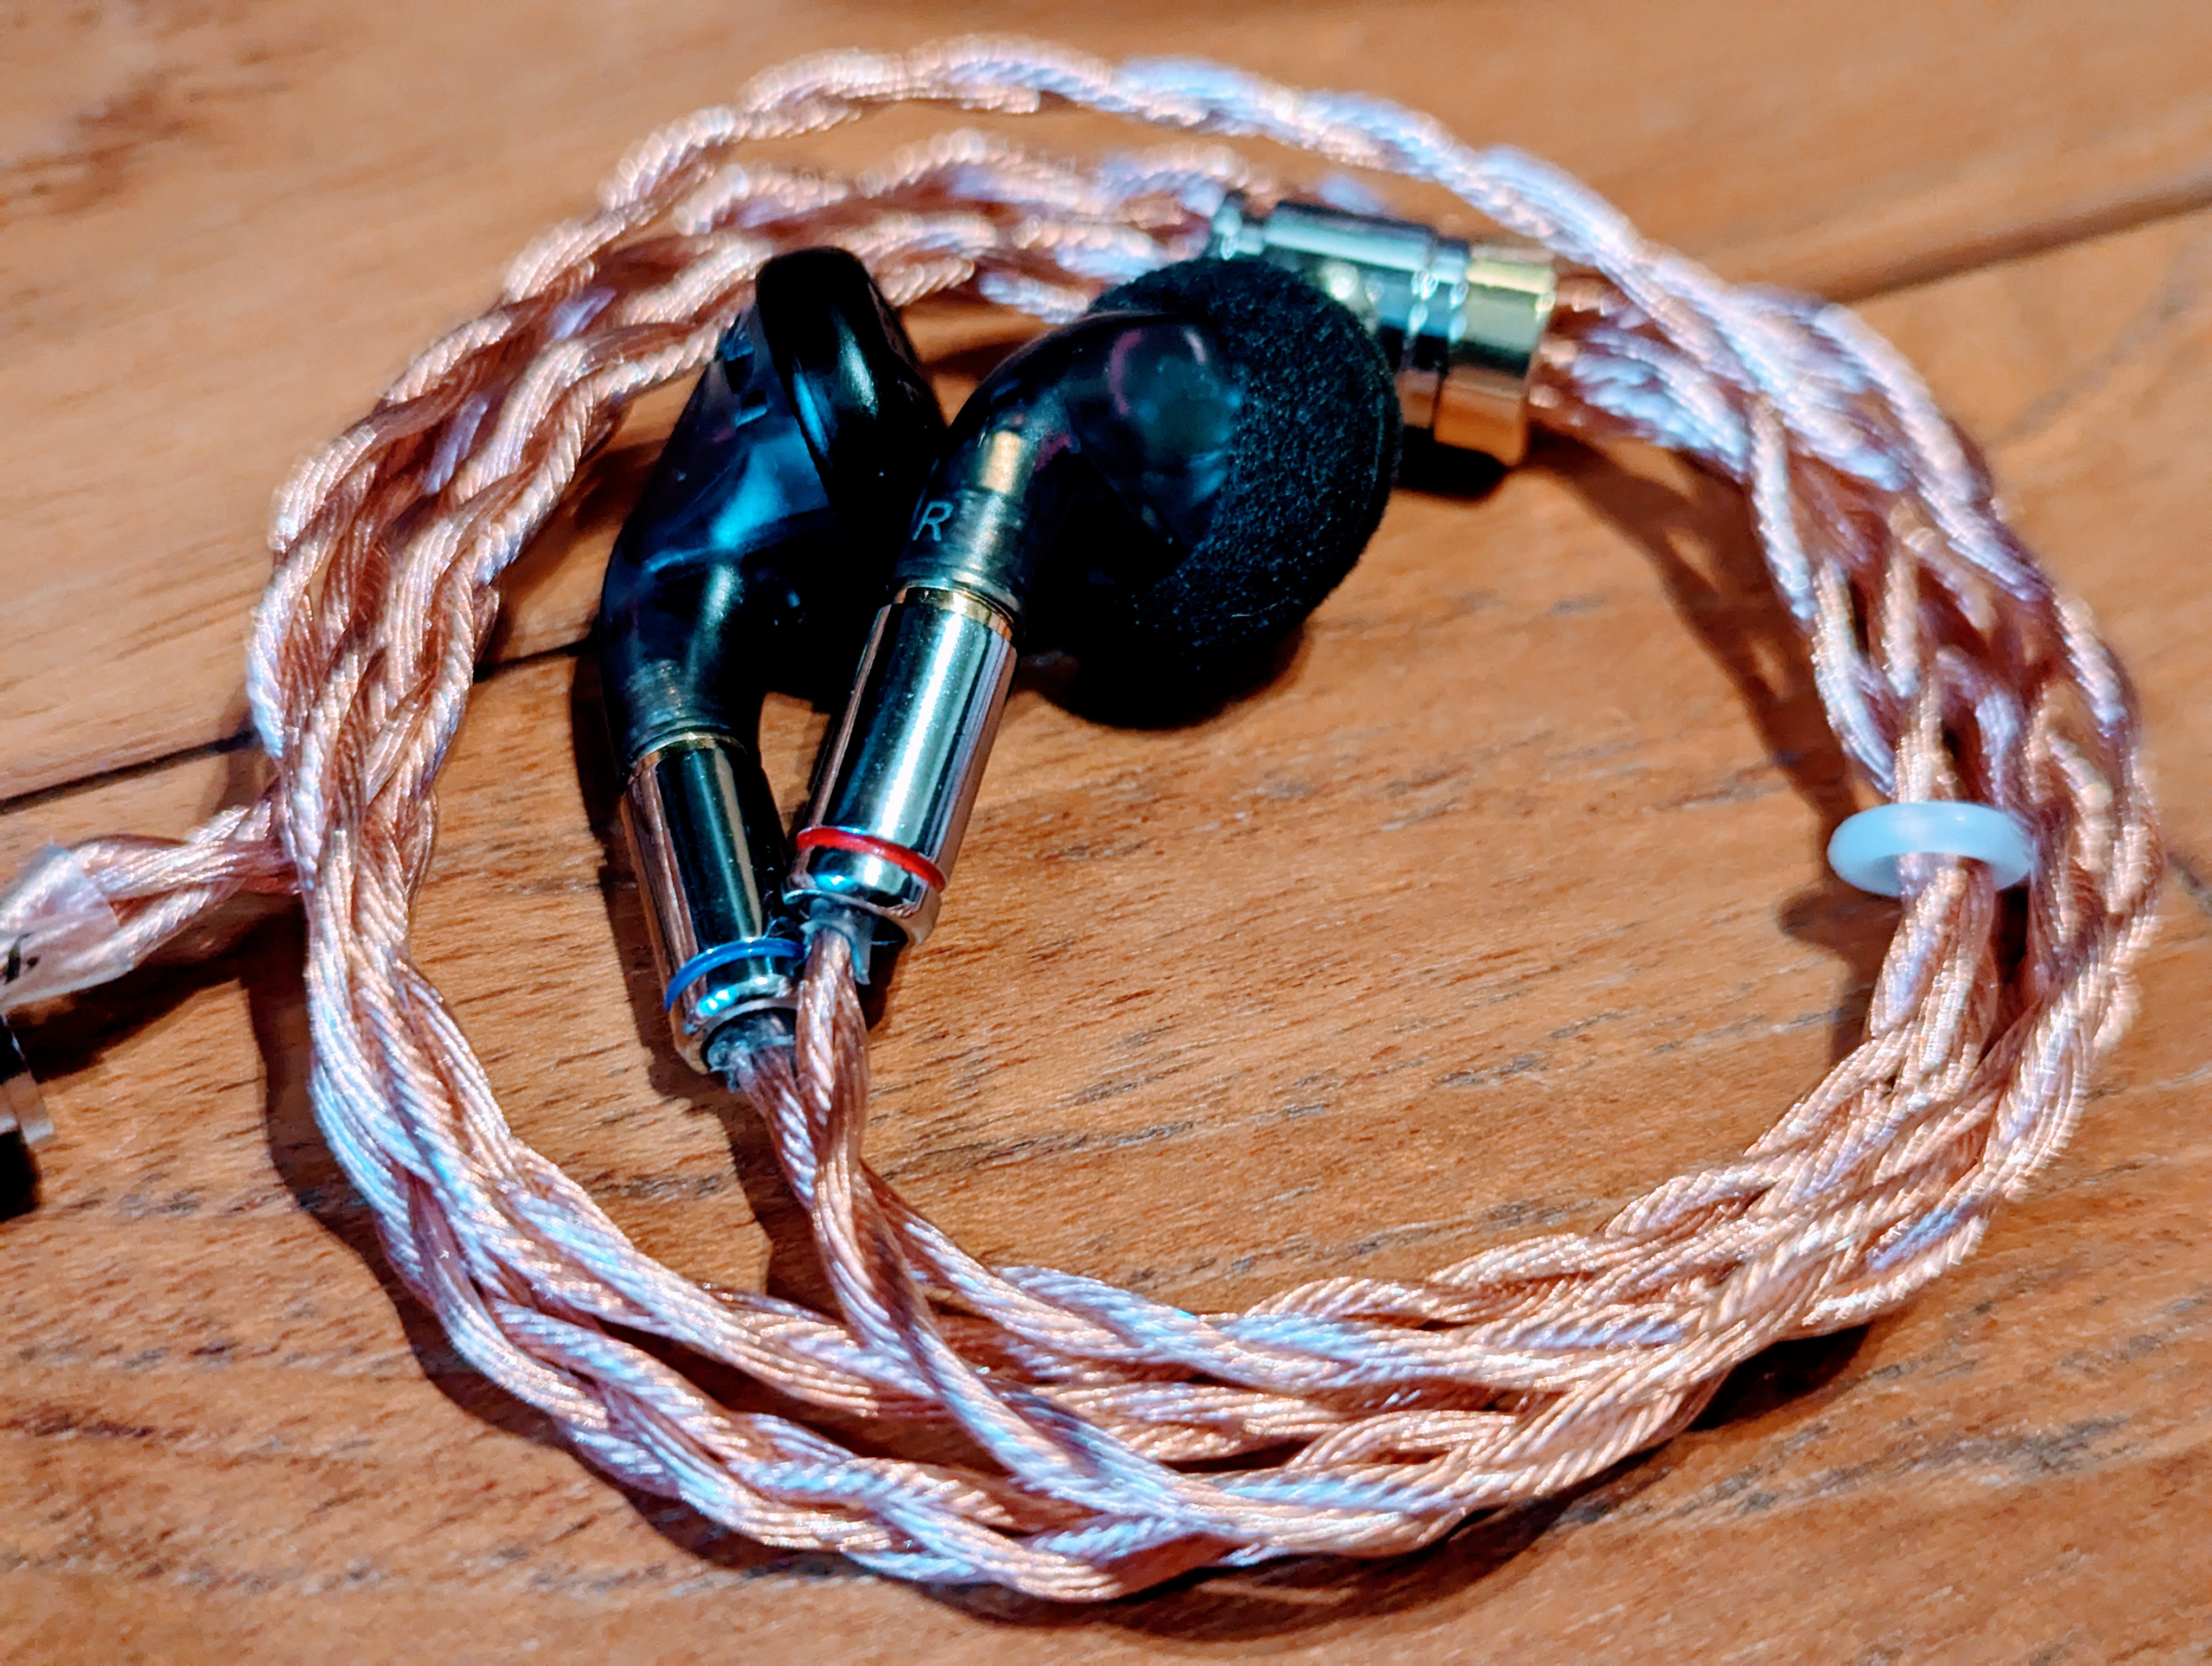
Ok it is time for new build.  This time we have HE150Pro, returned to its original MX500 suit but with a better cable. This is the "HE150+"

OG HE150 and HE150Pro have similar driver, which I have shown here, but I still think OG is better, I don't know, maybe it's because of the cover itself.
OG uses standard plastic MX500 cover and Pro use metal mesh cover.
About tuning:
Here I tried first with a simple concept like the OG version, if I remember correctly it was just a horseshoe black foam on the shell and a bare driver,
but the sound was not nearly the same. Then I added Y5 white tuning paper on the driver, but there was no difference, except a bit thicker vocals.
I don't know if you've noticed that all these black MX500 shells that come with DIY drivers have a slightly wider "lip" that needs to be sanded to
the driver could be set up. In the picture below I have shown two ways I have tried, and it has been shown to affect the region around 2K.
In both cases, I avoided covering the vent on the driver. One of the important things is to make a CUT on the shell.
With this CUT, you can prevent damaging the connection with the voice coil. Black shells generally have this slit on the underside, while silver, gold and metallic reds do not.

And this is the result. Here I managed to reduce the mid-bass, which was dominant.

This time we have HE150Pro, returned to its original MX500 suit but with a better cable. This is the "HE150+" 
OG HE150 and HE150Pro have similar driver, which I have shown here, but I still think OG is better, I don't know, maybe it's because of the cover itself.
OG uses standard plastic MX500 cover and Pro use metal mesh cover.
About tuning:
Here I tried first with a simple concept like the OG version, if I remember correctly it was just a horseshoe black foam on the shell and a bare driver,
but the sound was not nearly the same. Then I added Y5 white tuning paper on the driver, but there was no difference, except a bit thicker vocals.
I don't know if you've noticed that all these black MX500 shells that come with DIY drivers have a slightly wider "lip" that needs to be sanded to
the driver could be set up. In the picture below I have shown two ways I have tried, and it has been shown to affect the region around 2K.
In both cases, I avoided covering the vent on the driver. One of the important things is to make a CUT on the shell.
With this CUT, you can prevent damaging the connection with the voice coil. Black shells generally have this slit on the underside, while silver, gold and metallic reds do not.

And this is the result. Here I managed to reduce the mid-bass, which was dominant.

Around 160€And that's how we return to the stubborn 300 ohm driver. There have just been a few debates above on his subject. How much did you pay for Blur earbuds ?
Ok it is time for new build.
OG HE150 and HE150Pro have similar driver, which I have shown here, but I still think OG is better, I don't know, maybe it's because of the cover itself.
OG uses standard plastic MX500 cover and Pro use metal mesh cover.
About tuning:
Here I tried first with a simple concept like the OG version, if I remember correctly it was just a horseshoe black foam on the shell and a bare driver,
but the sound was not nearly the same. Then I added Y5 white tuning paper on the driver, but there was no difference, except a bit thicker vocals.
I don't know if you've noticed that all these black MX500 shells that come with DIY drivers have a slightly wider "lip" that needs to be sanded to
the driver could be set up. In the picture below I have shown two ways I have tried, and it has been shown to affect the region around 2K.
In both cases, I avoided covering the vent on the driver. One of the important things is to make a CUT on the shell.
With this CUT, you can prevent damaging the connection with the voice coil. Black shells generally have this slit on the underside, while silver, gold and metallic reds do not.
And this is the result. Here I managed to reduce the mid-bass, which was dominant.

Wait, is it a thing to put drivers downwards in this shell? Upward orientation has always been the logical way for me, bigger solder drivers don't even fit in the smaller slit and horseshoe foam usually not large enough for covering the large opening.
Regarding lips and voice coils - I always check the driver's voice coil, in most cases it sits deep and it's impossible for the lip to harm it. But there are definitely sample variations between drivers, for example N50 drivers usually have very protected voice coils but one of my pairs have them quite exposed because they are a bit off to the side. I'm actually considering lip cutting just for them.
I show the FR graph of original HE150 and HE150PRO for the reference.Ok it is time for new build.
OG HE150 and HE150Pro have similar driver, which I have shown here, but I still think OG is better, I don't know, maybe it's because of the cover itself.
OG uses standard plastic MX500 cover and Pro use metal mesh cover.
About tuning:
Here I tried first with a simple concept like the OG version, if I remember correctly it was just a horseshoe black foam on the shell and a bare driver,
but the sound was not nearly the same. Then I added Y5 white tuning paper on the driver, but there was no difference, except a bit thicker vocals.
I don't know if you've noticed that all these black MX500 shells that come with DIY drivers have a slightly wider "lip" that needs to be sanded to
the driver could be set up. In the picture below I have shown two ways I have tried, and it has been shown to affect the region around 2K.
In both cases, I avoided covering the vent on the driver. One of the important things is to make a CUT on the shell.
With this CUT, you can prevent damaging the connection with the voice coil. Black shells generally have this slit on the underside, while silver, gold and metallic reds do not.
And this is the result. Here I managed to reduce the mid-bass, which was dominant.

Last edited:
And which one you like more?I show the FR graph of original HE150 and HE150PRO for the reference.

I did not mean the direct contact of the shell and the wire of the voice coil, but the point of pressure on the part where the opening is.Wait, is it a thing to put drivers downwards in this shell? Upward orientation has always been the logical way for me, bigger solder drivers don't even fit in the smaller slit and horseshoe foam usually not large enough for covering the large opening.
Regarding lips and voice coils - I always check the driver's voice coil, in most cases it sits deep and it's impossible for the lip to harm it. But there are definitely sample variations between drivers, for example N50 drivers usually have very protected voice coils but one of my pairs have them quite exposed because they are a bit off to the side. I'm actually considering lip cutting just for them.
That's why some shells have a small cut.
I think that Mr.Wong use the drivers like these from HiFi Boy, HE etc. and not from Ali. If it does then the price is justified because they sound excellent and respond very well on tuning... and not like 300ohm N52 which will sound the same probably without the shellAround 160€

Users who are viewing this thread
Total: 4 (members: 0, guests: 4)
