After the
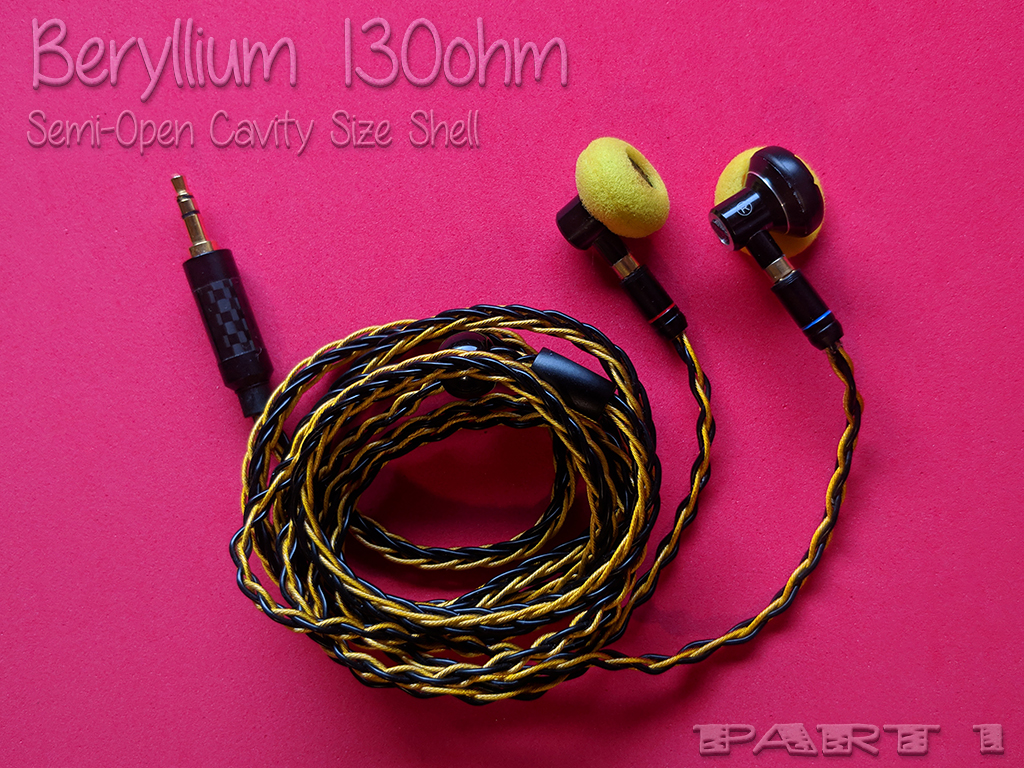
INTRO I will start this topic with Semi-Open Cavity Size Shell for 130ohm Beryllium driver.
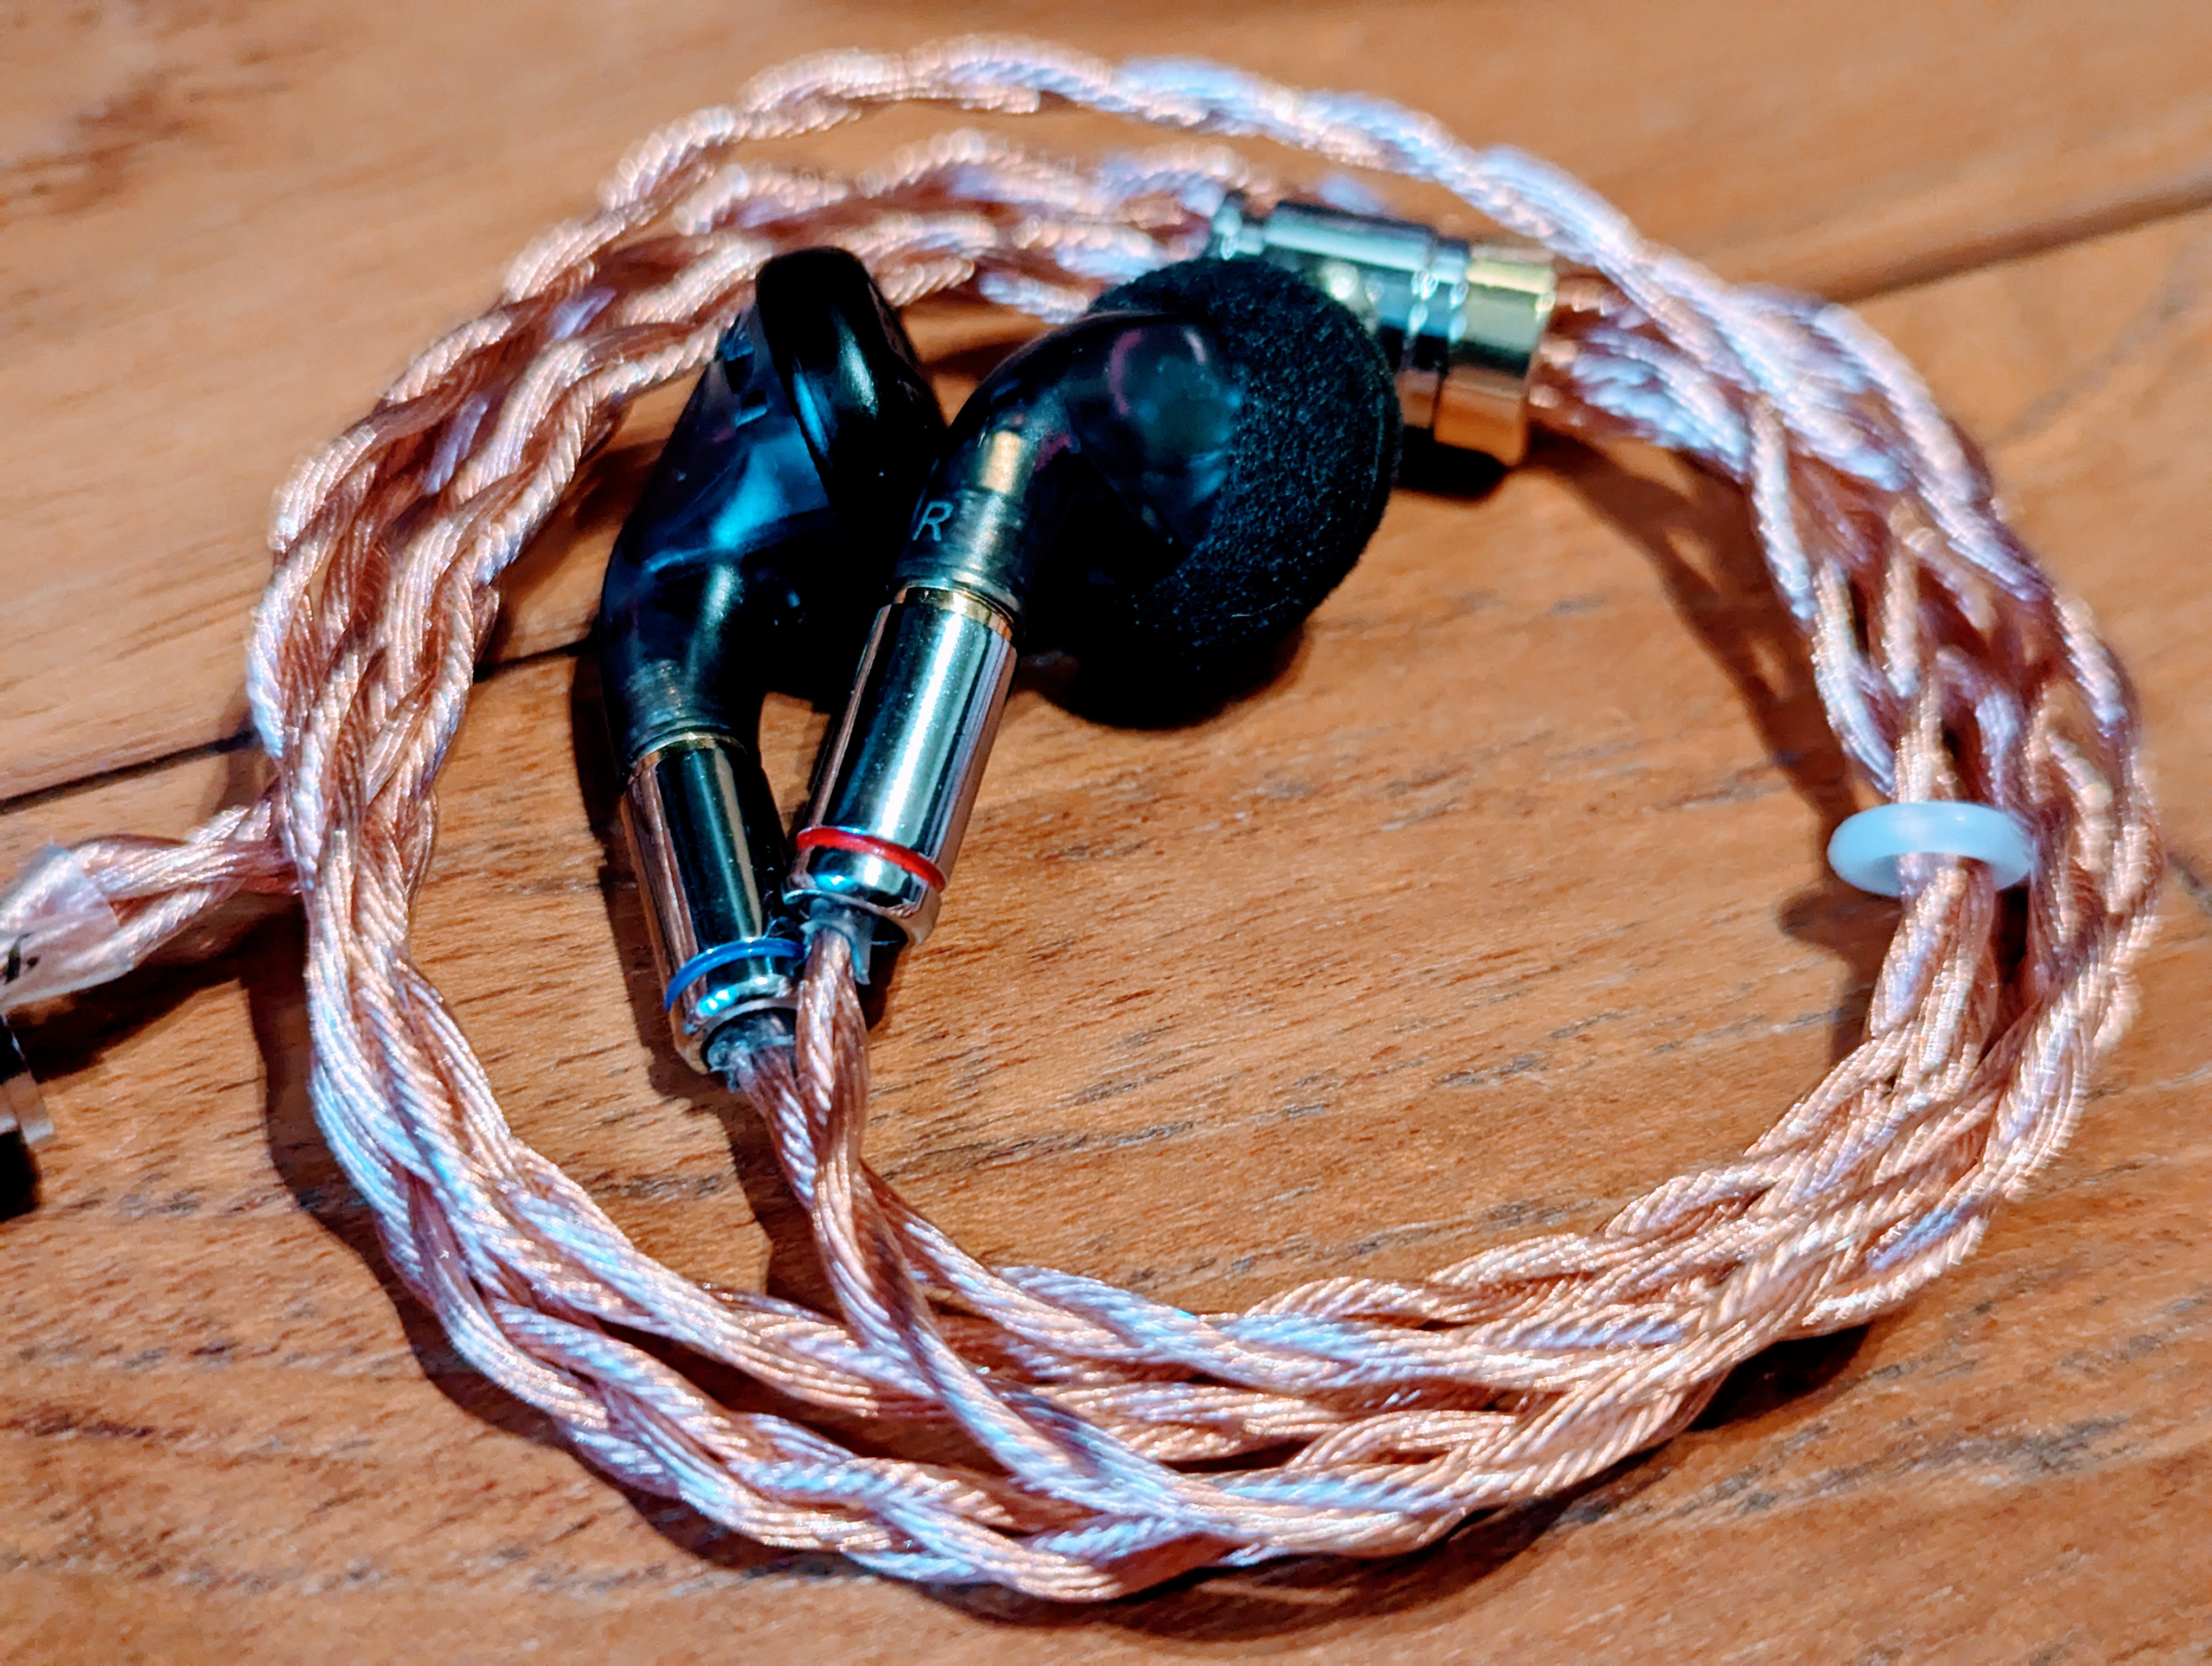
For this project, I used
a black shell from Chitty's Store. This type of shell is very similar to the shell that I described in this
post but there some differences.
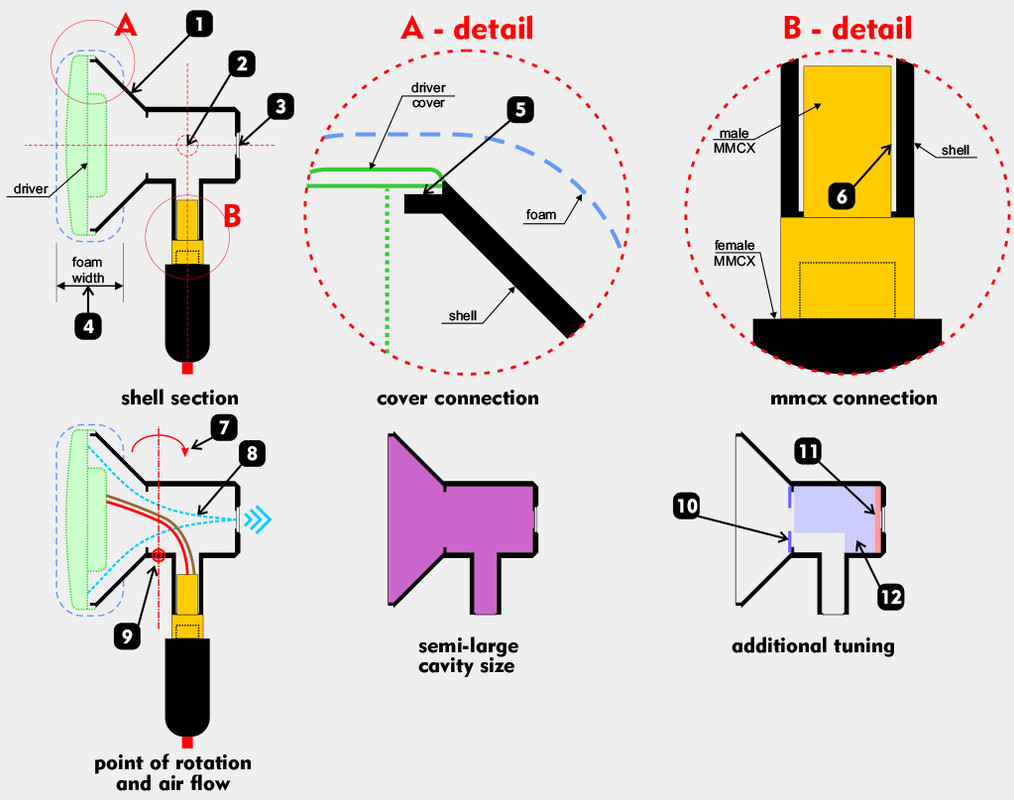
With this illustration, I will try to explain what are the pros and cons of this type of shell.
Blue text represent
PROS, red
CONS, and
BLACK shared opinion or comment
1. "Straight angle" shape on this shell is the 2nd type in terms of the comfort ("Concave arc" shape is 1st).
2. The angle between the shell and the neck of the shell is 90 degrees.
3. Back-side vent with mesh is present and allows proper air circulation and more spacious sound.
4. Foam width is Ok, between optimal and critical.
5. "A-detail" shows a little space between the shell and cover. So the connection is not good and in this case, we can use glue or double-sided duct tape for a temporary connection, if you plan to play with the tuning.
6. "B-detail": MMCX the connector that comes bundled with the shell also needs some glue work to be able to stay inside shell neck.
One more downside is the length of the neck (a bit longer) and narrower than the diameter of the male MMCX shell which distorts the aesthetics.
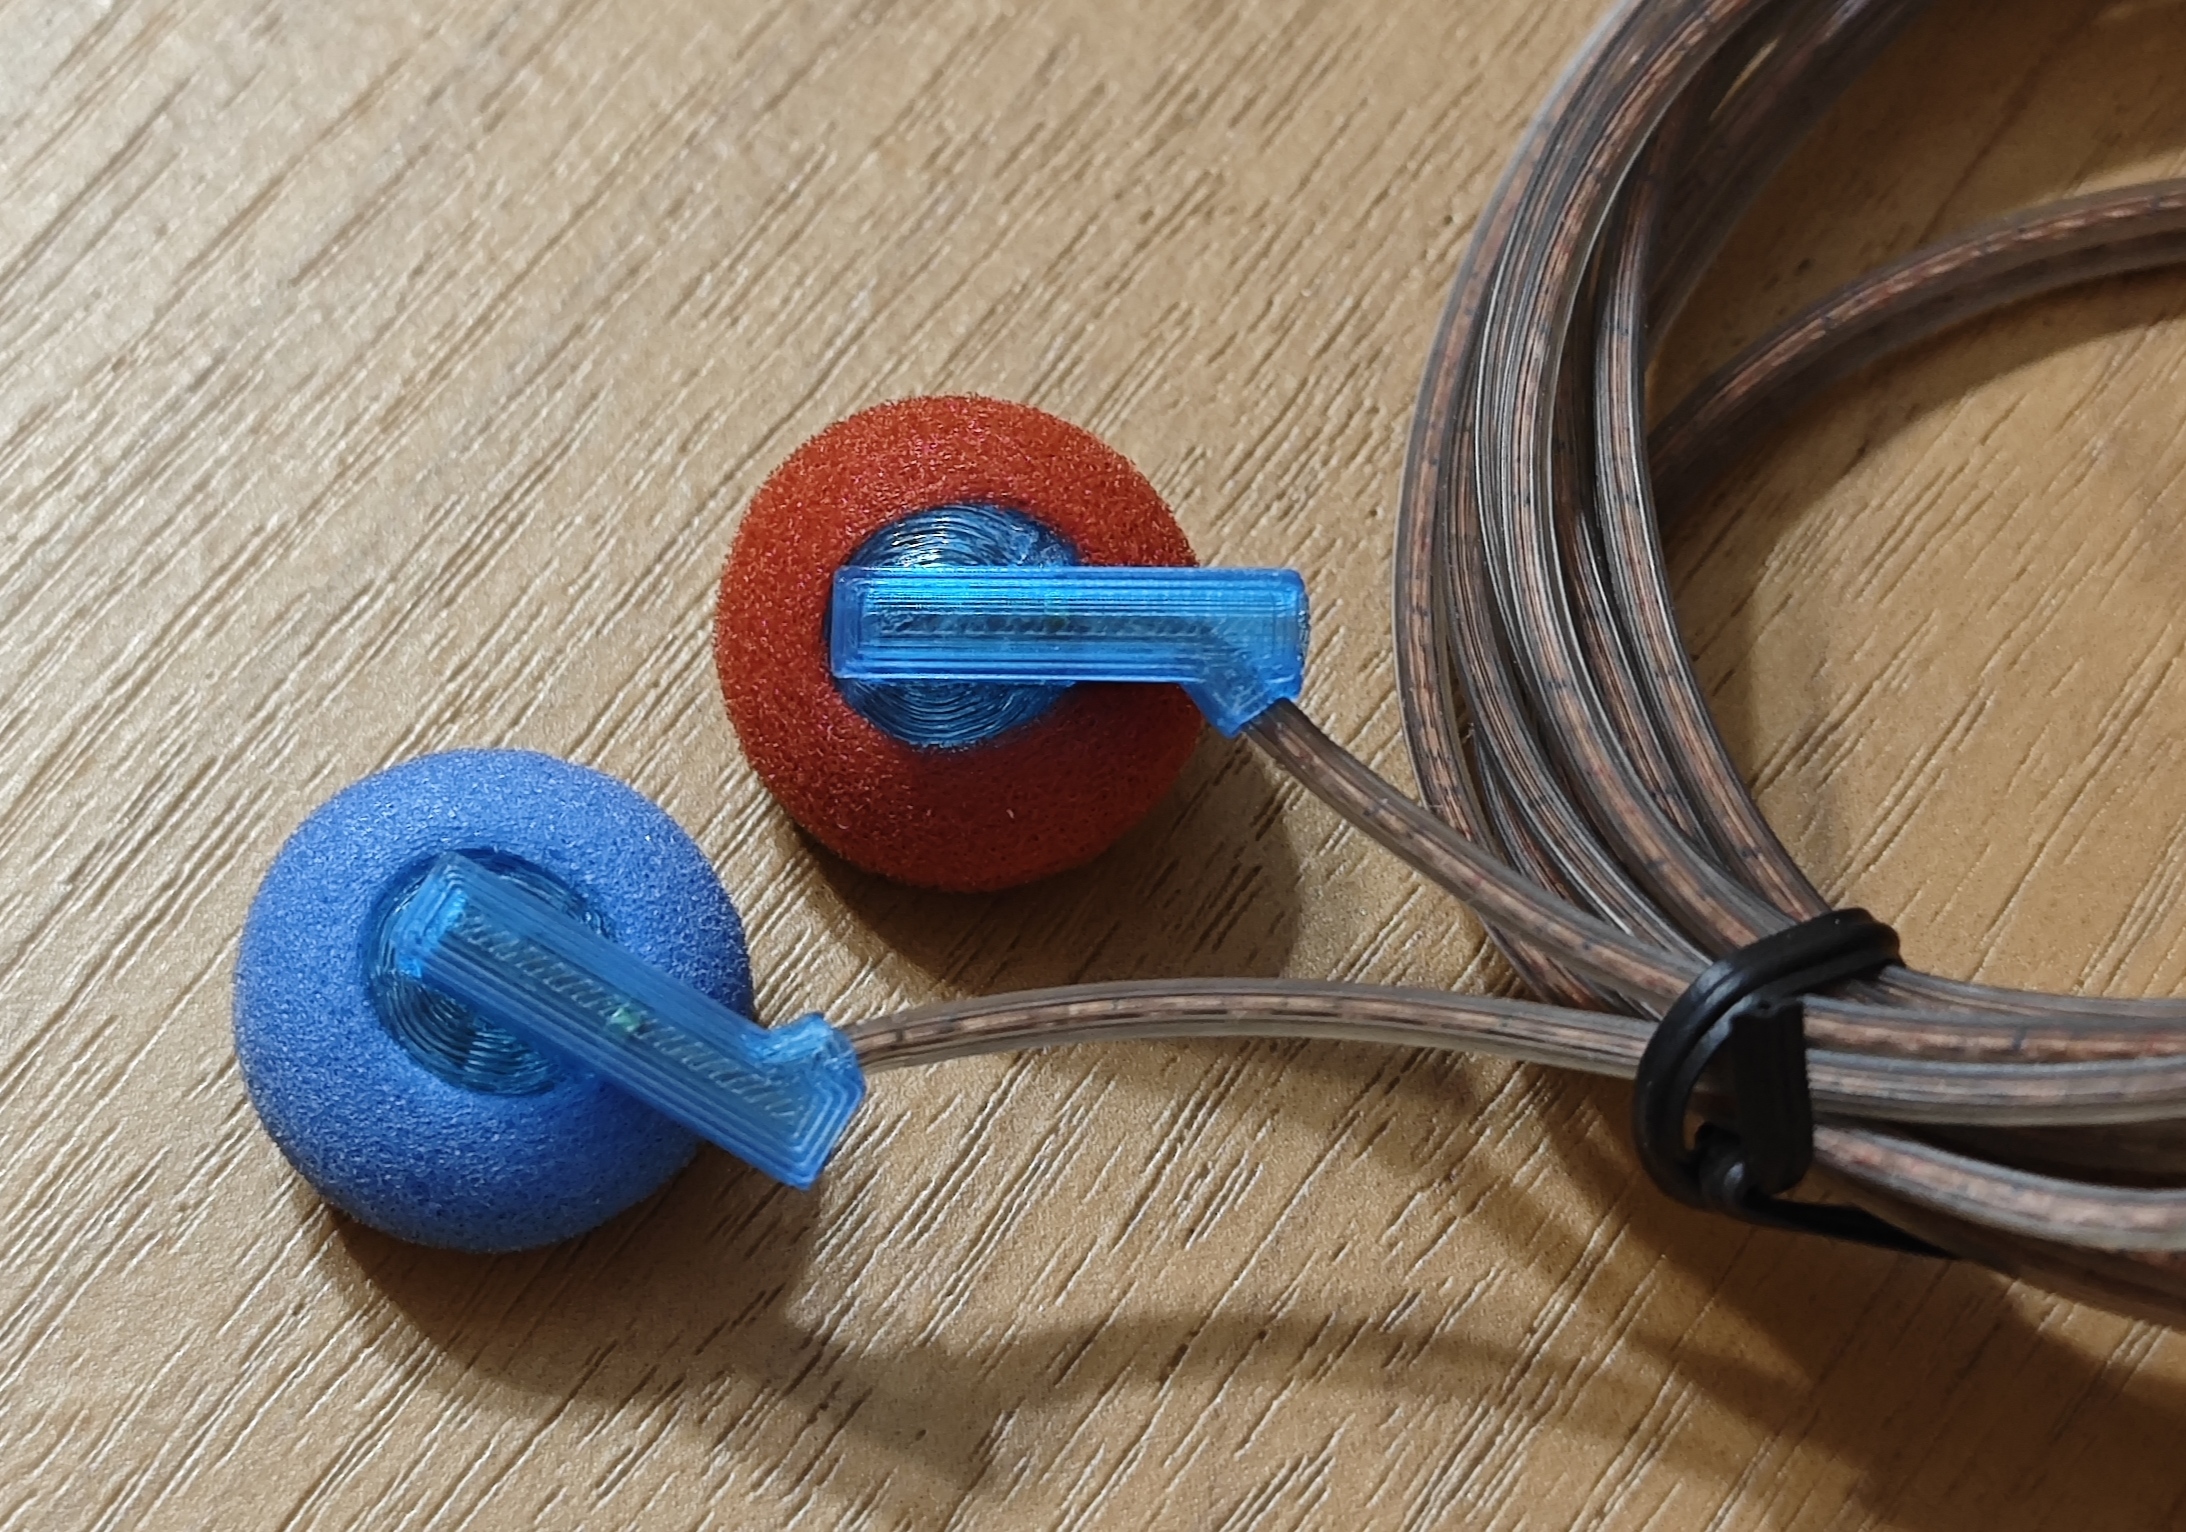
7. Although these shells are lightweight, the multi-core cables, because of its weight, tends to rotate the shell and break up the seal. On the plus side, these earbuds can be worn over-ear (not ideal suggestion) or str8-up.
8. The shell shape allows very good air-flow and very low sound reflection.
9. The rotation point is where the earbuds housing touches the earlobe ie ANTITRAGUS.
The last image shows one of 3 additional tuning options.
10. By adding
tuning cotton with different diameters of the center hole (where the cable passes to the driver) we can reduce airflow and achieve
the effect similar to smaller cavity shells. Again, it all depends on the type of driver itself. For mid-centric types, I like to use shells with larger cavity size
and for the types where the bass dominates, medium cavity size shells. For this shell, this option is not applied.
11. The 2nd option proved to be the best in this type of shells. I added a tin wool filter in front of the vent to reduce bass and bring back the cleaner mids.
This option is convenient because we can always remove the mesh from the vent and change the filter.
12. Depends on how driver sounds, we can solve the problem by reducing the interior space by using cotton as a fill but in this case, it is not necessary.
I will add my conclusion after part 3.


Foams and cotton paper has totally different purposes. Semi-transparent ie thin paper is a good choice for the back of the driver to reduce the control of the mids. I personally never use opaque white cotton paper. Foam only for shell tuning


 . The fix is too complicated for my clumsy hands


