DIY Cable Gallery!!
Oct 21, 2020 at 1:04 PM Post #15,871 of 16,305
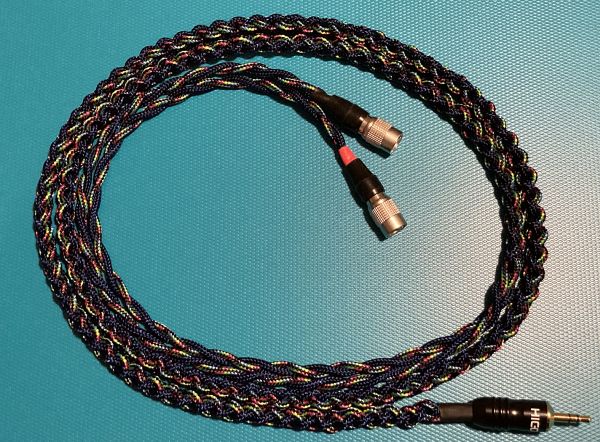
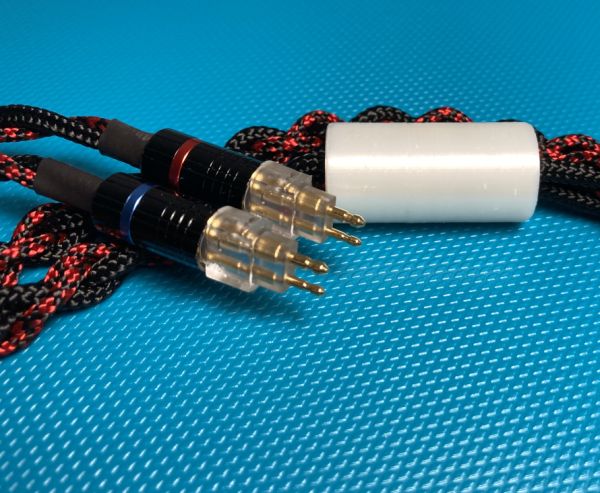
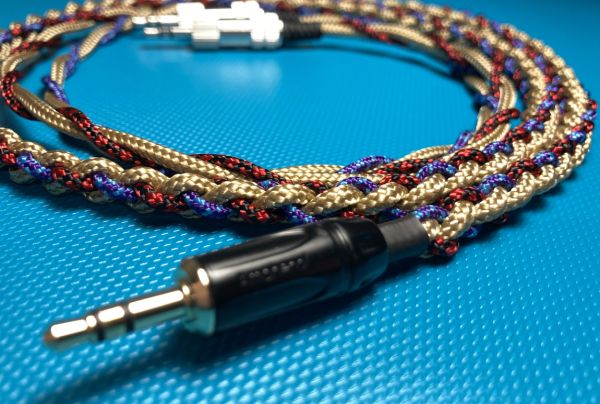
Sommer Cable 0,14 mm²
Rean NYS 231 BG x 2
Amphenol KS3PB-AU


Clipboard01.jpg
 
Oct 21, 2020 at 1:52 PM Post #15,872 of 16,305
Oct 22, 2020 at 11:34 AM Post #15,874 of 16,305
And here is my DIY cable:
A USB-C OTG interconnect to Micro-USB to connect my phone or laptop to my beloved Chord Mojo.
In the middle there is a USB Hub/card reader with a 512GB MicroSD card !
I love heatshrink tubes, don't you . . .
Where ever I connect my Mojo, my music goes with me. Works on Android and Windows (haven't tried it else where).

IMG_20201022_161808.jpg


IMG_20201022_161816.jpg


IMG_20201022_161832.jpg


IMG_20201022_164334.jpg
 
Last edited:
Oct 23, 2020 at 1:05 PM Post #15,876 of 16,305
Hirose x Hicon

hirose.jpg
Could you please tell me what's the exact model of the Sommer Cable you use?
There are a lot of different models with 0,14 mm² here.
I also would like to know about the cable sleeve.
As I never made a braided cable, I'd like to buy the right material instead of pay a lot on shipping and taxes just to discover I was wrong.
Tks
 
Oct 24, 2020 at 12:07 AM Post #15,877 of 16,305
Could you please tell me what's the exact model of the Sommer Cable you use?
Buy what your local store has to offer. Take 0,14 mm² or 0,22 mm² (AWG 24 / AWG 26) flexible copper cable and some paracord 425 (typ2 with 3 cores).
I´ve used sommer cable cicada, but stripping is a pain in the a**. Buy single wires!
Braiding > look for Youtube tutorials > 4 strand braid > for example
have fun :smile:
 
Oct 26, 2020 at 2:29 PM Post #15,878 of 16,305
Yet another OTG USB-C to Micro USB interconnect
this is a very thin and flexible cable.
In the middle there is a nano USB Hub and MicroSD card reader (about 15mm X 7mm), and a 512GB card.
I use it to connect my phone to my Chord Mojo.
The gadget under full load, draws about 100mA and gently gets warm.
Max read/write speed is about 19MB/s.

IMG_20201026_181830.jpg

nanohyb.jpg
 
Last edited:
Oct 29, 2020 at 2:17 PM Post #15,879 of 16,305
I hope I am not boring you guys.
My beloved Ultimate ears UE700's which is getting a little old, developed a cable problem.
Now these are over 10 years old, but I love them.
Problem was that where the cable enters each bud, right at the grommet, the outer sheath was getting weak and too thin, about to break.
My solution was to cut the cable about 15cm from each bud.
Got a safety pin and cut two 15mm studs from it. I shoved the studs through the grommet about 5-7mm with a tiny drop of superglue to make sure the stud stays there.
I then used some glue-lined heat-shrink tubes to go over the cable, the grommet and the stud - to keep everything together. it seems to work.
Recently Jays company was selling detachable remote cables for their Q-jays for only a fiver including postage - so I bought a couple.
I soldered the Jays (very thin and flexible) to the ends of the cables from the UE's - this time using a rubberized heat-shrink to cover the lot and create an ear-loop.
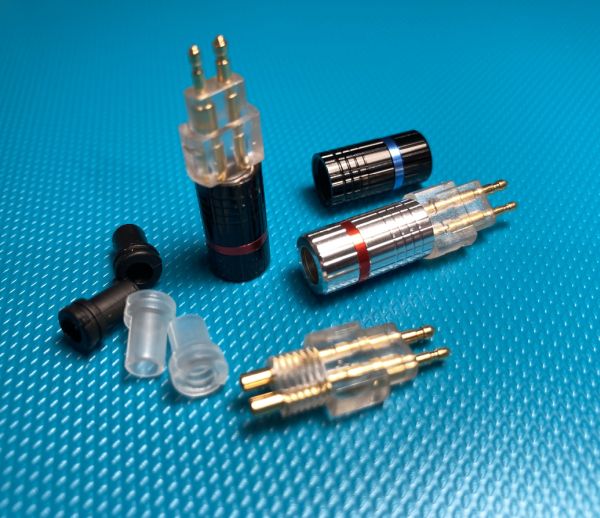
Here is the result. (I was tired, so not everything is to measurement)

IMG_20201029_173935.jpg
IMG_20201029_173948.jpg
 
Oct 30, 2020 at 11:16 AM Post #15,880 of 16,305
I hope I am not boring you guys.
My beloved Ultimate ears UE700's which is getting a little old, developed a cable problem.
Now these are over 10 years old, but I love them.
Problem was that where the cable enters each bud, right at the grommet, the outer sheath was getting weak and too thin, about to break.
My solution was to cut the cable about 15cm from each bud.
Got a safety pin and cut two 15mm studs from it. I shoved the studs through the grommet about 5-7mm with a tiny drop of superglue to make sure the stud stays there.
I then used some glue-lined heat-shrink tubes to go over the cable, the grommet and the stud - to keep everything together. it seems to work.
Recently Jays company was selling detachable remote cables for their Q-jays for only a fiver including postage - so I bought a couple.
I soldered the Jays (very thin and flexible) to the ends of the cables from the UE's - this time using a rubberized heat-shrink to cover the lot and create an ear-loop.
Here is the result. (I was tired, so not everything is to measurement)

IMG_20201029_173935.jpg
IMG_20201029_173948.jpg

Nice! I would recommend you solder a new cable directly to the drivers or explore the possibility of converting it to removable connector such as MMCX
 
Oct 30, 2020 at 1:09 PM Post #15,881 of 16,305
Nice! I would recommend you solder a new cable directly to the drivers or explore the possibility of converting it to removable connector such as MMCX
I wish it was possible.
The bud casings are glued together, can not open it, if I could, that would have been my choice.
This way, at least it survives for a bit longer - old cable had gone hard and brittle at parts.
 
Nov 6, 2020 at 1:08 PM Post #15,883 of 16,305
I have three headphones tweaked to balanced use with 3.5 panel plugs on the cups. Hence, I made balanced cables 😉

3 meters 2x 3.5 to 4pin xlr
1.2 meters 2x 3.5 to 2.5

The system is foul-prof. In the headphone side the cable is only soldered in the respective side pins. If you don't get the right jack into the right side, no signal.

IMG_20201106_175803.jpgIMG_20201106_175933.jpg
 

Users who are viewing this thread

Back
Top