


You are using an out of date browser. It may not display this or other websites correctly.
You should upgrade or use an alternative browser.
You should upgrade or use an alternative browser.
Custom Ear Molds for IEMs
- Thread starter Takeanidea
- Start date


Slater
Headphoneus Supremus
It needs to be cool enough that you can hold it in the palm of your hand. Your IEM is too far away from your ear canal. Use the existing tips . Mould a template around the shell - there will be enough time to do this - and then put them in your ears and start to shape them. Put them under the spout of a boiling kettle to further refine the shape. I strongly believe that the lack of bass is due to the tip being formed by the mouldable material not being as effective as the tips they have been designed for. Only practice will get the fit right and the sound right. Once you have that right just think - that fit will be locked in and there'll be no more trial and error with using them as a universal
Understood. It was my 1st attempt. My plan is to redo them the right way once the thermoplastic arrives.
Then I can repurpose the existing Radians ones as 'HD earplugs' to use at concerts, by inserting a plastic plug of some sort with a hole drilled in the middle, or possibly running a piece of string or wire through the existing tunnel, filling in with silicone, then removing the string/wire to make a small pinhole for sound to travel through. I have a current set of flange style 'HD earplugs' I can use as a guide for the correct hole size.
Sounds like you'll be onto a winner with the earplugs. Let us know how you get on with this. I wonder whether I am going in the right direction by shrouding the shells in the plastic and relying on the tips for the sound. But I am convinced I am on the right route with this. I think the real time comes with getting a mirror like perfect finish. That is personally where I am putting my time. I suspect that they will never look good enough to compete with the companies who are charging huge money and taking up so much time and effort. They, in every case with me, have resulted in inferior sounding or less comfortable fits. Or both. My DIYs have got the fit and the sound quality. Just not the cosmetic appeal
Slater
Headphoneus Supremus
Sounds like you'll be onto a winner with the earplugs. Let us know how you get on with this. I wonder whether I am going in the right direction by shrouding the shells in the plastic and relying on the tips for the sound. But I am convinced I am on the right route with this. I think the real time comes with getting a mirror like perfect finish. That is personally where I am putting my time. I suspect that they will never look good enough to compete with the companies who are charging huge money and taking up so much time and effort. They, in every case with me, have resulted in inferior sounding or less comfortable fits. Or both. My DIYs have got the fit and the sound quality. Just not the cosmetic appeal
Will do. I think yours look just fine. Besides, would you rather have sexy IEMs that sound like crap, or ugly IEMs that sound eargasmic? Function over form, right?
I did want to see what your thoughts were on the vent holes present in most IEMs. If yours had vent holes, what did you do to account for that (or did you just seal everything up)?
Luckily, many of my IEMs have ear-facing vents, which I wouldn't think will get covered up by your thermoplastic method. But some of my IEMs have vents in the sides or rear of the IEM body, so I'm not quite sure how to account for that.
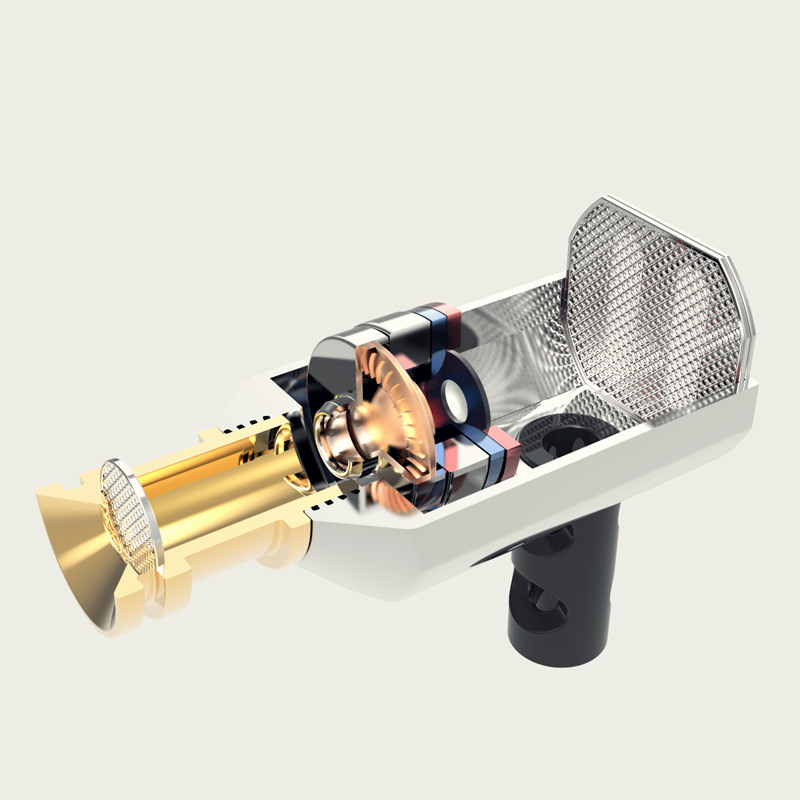
Take this KZ ED9 for example - it has a vent hole underneath, and a 'grille' in the rear (which according to the exploded diagram is not just cosmetic):
If you seal the vents you will affect the sound for the worse. They need room to breathe. The vents are an extra worry. It takes even more time and care to ensure you don't cover them up. Because the thermoplastic is never really a liquid it shouldn't seep into those areas you don't want covered. It's a case of working in stages and covering smaller areas if you're doing more intricate work. The joins can be masked using steam from a kettle. It does require more skill but that means the rewards are greater.

These had 3 vents. I did them for one of my work colleagues. Had I been given more time I'd have ironed out the creases you can see in my work. I kept all 3 of the vents clear. My time spent on these from beginning to end was 15 minutes per side

As you see the left is not uniform to the right. This curious hook shape started to form around my friends earshell and apparently is just as comfortable and isolating as the right ear.
These had 3 vents. I did them for one of my work colleagues. Had I been given more time I'd have ironed out the creases you can see in my work. I kept all 3 of the vents clear. My time spent on these from beginning to end was 15 minutes per side
As you see the left is not uniform to the right. This curious hook shape started to form around my friends earshell and apparently is just as comfortable and isolating as the right ear.
Slater
Headphoneus Supremus
OK, that's very helpful to see how you handled the vents. Thanks for the photos.
I need to find my steam kettle and make sure it still works. Last time I used it was 25 years ago to remove window tint on a used car I bought, where the tint had turned purple from the previous owner cleaning the windows with Windex!
I need to find my steam kettle and make sure it still works. Last time I used it was 25 years ago to remove window tint on a used car I bought, where the tint had turned purple from the previous owner cleaning the windows with Windex!
asegier
New Head-Fier
- Joined
- Mar 20, 2017
- Posts
- 11
- Likes
- 11
I had one similar to putty as well. I didn't need to heat it. What you did was combine two pieces of different coloured putty. When they are combined they start to harden. So you split off a piece and mold it to your IEMs. It didn't really work out so well for me (although the fit was great), it looked terribly ugly... lol. And it also didn't solve the problem of the custom fit INTO the ear either (it was just outside the ear).
I then got full custom IEMs where I got my ear impression molded and sent out. The results were awesome. Perfect fit.
However, other then that, I've never had a silicone sleeve ever fit me. Even the Oval Klipsch's have some issues staying in. So far the ONLY one that works for me is SpinFit. I'm surprised, I just got it yesterday and I didn't expect it to fit, but it did! And very well too!
The putty is a non remouldable affair. You wouldn't expect a perfect result on your first attempt. The thermoplastic allows for an infinite number of tries until you match fit sound quality and attractiveness. This custom you got will have cost you $100s and will have taken a month. Mine take 10 mins and cost $1. I have a set of ACS Customs which cost me $700. I have made my own custom shells which give me as good a fit
Slater
Headphoneus Supremus
I strongly believe that the lack of bass is due to the tip being formed by the mouldable material not being as effective as the tips they have been designed for.
I finally had a chance to do this using some thermoplastic I bought from Aliexpress (the same stuff as instamorph, polymorph, etc).
They turned out great, although it does take a long time to cool 100% in your ear. The 1st time I did it, I only let it cool for maybe 20-30 minutes. The plastic was hard on the outside, but when I removed it from my ear it clearly wasn't fully cool/hard and stretched and deformed. No problem though, as I just removed the plastic from the earphone, put it back in boiling water, and started all over again. The 2nd time I waited much longer for the plastic to cool (2 hours). Maybe it would have cooled in less time, but I didn't want to take any chances. Besides, I just use the cooling time to listen to some music and watch a few episodes on Netflix.
As to your comment about the lack of bass, I decided to keep using the eartips. When I tried them without tips, there was a huge lack of bass because there it's just not good enough to create an effective seal.
The other cause of lack of bass and/or sound changes is due to the vents as you have pointed out. You really have to be very careful not to cover any vents, and do careful planning before starting since the vents on every IEM differ in number, size, and location.
On the IEM I used, I knew there was a high likelihood that I would cover the vents.
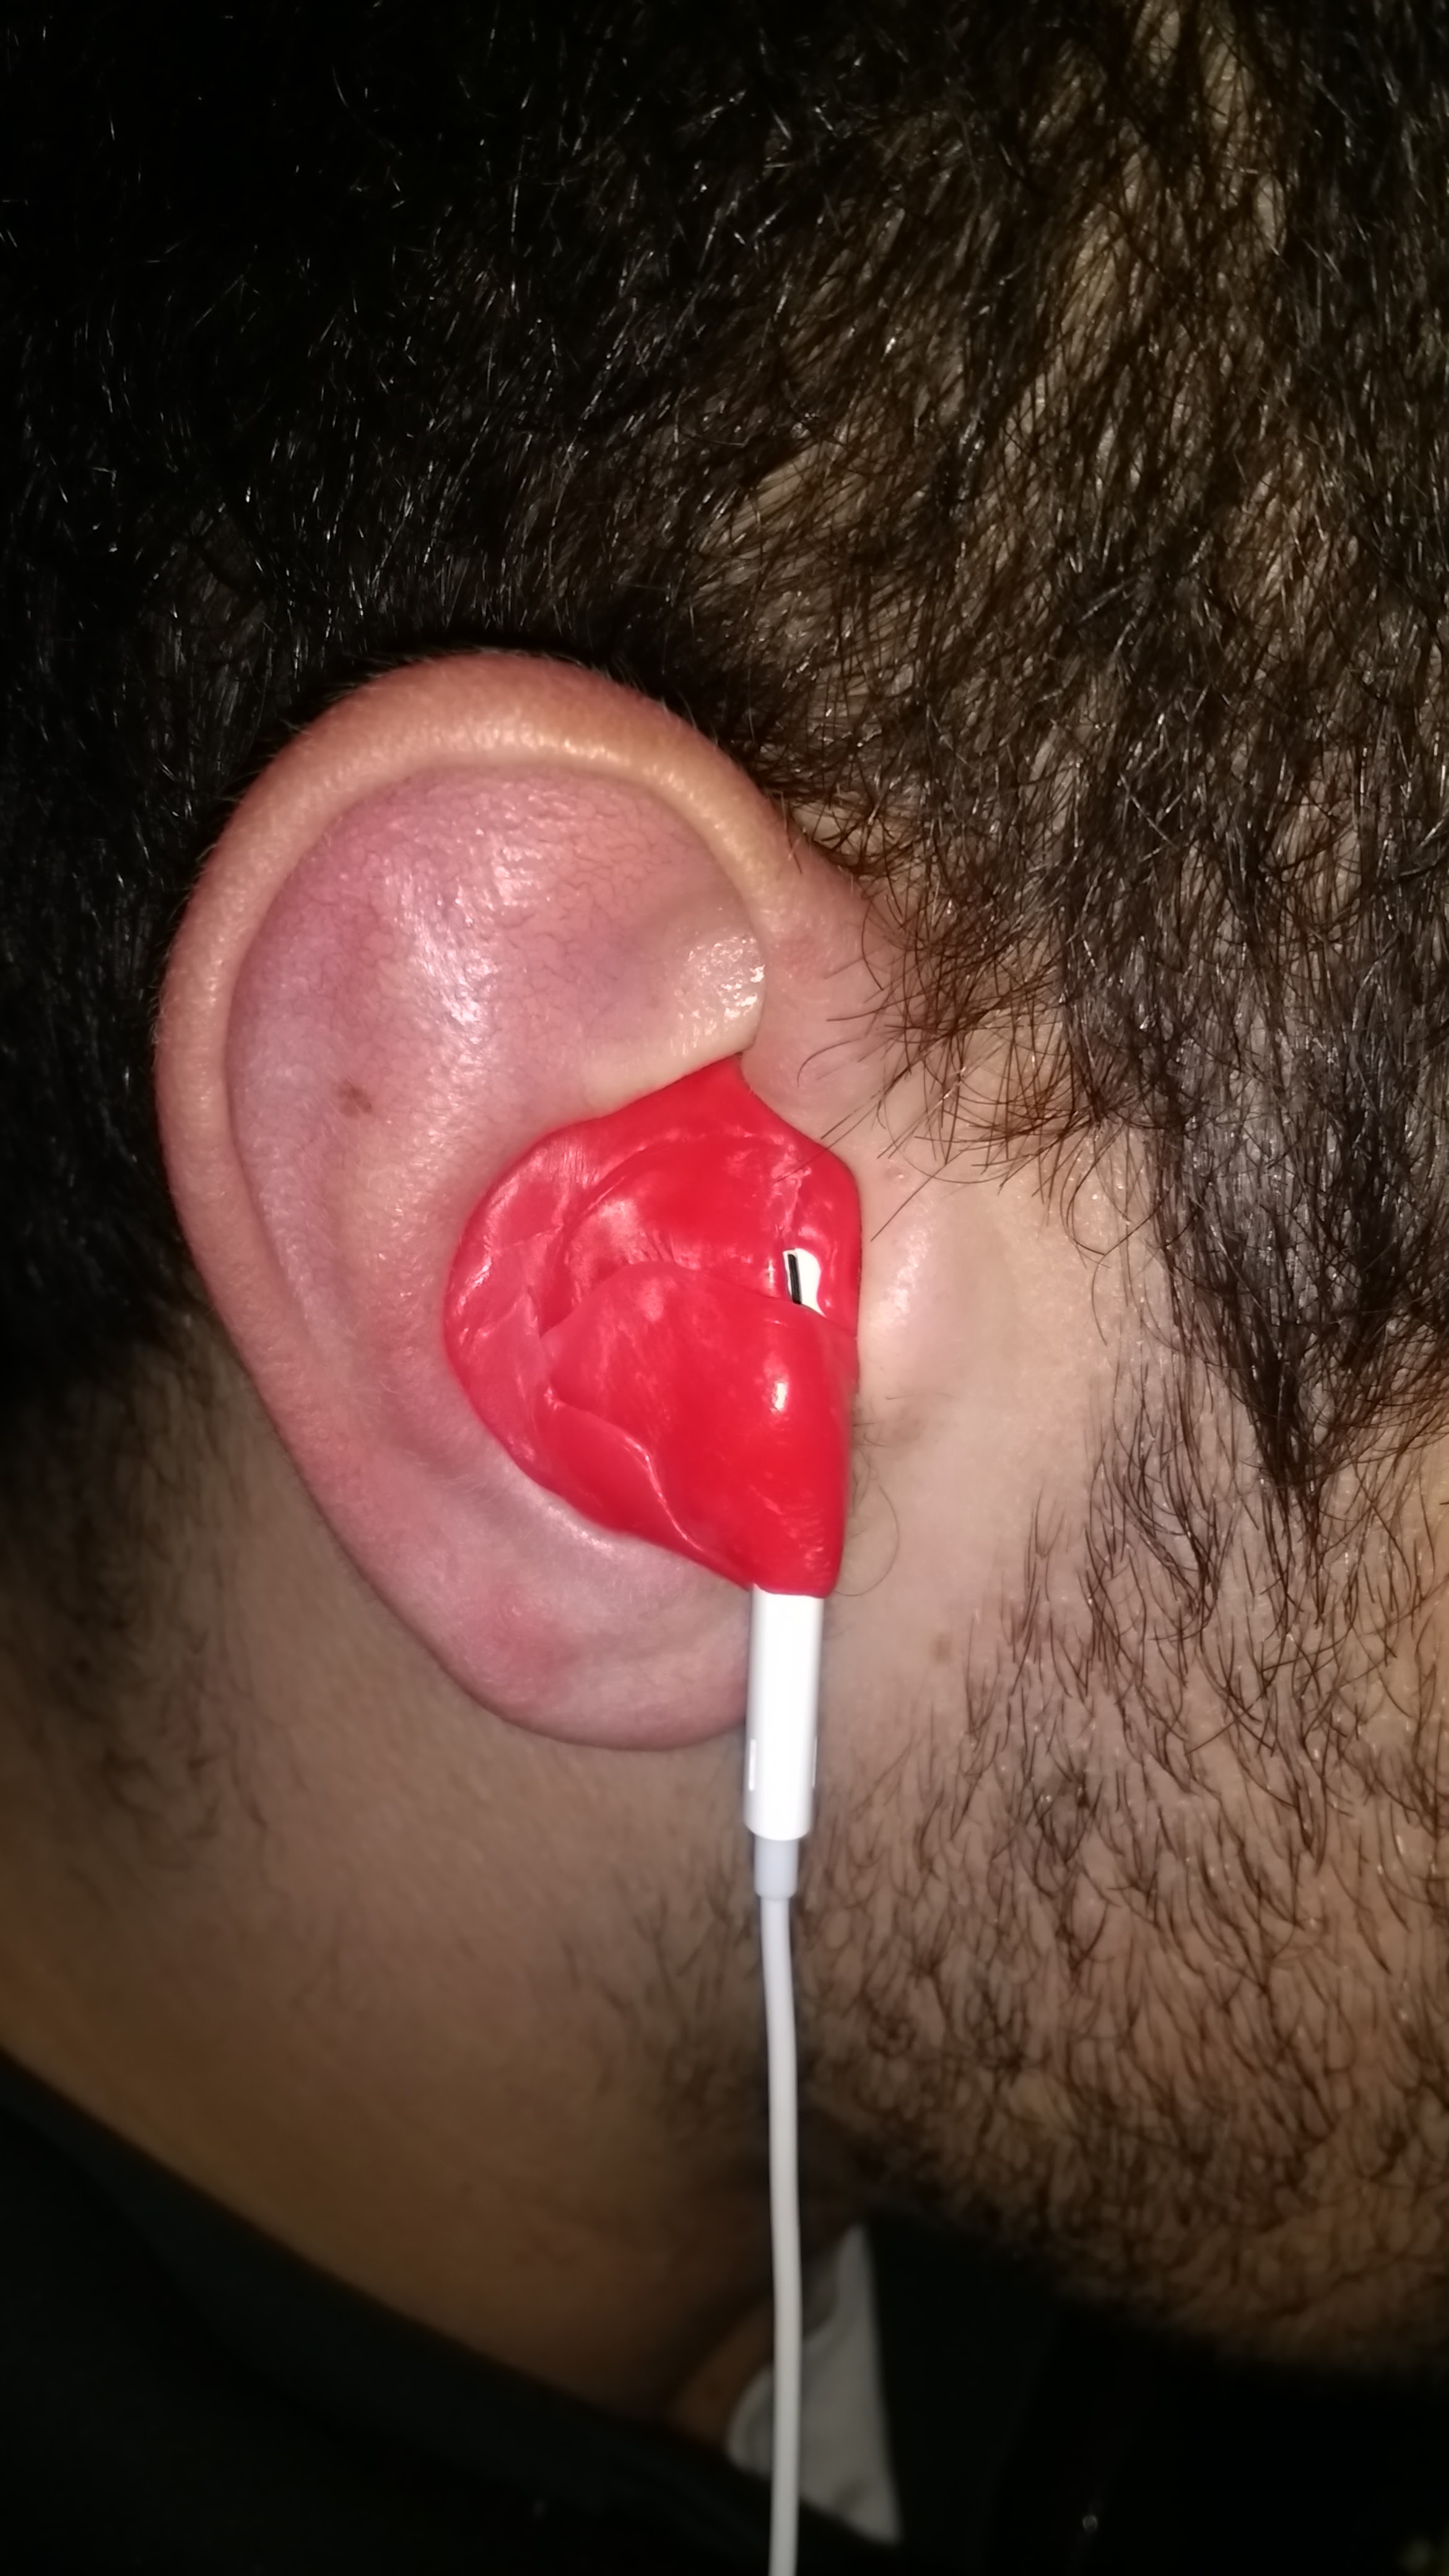
For the front vent (by the nozzle), I ended up trimming away a bit of the thermoplastic material to expose it:

As far as the rear vent, before I started any work I measured the rear bass vent (which in my case was a single 0.7mm vent where the cable exited the underside of the IEM). After the thermoplastic was cooled, I carefully drilled a 0.7mm hole in the back of the earphone using a small twist drill (being sure to avoid any sensitive areas, such as internal wiring). I paid particular attention to drill the hole as shallow as possible, stopping immediately after pierced through the IEM shell. Had the drill bit been allowed to go down into the IEM shell, there would inevitably been damage.
Here's a photo showing the area where the rear bass vent got covered up by thermoplastic:

And here's the new hole I drilled into the rear of the IEM:


It is theoretically possible to use the existing vent hole, and run a small vinyl tube (like those used in CIEM and hearing aid building) or even a piece of silicone wire from the existing vent hole to the outside atmosphere. However, it would be tricky to attach the vinyl tube to the IEM body, as well as difficult to prevent it from moving or getting kinked/crushed during the process of molding the thermoplastic.
It could also be possible to drill a vent hole through the cool thermoplastic from the outside atmosphere down to meet the stock vent hole. However, this would also be difficult because often the hole would need to be drilled at multiple angles through the thermoplastic. And there is also a risk of drilling into the IEM (making a 2nd vent hole, enlarging the stock vent hole, etc).
That's why in my case, the new vent hole was the best solution. Once the new vent hole was drilled, the sound was exactly as it was stock.
Here's a few additional photos of the completed job. I used some junk IEMs that I never use, so I didn't bother using the colored pellets. Since this was just a test to get a feel of the material and process, I just used the raw white material as-is. On my next pair I will use the red and blue colored pellets.


Attachments
Last edited:
Nice first attempt! Well done my friend! I think you are putting too much silicon at the bottom of the driver. That's the most critical part of the driver and it's angle into the ear canal or at least where it sits inside the ear. What you are doing is pushing the driver away from the ear canal - that will reduce the performance drastically
Slater
Headphoneus Supremus
Well, now that you mention it, the IEM itself did seem to be cocked at an angle. OK, I’ll remove the plastic and try again a 3rd time")
You need to be looking for 2 things as a minimum with any custom mold - 1 it needs to lock in around the inside of the ear 2 it needs to go as deep into the ear as you can get it and at least as deep as it was before you put a mold around it
Slater
Headphoneus Supremus
You need to be looking for 2 things as a minimum with any custom mold - 1 it needs to lock in around the inside of the ear 2 it needs to go as deep into the ear as you can get it and at least as deep as it was before you put a mold around it
Yes, if I was making a full ear version that included the tip, I would have done that. However, I do not have ear molds made yet, so I cannot safely make a CIEM out of thermoplastic just yet. Until then, I had to make a semi-CIEM and use silicone tips for the ear canal part.
But yes, my goal is to use my impressions (a local audiologist already took) to make custom molds. Then I’ll be able to make CIEMs like the member posted on Page 1 out of his Vsonic GR07s.
Last edited:
I will have to get off my backside and do a proper video. I can do full custom shells. But the way in which I do it necessitates hand moulding- the shells being different sizes each time. Some designs(Westone W60) are ok with custom tips and some(Sennheiser IE800) are better with stock tips
Last edited:
Users who are viewing this thread
Total: 2 (members: 0, guests: 2)
