Avantone : Pro Planar
Dec 7, 2020 at 4:35 AM Post #511 of 1,500
I used to own the Quads a while back. Absolutely loved them, the build, the looks and that low end could slam. Reminded me a lot of the Audeze sounds. It's been a while since I've heard them. But the Quads have more extension into the sub bass where as the Avantone Planar rolls of slightly around 40 - 30hz, a low shelf at 80hz of 3db helps add just a touch of extra kick or low shelf it at 40hz and add 2db to fix that roll off. The Era-1 does slam harder than the Avantone but the Avantone has the better separation from sub and mid bass. More detail and texture and overall quality and speed is better on the Planar. Mids on the ERA-1 might sound a bit thicker but like you said, maybe just slightly off but not major. The Planar will sound more neutral and balanced overall. Clarity will be better on the Planar but at first you might feel the ERA-1 has more clarity due to a bump on the mids. The Planar will be more neutral overall. The ERA-1 will have a touch more treble energy but I feel extension goes to the Planar. The Planar will sound darker when compared to the ERA-1. But once you get used to the tonality, the Planar has a good amount of treble. Soundstage should be bigger on the on the Planar and same goes with imaging, it should be more precise and accurate. Detail retrieval will be superior on the Planar. Dynamics and slam might be a bit more on the ERA-1 but transients and speed easily goes to the Planar. Just hope you get a good unit though, not trying to put you off. But there is a chance of getting a faulty unit.
Thanks for the extensive comparison, much appreciated! Quite amazing that the Avantone is faster than the Quad, which already competes with my Stax! I will keep in mind the QC issue but I guess I can always use the 30 day return police on Thomann.
 
Dec 7, 2020 at 3:19 PM Post #512 of 1,500
After tightening the screws even more and inspecting the design of the baffle plate I think there might be a need to do a Blu Tack mod on these... if that's even possible. First I'll need to take apart the driver enclosure and this is the part that I'm still unsure about doing. I'll get back to y'all once I have braved up.
 
Dec 7, 2020 at 5:53 PM Post #514 of 1,500
To remove the baffle plate you need to remove the 8 screws that hold the baffle plate to the housing. Do not try to remove the screw in each corner, these 4 screws hold the driver to the baffle plate. The other 8 screws, 2 on each side, are the ones you remove.
 
Dec 7, 2020 at 6:33 PM Post #515 of 1,500
To remove the baffle plate you need to remove the 8 screws that hold the baffle plate to the housing. Do not try to remove the screw in each corner, these 4 screws hold the driver to the baffle plate. The other 8 screws, 2 on each side, are the ones you remove.
Lol already started and I've finished the right earcup but, don't worry I figured the screws out without destroying anything. I'll upload pics in a few minutes.
 
Dec 7, 2020 at 7:30 PM Post #516 of 1,500
I’m finished.

The 3.9k dip is gone. The 4.7-5.5k valley has risen, peaks that happened from 7-9k have smoothed slightly (those dips are supposed to be there), and treble extension has improved noticeably. Low mids and bass seem to have been left untouched. The sub-bass extension is maybe 1-2 dB better for me.

If there is one thing that Max Settings said that I agreed with it is that the timbre sounded "plasticy". Well, that's less so now but, I don't know how to quantify the change with words yet.

When listening to "All The Small Things" by Blink-182 it feels like there's less friction in the sound as if a small veil was lifted.
 

Attachments

  • 559ED670-746F-4085-BEDC-C88A9F5E219E.jpeg
    559ED670-746F-4085-BEDC-C88A9F5E219E.jpeg
    1.9 MB · Views: 0
  • 27E9119D-91AF-40FD-B35B-3CEC4717051B.jpeg
    27E9119D-91AF-40FD-B35B-3CEC4717051B.jpeg
    2.1 MB · Views: 0
  • 298F9B00-001A-4987-9F0F-CFA2AF91EFB3.jpeg
    298F9B00-001A-4987-9F0F-CFA2AF91EFB3.jpeg
    1.7 MB · Views: 0
  • 57B387CF-7968-4ED5-A874-21961DA98338.jpeg
    57B387CF-7968-4ED5-A874-21961DA98338.jpeg
    1.9 MB · Views: 0
  • 6199EEA3-0993-4F18-A2CA-207D48400A3B.jpeg
    6199EEA3-0993-4F18-A2CA-207D48400A3B.jpeg
    1.6 MB · Views: 0
Last edited:
Dec 8, 2020 at 12:39 PM Post #517 of 1,500
I’m finished.

The 3.9k dip is gone. The 4.7-5.5k valley has risen, peaks that happened from 7-9k have smoothed slightly (those dips are supposed to be there), and treble extension has improved noticeably. Low mids and bass seem to have been left untouched. The sub-bass extension is maybe 1-2 dB better for me.

If there is one thing that Max Settings said that I agreed with it is that the timbre sounded "plasticy". Well, that's less so now but, I don't know how to quantify the change with words yet.

When listening to "All The Small Things" by Blink-182 it feels like there's less friction in the sound as if a small veil was lifted.
Very interesting mod and very nicely done!!
How did you get the blu tack in those exact forms? just cut it with knife?

My fingers are itching... :D
 
Dec 8, 2020 at 1:08 PM Post #518 of 1,500
Very interesting mod and very nicely done!!
How did you get the blu tack in those exact forms? just cut it with knife?

My fingers are itching... :D
Yeah, I did some measurements and cut the pieces to shape with an X-Acto blade. If you do this mod you need to make some circular cut-outs in the corners for the protruding screws and nuts otherwise you'll deform the baffle and that'll ruin the sound. For the corners, I simply bent the rectangular tack slices then cut them to fit but, again you really need to make sure to do the circular cut-outs. Another thing you should know is the tack needs to rise no more than 1mm above the circular screw mounts. If you go any higher you'll probably hurt something important.

I should make this warning though. If you do this mod, don't expect it to be easy to remove the baffle again afterwards. I tried and it is more or less stuck there.
 
Last edited:
Dec 8, 2020 at 4:20 PM Post #519 of 1,500
Data from Oratory1990

bFg0ANI.png

these were measured on a 45CC
the 45CC is not a full head, just two metal plates with microphones in the middle
measurements with the 45CC DO NOT show the sound as it is perceived by the human head+ear
at least at frequencies above 1 kHz. But above 1 kHz nothing noteworthy changed anyway, so I'm only plotting up to 1 kHz in this graph
the big upside of the 45CC is that it is very precise. You can put the same headphone on the 45CC twenty times and you will get twenty times the exact same result.
This isn't possible with other (more accurate) measurement setups. Accuracy often comes at the cost of precision.
WIth a "real" head like the 45BC I can measure sound just like it is perceived by a human ear, but due to the shape of the measurement rig, it's not possible to put the headphone on two times in a row and hitting the exact same position again.

With the 45CC however this is very easy, as there is exactly ONE possible position that you can put the headphone on. And you will hit that exact same position every time you put the headphone on. This means that measurement variation is negligible.
Which also means that whenever I see a difference between two measurements made on the 45CC, I can be sure that this difference is caused by the headphone itself and not by e.g. a different position of the headphone on the measurement rig.
now
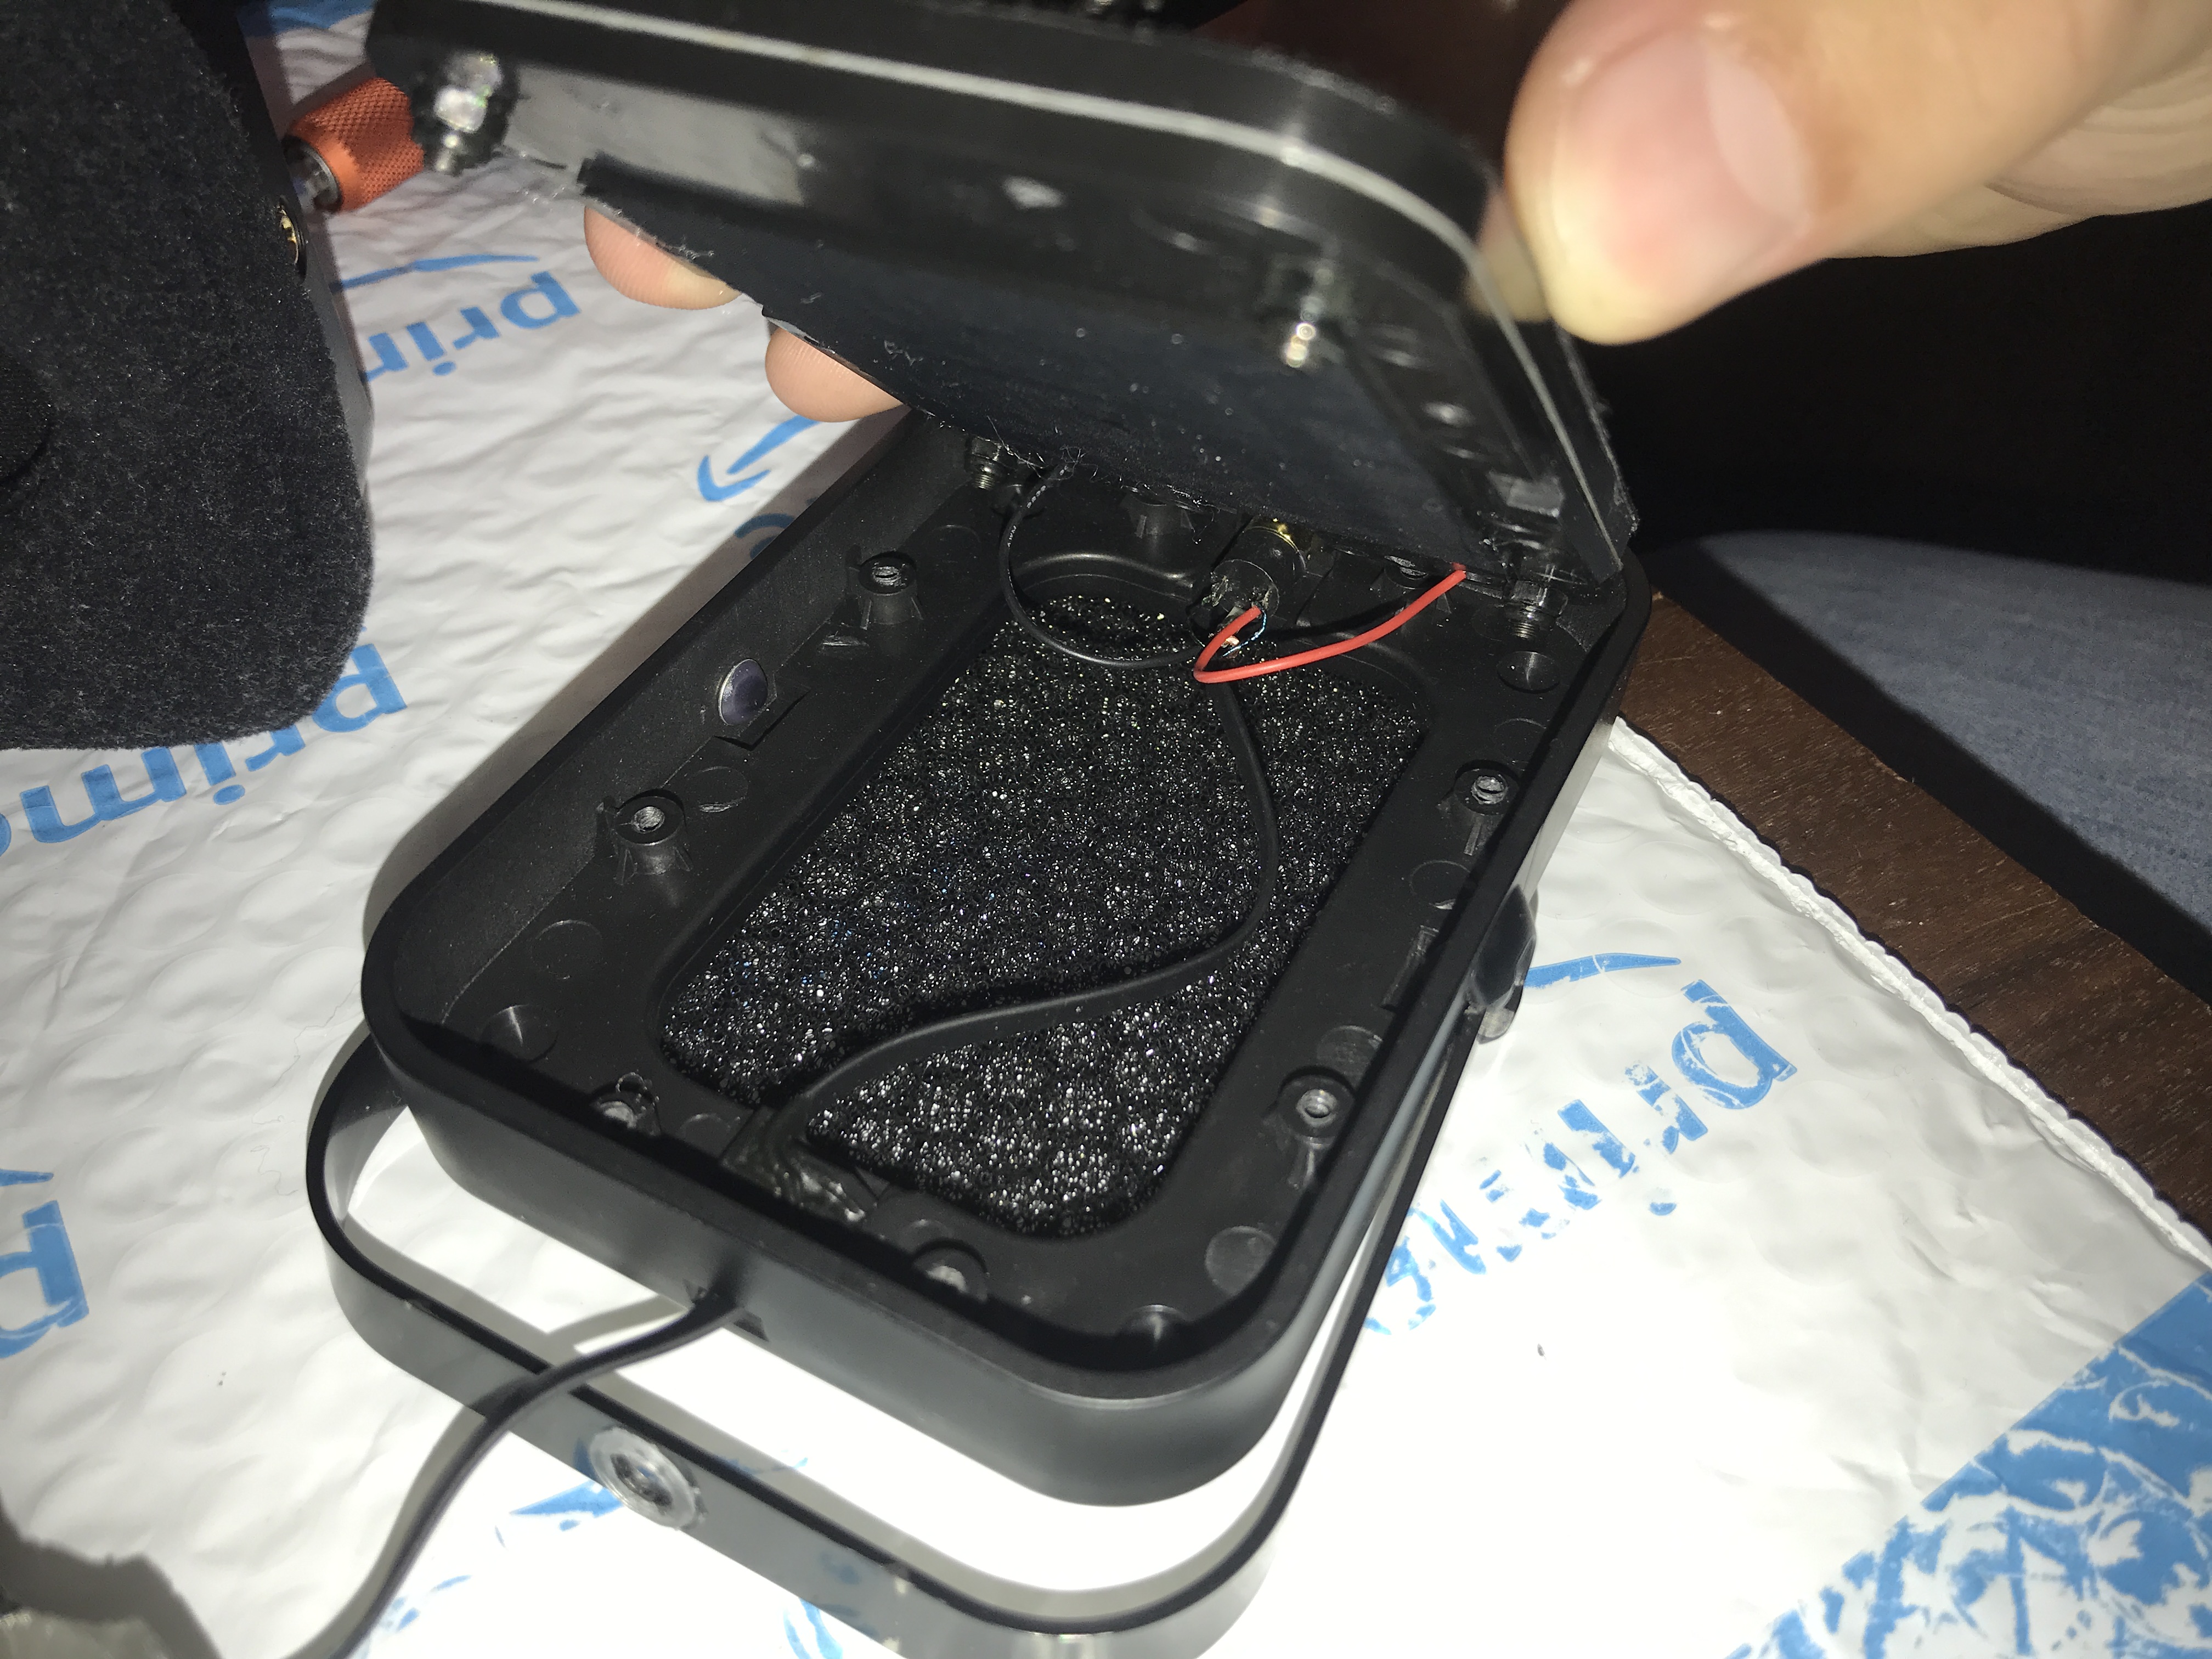
what I measured here was the right earcup of the Avantone Planar that I was sent.
- I measured it in stock configuration ("take it out of the bag and put it on").
- Then I tightened all screws until they were, well, tight.
- then I losened all screws lightly (about a quarter turn with the screwdriver)
- then I losened them again by another quarter turn
- then I losened them AGAIN
- then I tightened them all as best as I could
- then I took the whole headphone apart and reassembled it
- then I tightened all screws again

after every one of the above steps, I performed a measurement (three measurements actually, and calculated the avg, although those three basically gave me the exact same result due to the afore mentioned precision of the 45CC setup).
you see that the drop-off below 100 Hz varies quite a bit, but it never reaches full linear bass response, even with all screws completely tightened.
you also see that the response from 100 Hz to 1 kHz (the midrange) shows various peaks and dips, and their spectral position ("at which frequency do they occur") changes everytime I touch the screws.
This is what makes me believe that the mechanical tension/stress onto the baffle affects magnet geometry - this could explain such behaviour.
since the seal is obviously also affected by this, I'm thinking that warping (stressing) the baffle affects the driver itself, and how it is mounted into the baffle.
If you were to mod this headphone, one thing I'd do is to strengthen the baffle, maybe replace it with a metal part instead of the plastic.
Another thing you could do is to make sure there is a clearly defined end position for every screw.
Maybe replace them with metal threading too, because the plastic appeared to get quickly worn out by the screws.

Based on this information I'm planning on 3D printing a new baffle. I know a printing specialist who uses an
Eden260V printer which prints 16-micron layers out of a very sturdy material.
 
Last edited:
Dec 8, 2020 at 7:29 PM Post #520 of 1,500
Data from Oratory1990

bFg0ANI.png


Based on this information I'm planning on 3D printing a new baffle. I know a printing specialist who uses an
Eden260V printer which prints 16-micron layers out of a very sturdy material.

Perhaps consider sharing your design with Avantone after you do that and confirm that it has the expected benefits. :)
 
Dec 9, 2020 at 7:43 AM Post #521 of 1,500
Yeah, I did some measurements and cut the pieces to shape with an X-Acto blade. If you do this mod you need to make some circular cut-outs in the corners for the protruding screws and nuts otherwise you'll deform the baffle and that'll ruin the sound. For the corners, I simply bent the rectangular tack slices then cut them to fit but, again you really need to make sure to do the circular cut-outs. Another thing you should know is the tack needs to rise no more than 1mm above the circular screw mounts. If you go any higher you'll probably hurt something important.

I should make this warning though. If you do this mod, don't expect it to be easy to remove the baffle again afterwards. I tried and it is more or less stuck there.
Interesting. Is the baffle stuck because of the blu tack you think?
What is the purpose of the blu tack? To seal the cup? Dampening effect to reduce pressure inside the cup? Or just to get rid of the plastic echo chamber? Or something else?
 
Dec 9, 2020 at 7:54 AM Post #522 of 1,500
This is probably what i will use if i do the mod. Its for windows but i think this will do a great job in the planars :)
K-profil.jpg
 
Dec 9, 2020 at 8:56 AM Post #523 of 1,500
Interesting. Is the baffle stuck because of the blu tack you think?
What is the purpose of the blu tack? To seal the cup? Dampening effect to reduce pressure inside the cup? Or just to get rid of the plastic echo chamber? Or something else?
The effect that it has on the Planar is forcing even pressure along all edges of the baffle plate preventing any form of warping to the driver. It’s an inherent design flaw of this headphone that the baffle material is not rigid enough to not bend and flex out of shape. The problem that this causes is distortions to the FR such as all the peaks and valleys that you see above 1k and how linear, or not, the bass extension is.
 
Dec 9, 2020 at 10:00 AM Post #524 of 1,500
The effect that it has on the Planar is forcing even pressure along all edges of the baffle plate preventing any form of warping to the driver. It’s an inherent design flaw of this headphone that the baffle material is not rigid enough to not bend and flex out of shape. The problem that this causes is distortions to the FR such as all the peaks and valleys that you see above 1k and how linear, or not, the bass extension is.
So the idea behind the blu tack is to get even pressure when you screw it shut? Or even sound pressure within the cups? :)
 
Last edited:
Dec 9, 2020 at 10:56 AM Post #525 of 1,500
So the idea behind the blu tack is to get even pressure when you screw it shut? Or even sound pressure within the cups? :)
The goal of any given blu tack mod is to improve the sealing of the front volume which, is the volume of air between the diaphragm and your ear. This particular mod is sealing air gaps in the back volume so any changes that occur are going to be negligible from the perspective of the front volume. Which, is the side we listen to. So, for this particular mod, the blu tack is creating even mechanical pressure NOT acoustic pressure, i.e. "even pressure when you screw it shut".

Now, this brings me to my current project and that is modeling a new baffle that is resistant to warping. This will ensure that the diaphragm is being unaltered by any form of mechanical pressure applied from the screws or putty, etc.
 
Last edited:

Users who are viewing this thread

Back
Top