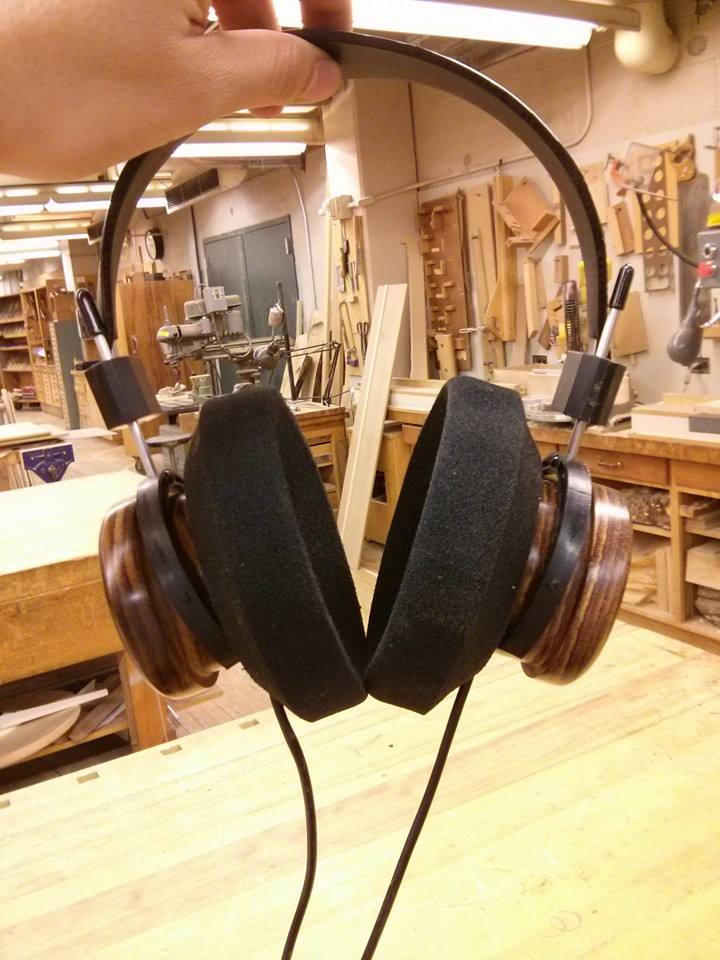
Kojaku's Trimming and Wrapping (Sock-mod) Tutorial
Well here it is! My first official tutorial (other than my silent vid on the augmented hairdryer method for opening cups, but that doesn't count), so go easy on me. Before we go modding our pads, let's find out a bit more about why we're doing what we're about to do.
BOWLS:

Ah, the humble bowl pad. So simple in its construction, yet so bewildering in its acoustic complexities. Many call the bowl the "goldilocks" of the three stock pads. Not as spacious and airy as jumbos, but not as in your ear as comfies.
Now, there are lots of things the bowl does right. The large, almost 2-inch diameter hole in the middle of the bowl acts as a channel for higher frequencies to begin their resonant journey. This brings clarity up high that many desire on comfies (hence the quarter mod). Also, the slightly conical shape gives a small area of space where bass (which you'll remember is omnidirectional) can establish its resonance as well. Now the issue we're addressing is the size of this space. You see, while you'd be hard pressed to find a person who wouldn't agree that most grado bass is tight and impactful, you'd be just as hard pressed to find someone who would say stock grado bass is plentiful. So how do we fix this?
Three words: Close driver space.
You see, by decreasing, by just the right amount, the amount of space between our ear and the driver, we can increase the quantity of bass waves that hit our ears. So you might say, "Kojaku, why bother with the sock part then? I thought all we needed was to decrease driver space!". Ah, well you see, inquisitive one, there is more to it than that. When you make that jump closer to your ear, you also close up a bit of that resonant chamber I told you about. So what happens? You lose tightness. You bass is huge...and floppy. So how do we remedy this part? Well, we create another resonance chamber, but THIS time, we create it along the sides. The sock mod spaces an additional 1/4-inch from the edge of the trimmed bowls. Thus, there is still a resonant chamber to give what I like to call "kick-space", yet the bass waves still enter in close proximity to the ear, as the pad has been trimmed so as not to obstruct the bass' entrance into the resonant space.
So what do we get in the end? Lots of bass. Clean, tight bass. "How do I do this, Kojaku?", you might ask. Well it's easy. Let's begin with what you'll need.
What you'll need:
-A sharp pair of scissors (or an x-acto or ginsu knife, if you're feeling adventurous)
-A pair of stock grado bowls (these will be trimmed, so be ready)
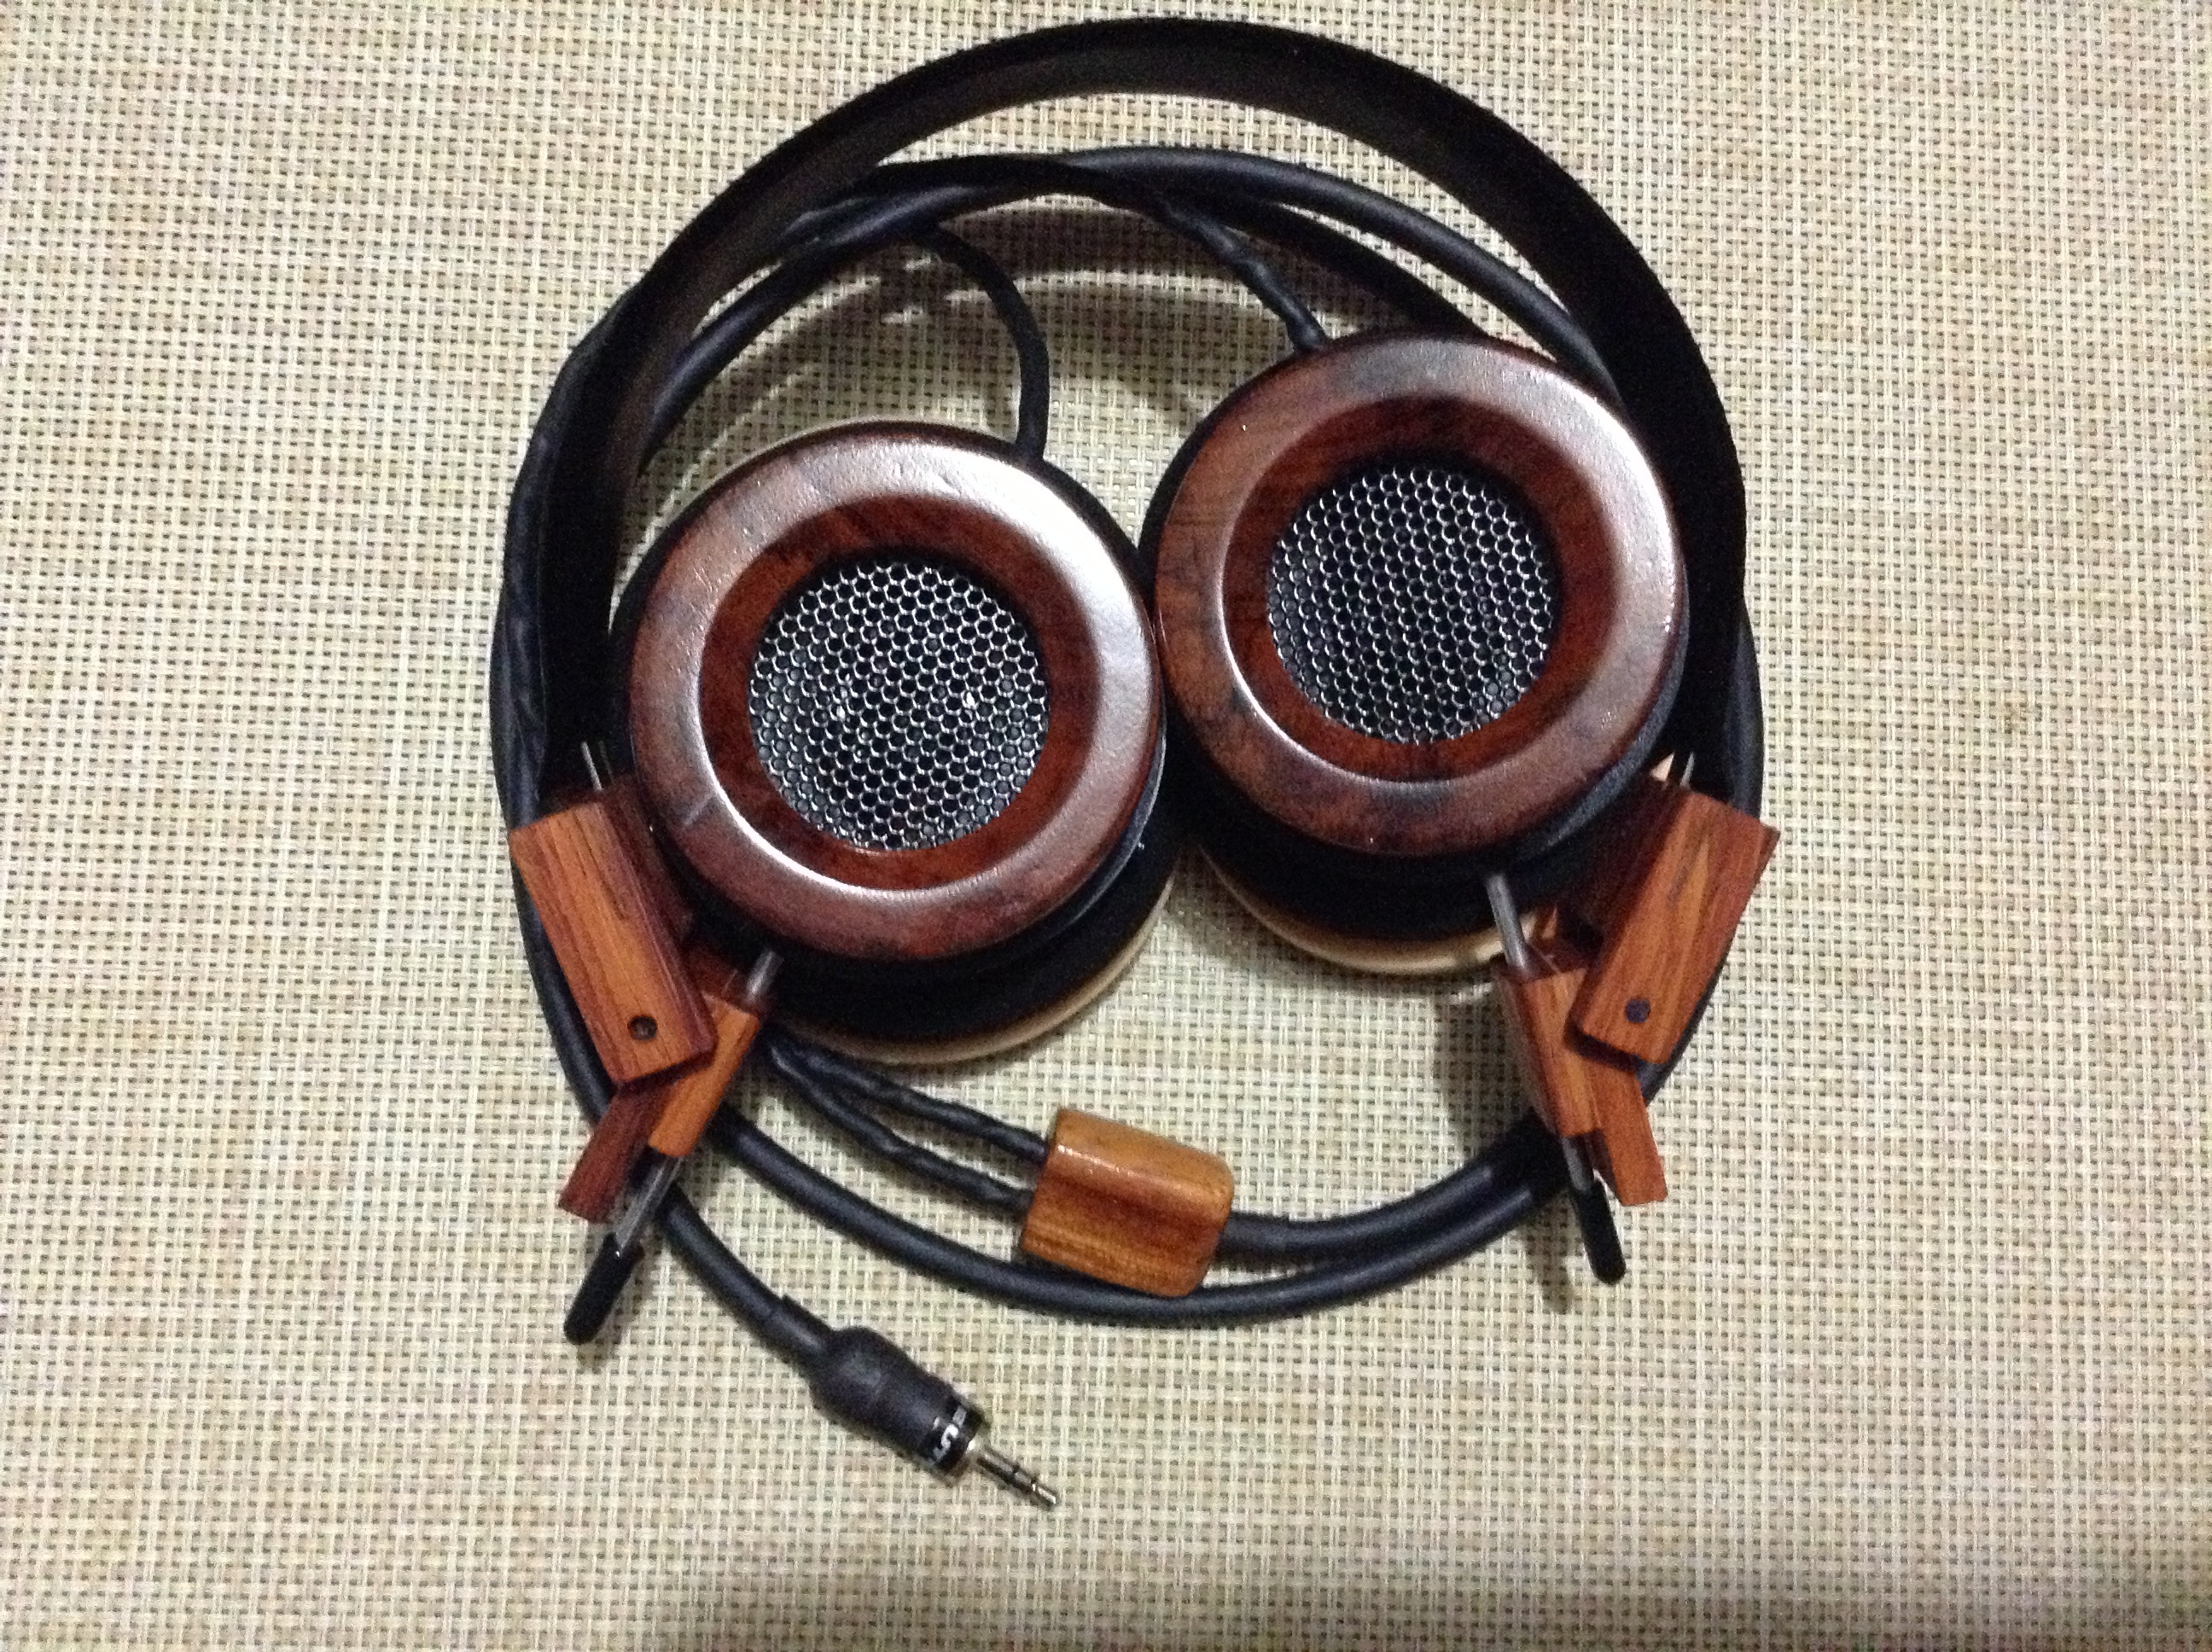
-A pair of %100 cotton dress socks (preferably with a stem [non-foot region] that is 6-8 inches long) (mine have tread, which is cool for looks

)
-Optional: a ruler, if you're feeling all precise-like (like myself)
Step1:
You will be trimming off an amount equivalent to the distance between the outer edge and the visible ledge (probably from the casting process) that is about 1/2 an inch from the edge of the bowl. Take your scissors/knife and snip down to this line. You can also measure out 1/2 an inch with your ruler, if you're feeling precise.

Step 2:
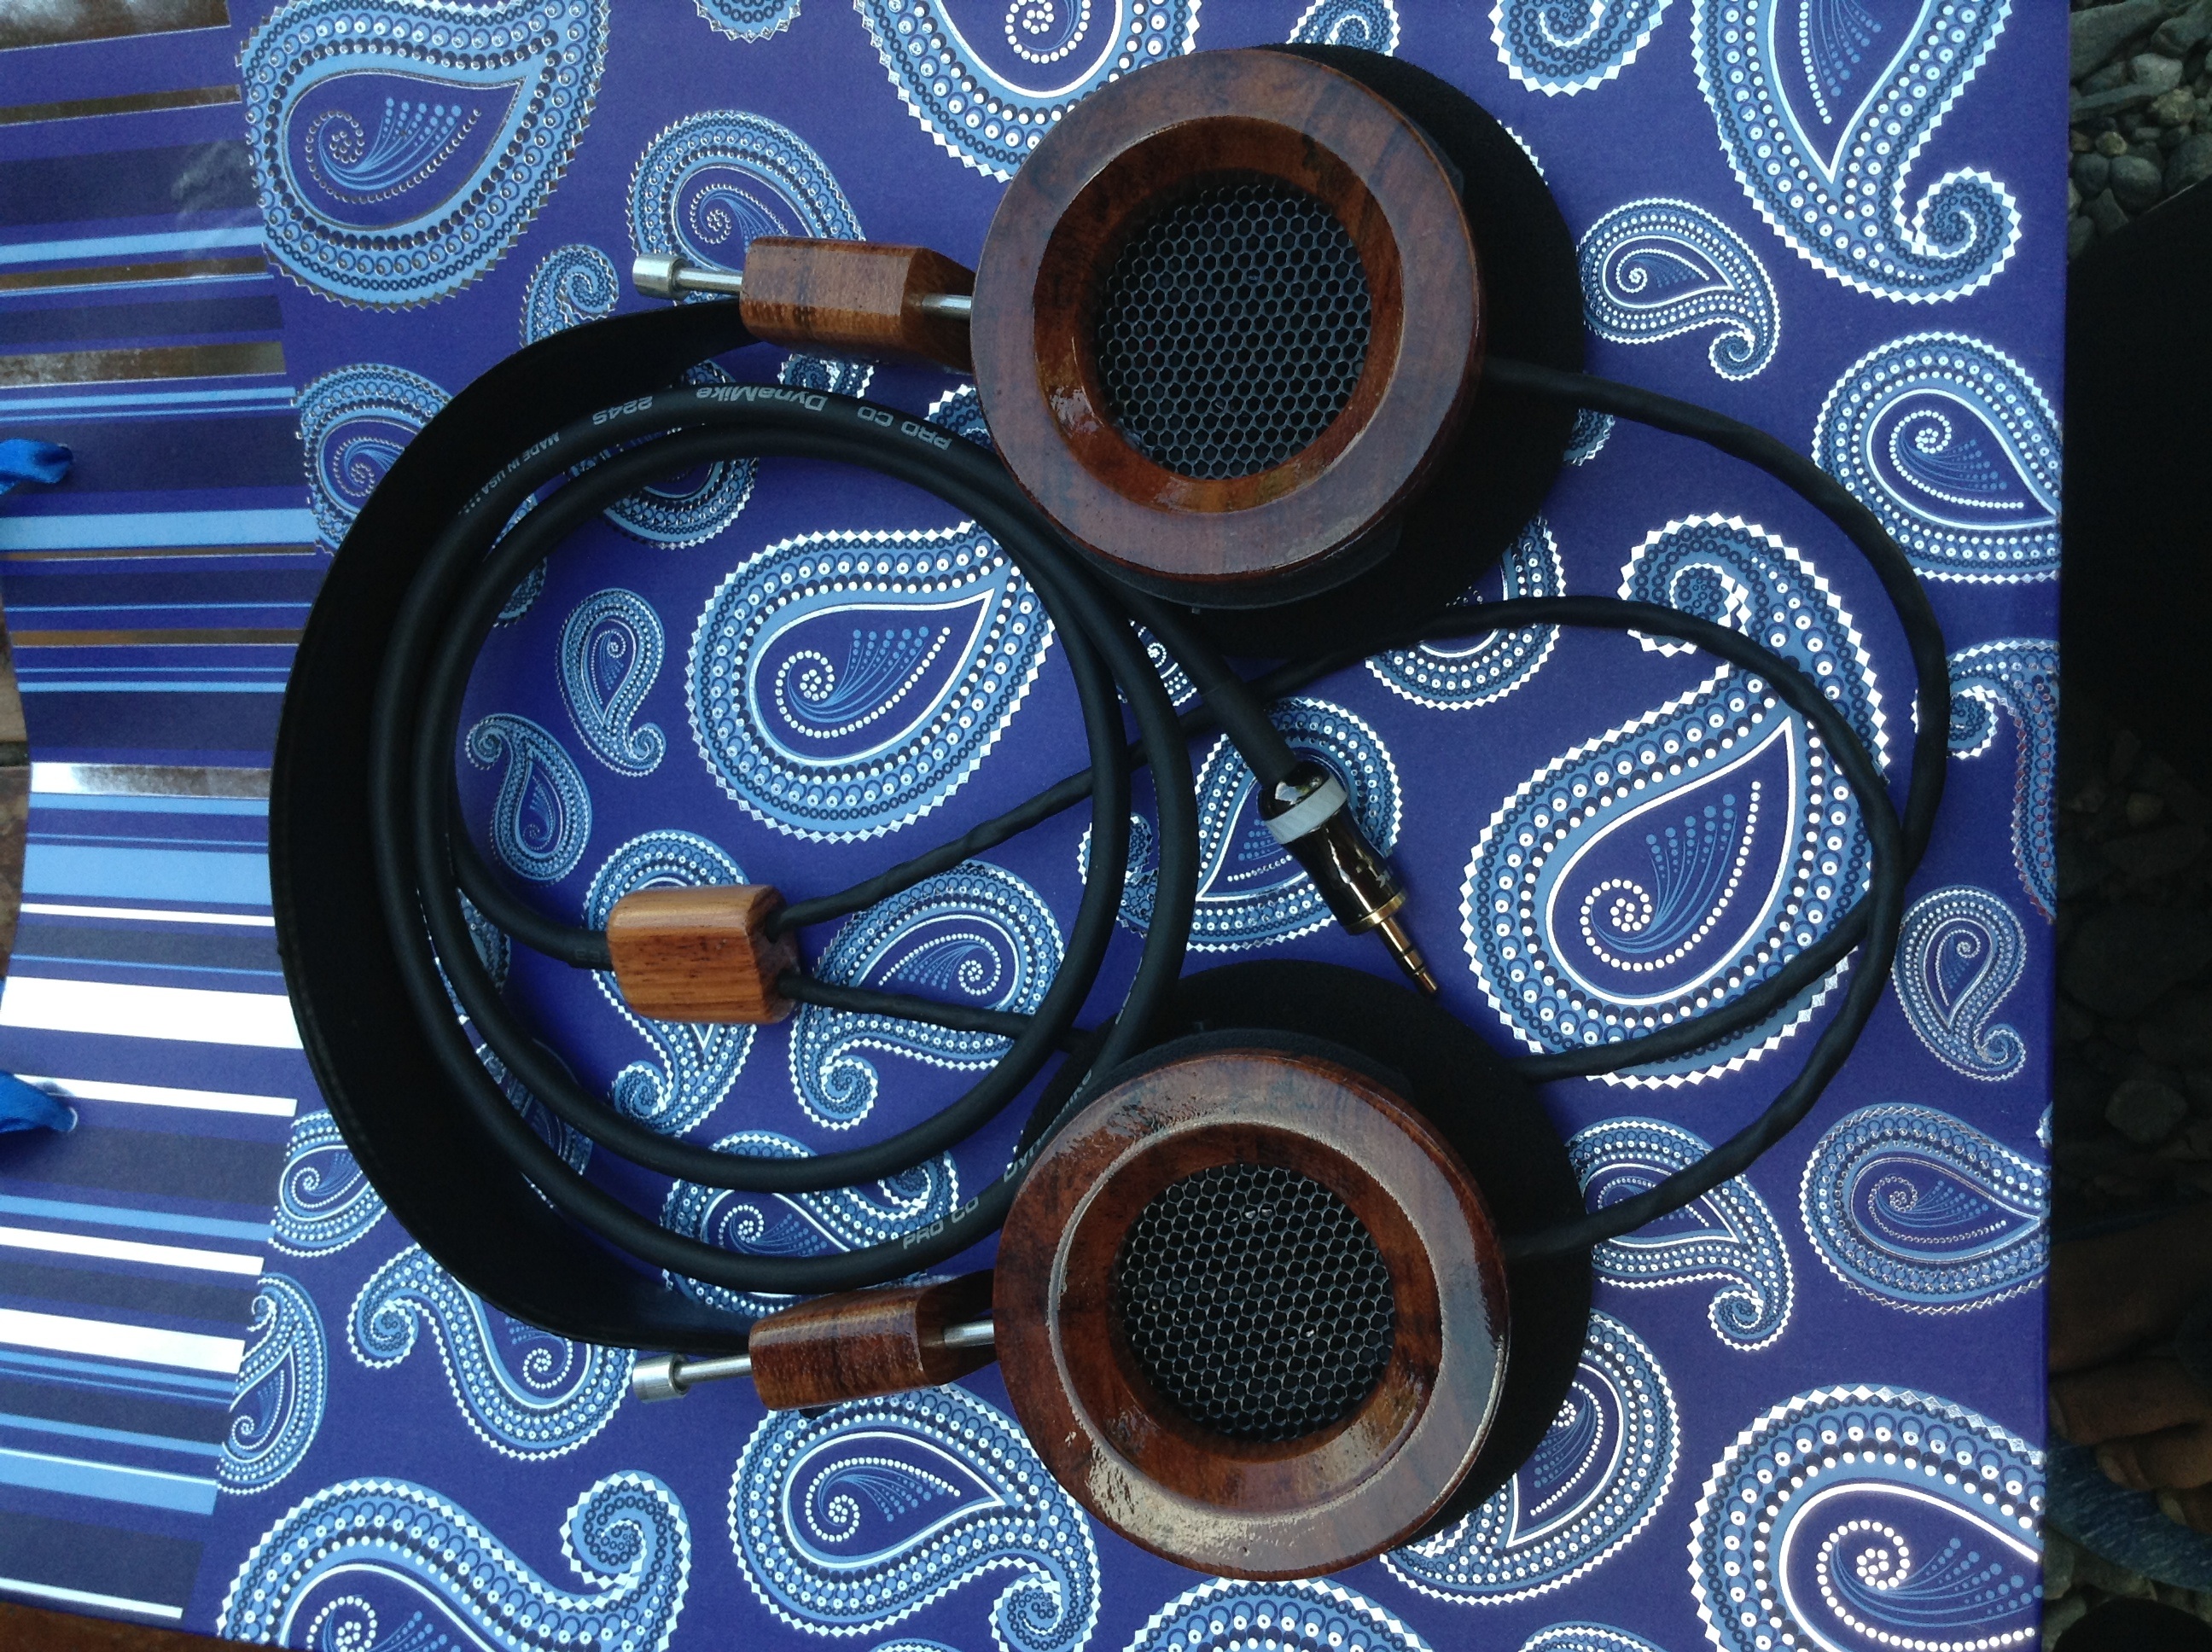
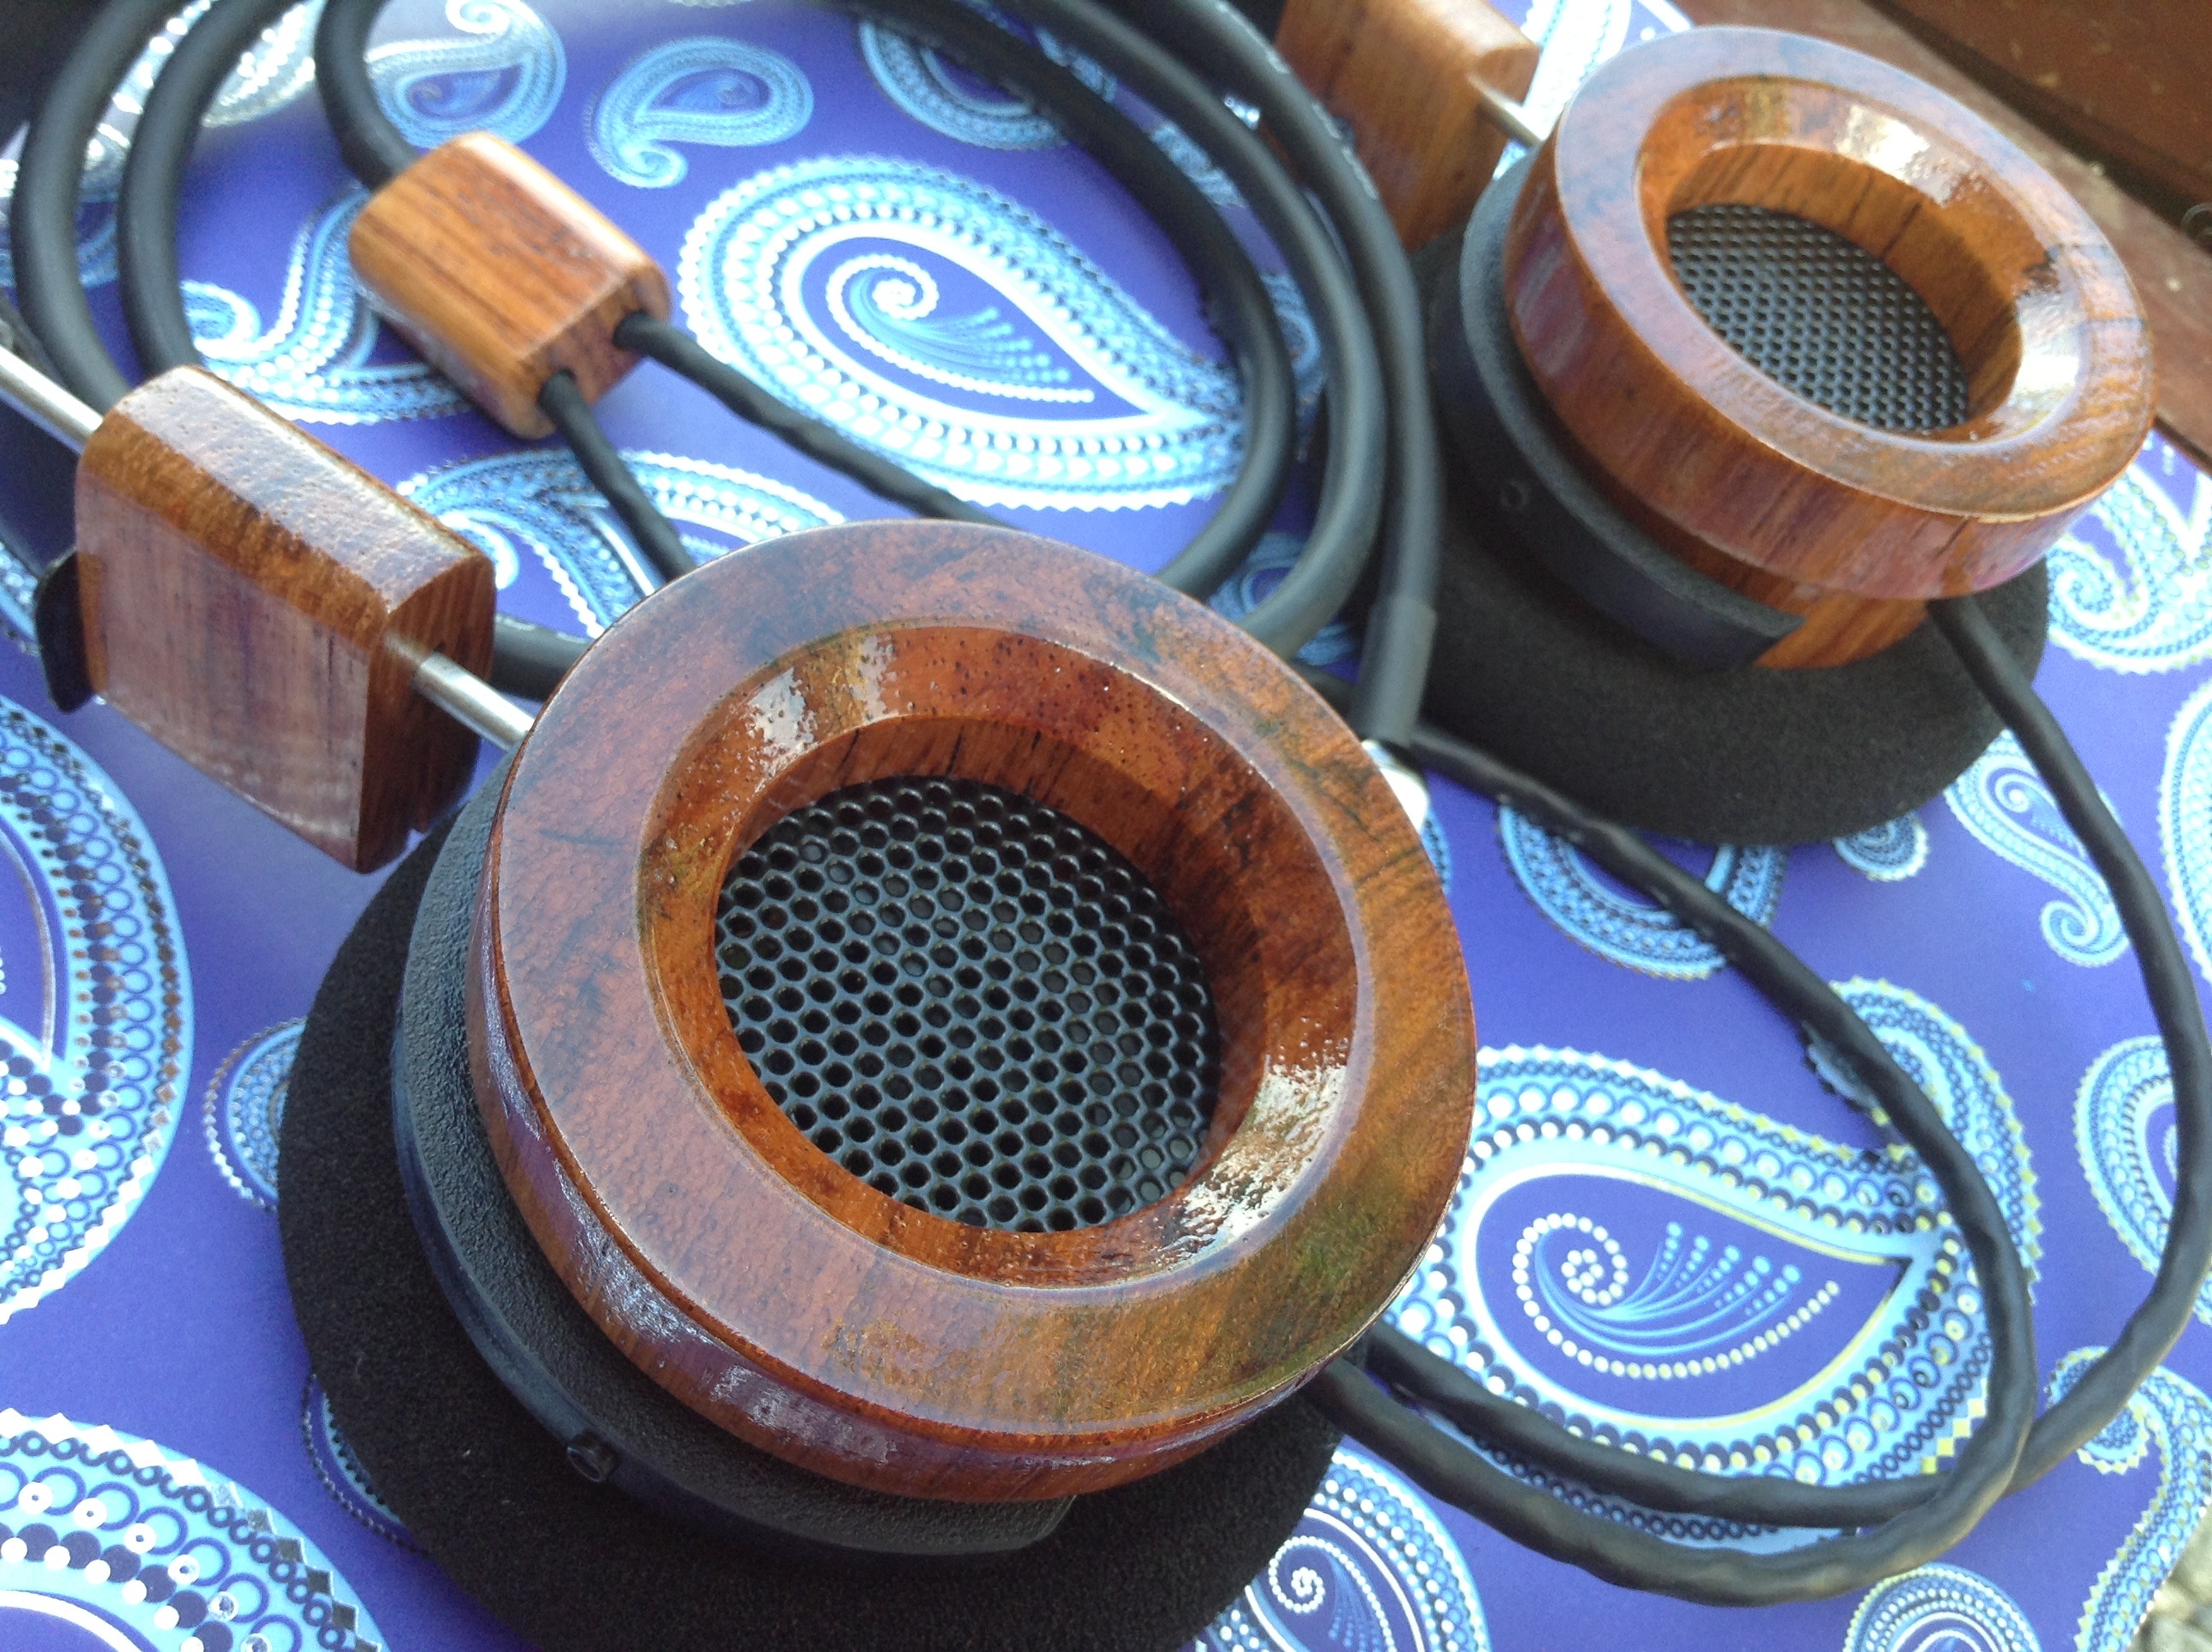
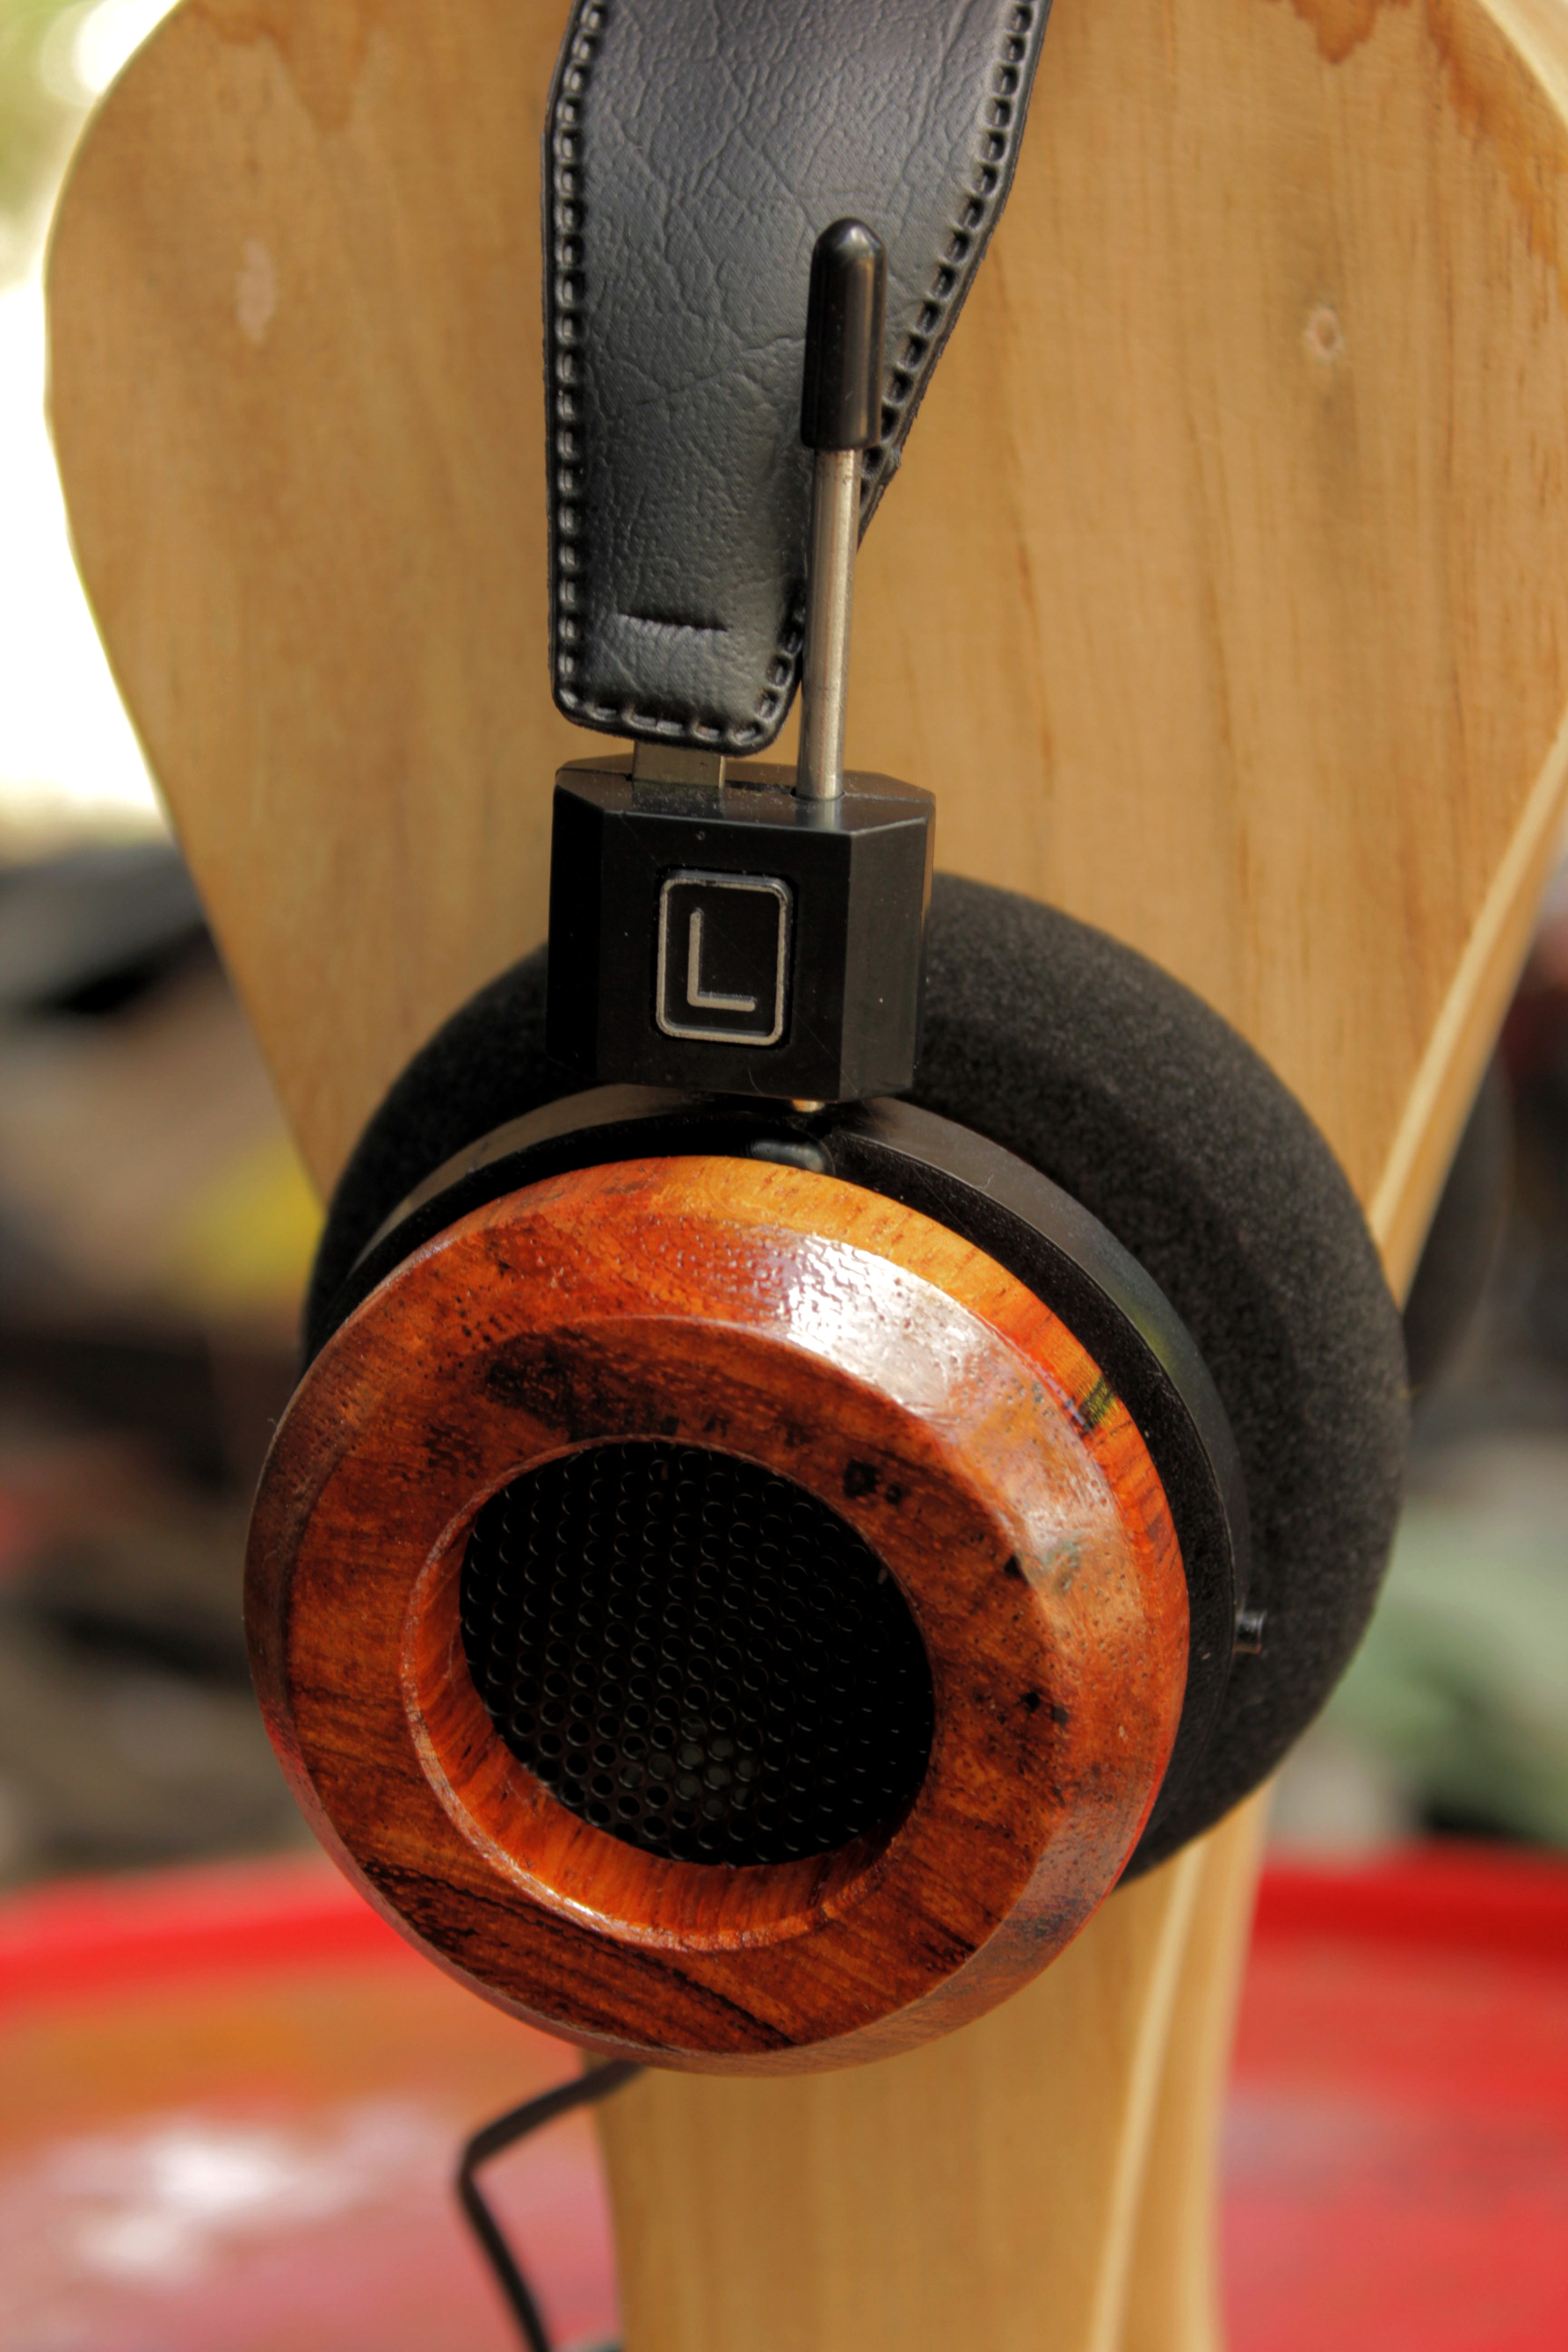
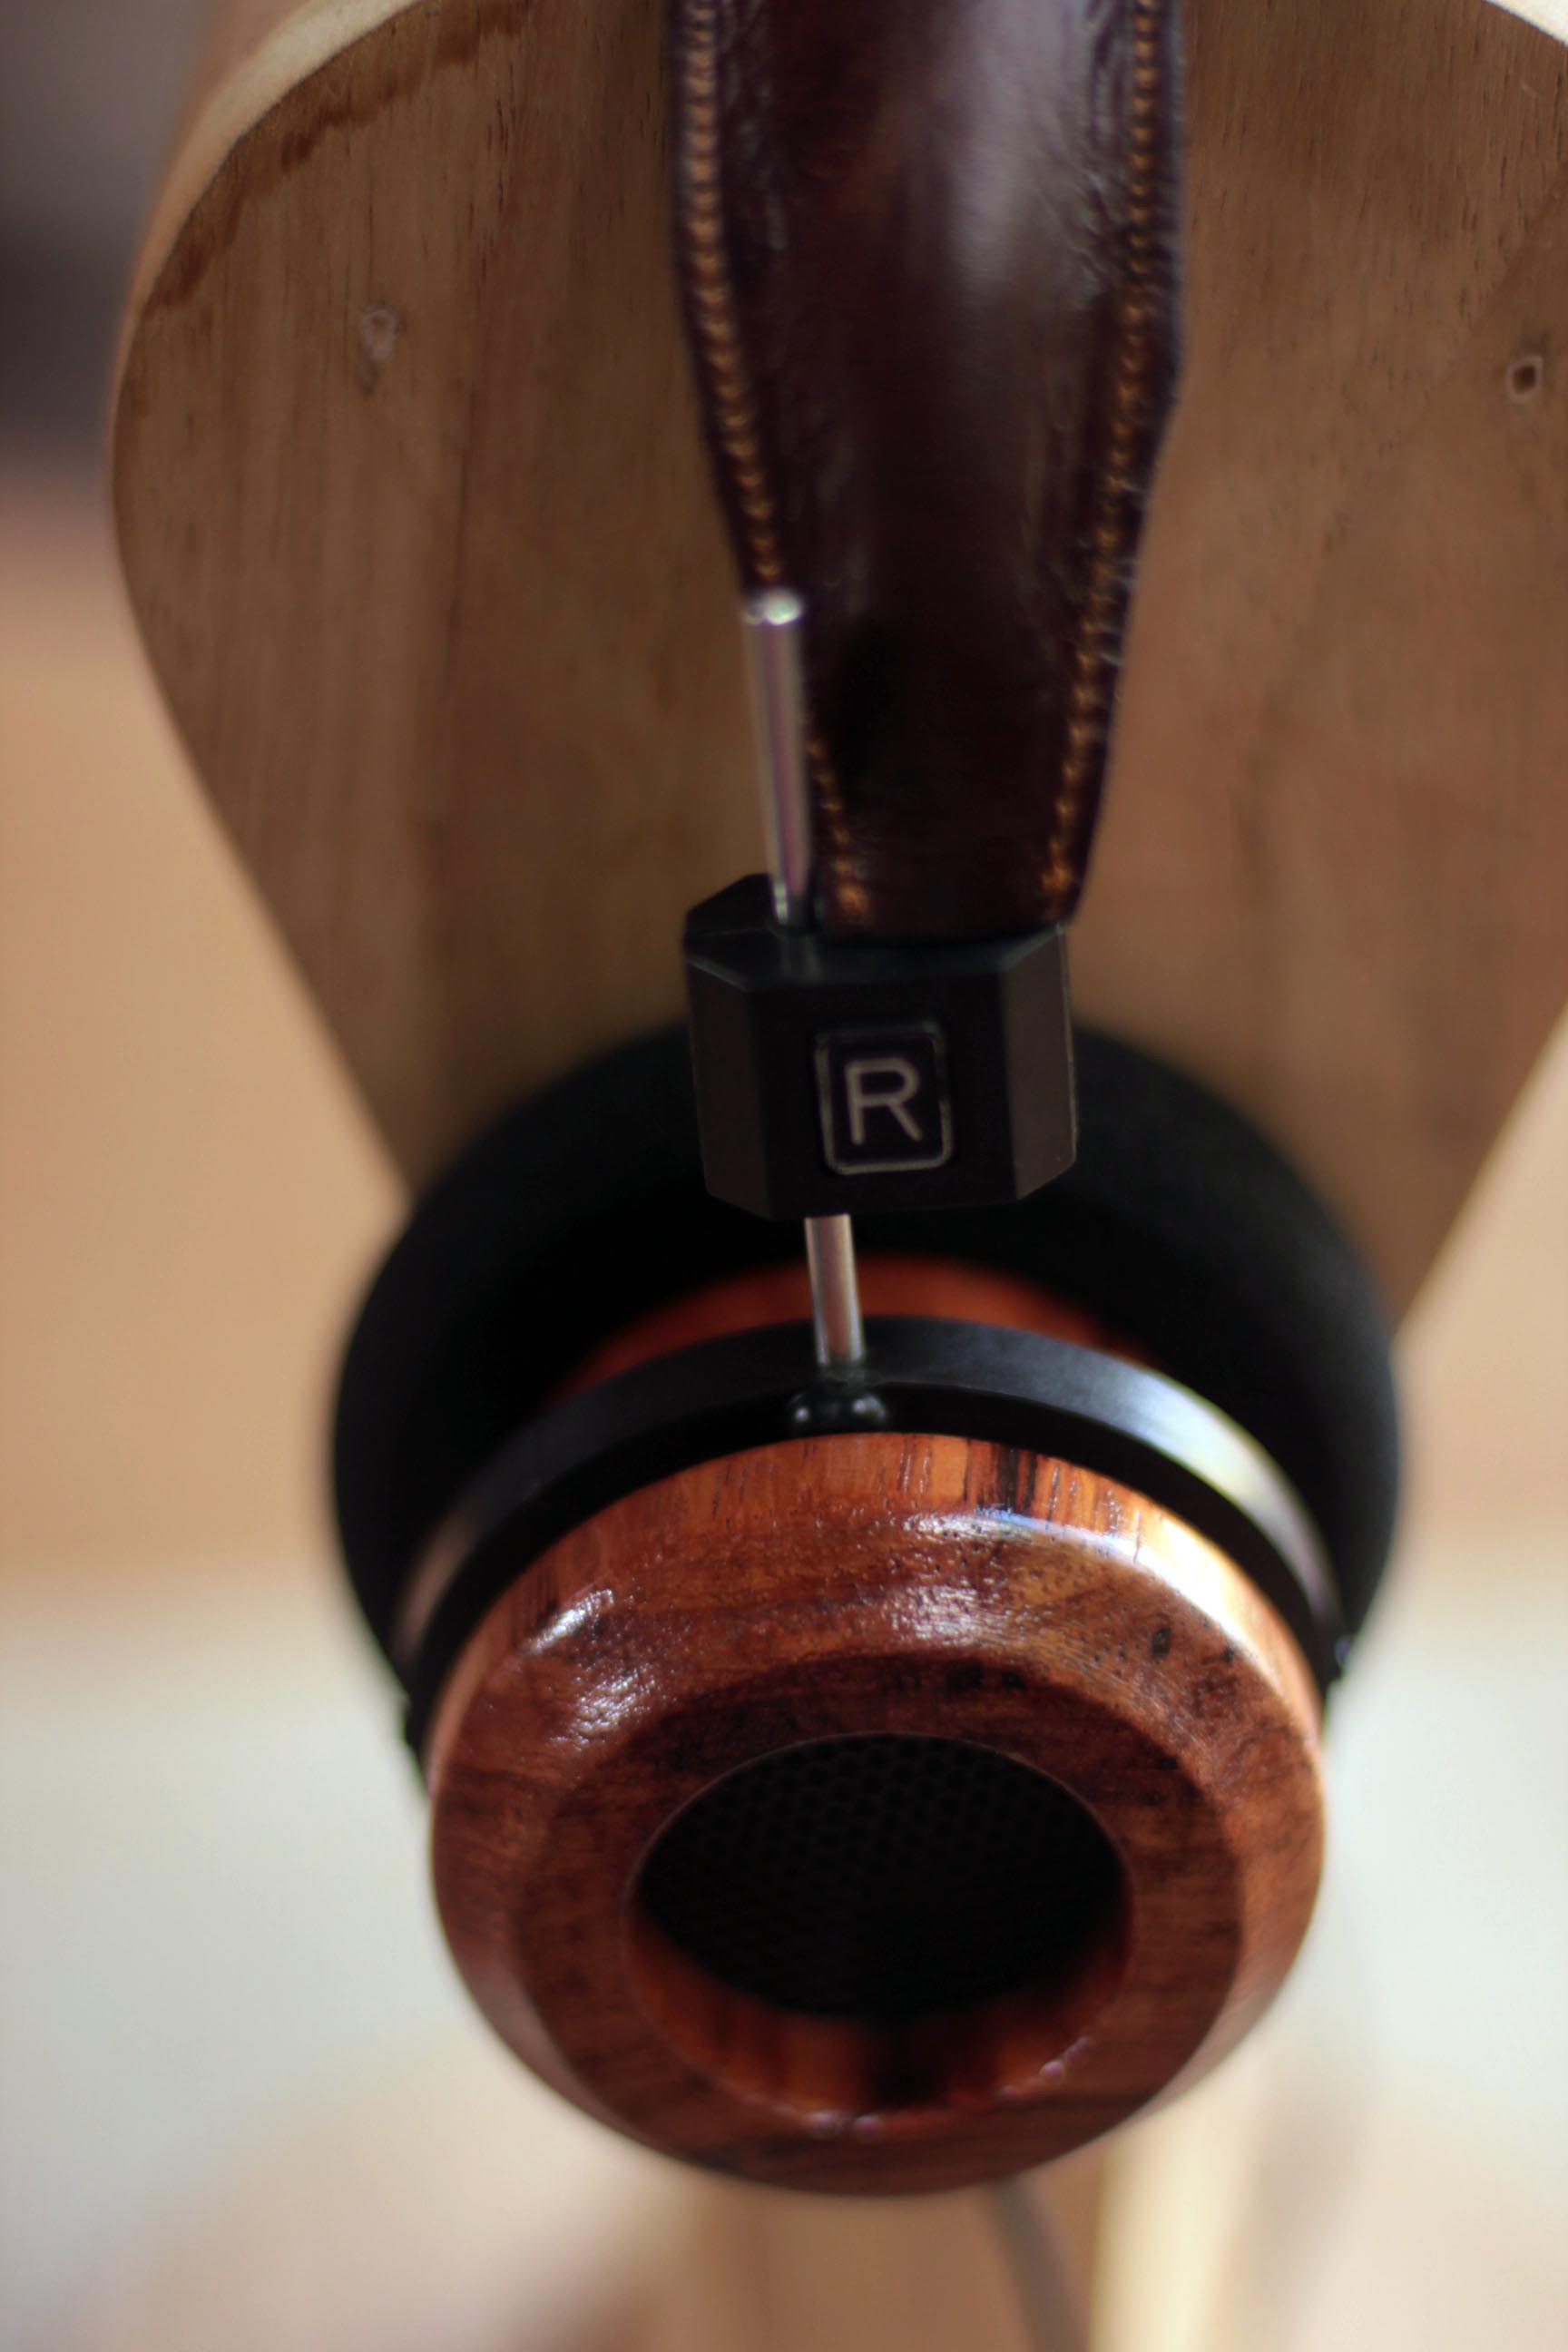
Take your scissors/knife and slowly begin snipping horizontally around the circumference of the pad. You should be able to take off the desired amount of edge and it should look like this as compared to the original bowls:

Step 3:
Good, now set those aside. Next, take your dress sock and snip off the foot part so that you just have a straight cylinder of cotton.

Step 4:
Make sure that the textured side of the sock is on the outside (if you want your pads to look as cool as mine). Make a fold inward that is about 3/4 inch wide. To give you an idea, the crease in the pic below is 3/4 inch wide.

Step 5. Roll this fold inward carefully. Make each roll as tight as possible. Try to roll the last fold of the sock so that it does not protrude beyond the bottom of the sock pad. The final product should be between 1.5-1.75 inches tall. Note the pads below are to this spec.

Step 6:
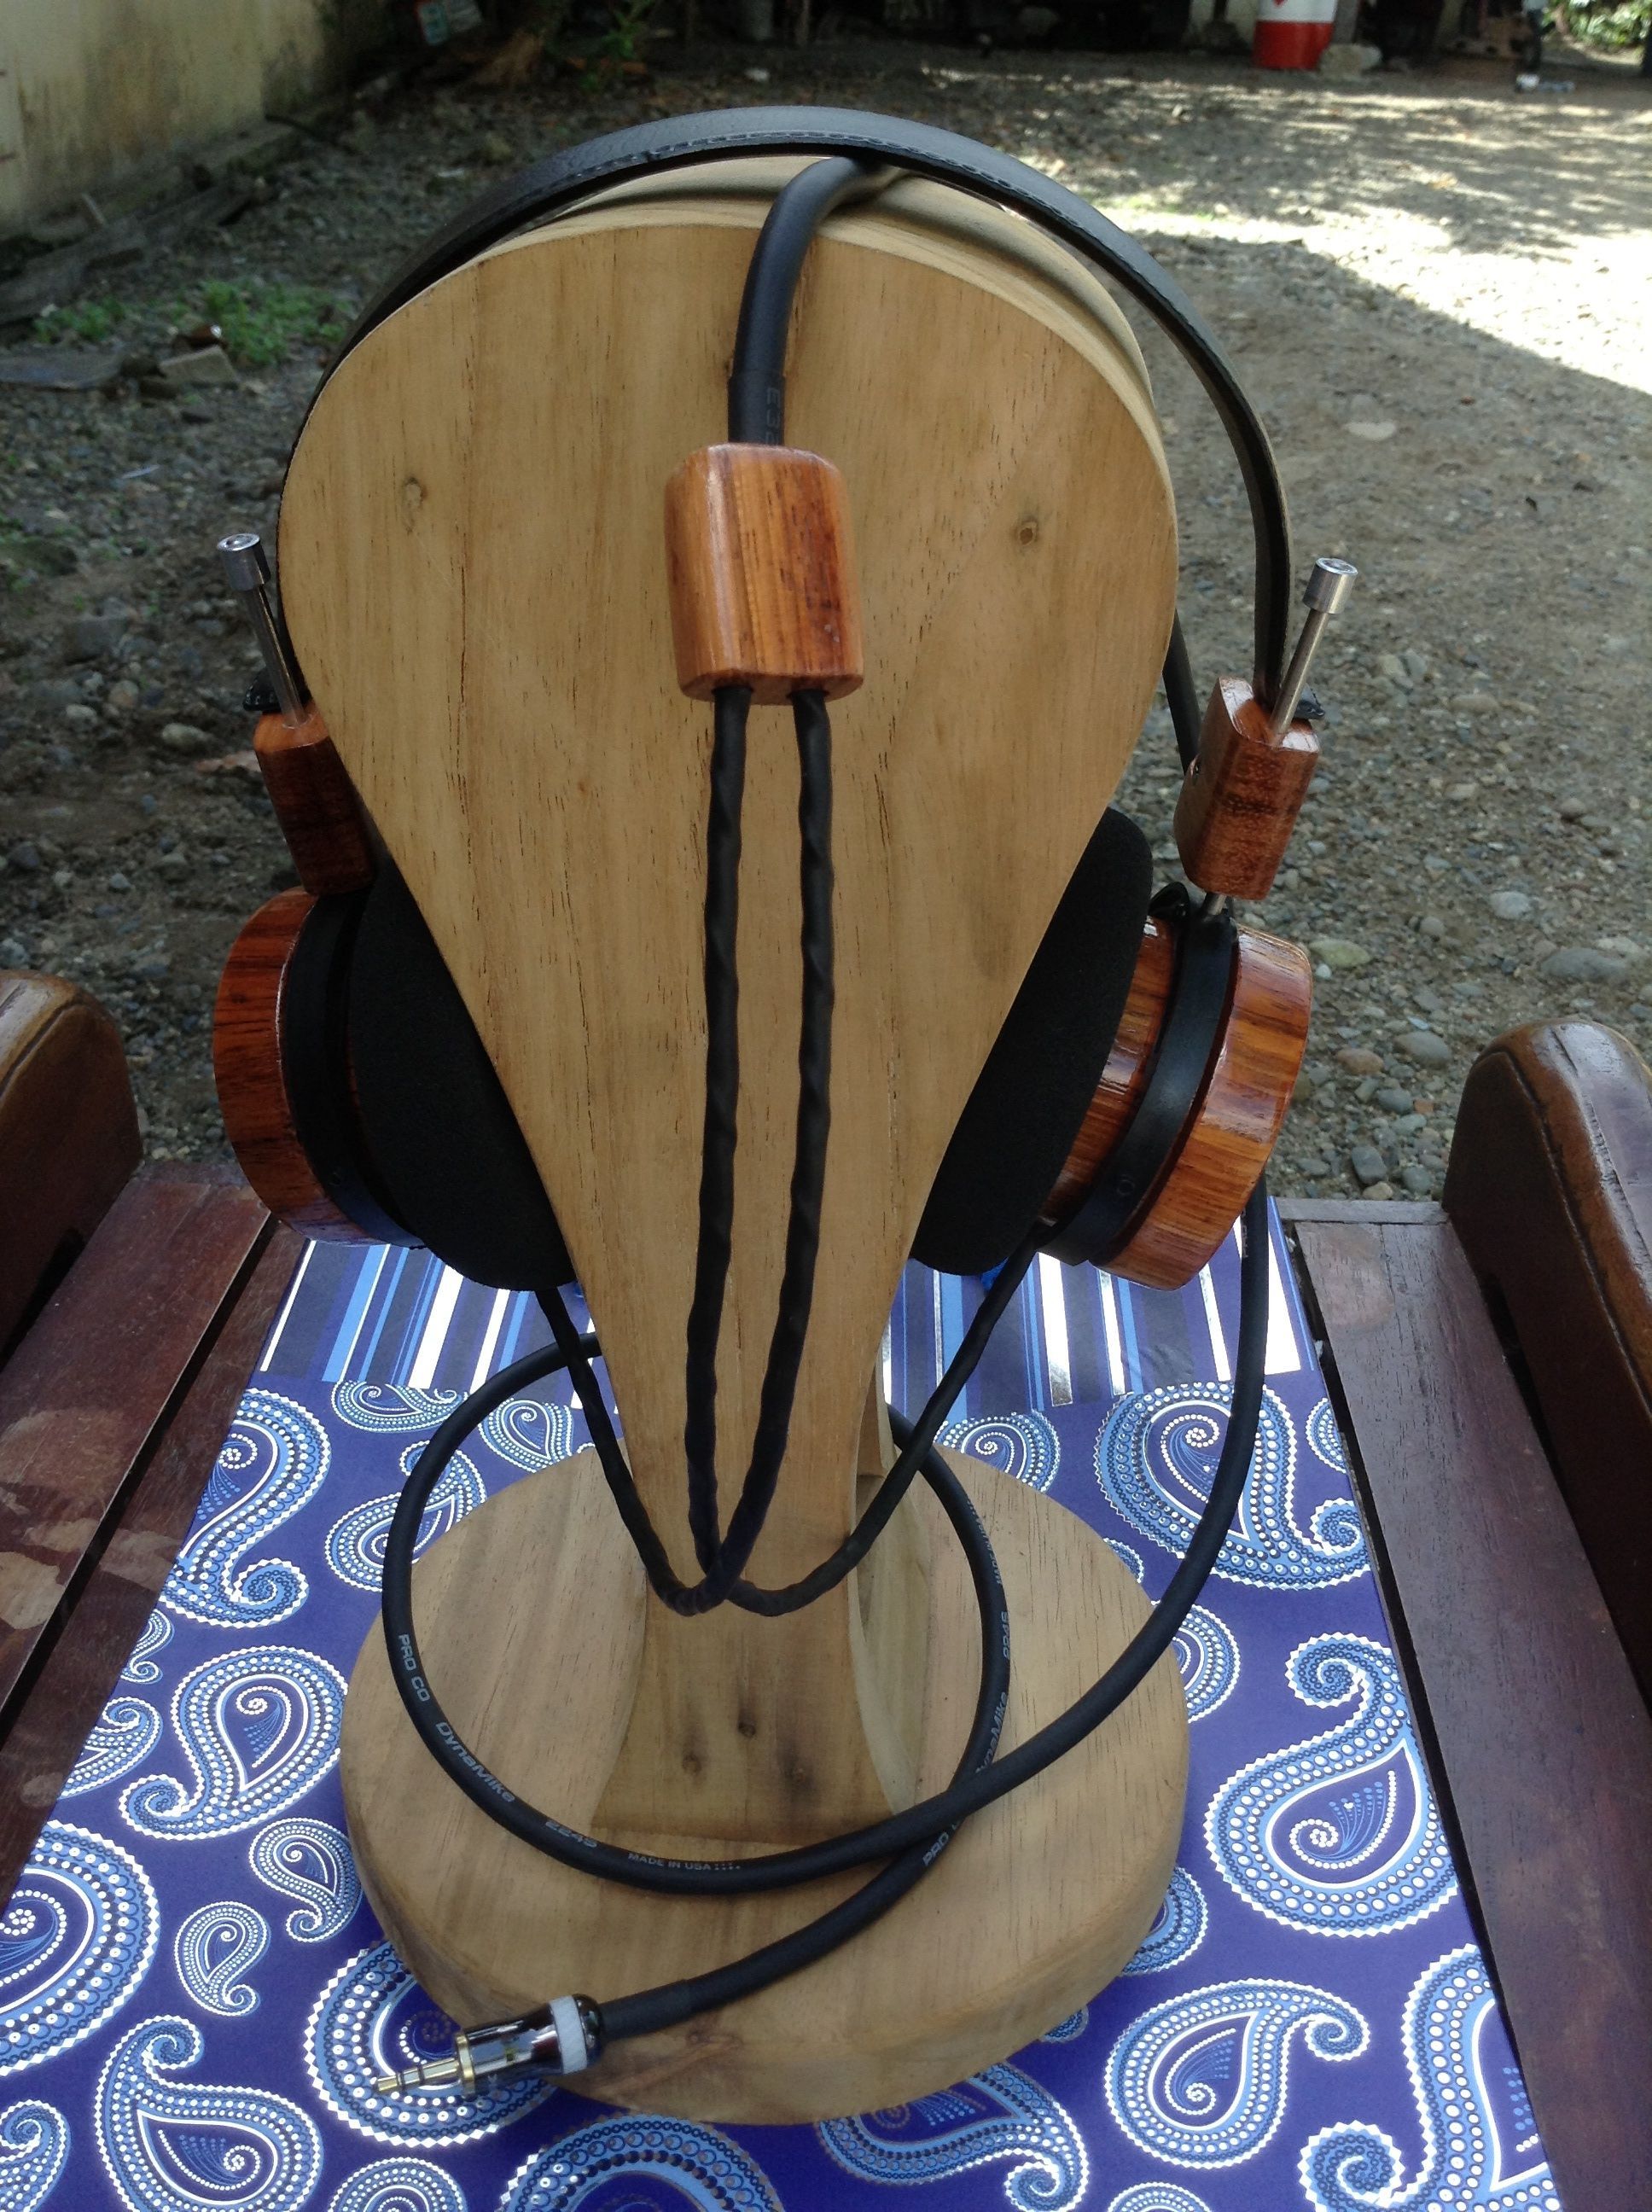
Mount the trimmed pads to your cups. This gives a rigid surface to apply your socks onto.

Step 7:
Starting on one side, begin stretching the sock around the trimmed pads. Try your best to disperse the sock so that about 1/4-inch of lip is created above the circumference of the trimmed bowl.

Step 8:
When you finish stretching the socks around the pads evenly, make sure that (if necessary) you press excess sock underneath the gimbal so that the sock doesn't hang off the pad unrestrained. This shouldn't happen if you roll very precisely, though it's no big deal if you have to.

And you're all done! The inner portion should look a little something like this:

Now put 'em on your head and enjoy! Hopefully the tutorial was helpful.
May your music treat you well,
Kojaku


I am not sure how they will react with me sending in a partially liberated driver.

