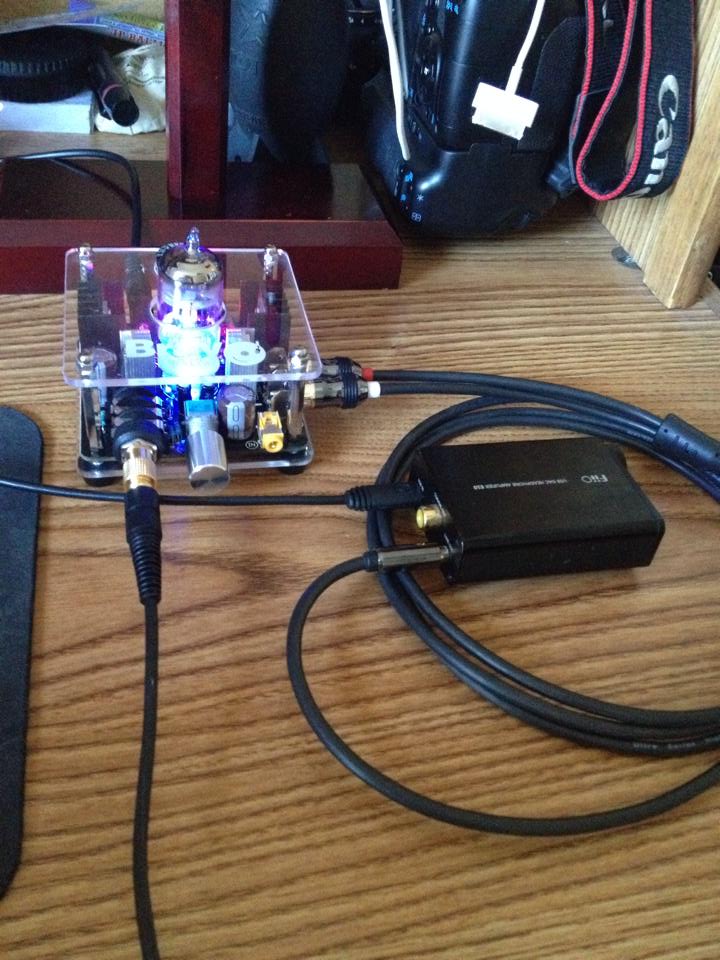
Received my Bravo V2 12AU7 model yesterday. Took it out, fired it up and gave it a good few hour listen going back and forth between my zunes direct out and then through the amp. It was not packaged that well, and took over a month to arrive but not that big of a deal as it all arrived in one piece. It looks nice / not bad build quality for the price. How does it sound? As it was out of the package, all I could think is what a flaming pile of crap it was. It was fat sounding in the bottom end, highs and sparkle did not exists really... was a little harsh... just crappy. All I could think about was how much cash I just wasted on the pile. So I took a break and came back. Yep still sounded like a flaming pile.
After reading about all the mods, I pretty much performed most all of them.
- Added in 5K trim pots to adjust bias
- Replaced the power supply cap with a 4700uF / 35V nichicon
- Replaced the two 1000uF units with 2200uF 105C nichicon units
- Yanked out the two small caps on the output side, right next to the tube and ran jumpers
- Replaced the 630's with IRL530PBF mosfets
- And cut some traces and so forth per the crosstalk mod
Everyone kept complaining how horrid and fragile the stock circuit board is. The pics looks the same as the unit I have, except I found it to be reasonable. I was expecting a board made with a laser jet and home kit in which someone sprayed black spraypaint on *LOL* The lead free solder was the only part that made it a pain since it is much higher temp. Just used a solder sucker and cranked up the heat on my station and it removed with ease. Mods were cake overall.
On another note, the stock capacitors were very odd. They weighed about 50% less than the nichicons I used even though they were about the same size. Felt like they were made of foam they were so light? Strange.
Sounds like a lot but all of it took me around 30 minutes. Took me a bit to figure out were to test for bias but got it and set it at 13.75ish vdc on both channels. After this, let it sit for around 30 minutes per the guide I read and re-checked it, made some minor tweaks and tossed on my headphones. In all honesty, I still expected rubbish as I was so disappointed previously. So I listened, and listened some more... Wow! Is this even the same amp? Well not really as I made so many changes but whoa! It really sounds good! The murky thick bottom end was tight and smooth, vocals were fantastic and spacious, the top end that simply wasn't prior WAS! I went back and forth between the direct out of the zune and back to the amp. I was able to get the volume almost perfectly balanced between switching back and forth and the little amp simply made the sound much more enjoyable, especially vocals, mid-bass and bottom end. I had read with these mods, the frequency response was almost flat so I thought I may just be dreaming this up so I had some help and did some back to back a/b to see if I could pick out the little bravo amp and every single time I could so it was not a placebo effect. Overall I wanted to thank solderdude. and oohms for the posts and writeup over on rock grotto. These mods are fantastic and make this cheap budget amp SING! This little guy is the steal of the century for sure!


 how crazy is that - especially to a tube-amp...i like this!-) i think my eyes are sparkling with joy too..
")

